
25 Stunning Shiplap Ceiling Ideas That Will Transform Your Home
Table of Contents
-
What You Need to Consider When Choosing Shiplap Ceiling Ideas
-
Traditional and Classic Designs
-
Classic White Horizontal Shiplap
-
Natural Wood Stain Finish
-
Tongue and Groove Planking
-
Beadboard-Style Shiplap
-
Painted Color Shiplap
-
-
Modern and Contemporary Approaches
-
Wide Plank Minimalist Design
-
Vertical Installation Pattern
-
Mixed Width Planking
-
Geometric Patterns
-
Industrial-Inspired Dark Finishes
-
-
Specialty Applications and Unique Spaces
-
Vaulted Ceiling Installations
-
Bathroom and High-Moisture Applications
-
Kitchen Ceiling Treatments
-
Covered Porch and Outdoor Applications
-
Accent Ceiling Zones
-
-
Color and Finish Variations
-
Two-Tone Ceiling Designs
-
Weathered and Distressed Finishes
-
Metallic and Specialty Paint Effects
-
Ombre and Gradient Effects
-
-
Integration with Architectural Elements
-
Beam and Shiplap Combinations
-
Coffered Ceiling Integration
-
Lighting Integration Solutions
-
-
Budget-Conscious and DIY Options
-
Engineered and MDF Alternatives
-
Partial Coverage Applications
-
Reclaimed and Salvaged Materials
-
-
How JiffyJunk Can Support Your Shiplap Project
-
Final Thoughts
TL;DR
-
Shiplap ceilings cost between $2-8 per square foot for materials, but let’s be real – you’ll spend way more than that once you factor in tools, primer, and your inevitable mistakes
-
Before you fall in love with that Pinterest board, consider your ceiling height, room size, and whether shiplap actually fits your home’s style
-
White horizontal shiplap is your safest bet – it works everywhere and won’t make you cringe in five years
-
Vaulted ceilings look incredible with shiplap, but seriously, hire professionals unless you enjoy hospital visits
-
Modern approaches like wide planks and vertical installation can work, but they’re riskier style choices
-
Bathrooms need special materials and bulletproof ventilation, or you’ll be dealing with mold city
-
Two-tone designs sound cool but double your touch-up headaches
-
Combining shiplap with beams creates drama, but make sure your ceiling won’t collapse first
-
DIY-friendly options include MDF (if you can live with fake wood) and partial coverage to test the waters
-
You’ll create way more mess than you think – plan for debris removal or your family will hate you
What You Need to Consider When Choosing Shiplap Ceiling Ideas
Look, I get it – you saw some gorgeous shiplap ceiling on Instagram and now you’re ready to tear down your boring drywall. But hold up! Before you grab a crowbar and start swinging, let’s talk about what you’re actually getting into here.
Your ceiling height is huge, and I mean HUGE. If you’ve got those standard 8-foot ceilings that most of us are stuck with, adding shiplap is going to make your room feel like a cave. I’m not trying to crush your dreams, but horizontal boards will make your ceiling look even lower. Trust me on this one – I’ve been in too many homes where people ignored this advice and regretted it.
Room size matters too. That tiny powder room might look cute with shiplap in your head, but in reality? It’s going to feel like you’re trapped in a wooden box. Bigger spaces can handle the visual weight, but smaller rooms need a lighter touch – maybe just an accent area instead of going full farmhouse everywhere.

Here’s something nobody talks about – does shiplap even fit your house? I’ve seen people slap farmhouse shiplap into ultra-modern homes, and it looks… well, let’s just say it doesn’t work. Your 1960s ranch might not be ready for full barn vibes, you know?
And can we talk about the mess for a second? This isn’t a “quick weekend project” like those home improvement shows make it seem. You’re going to have sawdust everywhere, your furniture needs protecting, and don’t even get me started on working around electrical fixtures.
When you’re planning something this big, seriously consider how you’ll handle all the debris and mess. Professional construction debris removal isn’t just for the pros – it’ll save your sanity and your marriage.
|
Factor |
Small Rooms (Under 150 sq ft) |
Medium Rooms (150-300 sq ft) |
Large Rooms (Over 300 sq ft) |
|---|---|---|---|
|
Ceiling Height |
8-9 ft: Stick to white, go horizontal |
9-10 ft: You’ve got options |
10+ ft: Go crazy if you want |
|
Pattern Complexity |
Keep it simple, seriously |
You can get a little fancy |
This is where you can show off |
|
Color Recommendations |
White or you’ll regret it |
Light to medium – don’t push it |
Dark colors won’t kill you here |
|
Installation Approach |
Maybe just do part of it? |
Full coverage if you must |
Go for it, you’ve got the space |
|
Budget Reality |
$300-1,200 (plus your sanity) |
$800-2,400 (hope you budgeted right) |
$1,500-5,000+ (ouch, but worth it?) |
Material choice is where people either save money or blow their budget completely. Pine is cheap and paintable, but it’s got knots that might drive you nuts. Cedar costs more but won’t rot if you look at it wrong. Those engineered options? They’re consistent, but they’re also… fake looking.
Budget planning – oh boy. That $2 per square foot you read online? That’s just materials, my friend. You still need tools you probably don’t have, primer, paint, and about three times longer than you think it’ll take. Add 30% to whatever you think this will cost. You’ll thank me later.
Traditional and Classic Designs
1. Classic White Horizontal Shiplap
Okay, let’s start with the obvious choice – white horizontal shiplap. Yeah, it’s everywhere on Pinterest, but there’s a reason for that. It works. Period.
This is your safest bet if you’re nervous about commitment. White goes with everything, makes rooms look bigger, and if you hate it in five years (which you won’t), it’s easy to paint over. I’ve installed this in probably a hundred homes, and I’ve never had someone complain about it.
The process isn’t rocket science – you’re basically nailing 1×6 or 1×8 pine boards across your ceiling with little gaps between them. Those gaps are called “nickel gaps” because… well, they’re about the width of a nickel. Revolutionary naming, right?
Sarah’s Reality Check: Sarah thought she’d knock out her kitchen ceiling in a weekend. Reality hit when she realized her ceiling wasn’t level, her boards weren’t perfectly straight, and measuring around that light fixture was a nightmare. What she thought would take 8 hours took 3 weekends. But you know what? It looks amazing, and she saves money on lighting because that white ceiling reflects everything.
The best part about white? It hides dust better than you’d think, and when you inevitably ding it with a ladder, touch-ups are invisible. Plus, your house will photograph better when you sell it, which your future self will appreciate.
But let’s be honest about the downsides – white shows everything. Every spider web, every bit of cooking grease, every time your kid throws something at the ceiling (and they will). You’ll be cleaning it more than you think.
Installation is pretty straightforward if you’re handy, but if you can’t hang a picture level, maybe call someone. Seriously. A crooked shiplap ceiling is worse than no shiplap ceiling.
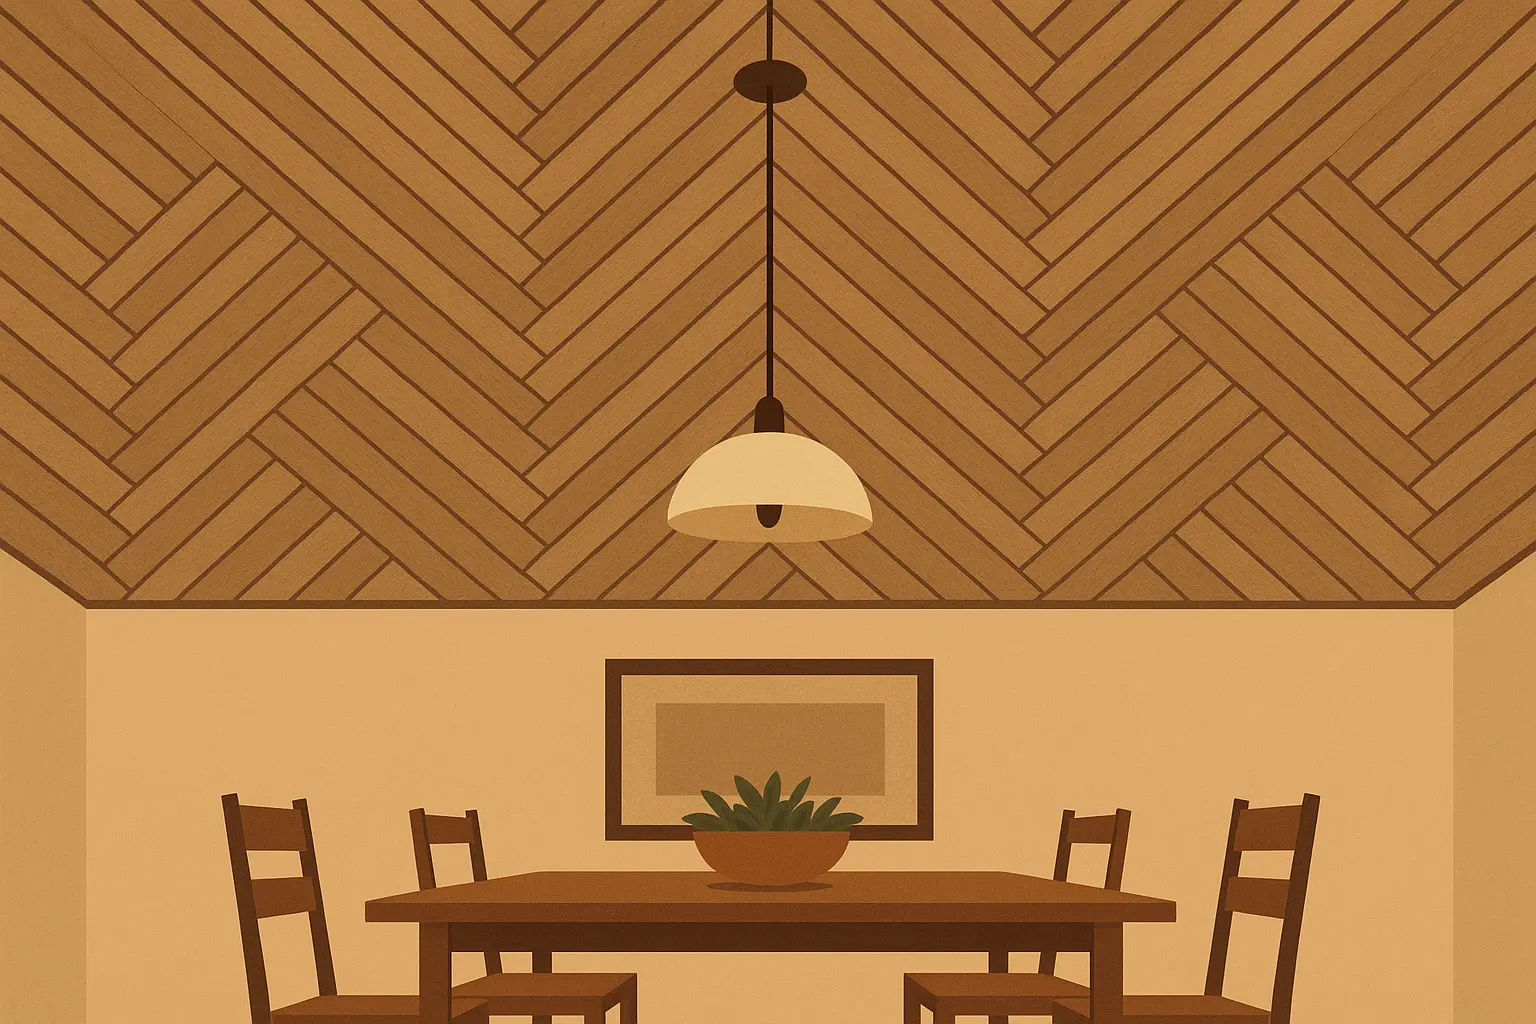
2. Natural Wood Stain Finish
Now we’re talking about showing off that wood grain! This is where things get expensive and complicated, but man, when it’s done right, it’s gorgeous.
Cedar with a clear coat is beautiful, but it costs more than your first car. Pine with honey stain gives you that rich, warm look without selling a kidney. And reclaimed barn wood? That’s the holy grail, but good luck finding enough pieces that actually match.
Here’s what nobody tells you about natural wood ceilings – they make rooms feel smaller and darker. That’s not necessarily bad, but it’s something to think about. Your cozy reading nook might become your vampire lair.
The maintenance on these is no joke. You can’t just wipe them down when they get dirty – you need special cleaners, and eventually, you’ll need to restain them. It’s like having a wooden deck on your ceiling.
But if you’ve got the right space and the budget for upkeep, natural wood adds warmth that paint just can’t match. Just don’t do it in your bathroom unless you enjoy watching wood warp in real time.
3. Tongue and Groove Planking
This is shiplap’s fancy cousin. Instead of those little gaps, the boards lock together like puzzle pieces. It looks more expensive because, well, it is more expensive.
The installation is trickier because every board has to fit perfectly with the next one. One mistake and you’re either starting over or living with a gap that’ll bug you forever. This is definitely “hire a pro” territory unless you’re really confident with woodworking.
The upside? No gaps mean no dust collection, and it looks incredibly professional when done right. The downside? If one board gets damaged, good luck replacing just that one piece.
This works great if you want that high-end look and have the budget to match. Just don’t expect to DIY this one unless you’ve got serious skills and infinite patience.
4. Beadboard-Style Shiplap
Think of this as shiplap with a little extra flair. Those decorative grooves down the middle of each board add texture without going full Victorian crazy.
It’s still pretty easy to install – just regular shiplap with more detail work. The beaded grooves do collect dust though, so if you’re not into detailed cleaning, maybe skip this one.
This style works great in cottages and traditional homes where you want some character but don’t want to go full rustic barn. It’s like the compromise between plain and fancy.
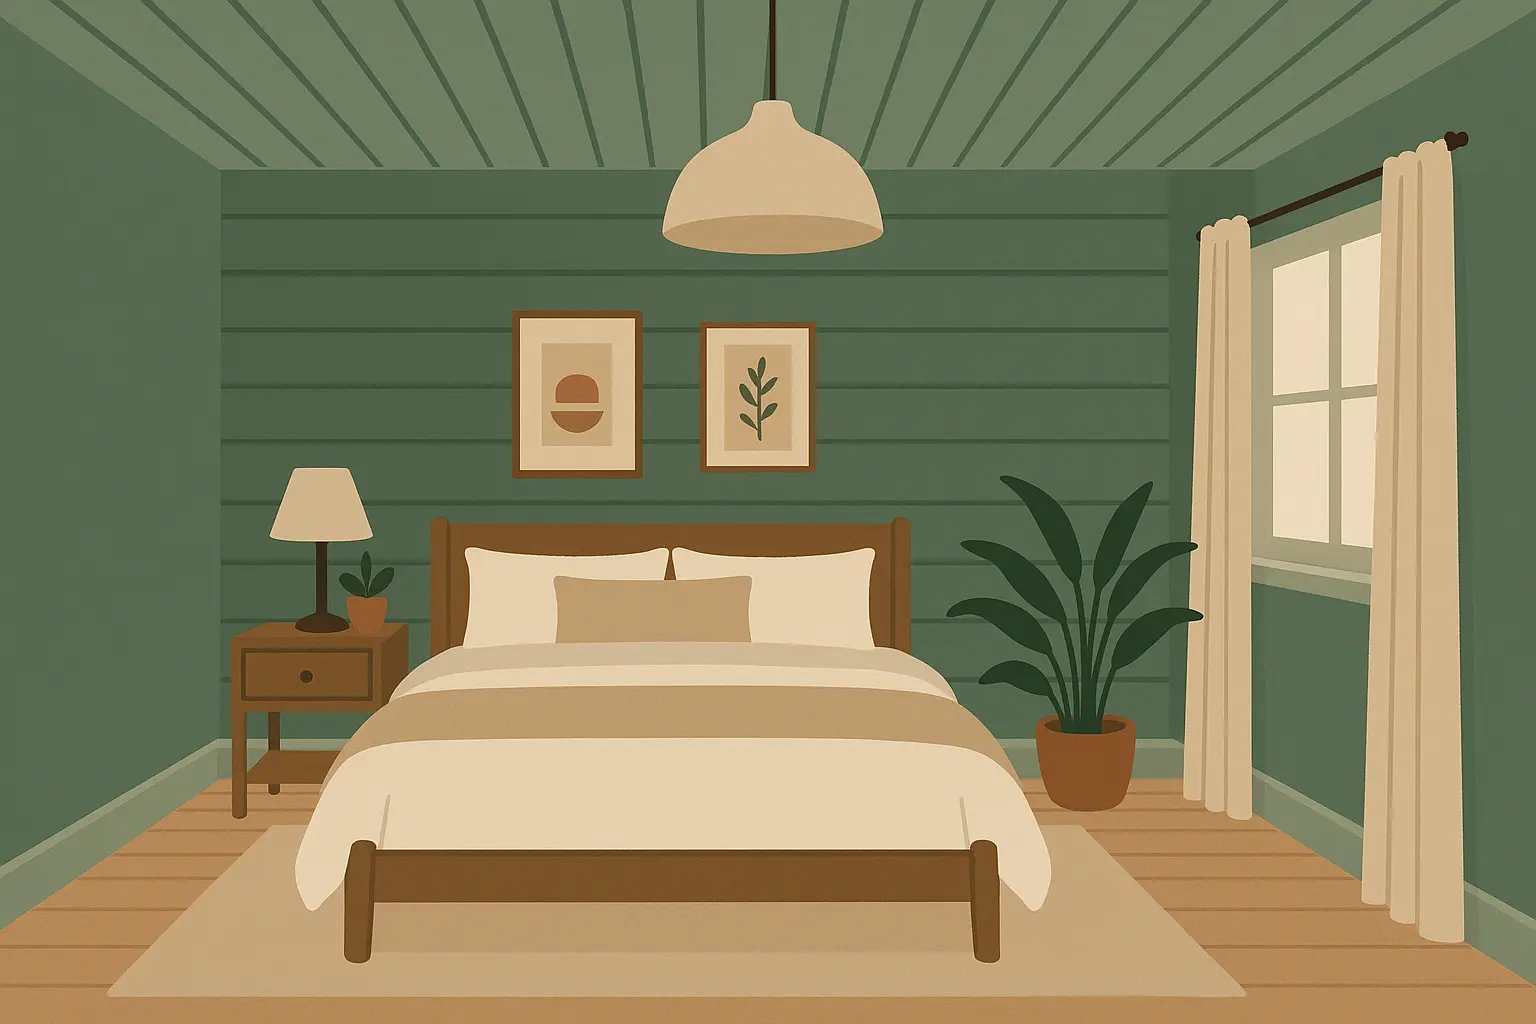
5. Painted Color Shiplap
Ready to get brave? Colored shiplap can look amazing, but it can also look like a mistake you’ll stare at for years.
Soft colors work better than bold ones. That sage green might look perfect in the store, but living under it every day is different than living with it on the walls. Dark colors make rooms feel cozy or claustrophobic, depending on your perspective and the room size.
Mike’s Bedroom Adventure: Mike went with sage green in his master bedroom, and it actually worked out great. But he’s got high ceilings and lots of natural light. His buddy tried the same color in a basement bedroom and it felt like sleeping in a cave. Know your space.
The biggest pain with colored ceilings? Touch-ups. That perfect sage green you mixed two years ago? Good luck matching it exactly. Buy extra paint and store it properly, or plan on repainting the whole thing when you need repairs.
Modern and Contemporary Approaches
6. Wide Plank Minimalist Design
Forget everything you know about traditional shiplap – we’re going wide and clean here. Think 10-12 inch boards with barely any gaps. It’s like shiplap went to design school and got sophisticated.
This look works great in modern homes where you want texture without the farmhouse vibe. MDF works perfectly here because you’re painting it anyway, and the consistent dimensions look intentional rather than rustic.
The installation is actually easier because you’re dealing with fewer pieces, but measuring becomes more critical. A mistake on a 12-inch board is a lot more noticeable than on a 4-inch one.
7. Vertical Installation Pattern
Want to mess with people’s heads? Install your shiplap vertically. It makes ceilings look higher, which is great, but it also looks… different. Some people love it, others think it looks wrong.
This is definitely a “commit or don’t” situation. You can’t really test this one out. The installation is trickier because you’re dealing with longer cuts and more complex angles where the boards meet the ceiling.
It works best in contemporary homes where breaking the rules is part of the design. Traditional homes might find this feels too unconventional.
8. Mixed Width Planking
This is where you get to be an artist, but it’s also where you can mess up spectacularly. Mixing 4-inch, 6-inch, and 8-inch boards sounds cool until you realize you need a pattern that doesn’t look random
This is where you get to be an artist, but it’s also where you can mess up spectacularly. Mixing 4-inch, 6-inch, and 8-inch boards sounds cool until you realize you need a pattern that doesn’t look random.
Plan this out on paper first. Seriously. Random widths look chaotic, not intentional. You want rhythm and balance, which takes more thought than you’d think.
This works great in larger spaces where the pattern can be appreciated. In smaller rooms, it just looks busy and confusing.
9. Geometric Patterns
Herringbone shiplap ceilings are Instagram gold, but they’re also installation nightmares. Every single piece needs to be cut at precise angles, and if you’re off by even a little bit, the whole pattern looks wrong.
This is 100% hire-a-professional territory unless you’re a master carpenter looking for a challenge. The material waste alone will blow your budget because of all those angle cuts.
But when it’s done right? It’s stunning. Just be prepared to pay for that stunning.
10. Industrial-Inspired Dark Finishes
Dark shiplap ceilings are dramatic and sophisticated, but they’re also unforgiving. Every flaw shows, every bit of dust is visible, and if your room doesn’t have enough light, it’ll feel like a cave.
That said, in the right space with good lighting, dark ceilings create an incredible atmosphere. Just make sure you’re ready for the maintenance that comes with it.
Specialty Applications and Unique Spaces
11. Vaulted Ceiling Installations
Vaulted ceilings with shiplap are absolutely stunning, but they’re also absolutely not a DIY project. You’re working at height, dealing with angles, and if you fall, you’re really going to fall.
The Johnson Family’s Reality: The Johnsons thought they’d save money doing their great room themselves. After one trip up a 16-foot ladder, they called professionals. Best $3,200 they ever spent, and nobody ended up in the emergency room.
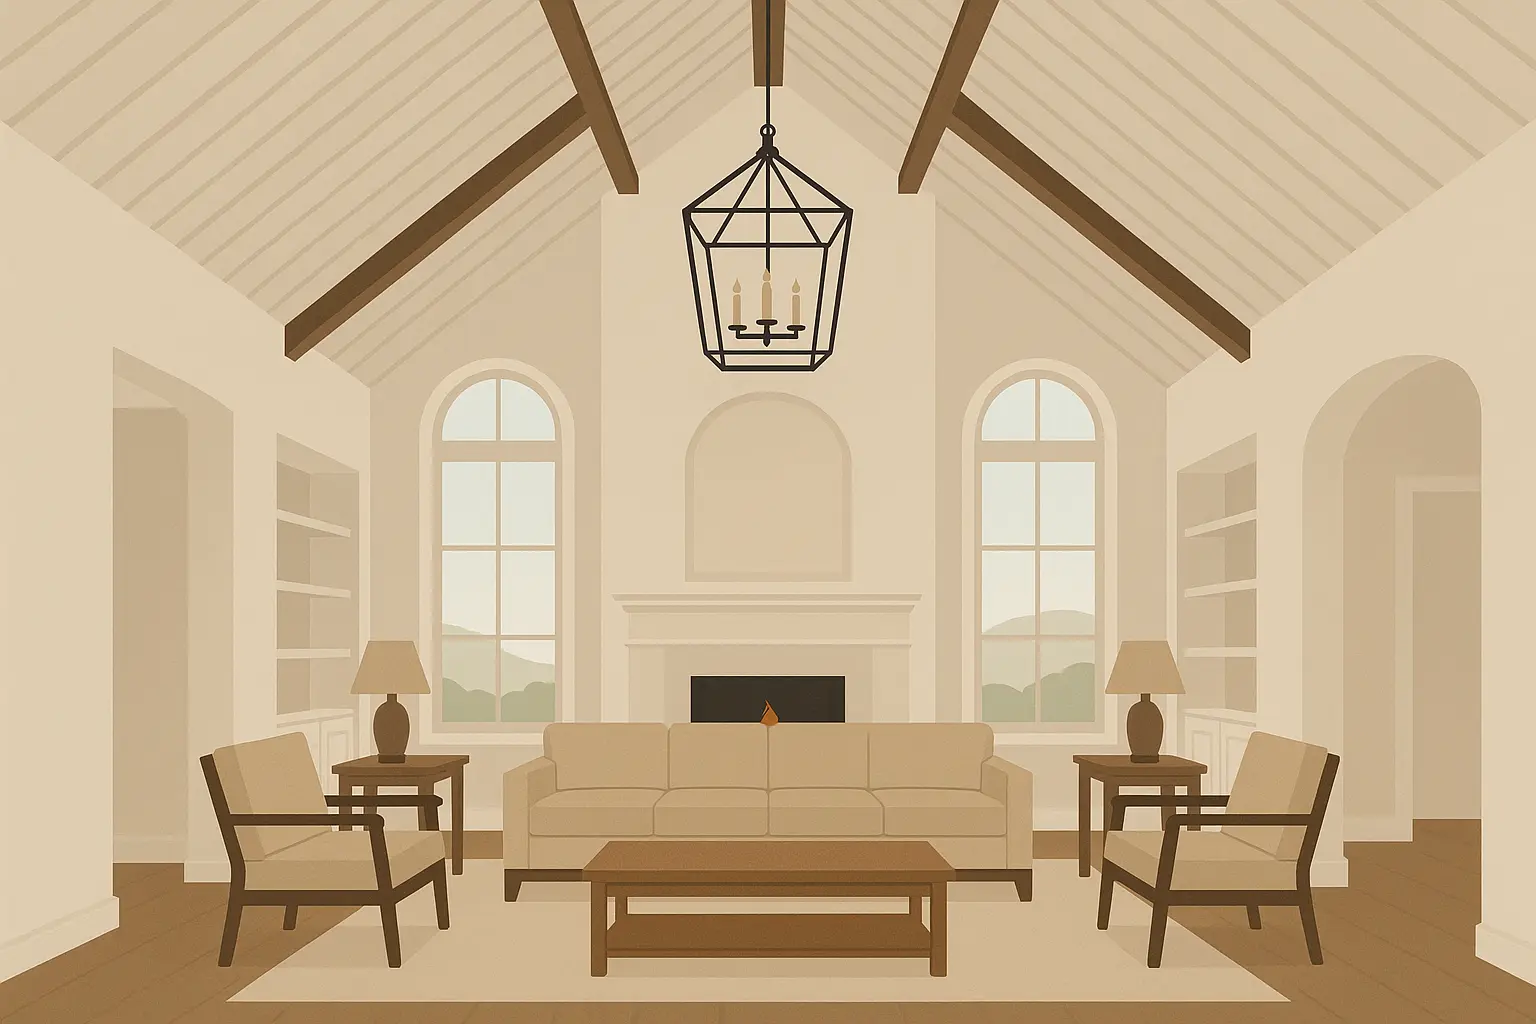
The payoff is incredible though. Vaulted shiplap ceilings are showstoppers that add serious value to your home. Just budget for professionals and don’t even think about doing it yourself unless you’re a roofer in your spare time.
12. Bathroom and High-Moisture Applications
Shiplap in bathrooms can work, but you need the right materials and proper ventilation, or you’ll be dealing with mold and rot. Regular pine? Nope. You need marine-grade materials or PVC options.
|
Material Type |
Moisture Resistance |
Cost per Sq Ft |
Reality Check |
Maintenance Level |
|---|---|---|---|---|
|
Marine-Grade Plywood |
Excellent |
$4-6 |
Worth it for full bath |
Check it yearly |
|
PVC Shiplap |
Outstanding |
$3-5 |
Looks fake but works |
Wipe and forget |
|
Treated Pine |
Good with sealing |
$2-4 |
Powder rooms only |
Reseal every 2 years |
|
Cedar |
Natural resistance |
$5-8 |
Great but expensive |
Pretty low maintenance |
|
Composite |
Very Good |
$4-7 |
Good compromise |
Almost no maintenance |
The key is ventilation. If your bathroom doesn’t have good ventilation, fix that first or don’t bother with shiplap. Moisture will find a way to ruin your beautiful ceiling.
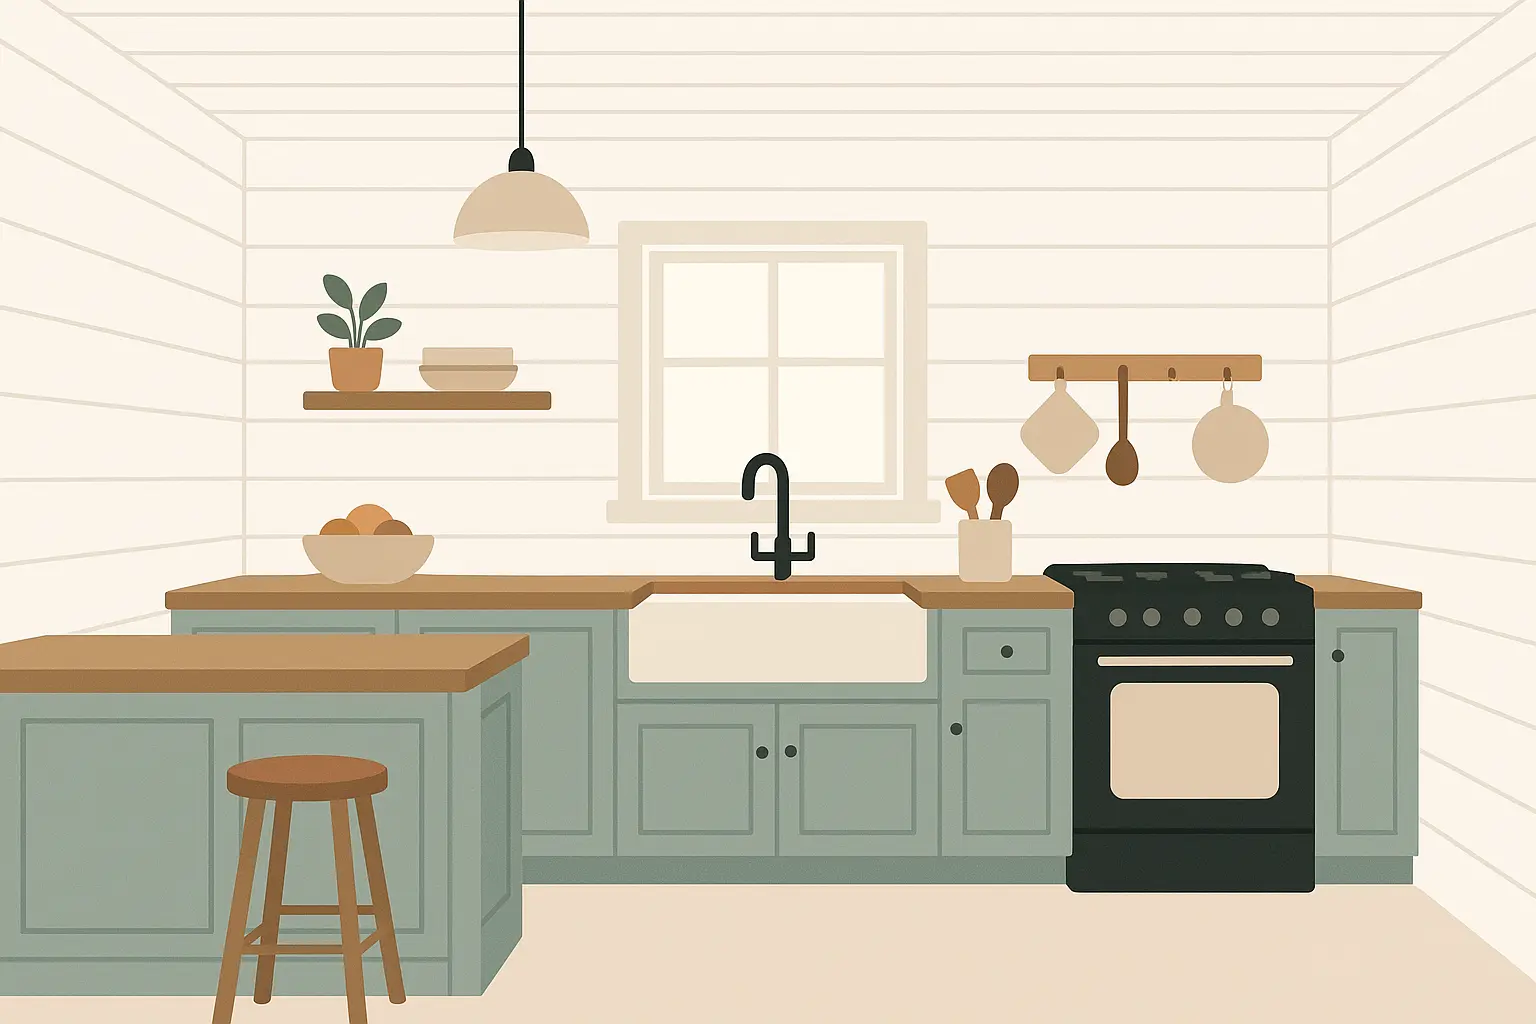
13. Kitchen Ceiling Treatments
Kitchens are tough on ceilings. Grease, steam, and food splatters will find their way up there. Semi-gloss paint is your friend – it wipes clean and doesn’t absorb odors like flat paint does.
Make sure your range hood is doing its job, or that beautiful shiplap ceiling will turn into a grease magnet. Trust me, cleaning grease off textured surfaces is not fun.
14. Covered Porch and Outdoor Applications
Extending shiplap to covered porches creates great flow, but you need exterior-rated materials. Regular interior shiplap will warp, crack, and look terrible after one season outside.

Cedar is your best bet here, but even cedar needs proper sealing and maintenance. Budget for refinishing every few years, or it’ll look weathered fast (and not in a good way).
15. Accent Ceiling Zones
Not ready to commit to a whole ceiling? Don’t. Pick strategic areas that give you the biggest visual impact for the least money.
Lisa’s Smart Strategy: Lisa did just the area over her kitchen island instead of the whole kitchen ceiling. She got 80% of the visual impact for 25% of the cost. Sometimes being strategic beats going all-out.
Focus on areas where people’s eyes naturally go – over kitchen islands, in tray ceilings, or above built-in seating. You get the character without breaking the bank.
Color and Finish Variations
16. Two-Tone Ceiling Designs
Two-tone ceilings can look amazing or like a mistake, depending on execution. The key is subtlety – think white and cream, not white and navy.
This adds complexity to both installation and maintenance. You’re dealing with multiple finishes, which means multiple touch-up paints and more time masking and painting. But when done right, it creates depth and interest that single colors can’t match.
17. Weathered and Distressed Finishes
Want that authentic aged look without waiting 50 years? Distressed finishes can work, but they can also look like you’re trying too hard. The key is restraint – a little weathering goes a long way.

The upside is that real wear and tear blends right in. Got a ding from moving furniture? It just adds to the character. But if you’re a perfectionist who likes everything pristine, this finish will drive you crazy.
18. Metallic and Specialty Paint Effects
Metallic ceilings sound cool in theory, but living under them is different. They catch every light source and can be distracting. Plus, if the finish isn’t perfect, every flaw shows up like a spotlight.
This is definitely a “less is more” situation. Maybe try it in a powder room first before committing to your great room.
19. Ombre and Gradient Effects
Gradient ceilings are Instagram-worthy but installation nightmares. You need to blend colors while they’re wet, work fast, and pray you don’t mess up because starting over means redoing the whole ceiling.
This is artistic territory that most of us aren’t equipped for. If you want this look, budget for a professional painter who specializes in decorative finishes.
Integration with Architectural Elements
20. Beam and Shiplap Combinations
Beams and shiplap together create that dramatic farmhouse look everyone loves, but they also add serious weight to your ceiling. Make sure your structure can handle it before you start nailing up heavy beams.
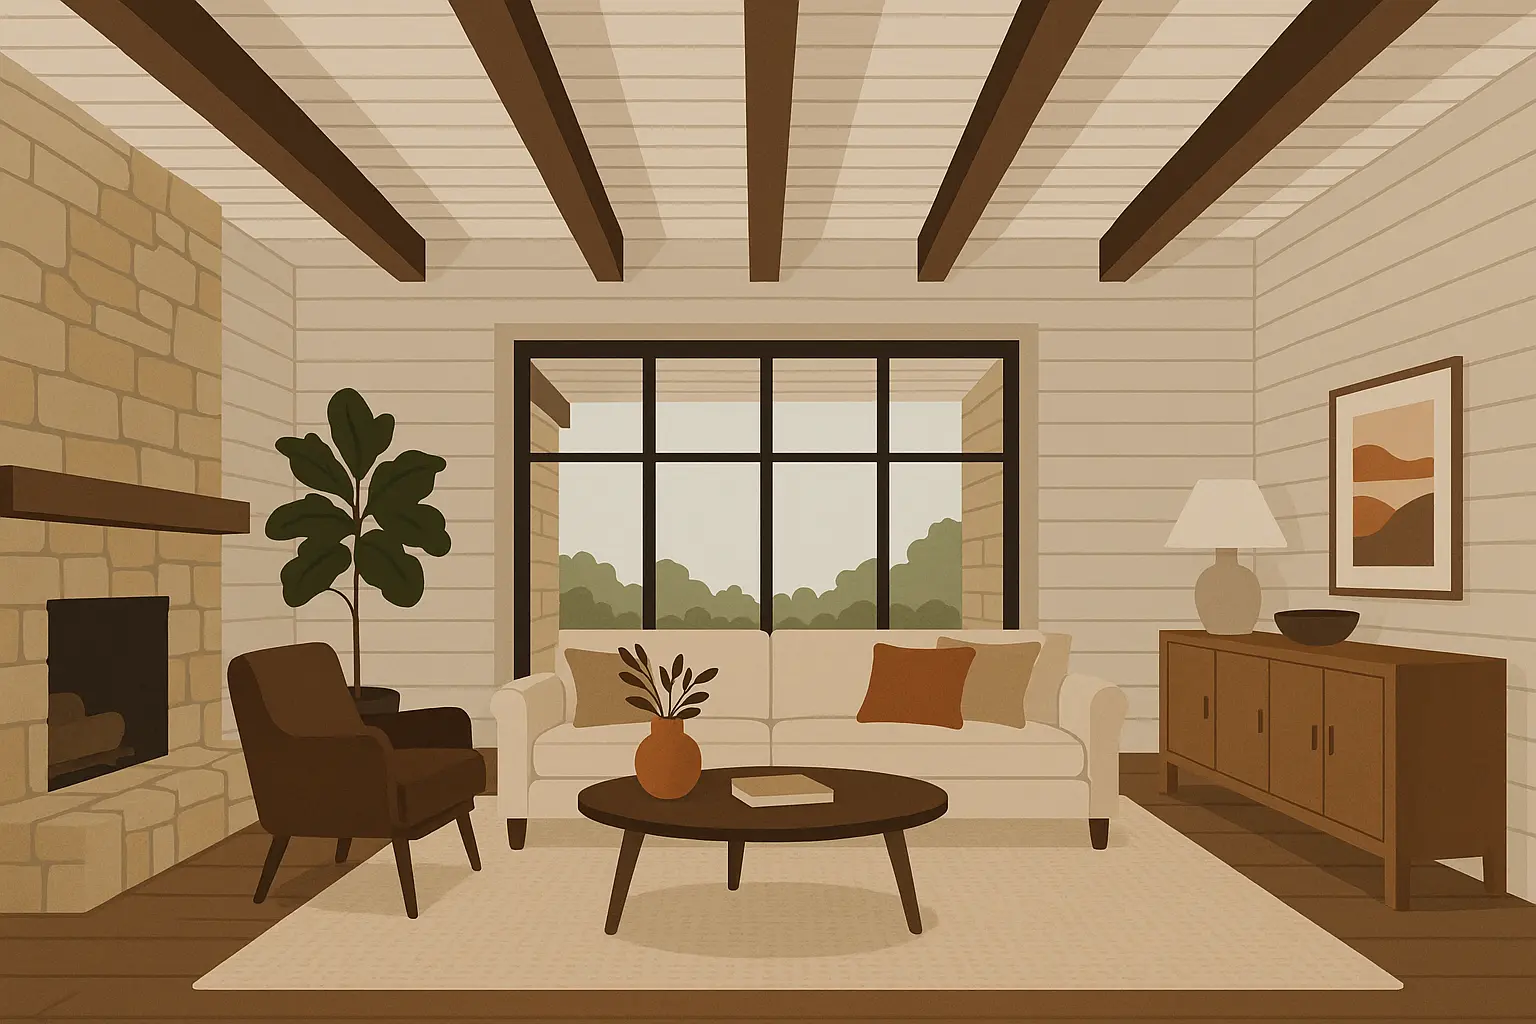
When planning major structural work like this, think about how you’ll handle all the debris. Professional construction debris removal becomes essential when you’re dealing with heavy materials and complex installations.
|
Beam Material |
Cost per Linear Foot |
Reality Check |
Maintenance |
Best For |
|---|---|---|---|---|
|
Reclaimed Wood |
$15-25 |
Character but inconsistent |
Oil annually |
Rustic vibes |
|
New Cedar |
$8-15 |
Predictable but pricey |
Seal twice yearly |
Clean farmhouse |
|
Faux Wood |
$12-20 |
Looks fake up close |
Just dust it |
Budget-conscious |
|
Steel I-Beams |
$20-35 |
Industrial cool but cold |
Check for rust |
Modern lofts |
|
Engineered |
$6-12 |
Boring but practical |
Standard care |
When budget matters |
Real beams require structural engineering if they’re load-bearing. Fake beams are easier to install but look fake if you get too close. Choose based on your budget and how much scrutiny they’ll get.
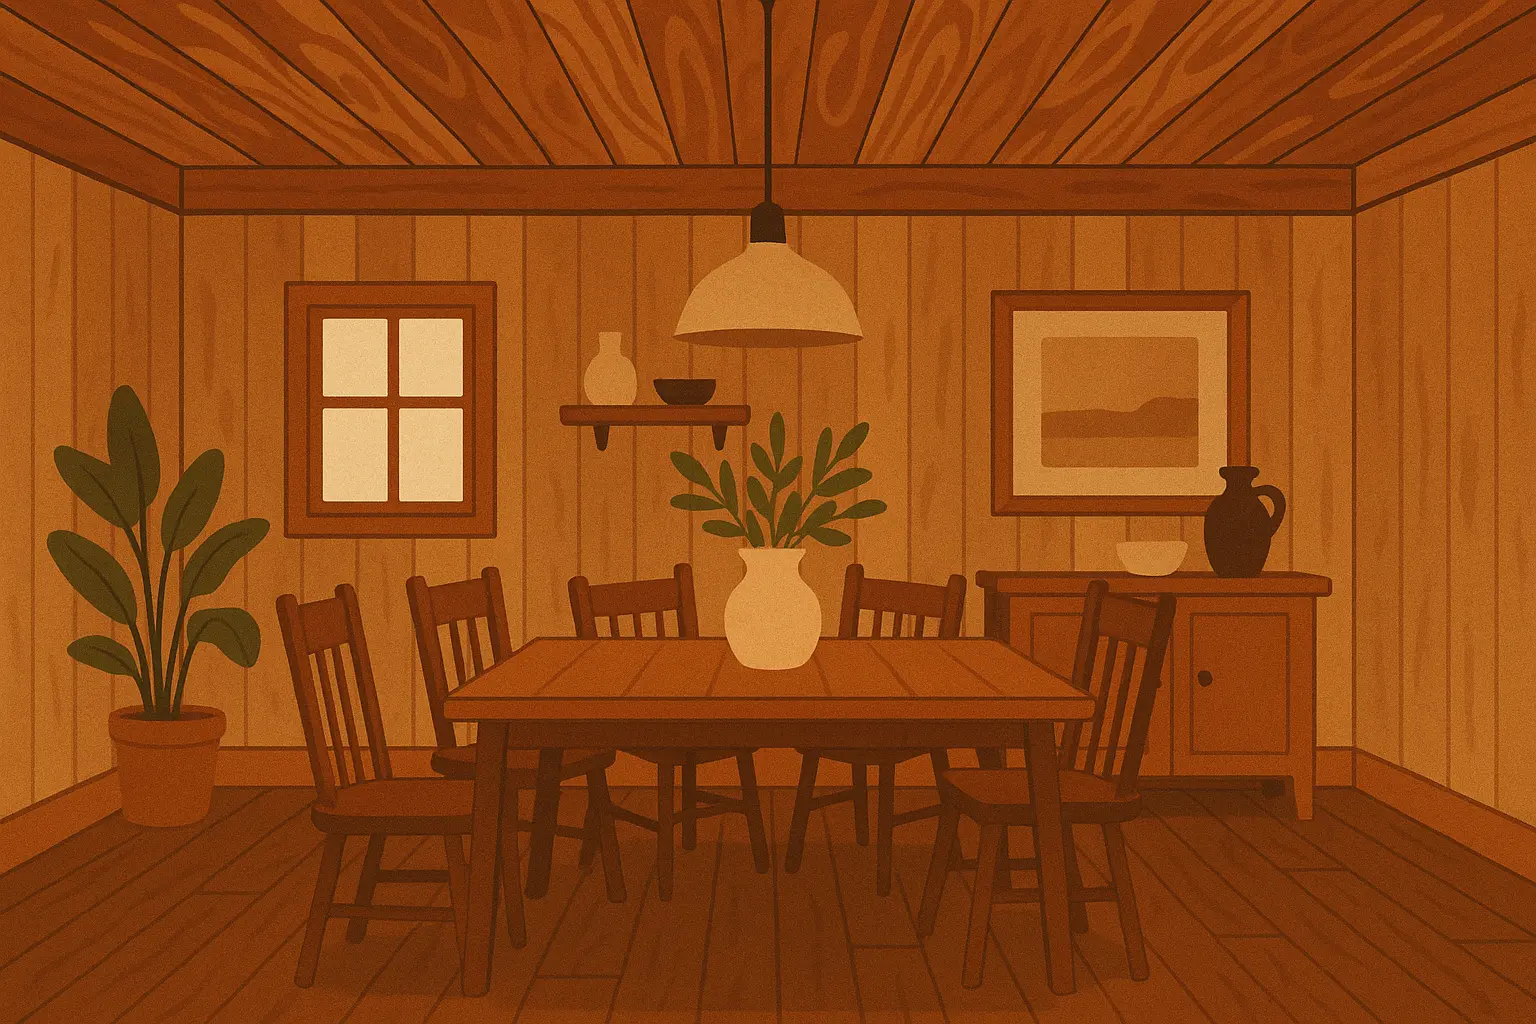
21. Coffered Ceiling Integration
Coffered ceilings with shiplap are formal and elegant, but they’re also expensive and complex. This is definitely professional territory – the framing alone is complicated, and if the proportions are off, the whole thing looks wrong.
This works great in formal dining rooms and traditional homes where elaborate ceiling treatments fit the overall style. In casual spaces, it might feel overdone.
22. Lighting Integration Solutions
Planning your lighting before installing shiplap saves headaches later. Recessed lights need to be positioned before the boards go up, and changing your mind afterward means tearing everything down.
LED strip lighting behind boards can create cool effects, but it also creates maintenance issues when those LEDs eventually fail. Plan for access, or you’ll be ripping up your beautiful ceiling to change light strips.
Budget-Conscious and DIY Options
23. Engineered and MDF Alternatives
Let’s talk about the elephant in the room – real wood is expensive, and MDF or engineered lumber can save you serious money. The catch? It looks like what it is – fake wood.
|
Material Option |
Cost per Sq Ft |
Honest Assessment |
Where It Works |
Where It Doesn’t |
|---|---|---|---|---|
|
Pine Shiplap |
$3-5 |
Real wood with real flaws |
Anywhere you want authentic |
When budget is tight |
|
MDF Shiplap |
$2-3 |
Cheap but boring |
Painted applications only |
Anywhere moisture exists |
|
Engineered Lumber |
$4-6 |
Consistent but soulless |
Modern painted looks |
Rustic or natural styles |
|
PVC Shiplap |
$3-4 |
Waterproof but plastic-looking |
Bathrooms and wet areas |
Living spaces where it looks fake |
|
Reclaimed Wood |
$5-12 |
Amazing but unpredictable |
Feature areas with character |
When you need consistency |
MDF is fine if you’re painting it and don’t look too close. But if someone runs their hand along it, they’ll know it’s not real wood. Engineered lumber splits the difference – more expensive than MDF but more consistent than real wood.
24. Partial Coverage Applications
Can’t afford to do the whole ceiling? Don’t. Pick strategic areas that give you the biggest visual impact for the least money.
Lisa’s Smart Move: Lisa did just the area over her kitchen island instead of the whole kitchen ceiling. She got 80% of the visual impact for 25% of the cost. Sometimes being strategic beats going all-out.
Focus on areas where people’s eyes naturally go – over kitchen islands, in tray ceilings, or above built-in seating. You get the character without breaking the bank.
25. Reclaimed and Salvaged Materials
Reclaimed wood is beautiful and eco-friendly, but it’s also unpredictable. You might find amazing barn wood for cheap, or you might spend hours cleaning and prep work only to discover half your boards are unusable.
The character is unmatched when it works out, but you need patience and flexibility. Every board is different, and your installation needs to adapt to what you’ve got rather than following a perfect plan.
Budget varies wildly depending on your sources and how much prep work you’re willing to do. Great deals exist, but they usually come with lots of extra work attached.
How JiffyJunk Can Support Your Shiplap Project
Here’s something nobody talks about in those pretty Pinterest photos – the absolute mess these projects create. Sawdust everywhere, packaging materials, old ceiling materials if you’re replacing something, and don’t even get me started on the cardboard from all those board purchases.
Before you start, you’ll probably need to clear out stored stuff, old insulation, or existing ceiling materials. That’s a lot of debris before you even start the fun part.
During installation, debris piles up faster than you think. Rather than letting it turn your workspace into a hazard zone, ongoing cleanout keeps things manageable and safe.
When major renovations involve shiplap installations, professional construction debris removal isn’t luxury – it’s necessity for keeping your project on track.
After you’re done, there’s still cleanup – all that packaging, sawdust, and construction debris needs to go somewhere. Professional cleanup means you can actually enjoy your new ceiling instead of spending another weekend hauling trash.
For bigger projects involving multiple rooms, understanding estate cleanout services helps when you’re dealing with whole-home renovations.
The reality is that managing debris isn’t glamorous, but it’s essential. Professional services handle the heavy lifting, disposal logistics, and cleanup details so you can focus on the parts of the project you actually enjoy.
Whether you’re doing a simple accent ceiling or going crazy with a whole-home transformation, having professionals handle the mess means you can concentrate on making it beautiful instead of wondering where to put all the garbage.
Final Thoughts
Look, shiplap ceilings can absolutely transform your space, but they’re not magic. Success comes down to honest assessment of your space, realistic budgeting, and knowing when to call in professionals versus when to DIY.
Classic white horizontal shiplap works almost everywhere and won’t make you regret your choices in five years. Want something more dramatic? Make sure your space can handle it and your budget can support it.
Budget-conscious? Partial coverage, engineered materials, or accent areas can give you the look without the full investment. Just don’t expect miracles from cheap materials – you usually get what you pay for.
Planning any major renovation involving shiplap? Consider how professional junk removal services can keep your project organized and your sanity intact.
The bottom line – shiplap can be beautiful, but it’s not right for every space or every budget. Be honest about what you’re getting into, plan for more time and money than you think you’ll need, and don’t be afraid to start small and expand later.
Your ceiling will be there for years, so make choices you can live with long after the Instagram likes stop coming.