25 Ultimate Garage Music Studio Ideas for 2025: Transform Your Space
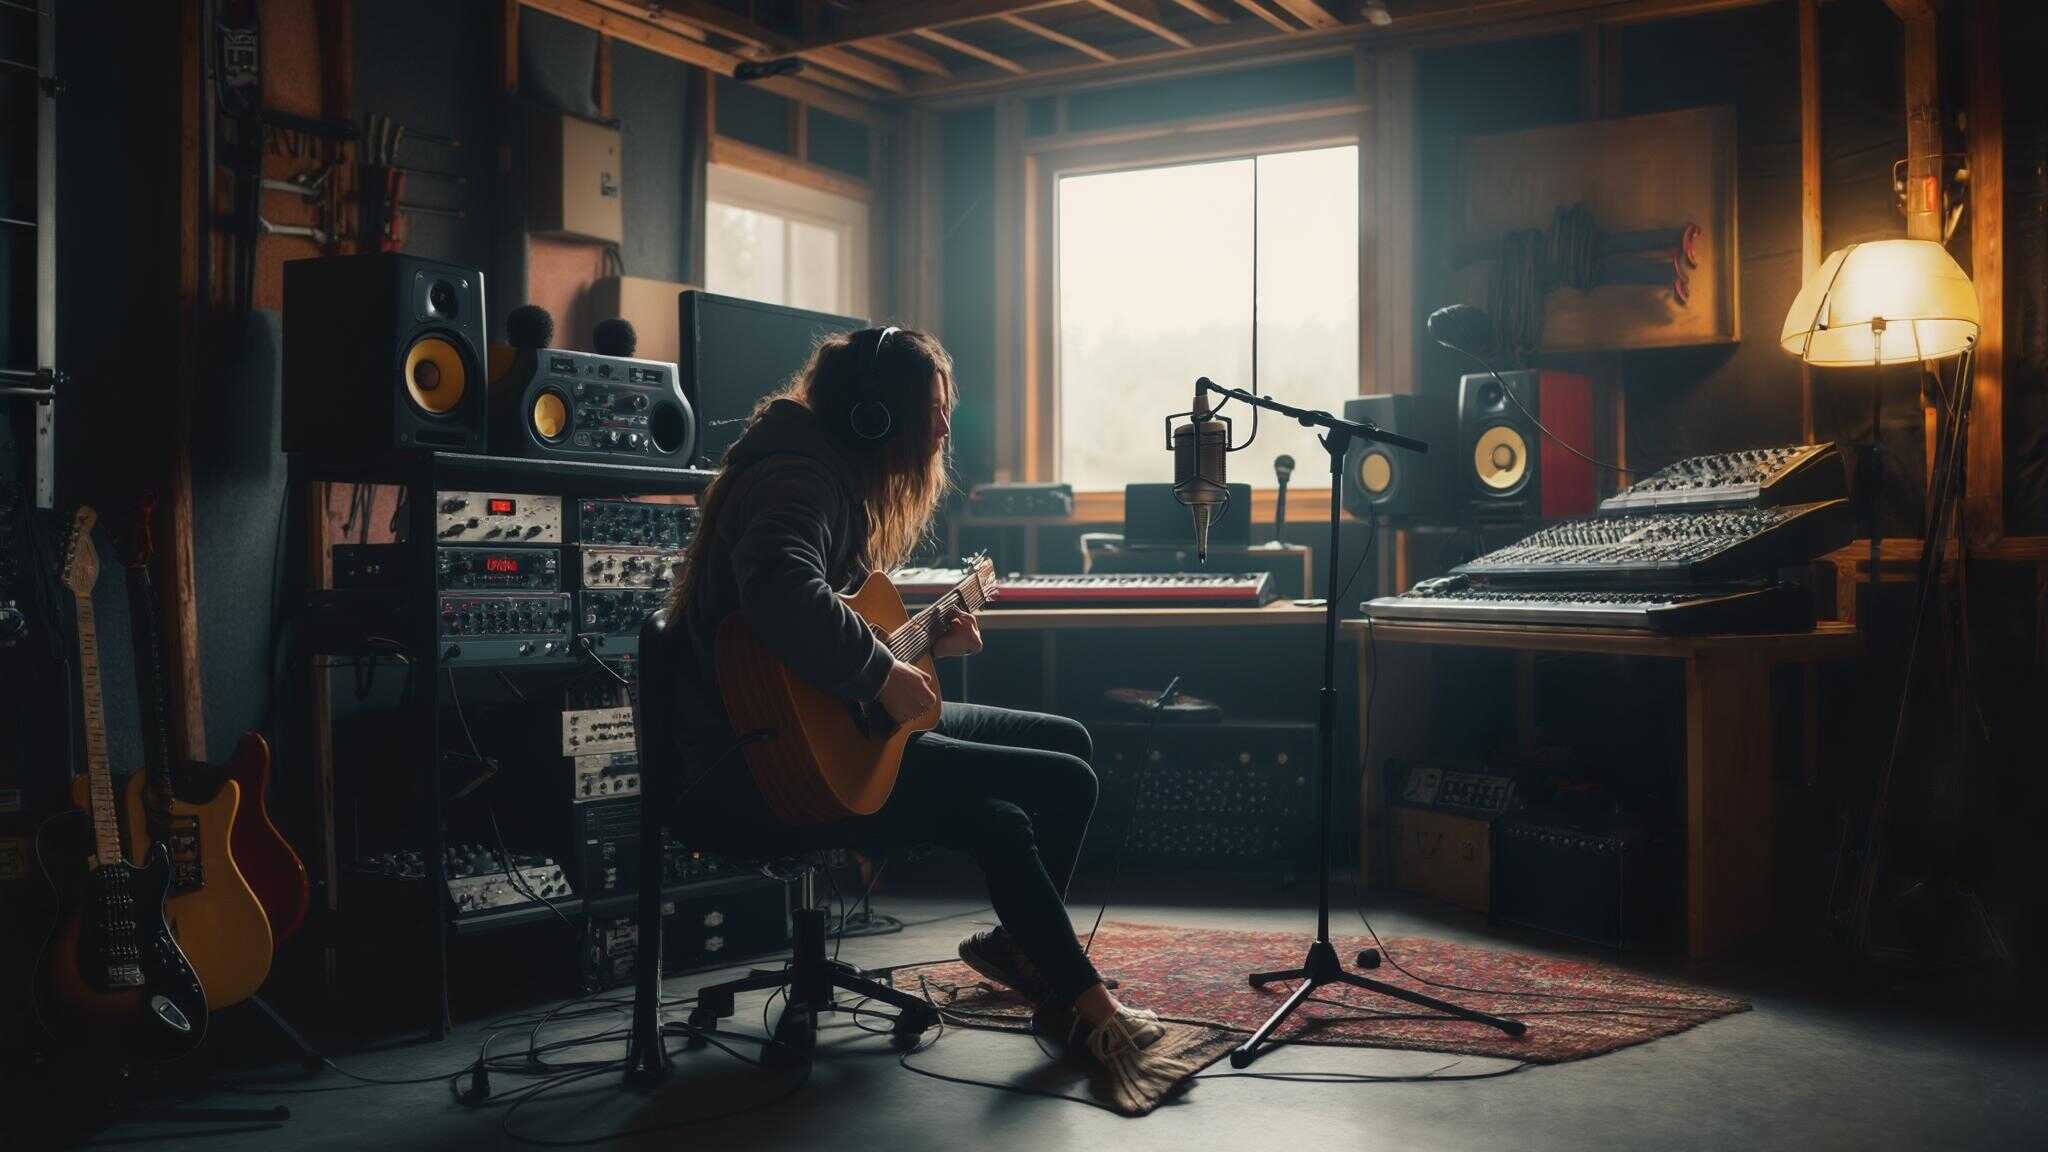
Creating a music studio in your garage can transform an underutilized space into a creative sanctuary. According to a recent survey by Home Studio Expert, 68% of independent musicians now produce their work from home studios, with garages being the most popular conversion choice. I started my own music production journey in a cluttered garage with just a laptop and headphones. Now, I’ll guide you through 25 proven ideas to create a professional-grade studio space that addresses acoustics, climate control, space optimization, technology integration, and comfort.
Table of Contents
-
Essential Considerations Before Starting
-
Acoustic Treatment & Soundproofing Solutions
-
Climate Control & Infrastructure
-
Space Optimization & Ergonomics
-
Technology Integration
-
Comfort & Inspiration
-
How Jiffy Junk Can Help Prepare Your Space
-
Final Thoughts
Essential Considerations Before Starting
Before diving into specific garage studio ideas, you need to understand several critical factors that will impact your studio’s functionality. These considerations form the foundation of your planning process and will help you prioritize investments based on your specific situation, budget, and creative needs. Addressing these elements early will save you time, money, and frustration as your studio develops.

Proper planning requires balancing acoustic needs, soundproofing requirements, climate control, electrical capacity, space limitations, budget constraints, and future expansion possibilities. I’ve found that each consideration carries different weight depending on your specific music production style, equipment collection, and neighborhood situation.
When planning my garage studio conversion, I created a prioritized checklist based on my specific needs. As an electronic music producer who occasionally records vocalists, I prioritized: 1) Electrical upgrades (dedicated 20A circuits), 2) Basic acoustic treatment for monitoring accuracy, 3) Climate control (mini-split system), 4) Modest soundproofing for vocal recording. By addressing these fundamentals first, I created a functional garage studio that I could gradually improve while producing music from day one.
If you’re considering a garage studio setup, you might want to start with a proper garage cleanout. Our article on “efficient and ethical garage junk removal in Austin” provides valuable tips on how to properly clear your space before beginning the transformation process, ensuring you have a clean slate to work with.
|
Planning Consideration |
Importance |
Initial Questions to Answer |
|---|---|---|
|
Acoustic Properties |
Critical |
What are the current acoustic issues? What genres will you record? |
|
Soundproofing Needs |
High/Variable |
How close are neighbors? Will you record loud instruments? |
|
Climate Control |
Critical |
What are temperature extremes in your area? How is garage insulated? |
|
Electrical Requirements |
Critical |
What is current capacity? How many circuits needed? |
|
Space Limitations |
Variable |
What equipment will you use? Will space serve multiple purposes? |
|
Budget Constraints |
Variable |
What is total budget? Which elements need priority funding? |
|
Future Expansion |
Moderate |
How might your needs change in 2-3 years? |
Acoustic Treatment & Soundproofing Solutions
Acoustic treatment and soundproofing are often confused but serve different purposes. Acoustic treatment improves sound quality within your space by controlling reflections and resonances, while soundproofing prevents sound from entering or leaving your studio. Both are essential for a functional garage recording studio, as garages typically have poor acoustic properties with parallel walls, concrete floors, and minimal insulation.
Acoustic treatment focuses on controlling sound behavior inside your space through absorption, diffusion, and bass trapping. This is crucial for accurate monitoring and recording quality in your music studio garage.
Soundproofing requires addressing mass, damping, decoupling, and sealing to prevent sound transmission through walls, floors, and ceilings. This becomes particularly important if you’re recording drums or other loud instruments in residential areas.
1. Modular Acoustic Panel System
Modular acoustic panels provide a flexible solution for controlling mid and high-frequency reflections in your garage studio. Installing 2-inch thick panels in strategic locations—particularly at first reflection points—dramatically improves recording and mixing accuracy. Products like Primacoustic London Room Kits offer comprehensive coverage with relatively straightforward installation.
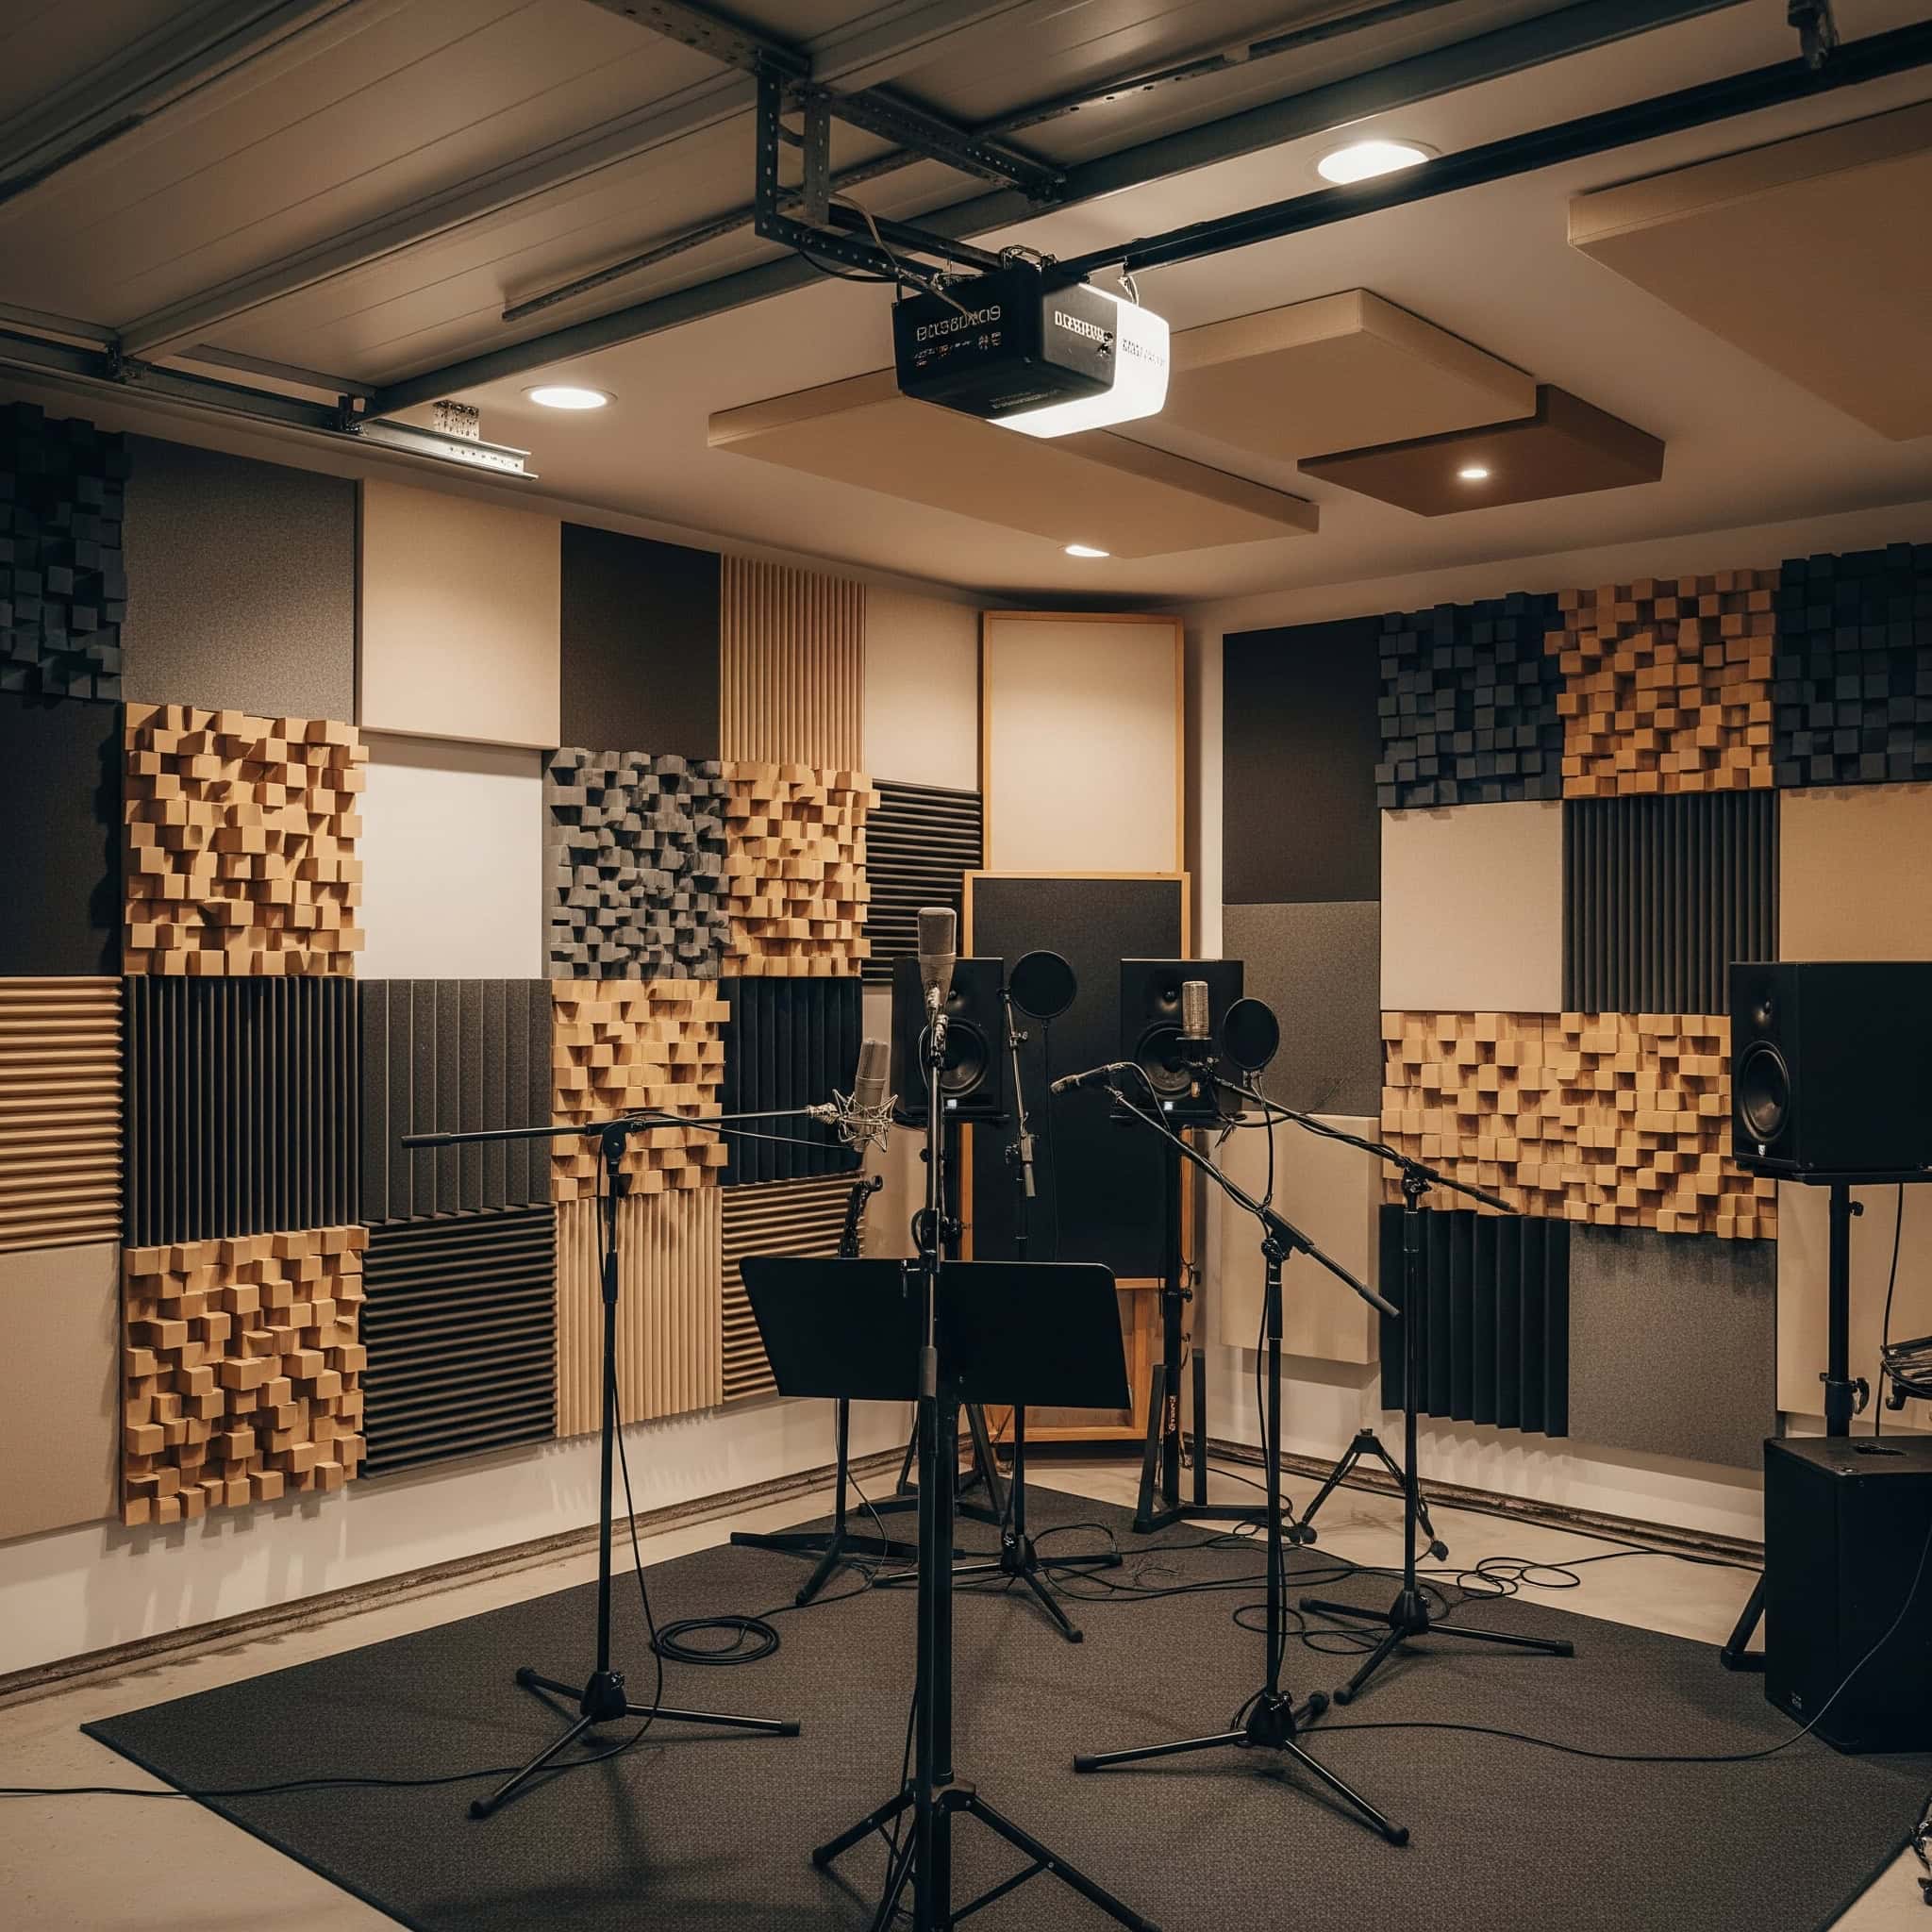
Position panels at first reflection points by sitting in your mixing position and having someone move a mirror along walls—wherever you see your speakers in the mirror is where panels should go. This simple technique ensures you’re treating the most critical areas first.
Combine absorption panels with diffusers to create a balanced acoustic environment that controls reflections without making the room sound unnaturally dead. This balance is key to creating a space that sounds natural while still being technically accurate.
2. Floating Floor Construction
Concrete garage floors transmit vibrations and create boundary-related bass issues. A floating floor decouples your studio from the concrete slab using rubber isolation pads, joists, plywood layers, and mass-loaded vinyl. This construction significantly reduces impact noise, improves low-frequency response, and provides additional insulation from the cold concrete.
The effectiveness of a floating floor depends on creating true decoupling through proper isolation materials and avoiding rigid connections to walls. Any direct contact can create a sound bridge that compromises your isolation efforts.
Multiple layers with different densities (plywood, mass-loaded vinyl, carpet) create more effective sound isolation than single-material solutions. This multi-layer approach addresses different frequencies and provides better overall performance.
3. Double-Wall Drywall with Green Glue
For serious soundproofing, a double-wall construction with Green Glue provides superior sound isolation. This approach involves building a second wall inside existing garage walls with an air gap filled with insulation and multiple layers of drywall separated by Green Glue compound. While this reduces room size by 4-6 inches per wall, it dramatically reduces sound transmission to and from the outside.
The effectiveness comes from combining multiple soundproofing principles: mass (multiple drywall layers), damping (Green Glue), decoupling (separate wall structure), and absorption (insulation). This comprehensive approach addresses sound transmission through multiple mechanisms.
Staggering studs between inner and outer walls prevents direct sound transmission paths and improves overall isolation. This technique eliminates the straight path that sound waves would otherwise follow through the wall assembly.
4. Ceiling Cloud Array
Ceiling clouds address one of the most problematic areas in garage studios—the ceiling. Installing suspended acoustic panels at different heights creates an effective treatment for controlling reflections while adding visual interest. This approach works well in spaces where permanent ceiling modifications aren’t possible or desirable.
Varying the height of ceiling clouds creates more effective diffusion and absorption across different frequencies than placing all panels at the same height. This variation helps break up standing waves and creates a more natural sound field.
Strategic placement directly above listening position and instrument recording areas provides maximum benefit with fewer panels. Focus your initial installation on these critical areas before expanding coverage as budget allows.
5. Portable Gobos/Acoustic Dividers
Portable acoustic dividers (gobos) offer flexibility for spaces that serve multiple purposes. These wheeled panels can be positioned around instruments during recording to create temporary isolation booths and stored when not in use. This solution works particularly well for garage studios that need to maintain some parking functionality or serve other household purposes.
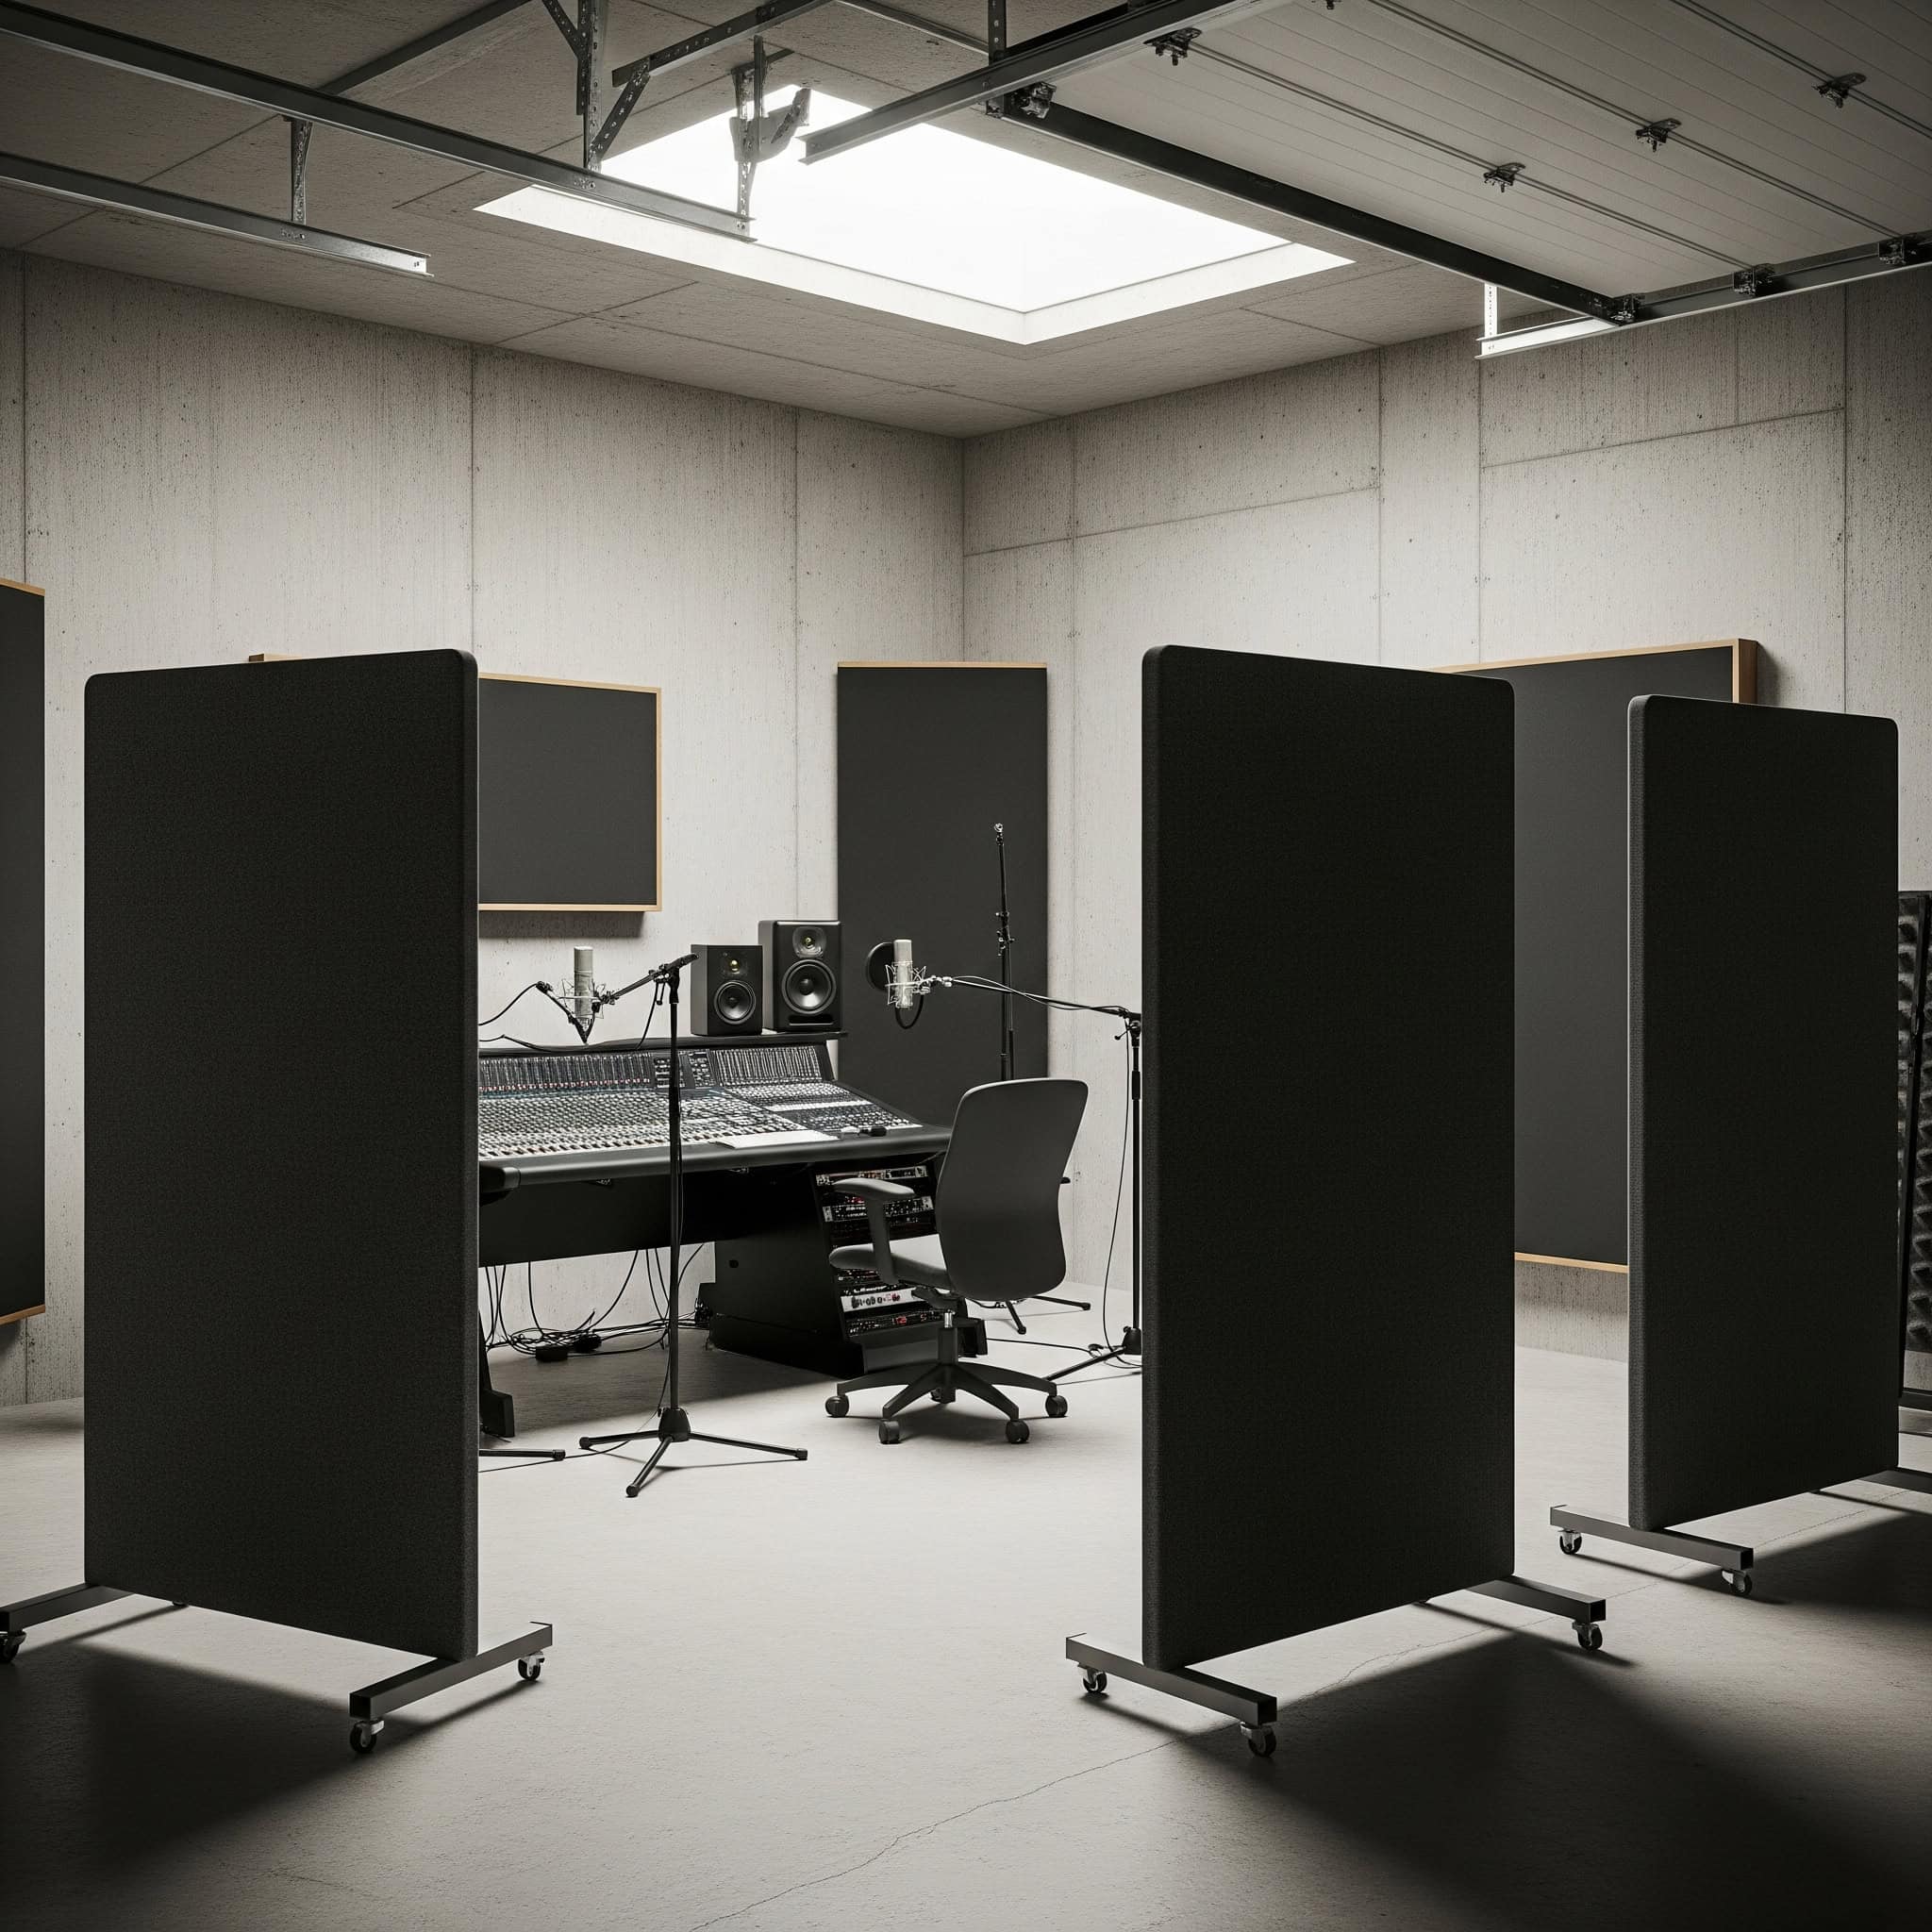
Multi-layer gobos with different materials on each side (absorption vs. reflection) provide versatility for different recording scenarios. This flexibility allows you to create different acoustic environments within the same space.
Height is crucial—effective gobos should be tall enough to block direct sound paths between instruments and microphones (typically 5-6 feet minimum). Shorter dividers may look nice but won’t provide adequate isolation for most recording situations.
Climate Control & Infrastructure
Garages typically lack proper climate control and infrastructure for studio equipment. Addressing temperature, humidity, electrical requirements, and moisture issues is essential for protecting your gear and creating a comfortable working environment. These foundational elements might not be as exciting as buying new equipment, but they’re crucial for a functional, professional garage music studio space.
Equipment damage from temperature fluctuations and humidity issues is one of the most common and costly problems in garage studios. I’ve seen thousands of dollars in gear ruined by condensation and temperature extremes that could have been prevented with proper infrastructure.
Professional-grade infrastructure creates the foundation for all other studio elements and should be prioritized early in the conversion process. Skimping on these basics often leads to expensive problems down the road.
6. Split System Mini HVAC
Traditional garage heating and cooling solutions often create noise that interferes with recording. A ductless mini-split system provides precise temperature control with significantly quieter operation. These systems feature an indoor air handler and outdoor compressor specifically sized for your garage dimensions, making them ideal for studio environments where both comfort and quiet operation are essential.
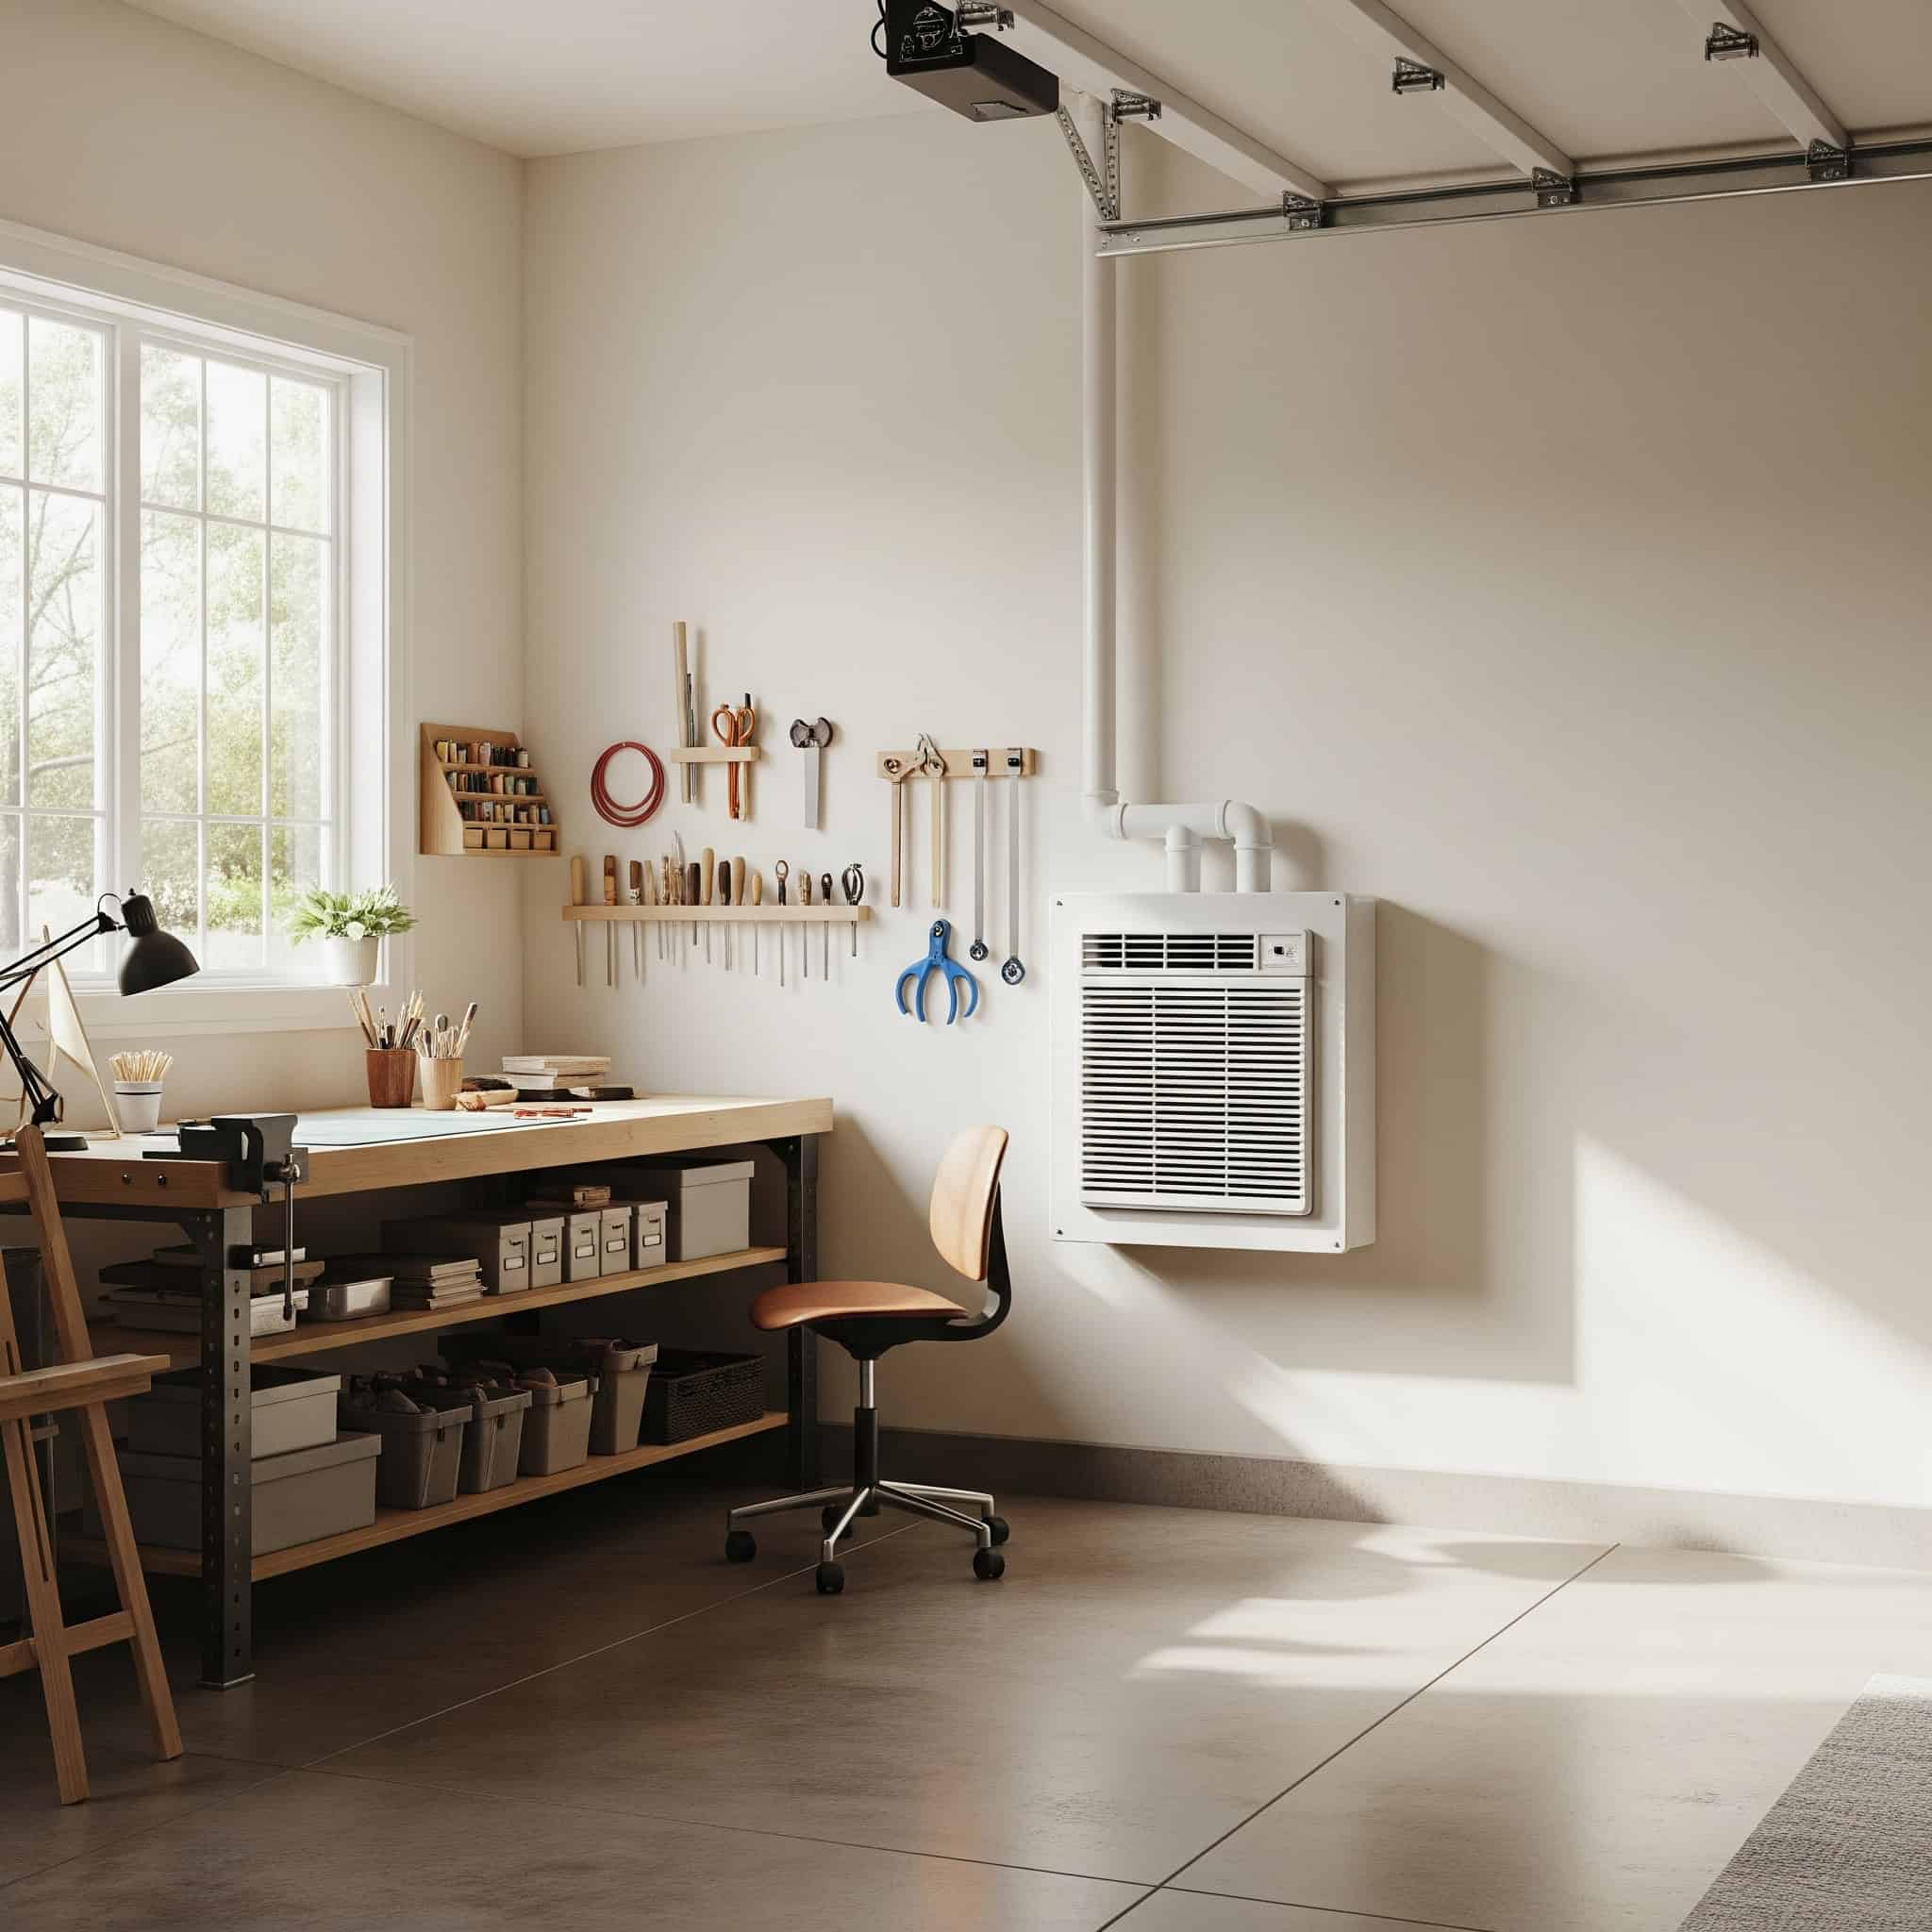
Select systems with high SEER ratings (16+) for energy efficiency and low-noise indoor units (under 35dB) to minimize impact on recordings. The initial investment is higher than portable units, but the operational benefits make it worthwhile for serious studio spaces.
Position indoor units away from primary recording areas and consider additional sound isolation for the outdoor compressor unit. Thoughtful placement can significantly reduce the already minimal noise these systems produce.
7. Dedicated Electrical Circuit Installation
Audio equipment requires clean, reliable power to prevent noise issues. Installing multiple 20-amp circuits with isolated grounds specifically for audio equipment, separate from lighting and climate control, creates the foundation for a professional-grade garage studio. This approach prevents ground loops, reduces system noise, and ensures sufficient power for all your gear.
Separate circuits for digital equipment, analog gear, and lighting prevent interference and provide sufficient capacity for equipment demands. This separation is particularly important for sensitive analog equipment that can pick up noise from digital devices.
Professional installation ensures code compliance and safety while properly implementing isolated grounds and surge protection. This is definitely not an area for DIY unless you have specific electrical expertise.
8. Vapor Barrier and Insulation System
Garages typically lack proper moisture control and insulation, creating problems for sensitive equipment and acoustic performance. Applying closed-cell spray foam insulation to walls and ceiling, combined with proper vapor barriers, prevents moisture issues while improving temperature stability. This system also enhances acoustic properties by adding mass to walls and reducing external noise.
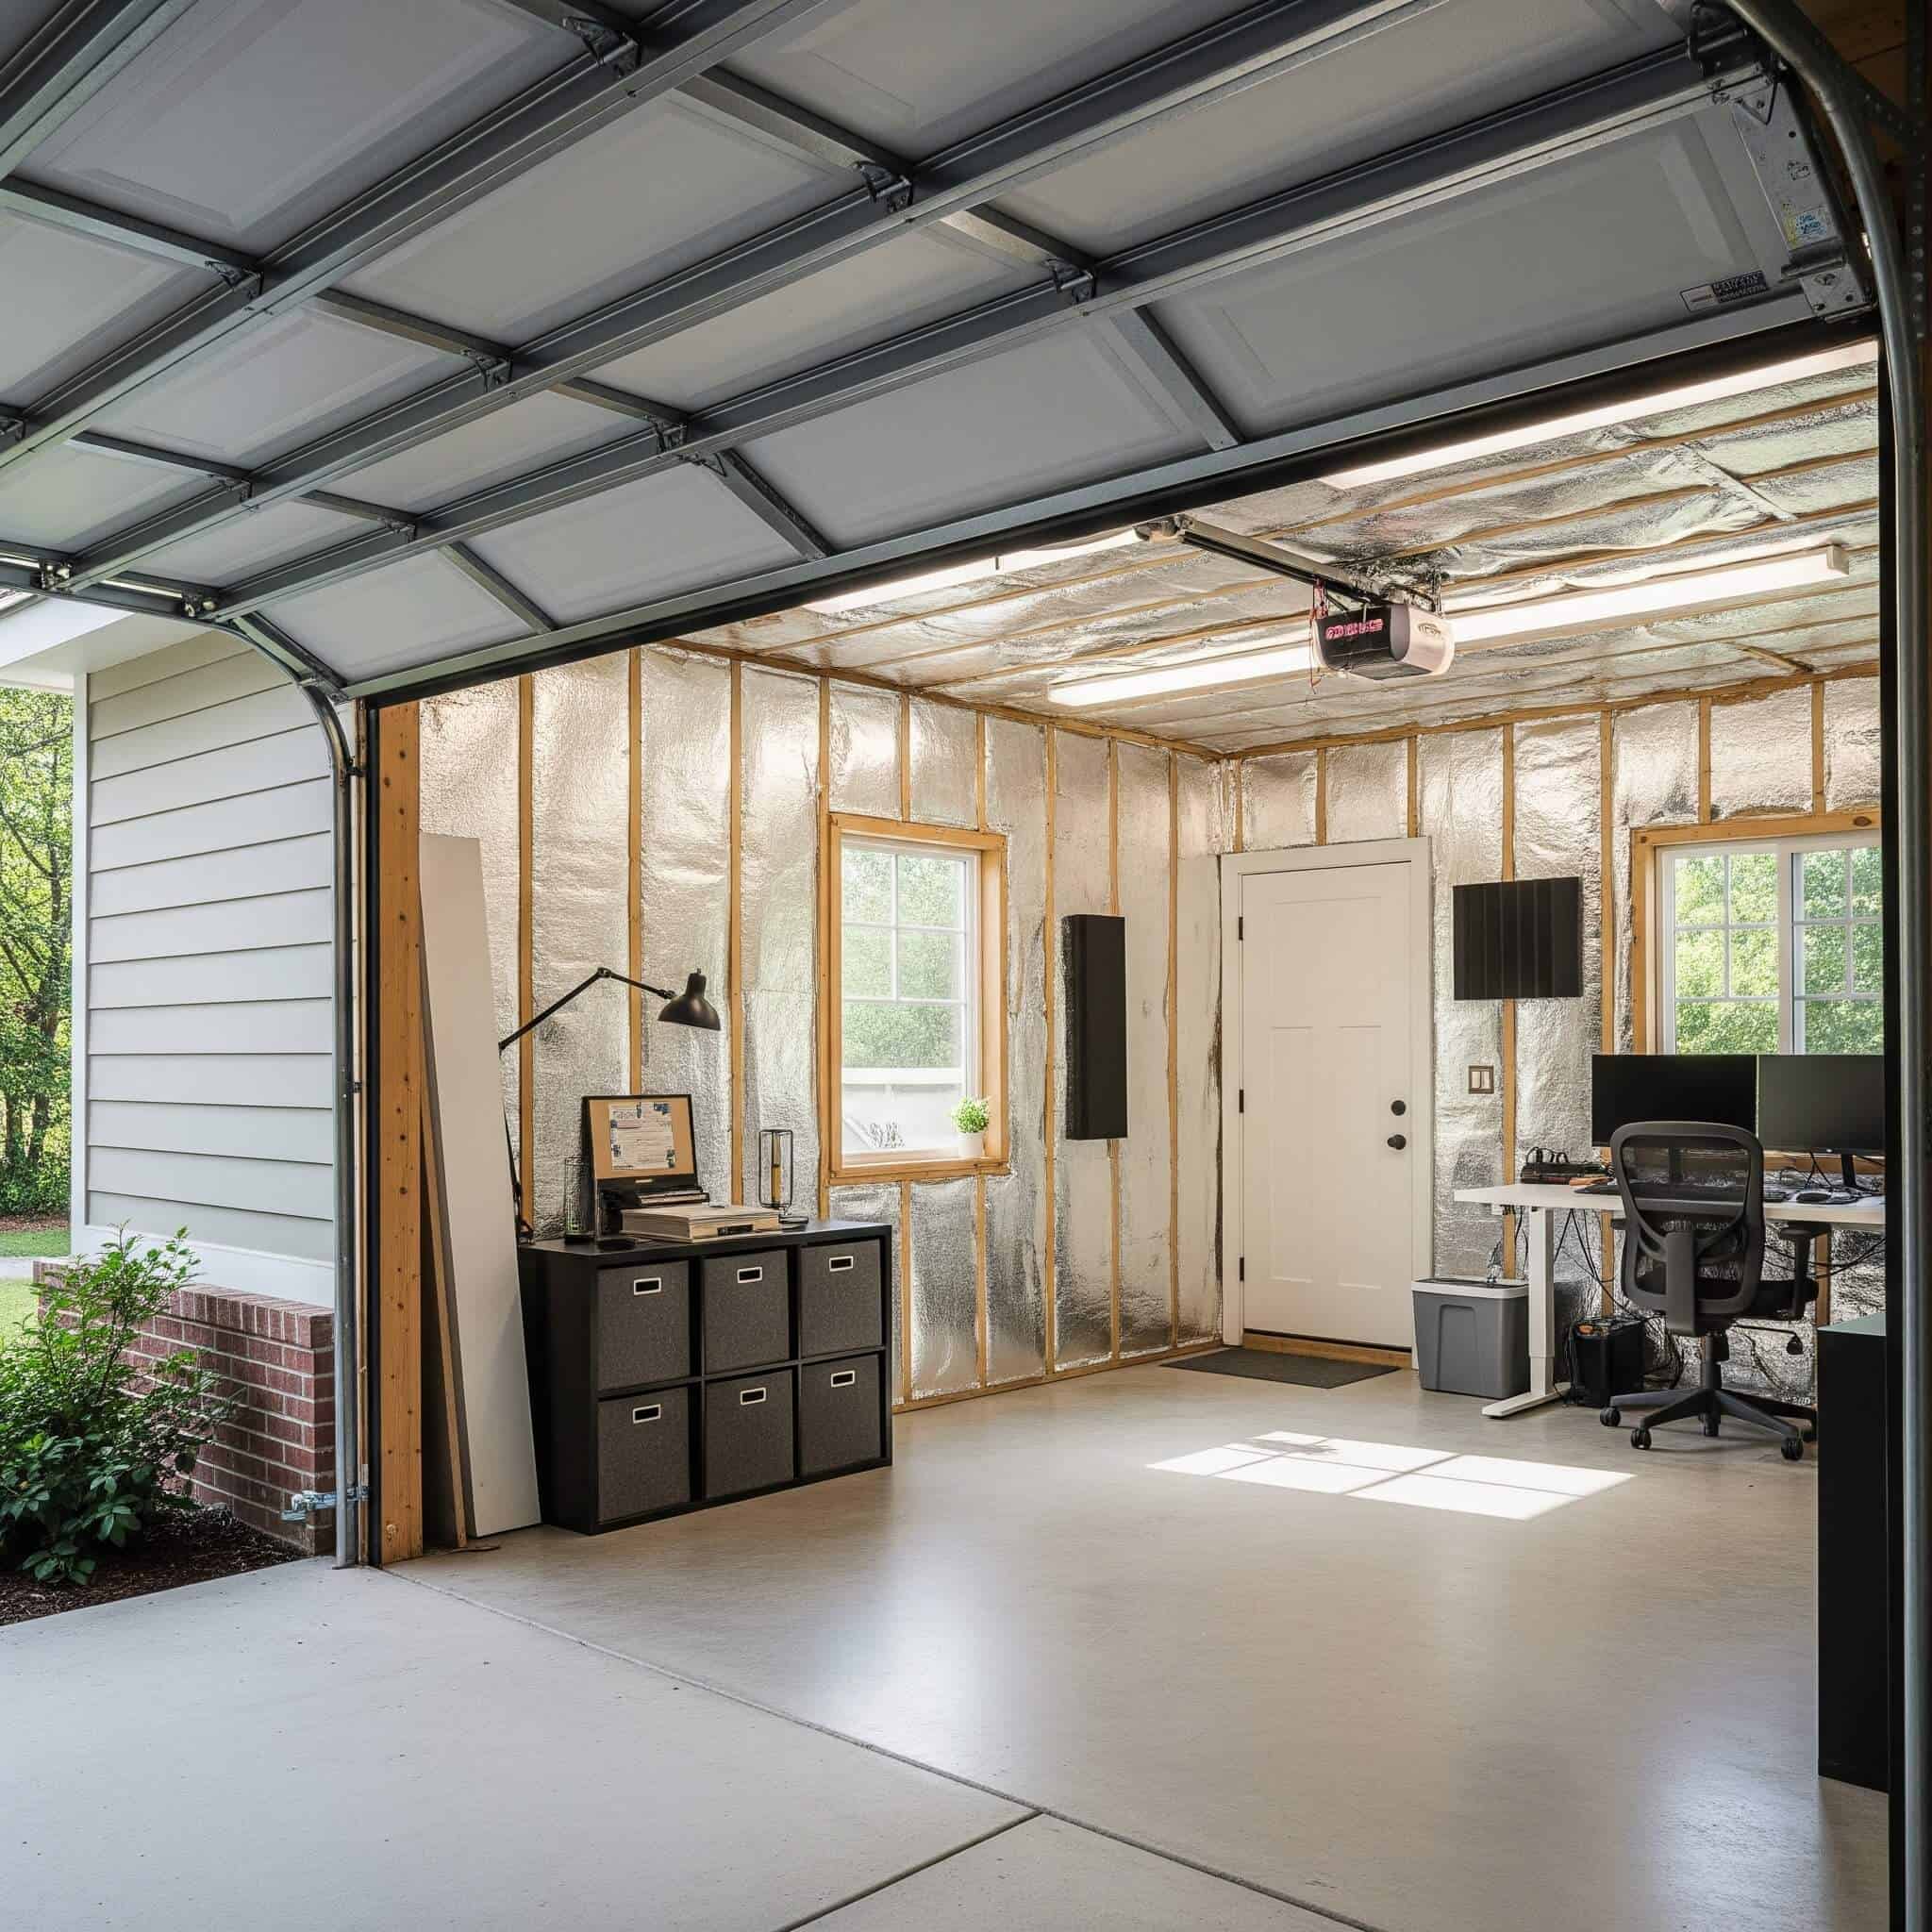
Closed-cell foam provides superior moisture resistance compared to fiberglass insulation, particularly important in garage environments. The higher cost is justified by the dual benefits of climate control and acoustic improvement.
A client in Florida converted his garage into a recording studio but skipped proper insulation and vapor barriers to save money. Within six months, he discovered mold growing behind his acoustic panels due to condensation forming when the air conditioning cooled the uninsulated walls. The remediation cost exceeded $5,000 and required dismantling much of his acoustic treatment. After installing closed-cell spray foam insulation and proper vapor barriers, the studio has remained dry for three years while reducing his HVAC costs by approximately 35%.
Proper installation requires addressing all potential moisture entry points including concrete floors, wall-floor junctions, and roof connections. Missing even one vulnerable area can compromise the entire system.
9. LED Lighting Zones with Dimmers
Proper lighting significantly impacts both functionality and creativity in your studio. Installing multiple lighting circuits with dimmable LED panels, track lighting, and accent lights creates different moods and functional areas. This approach improves eye comfort during long sessions while enhancing the studio’s professional appearance and atmosphere.
Select high-CRI (90+) LED fixtures for accurate color rendering, particularly important when shooting video content. Standard LEDs often have poor color rendering that makes everything look flat and unnatural.
Create separate zones for technical work (bright, neutral white light) and creative/performance areas (dimmable, warmer tones). This zoning allows you to create the right atmosphere for different studio activities without compromising functionality.
10. Cable Management Infrastructure
Effective cable management prevents signal interference, reduces tripping hazards, and creates a professional studio appearance. Installing cable raceways, under-floor channels, and dedicated management systems keeps audio, power, and data cables organized and separated. This infrastructure should be planned early in your build to avoid complications with future equipment additions.
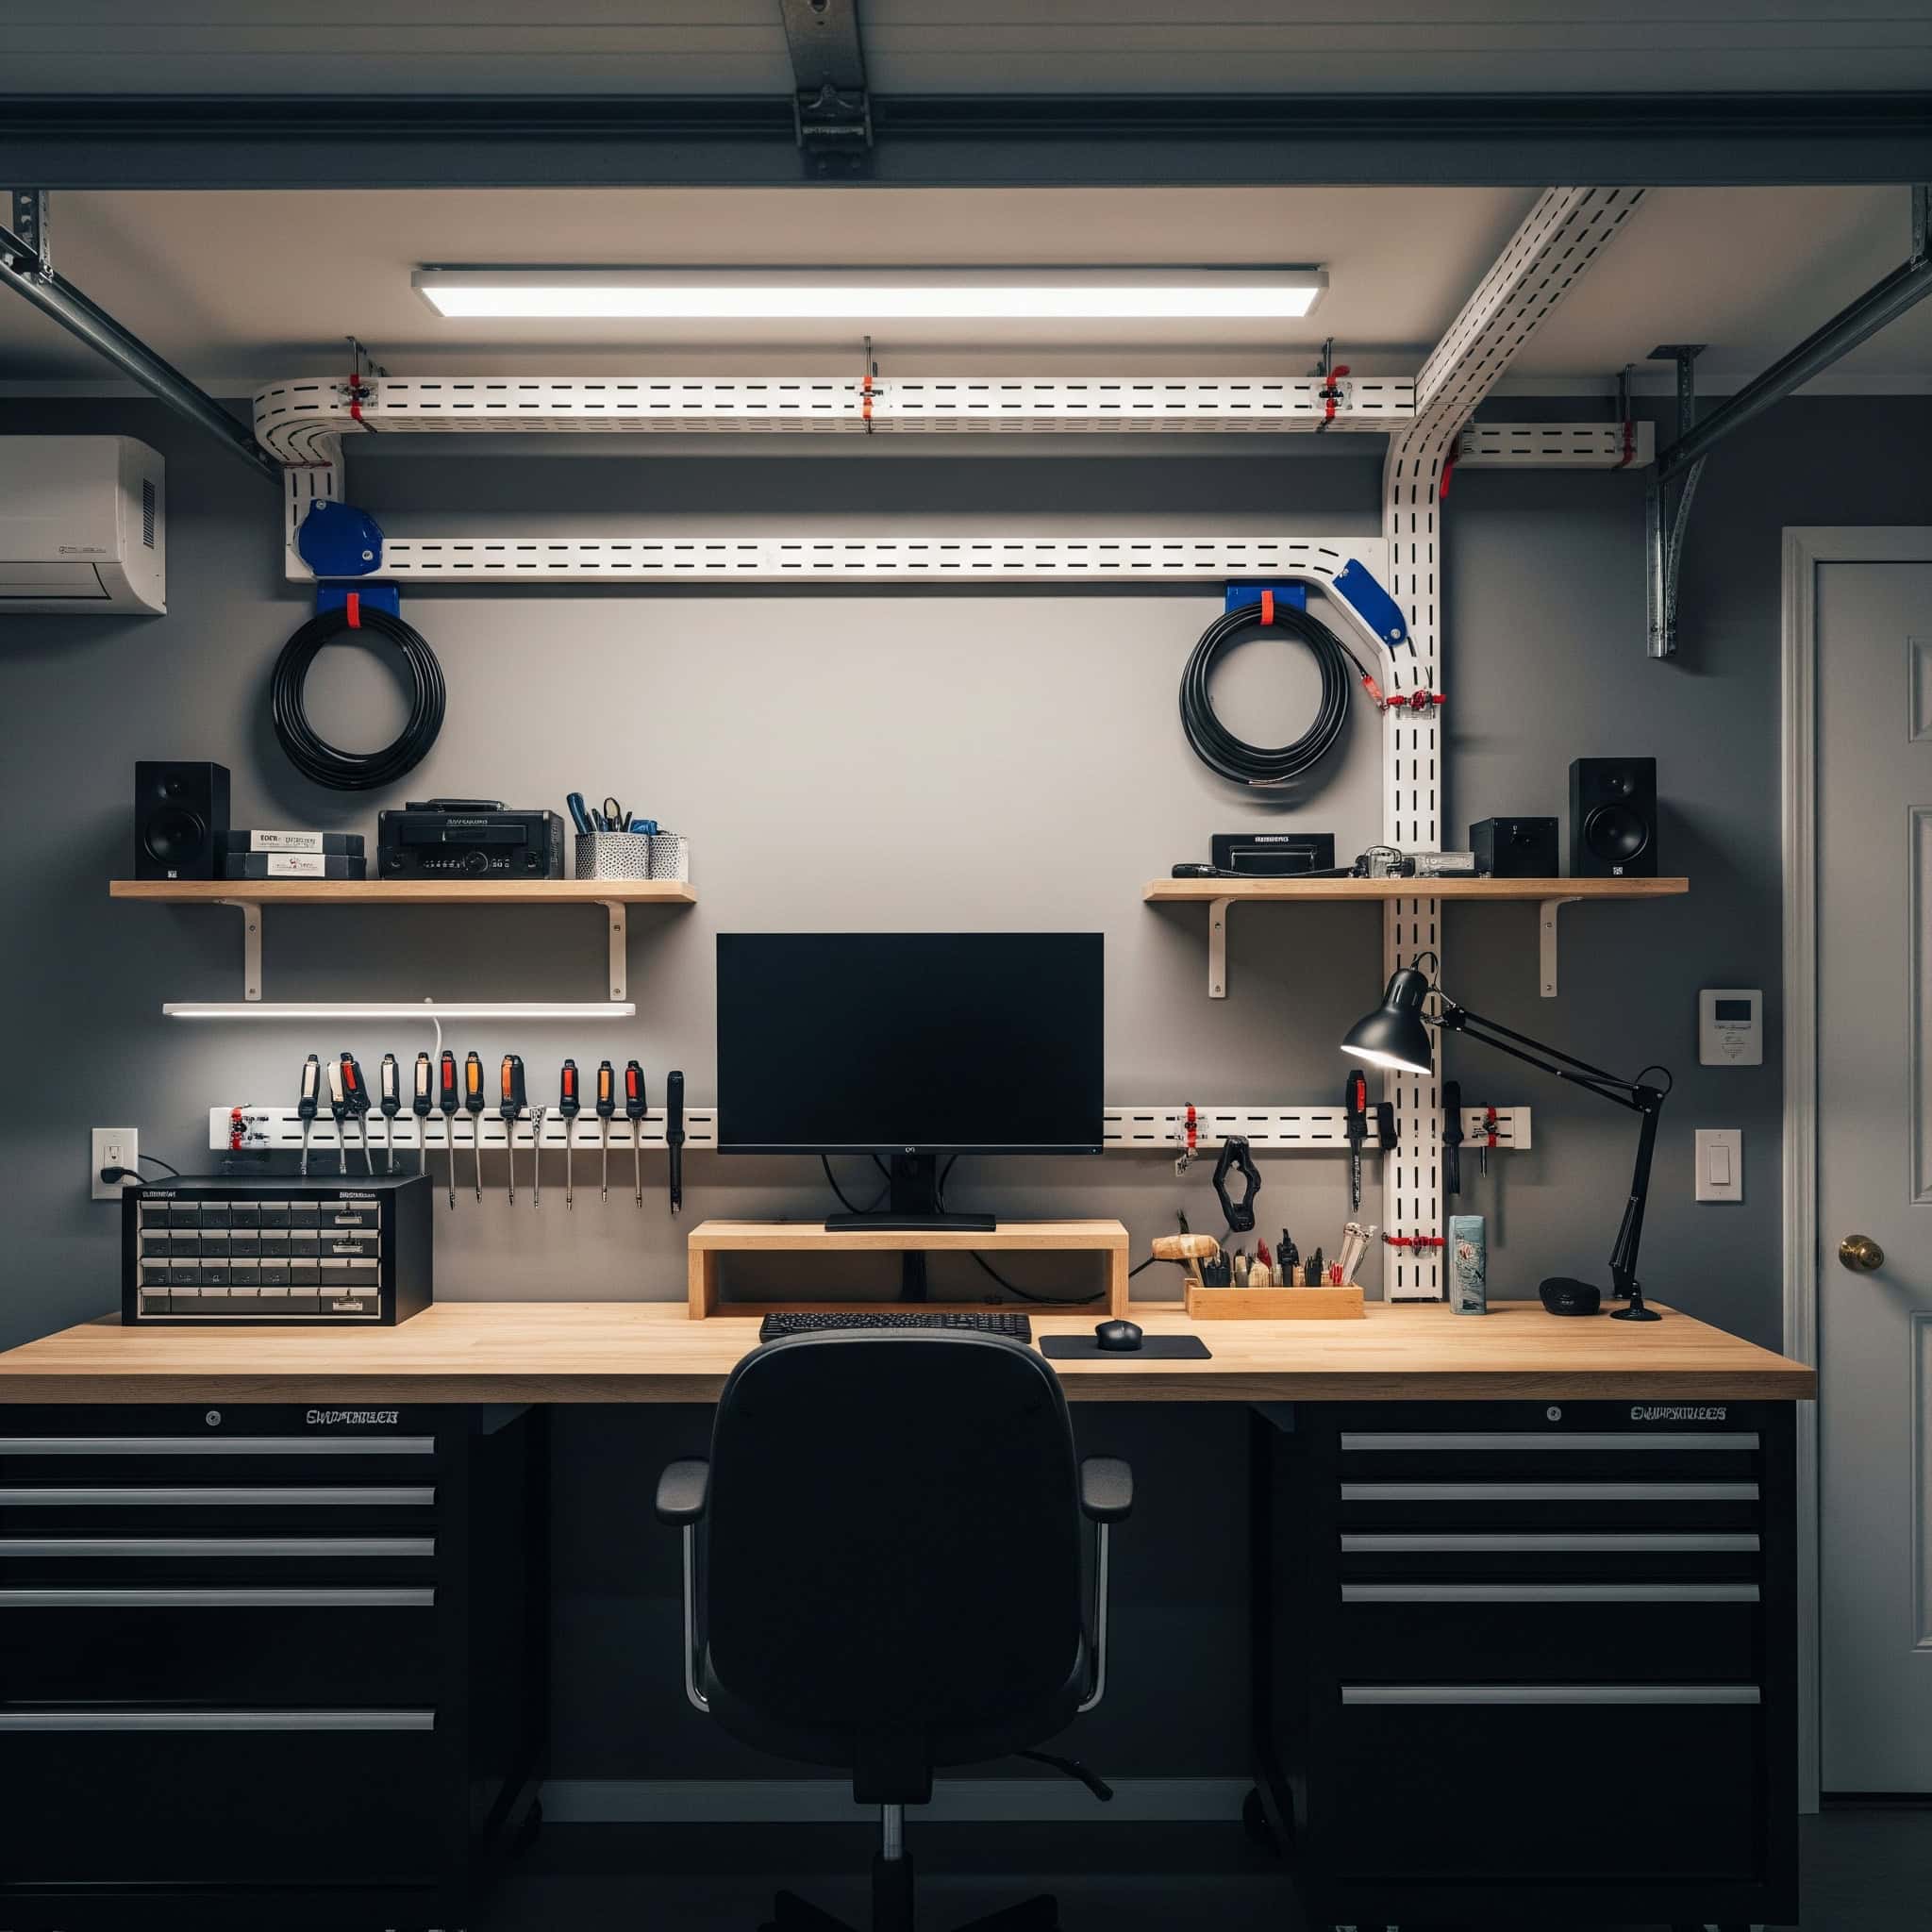
Maintain minimum separation distances between power and audio cables (at least 6 inches for parallel runs) to prevent interference. This separation is particularly important for analog audio cables, which can pick up hum from nearby power lines.
Label all cables at both ends using a consistent system to simplify troubleshooting and reconfiguration. This small step saves enormous time and frustration when diagnosing problems or reconfiguring your setup.
Before installing cable management systems in your garage music studio, you might need to deal with existing clutter. Check out our guide on “garage cleaning and space reclamation” for practical tips on preparing your space for a professional cable management system that will keep your studio organized and functional.
Space Optimization & Ergonomics
Garage studios typically offer limited space that must accommodate various functions while remaining comfortable for long working sessions. Thoughtful space planning and ergonomic design maximize functionality while minimizing physical strain. These solutions focus on making the most of available square footage through custom furniture, vertical storage, and multi-purpose areas.
Effective space planning requires identifying primary workflow patterns and creating zones that support different studio activities. I’ve found that mapping out these patterns before finalizing your layout prevents frustrating bottlenecks and inefficiencies.
Ergonomic considerations become increasingly important as session length increases, with proper positioning preventing fatigue and potential injuries. Many music studio garage setups neglect these human factors, leading to discomfort that limits creative productivity.
|
Studio Zone |
Primary Function |
Ergonomic Considerations |
Space-Saving Tips |
|---|---|---|---|
|
Control/Mixing Area |
Monitoring, mixing, and production |
Monitor height at ear level; Proper desk height; Ergonomic chair; Viewing angle 15-30° |
Wall-mounted monitors; Built-in rack spaces; Under-desk CPU mounts |
|
Recording Space |
Instrument and vocal capture |
Sufficient clearance for instruments; Anti-fatigue flooring; Proper mic stand height |
Foldable isolation shields; Wall-mounted instrument storage; Modular furniture |
|
Collaboration Zone |
Client meetings, listening sessions |
Comfortable seating; Clear sightlines to monitors; Accessible charging points |
Convertible furniture; Dual-purpose storage/seating; Wall-mounted tables |
|
Storage Area |
Equipment and accessory organization |
Labeled storage; Frequently used items at 30-60″ height; Heavy items at waist level |
Vertical racking systems; Door-mounted organizers; Ceiling storage racks |
11. Custom Built-In Workstation
A custom workstation designed specifically for your workflow and equipment dramatically improves efficiency and comfort. Building a desk with integrated rack spaces, monitor bridges, keyboard trays, and cable management creates an ergonomic command center tailored to your specific needs. This approach eliminates the compromises inherent in off-the-shelf furniture while maximizing your available space.
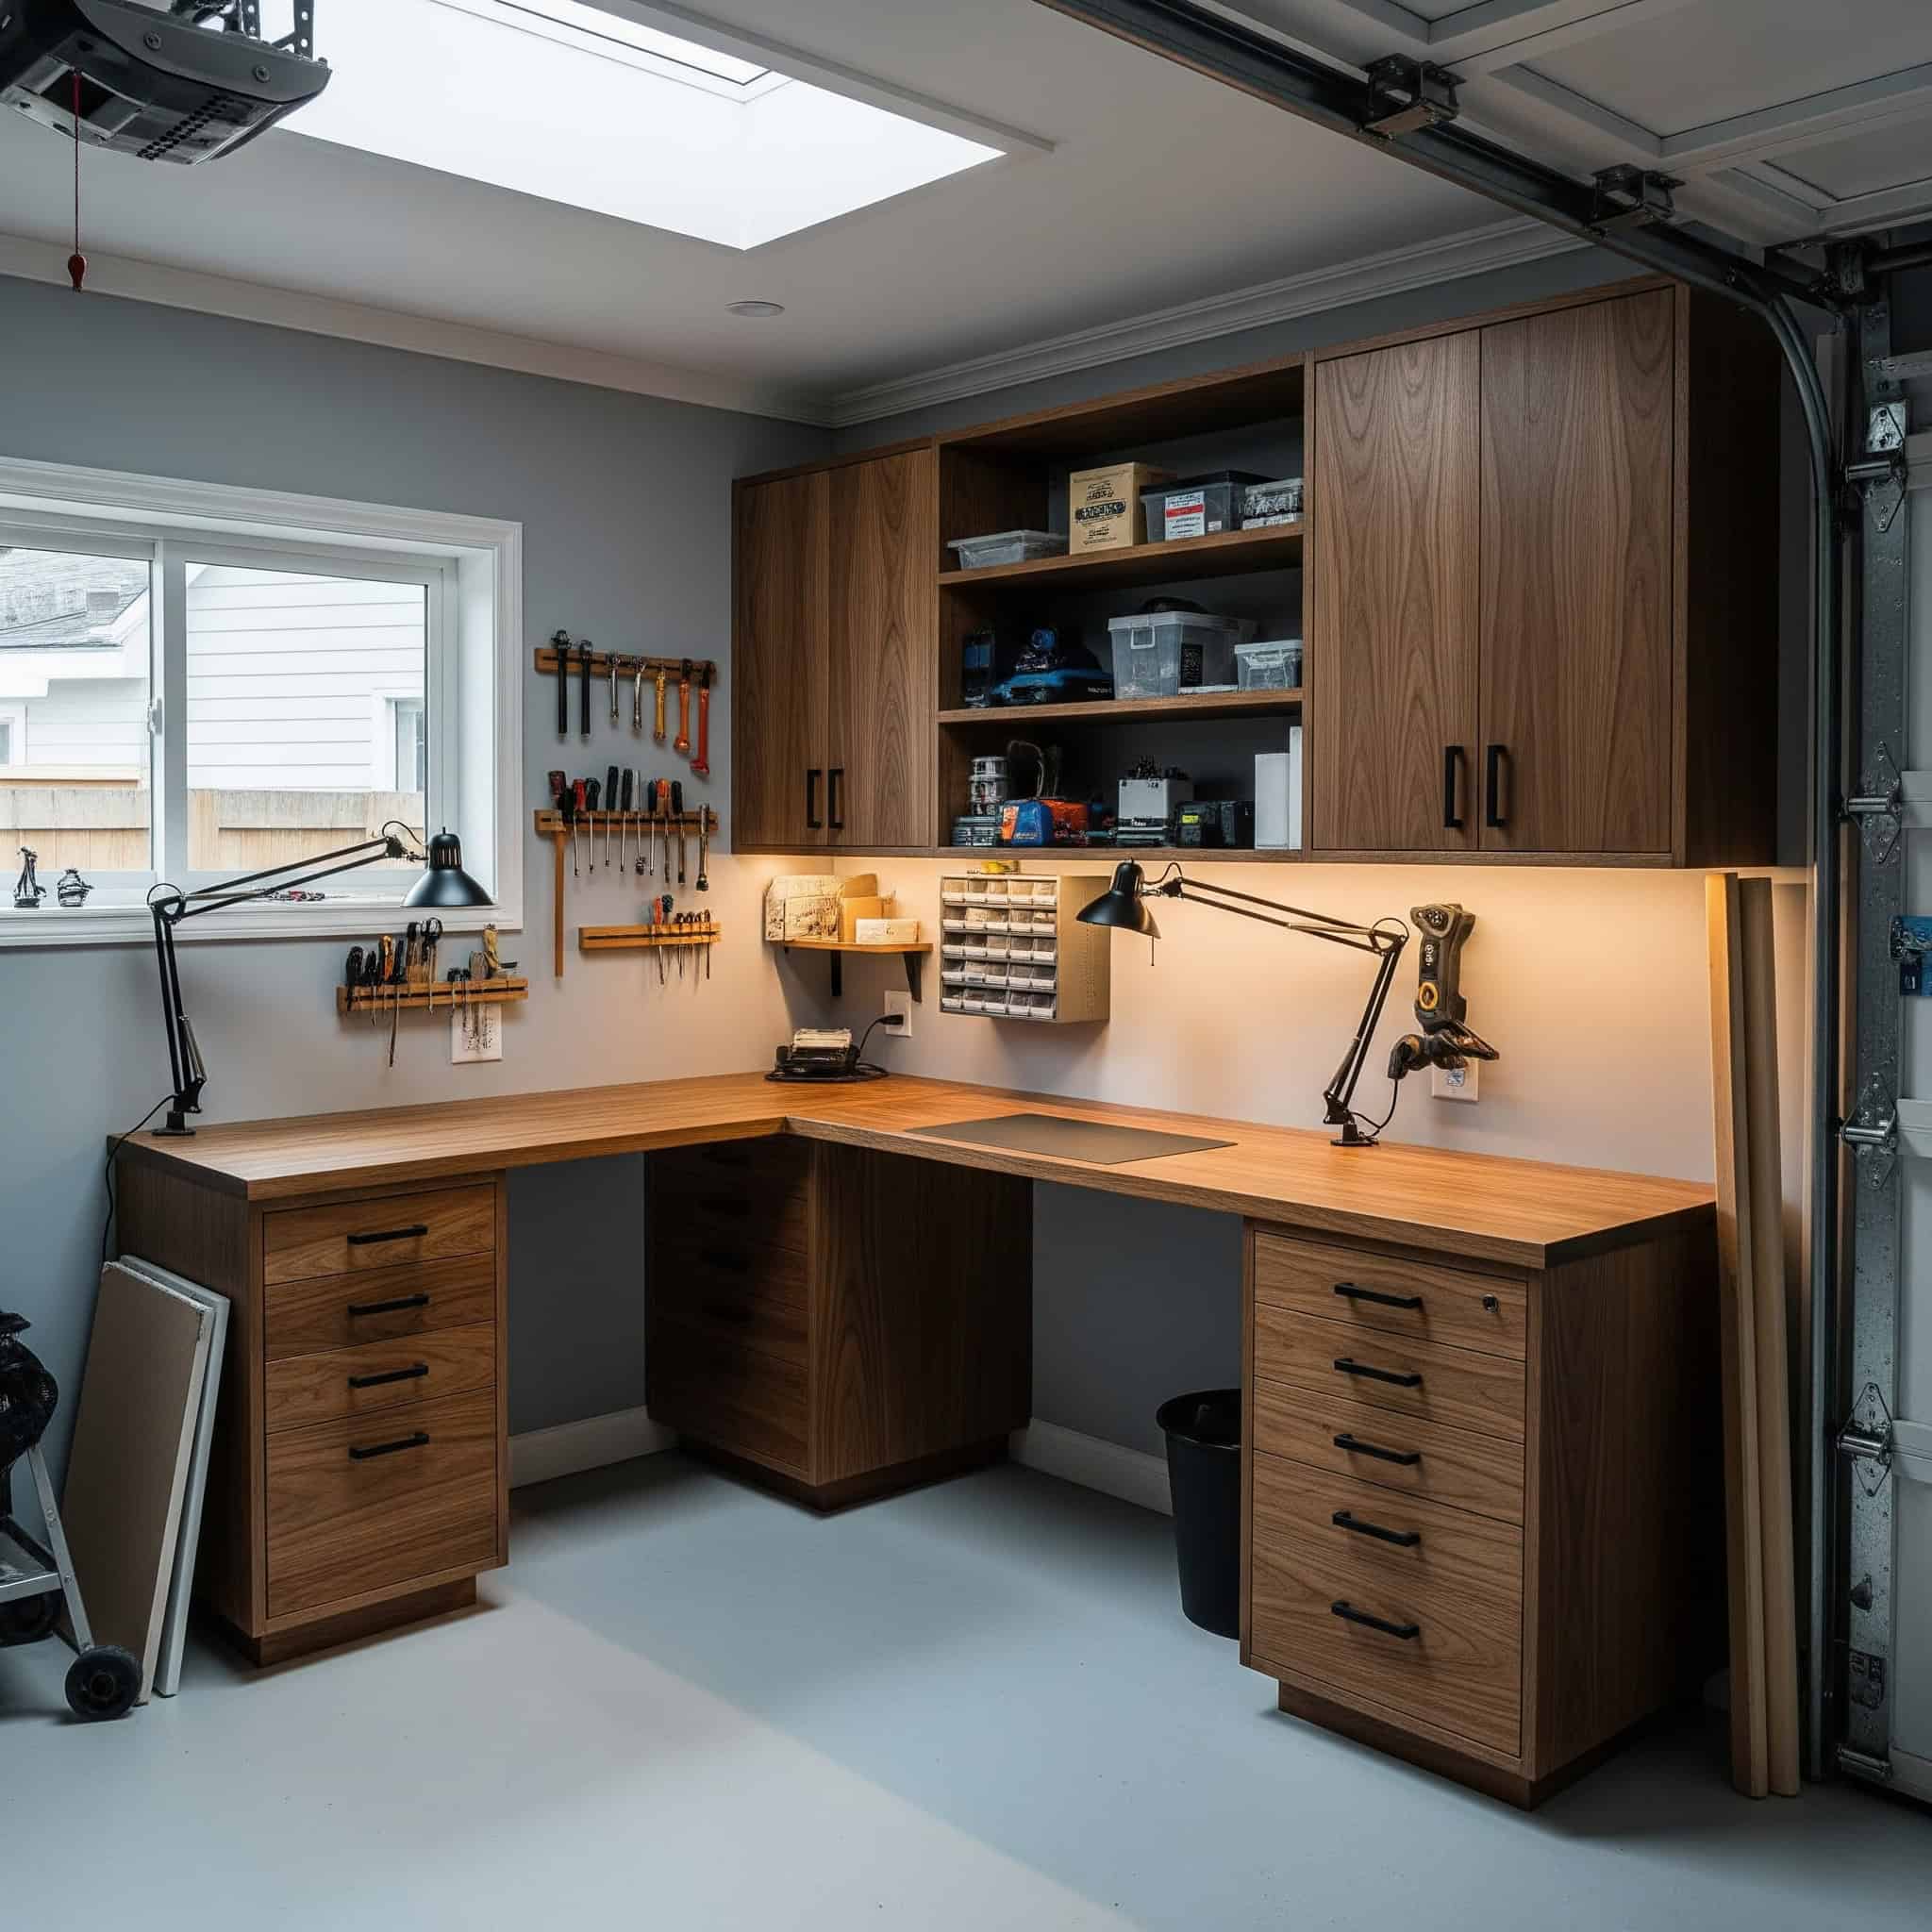
Design should place monitors at ear height, maintain proper viewing angles for screens, and position frequently used equipment within easy reach. These ergonomic considerations prevent the neck, back, and eye strain that can cut productive sessions short.
Incorporate cable management channels, ventilation for heat-generating equipment, and adjustable elements to accommodate different users or activities. These details make a significant difference in daily usability and maintenance.
12. Overhead Storage Systems
Ceiling-mounted storage racks utilize otherwise wasted space to store rarely-used equipment, cases, and seasonal items. Products like MonsterRax or Fleximounts attach securely to ceiling joists, keeping valuable floor space clear for musical activities. This solution is particularly valuable in garage studios where square footage is limited and equipment collections tend to grow over time.
Ensure proper installation into structural ceiling joists with appropriate weight ratings for your specific storage needs. Overloading or improper mounting can create dangerous situations, so follow manufacturer guidelines carefully.
Position racks away from primary acoustic treatment areas and consider potential impact on ceiling reflections. Strategic placement prevents interference with your acoustic design while maximizing storage capacity.
13. Sliding/Rolling Equipment Racks
Mobile rack cabinets with casters provide flexibility for different recording scenarios while maintaining organization. These units can be positioned as needed for specific sessions and locked in place, then moved aside when not required. This approach allows your studio configuration to adapt to different projects without permanent space commitments.
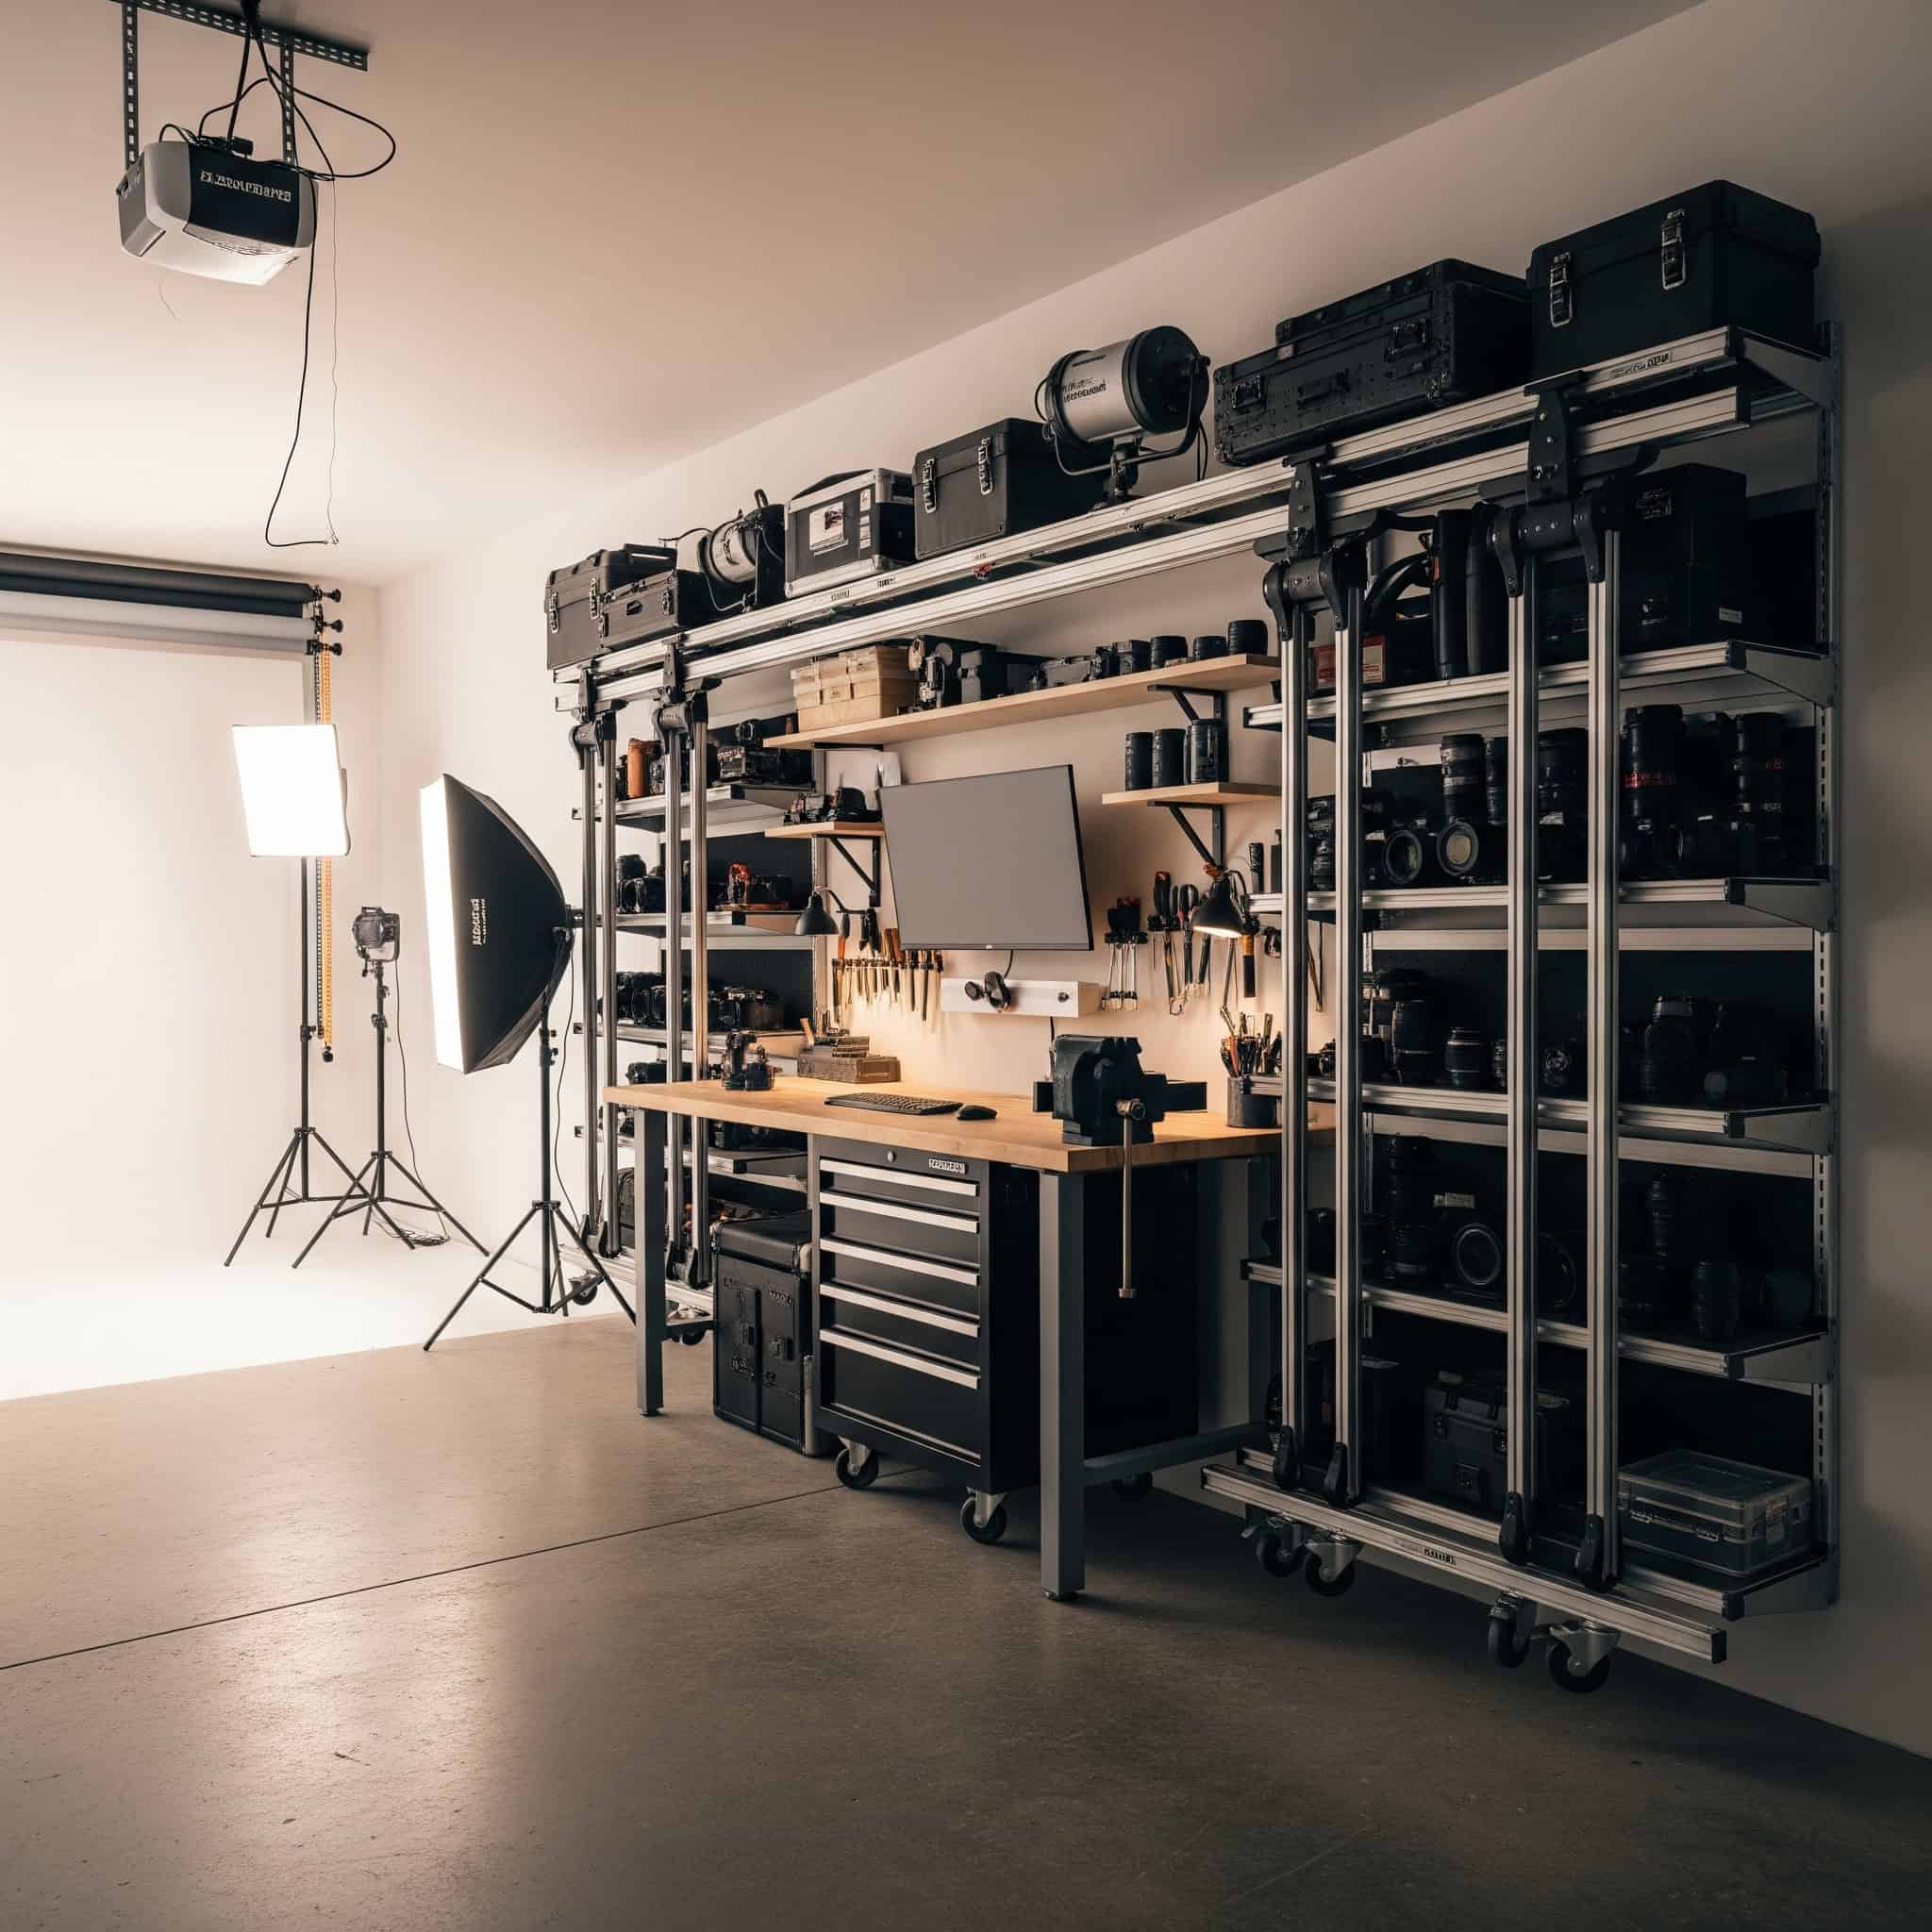
Select racks with locking casters rated for the weight of your equipment and cable management features to prevent connection issues during movement. Quality casters make a huge difference in how easily these units move across your studio floor.
Consider rack depth carefully to accommodate both shallow and deep equipment while maintaining accessibility to rear connections. Standard racks often don’t provide sufficient depth for modern equipment with rear-mounted cables and ventilation needs.
14. Multi-Function Practice Space
Designing a central area with adaptable acoustic treatments creates a space that serves multiple purposes with minimal reconfiguration. This approach allows the same square footage to function as a tracking room, rehearsal space, or teaching area depending on your current needs. Flexible furniture, movable acoustic treatments, and careful planning maximize utility from limited garage dimensions.
Incorporate modular furniture elements that can be quickly reconfigured for different activities without compromising acoustic performance. Pieces that fold, stack, or serve multiple functions provide maximum flexibility.
Design lighting and power distribution to support multiple room configurations without requiring extension cords or temporary solutions. Having accessible power and appropriate lighting for each configuration eliminates frustrating compromises.
15. Vertical Instrument Storage Solutions
Wall-mounted instrument storage frees up valuable floor space while keeping instruments accessible and visually appealing. Guitar hangers, keyboard stands, and custom mounting solutions display your instruments safely while turning them into decorative elements. This approach prevents damage from improper storage while creating an inspiring visual environment.
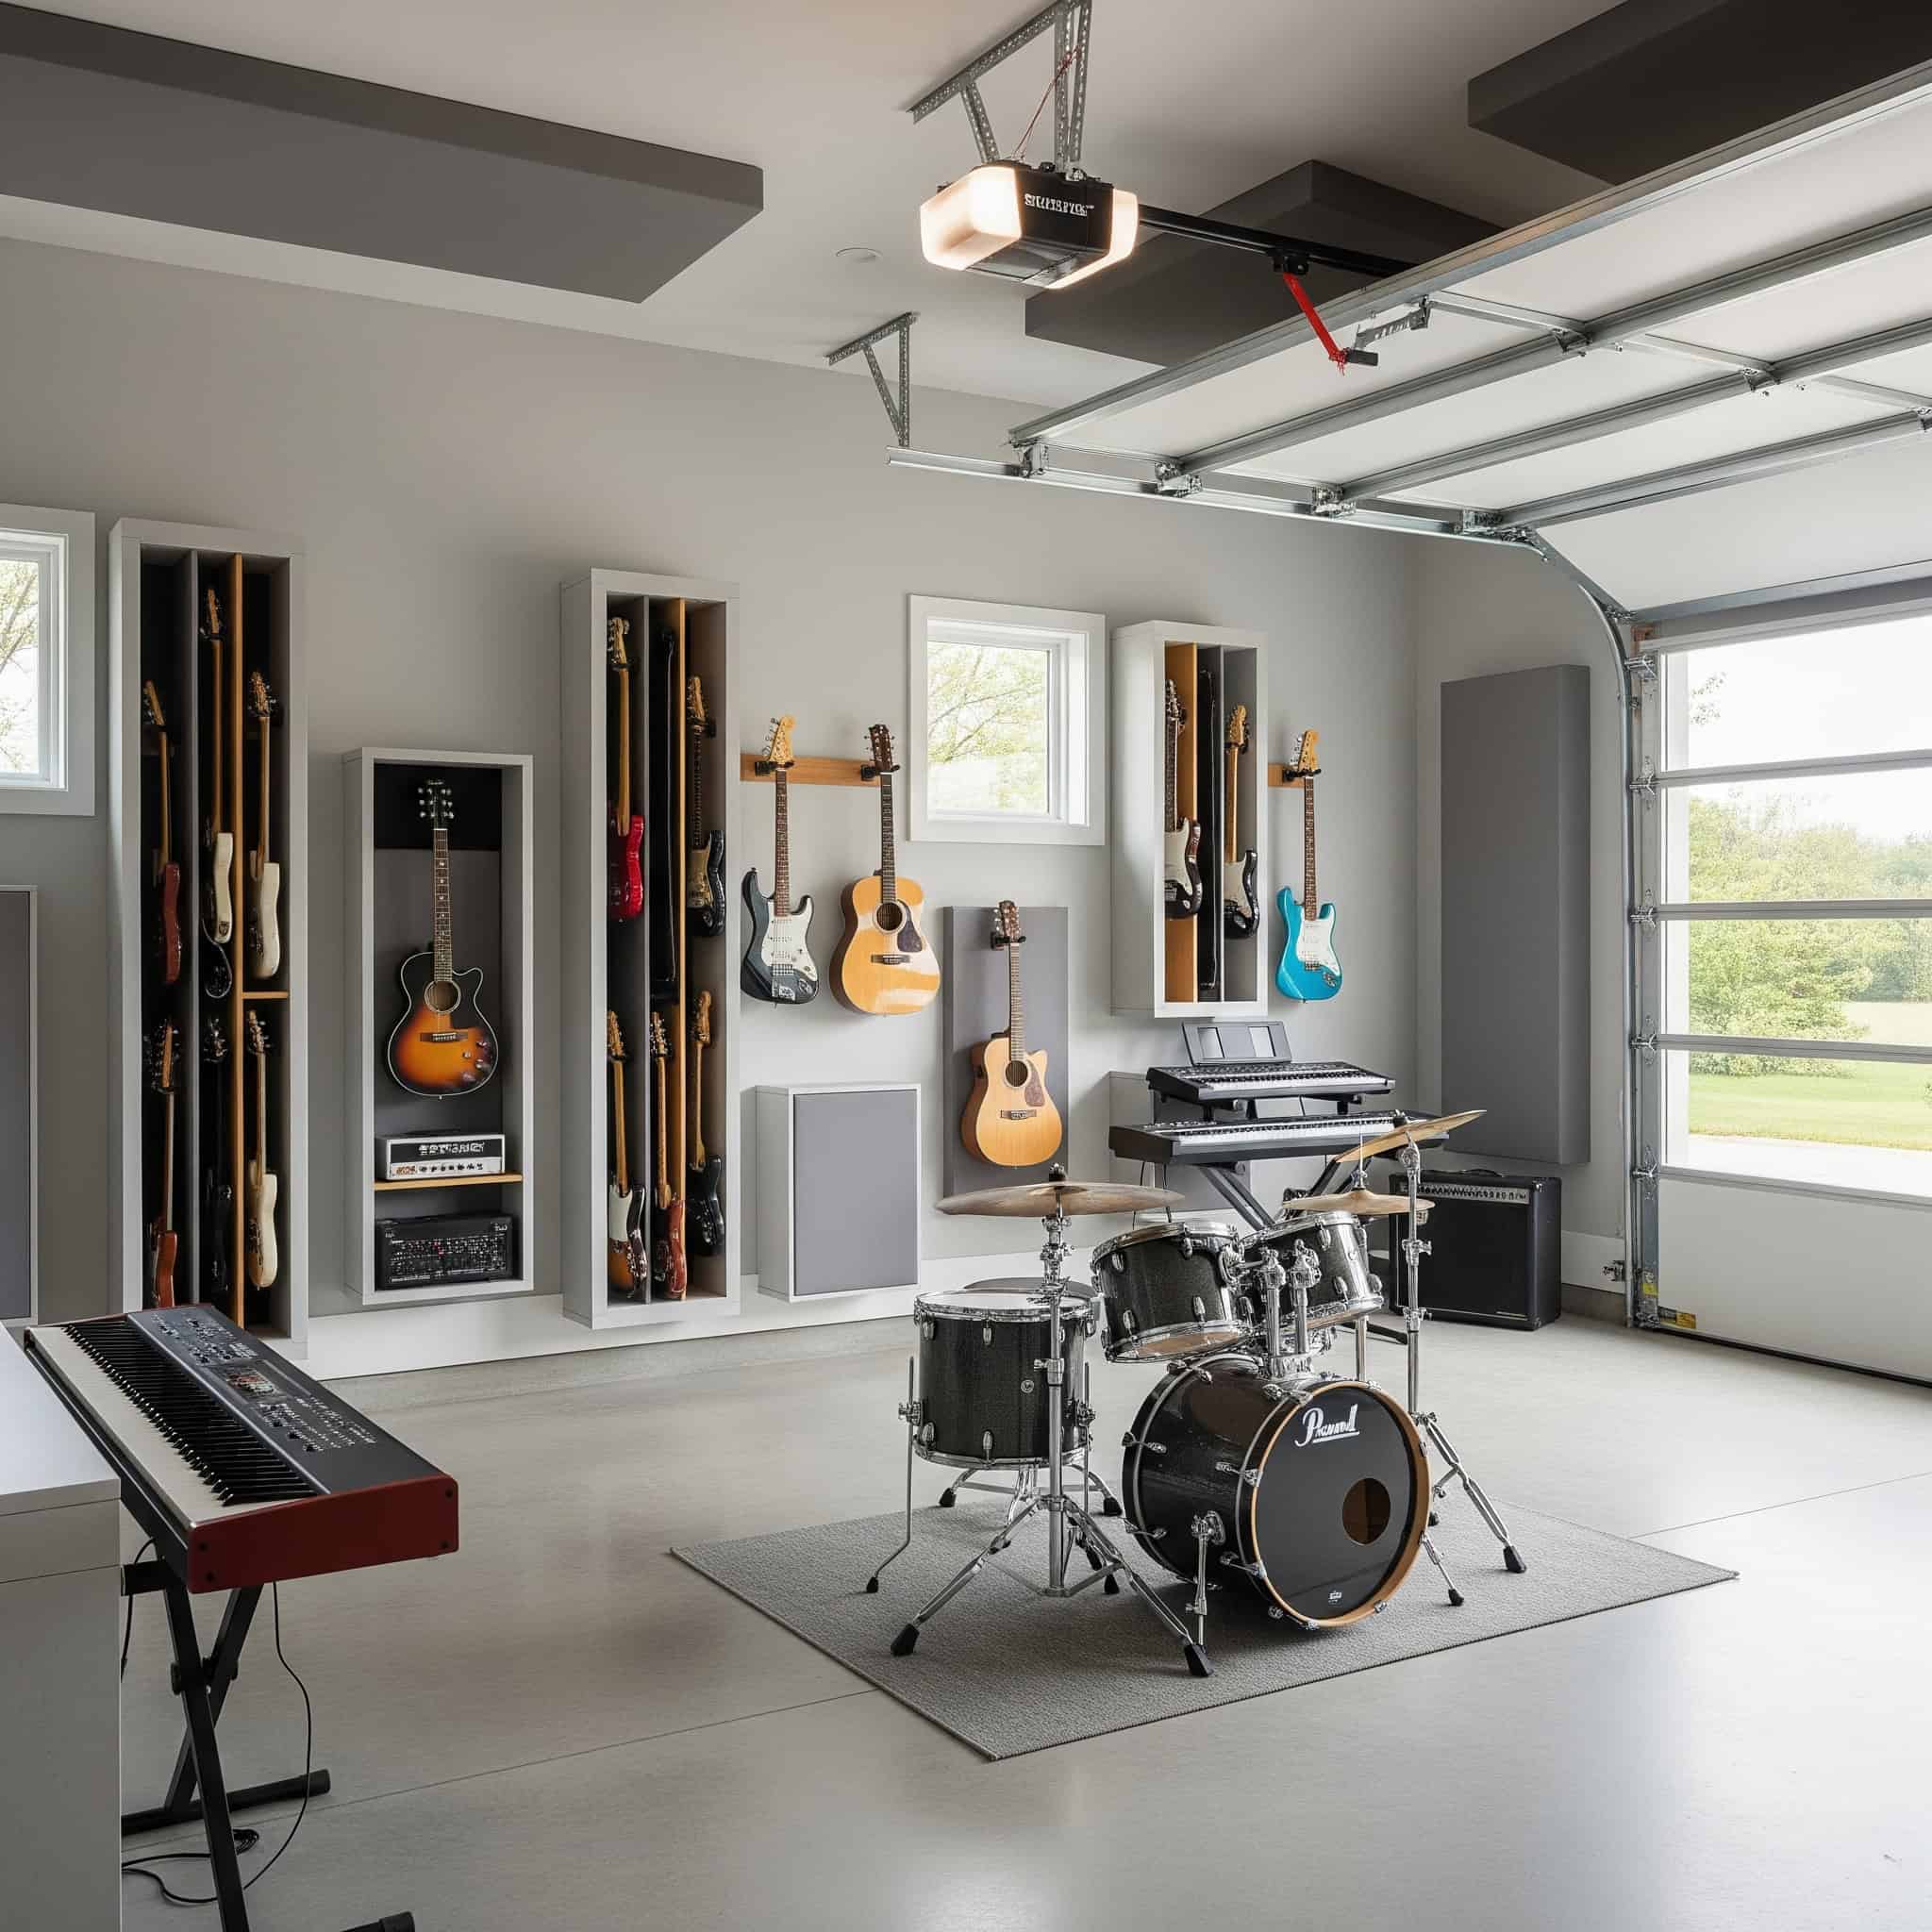
Ensure wall mounts are secured into studs or use appropriate anchors rated for the weight of your instruments. The last thing you want is your prized guitar crashing to the floor because of inadequate mounting.
Consider humidity and temperature fluctuations when selecting mounting locations, avoiding areas near exterior walls or direct sunlight. These environmental factors can damage instruments over time, particularly wooden ones sensitive to humidity changes.
Technology Integration
Modern studios require thoughtful integration of various technologies beyond basic recording equipment. Networking, automation, measurement tools, and multimedia capabilities enhance your garage music studio’s functionality and future-proof your investment. These solutions create a cohesive technical ecosystem that supports efficient workflows and expanded creative possibilities.
Effective technology integration requires planning for both current needs and future expansion with appropriate infrastructure. I’ve found that building in extra capacity from the beginning saves significant hassle later.
Standardizing on compatible systems and protocols simplifies troubleshooting and reduces technical limitations. This standardization becomes increasingly important as your garage music studio grows more complex.
16. Networked Studio System
Implementing a dedicated network with high-speed wired connections, networked storage (NAS), and integrated control systems creates a robust foundation for digital workflows. This infrastructure supports file sharing, remote collaboration, backup systems, and centralized resource management. A properly designed network dramatically improves collaboration capabilities and file management efficiency.
Separate your studio network from household systems using VLANs or physical separation to prevent bandwidth issues and security concerns. This isolation ensures your creative work doesn’t compete with streaming video or other household internet usage.
Implement automated backup systems with both local and cloud components to protect creative work from hardware failures or disasters. I’ve seen too many musicians lose irreplaceable work to preventable data loss.
|
Technology Component |
Function |
Implementation Considerations |
Approximate Cost Range |
|---|---|---|---|
|
Dedicated Network Switch |
Creates isolated studio network |
1Gbps minimum; PoE capability; Managed features for VLAN |
$150-500 |
|
Network Attached Storage (NAS) |
Centralized file storage and backup |
RAID configuration; Minimum 8TB capacity; Regular backup scheduling |
$500-2,000 |
|
Control System |
Unified management of studio equipment |
Compatible with DAW and outboard gear; Tablet/smartphone interface |
$300-3,000 |
|
Remote Collaboration Tools |
Enables working with distant collaborators |
Low-latency audio streaming; Video conferencing capability; File sharing |
$200-1,000/year |
|
Automated Backup Solution |
Protects against data loss |
3-2-1 backup strategy; Offsite/cloud component; Versioning capability |
$300-1,200/year |
|
Network Security |
Protects intellectual property |
Firewall; Access controls; Encrypted connections |
$200-800 |
17. IoT-Controlled Studio Environment
Smart home systems adapted for studio use provide convenient control over lighting, temperature, and other environmental factors. Products like Philips Hue lighting, smart thermostats, and automated blinds create a seamless experience controllable via smartphone or studio computer. This technology allows quick environment adjustments without interrupting creative flow.

Select systems with local control capabilities that continue functioning if internet connectivity is lost. Cloud-dependent systems can leave you unable to control your studio during internet outages.
Create preset scenes for different studio activities (recording, mixing, client presentations) that adjust multiple systems simultaneously. These presets streamline transitions between different creative modes and enhance the professional feel of your garage studio.
18. Integrated Video Production Setup
Modern music promotion increasingly requires video content creation alongside audio production. Installing adjustable camera mounts, dedicated lighting, and green screen areas enables content creation without additional equipment rental or location changes. This integration expands your creative capabilities while maintaining workflow efficiency.
Position camera mounting points to capture both overall room views and specific instrument/performance areas without requiring repositioning. This flexibility allows quick transitions between different shot types during a single session.
Implement lighting systems that serve both video and general illumination needs with appropriate color temperature and intensity control. Dual-purpose lighting saves space and budget while providing professional results for both applications.
19. Wireless Audio Monitoring System
Wireless monitoring systems allow listening and evaluation from multiple positions throughout your studio space. Technologies like Audiomovers Listento or SoundID Reference enable monitoring from various devices without running additional cables or installing multiple speaker systems. This flexibility improves mix decisions and facilitates collaboration with clients or band members.
Select systems with minimal latency (under 20ms) to prevent timing issues during recording monitoring. Higher latency can create confusing monitoring experiences that interfere with performance.
Implement security measures for wireless systems to prevent unauthorized access to your creative work. This protection becomes particularly important when working on unreleased material with commercial value.
20. Acoustic Measurement and Calibration System
Room measurement tools provide objective data about your acoustic environment, guiding treatment decisions and monitoring improvements. Products like Sonarworks Reference, Room EQ Wizard with measurement microphone, or similar systems help identify specific problems and verify solutions. This data-driven approach ensures your acoustic investments address actual issues rather than perceived problems.
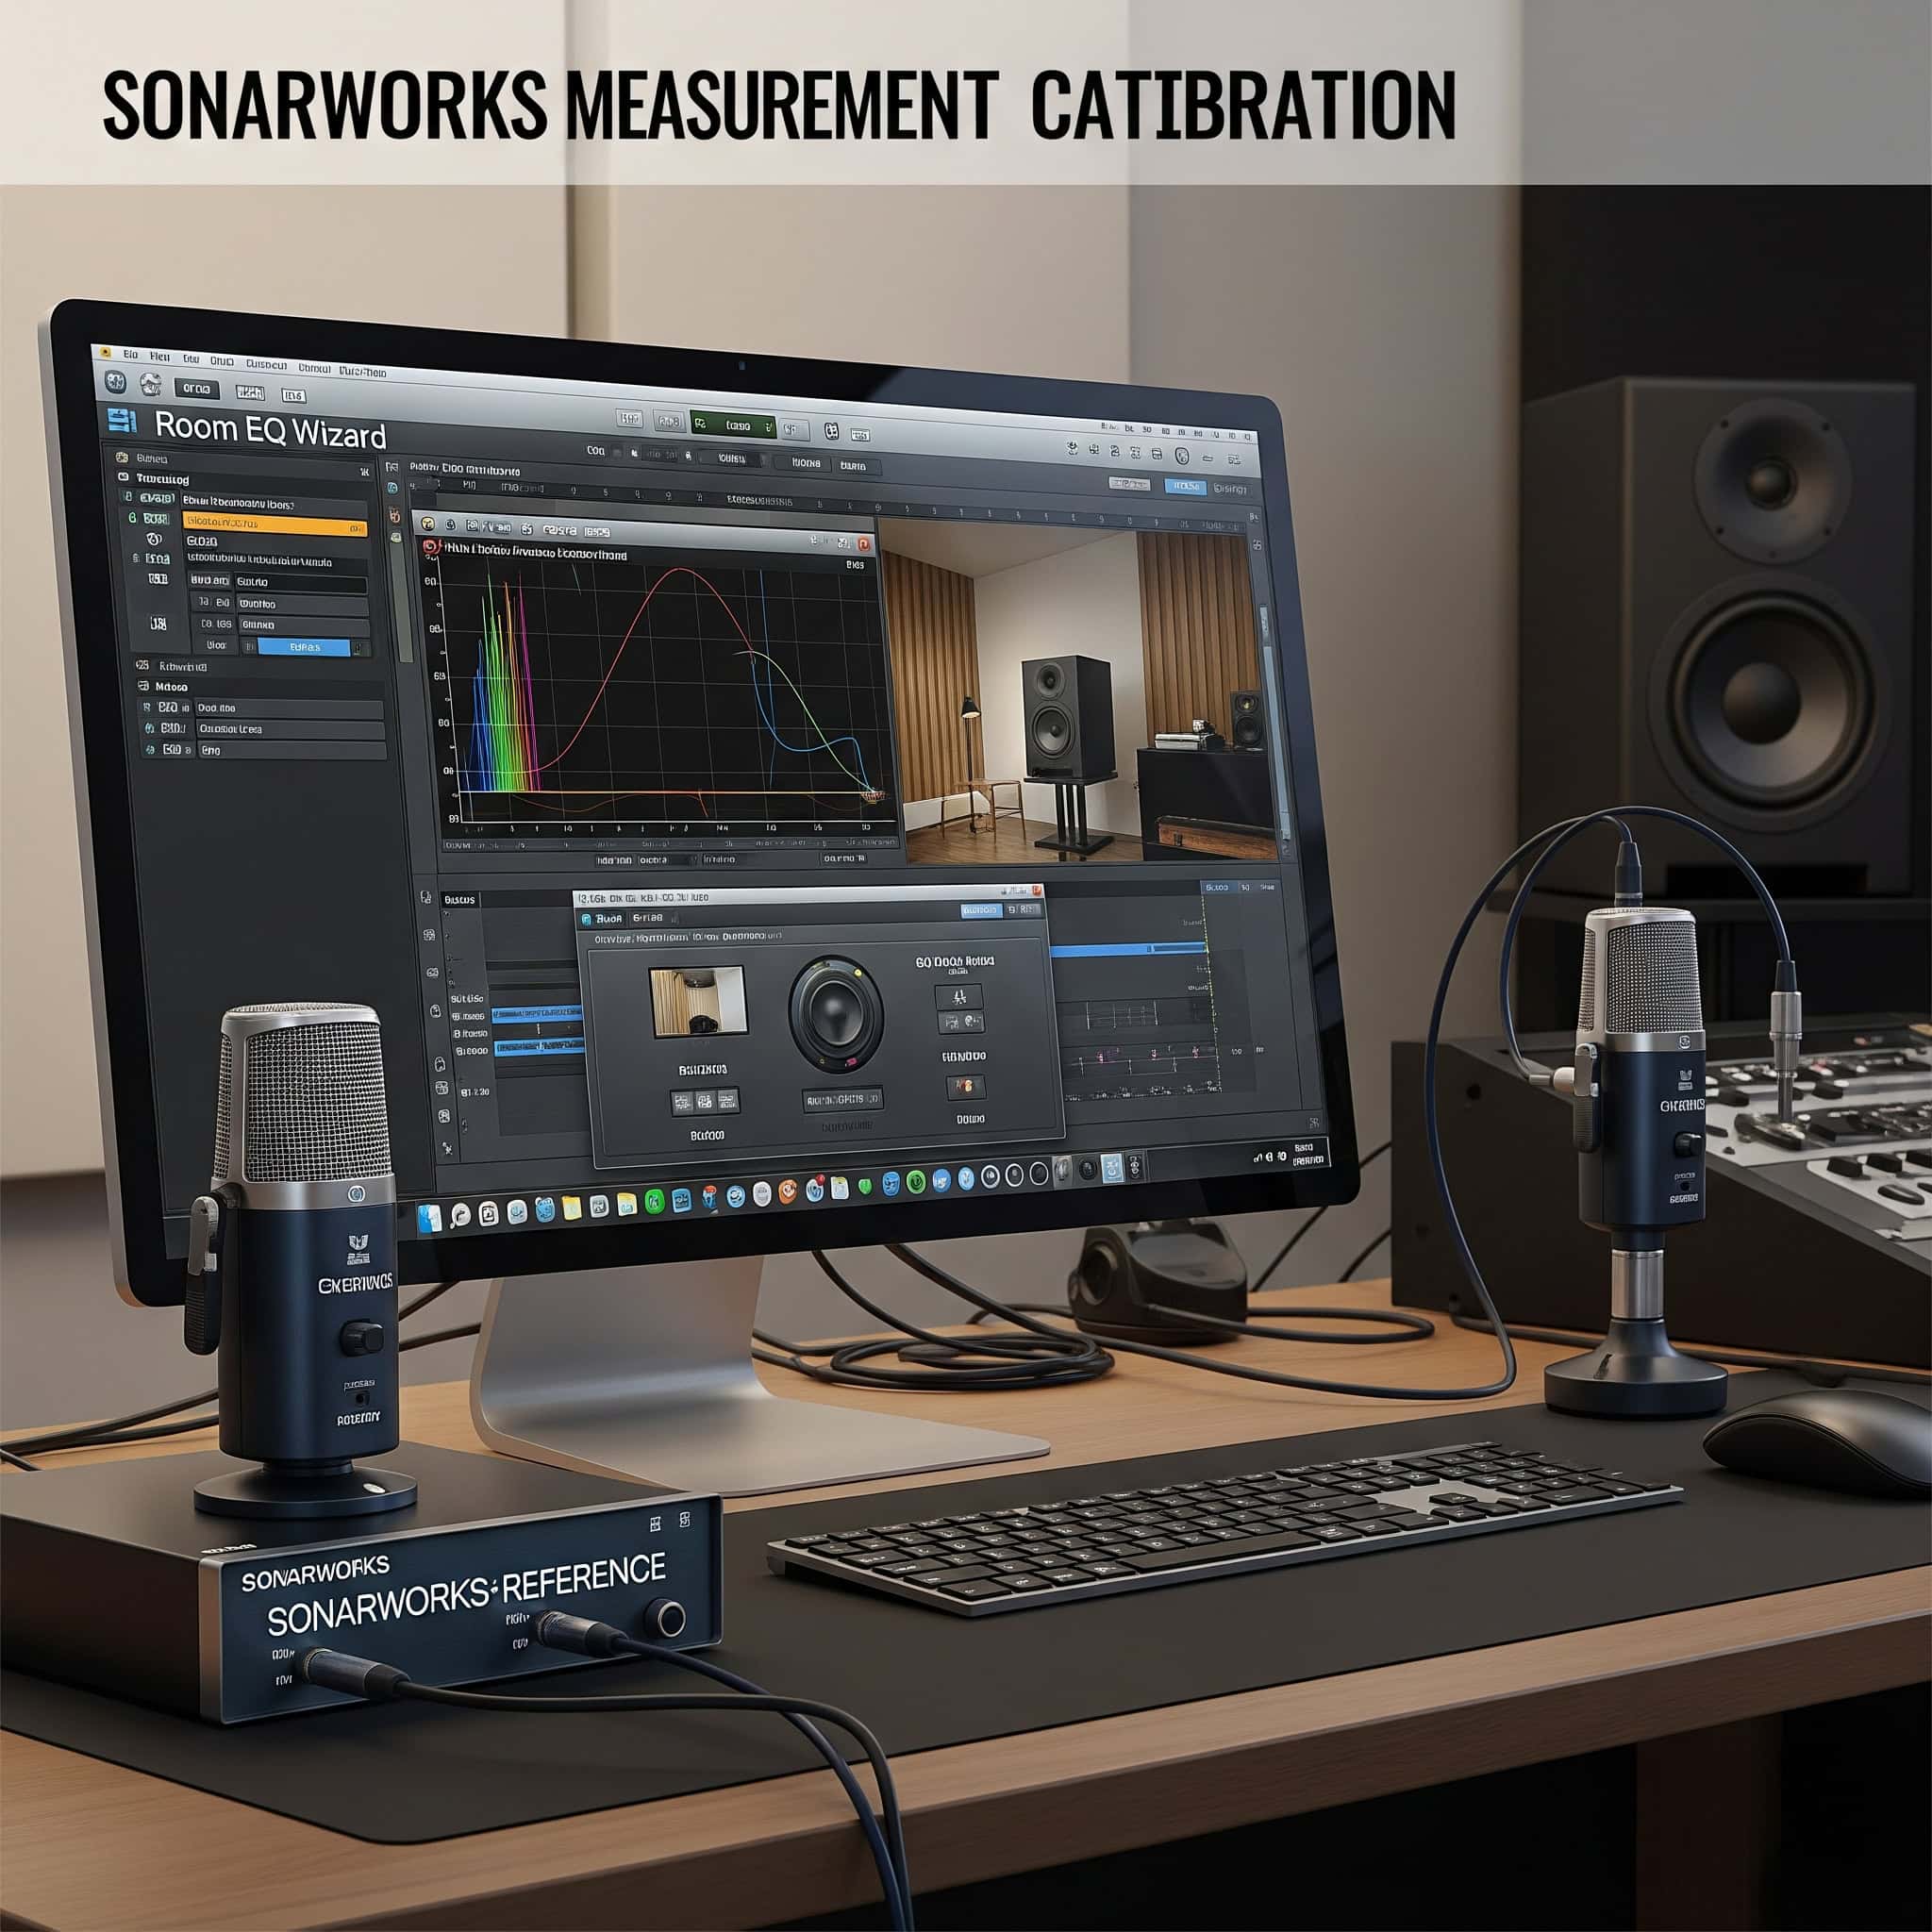
Establish baseline measurements before making acoustic changes, then document improvements with subsequent measurements. This documentation helps track progress and validate the effectiveness of your acoustic treatments.
Learn to interpret measurement data correctly, understanding the relationship between objective measurements and subjective listening experience. The goal isn’t perfect measurements but rather a space that sounds good and produces transferable results.
Comfort & Inspiration
Creative productivity depends on both physical comfort and psychological inspiration. Thoughtful additions that address human needs beyond technical requirements create a studio where you’ll want to spend time. These elements transform a garage from a purely functional space into a creative sanctuary that supports both technical excellence and artistic expression.
Studio comfort directly impacts session length and creative productivity, making these elements as important as technical considerations. I’ve found that addressing comfort issues often provides more immediate improvement in output than expensive gear upgrades.
One of my clients, a film composer working from a converted garage studio, struggled with productivity despite having excellent equipment. After analyzing his workflow, we identified that environmental factors were causing fatigue during long sessions. We implemented a three-zone approach: 1) A primary workstation with ergonomic seating and optimal monitor positioning, 2) A secondary “ideation space” with comfortable seating, natural light, and no screens, and 3) A small refreshment area for breaks. This simple reorganization increased his productive working time by approximately 30% and significantly reduced physical complaints like back pain and eye strain.
The psychological impact of environment on creativity is well-documented, with inspiring spaces producing measurably better creative outcomes. Your music studio garage should feel inspiring from the moment you enter.
21. Dedicated Relaxation Zone
Creating a comfortable seating area separated from the main production space provides essential mental breaks during long sessions. A couch, coffee table, and relaxation elements give you space to rest your ears, collaborate with others, or simply change perspective. This zone significantly improves creative endurance while providing a client listening area for feedback sessions.
Position relaxation areas to provide different acoustic perspectives from the main monitoring position while maintaining reasonable sound quality. This variation helps identify mix issues that might not be apparent from your primary listening position.
Incorporate comfortable seating that supports proper posture during extended listening sessions to prevent fatigue. Cheap furniture might save money initially but costs you in reduced productivity and physical discomfort over time.
22. Inspiration Wall/Mood Board
Dedicating wall space for changeable visual inspiration creates a dynamic creative environment that evolves with your projects. Using magnetic paint, cork boards, or display systems allows you to showcase album covers, goals, project timelines, and visual references. This low-cost addition significantly impacts studio atmosphere and project focus.
Position inspiration elements where they’re visible during creative work but not distracting during technical tasks. Finding this balance ensures they enhance rather than interfere with your workflow.
Regularly update visual elements to prevent “visual fatigue” and maintain fresh creative perspective. Stagnant visual environments can become invisible over time, losing their inspirational impact.
23. Indoor-Outdoor Connection
Replacing or modifying garage doors with glass panels, sliding doors, or windows provides natural light and reduces the closed-in feeling common in garage conversions. This modification dramatically transforms the space from a utilitarian garage to a professional studio environment while maintaining acoustic integrity through proper glass selection and installation.
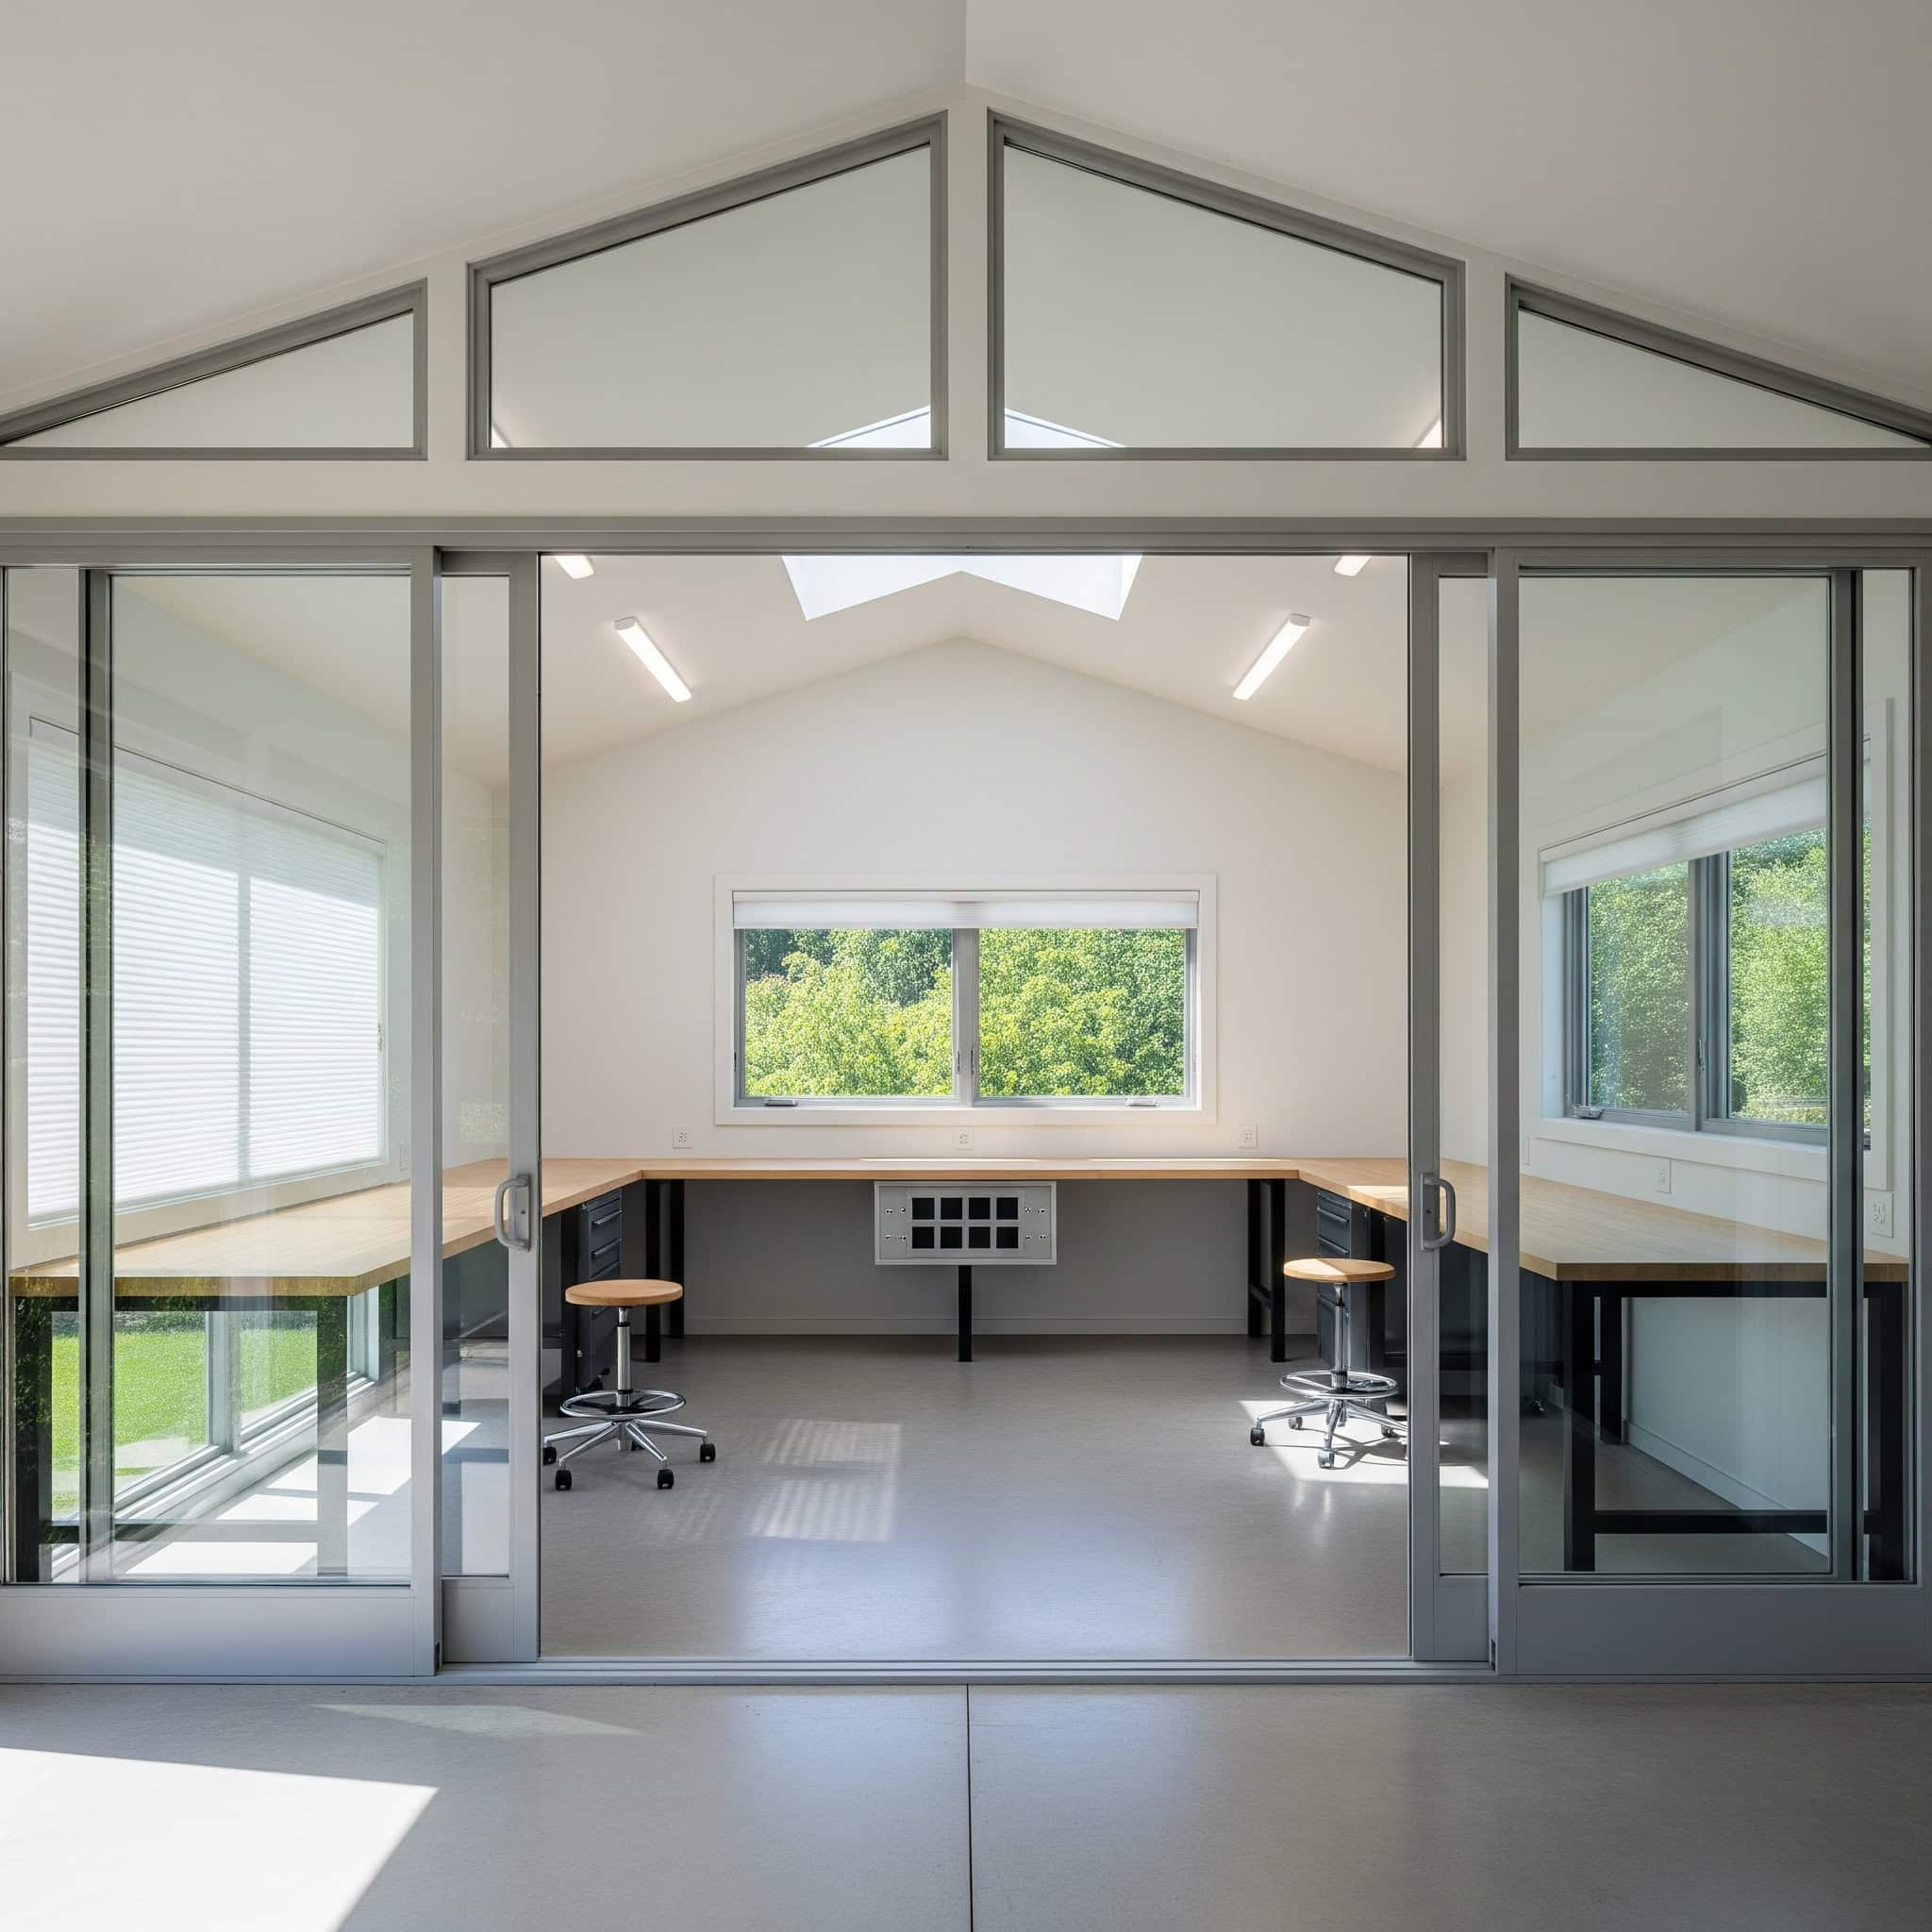
Select laminated or double-pane glass with different thicknesses on each pane to prevent resonance issues and improve sound isolation. This specialized glazing costs more but provides both acoustic and thermal benefits.
Consider motorized blinds or shades to control natural light during different times of day or for video recording. This control allows you to enjoy natural light when appropriate while eliminating it when needed for specific creative work.
When creating an indoor-outdoor connection for your garage music studio, proper waste removal becomes essential during the renovation process. Our article on “yard waste disposal in Suffolk County” offers valuable insights on how to efficiently dispose of construction materials and other debris that accumulate during major garage modifications.
24. Biophilic Design Elements
Incorporating plants, natural materials, and nature-inspired textures improves air quality and psychological well-being in your studio. From simple potted plants to living walls, these elements connect your creative space to the natural world. Biophilic design has been shown to reduce stress, improve concentration, and enhance creative thinking—all valuable benefits for music production.
Select plants that thrive in your specific studio conditions (light levels, temperature variations) and require minimal maintenance. Low-maintenance varieties like snake plants, pothos, and ZZ plants work well in variable studio environments.
Position plants strategically to provide both visual benefits and natural sound diffusion without interfering with monitor placement. Some larger plants can actually contribute positively to your room’s acoustic properties while improving air quality.
25. Customized Ventilation for Instrument Health
Wooden instruments require specific humidity and temperature conditions to prevent damage. Installing humidity control systems with monitoring and automatic adjustment capabilities protects your valuable instruments from warping, cracking, or other environmental damage. This specialized ventilation complements your general HVAC system with targeted instrument protection.
Maintain relative humidity between 40-60% for most wooden instruments, with temperature stability equally important. Fluctuations can cause more damage than consistent conditions, even if those conditions aren’t ideal.
Implement monitoring systems that alert you to dangerous conditions before damage occurs, particularly important during seasonal transitions. These early warnings can prevent expensive repairs or irreplaceable instrument loss.
How Jiffy Junk Can Help Prepare Your Space
Before implementing any studio ideas, you’ll need to clear your garage of existing clutter and household storage. Jiffy Junk’s professional removal services efficiently prepare your space for conversion, handling heavy lifting and proper disposal of unwanted items. Their White Glove Treatment leaves your garage broom-clean and ready for studio construction to begin, eliminating a time-consuming first step in your studio journey.

Professional junk removal services save significant time compared to DIY clearing, allowing you to focus on garage studio planning and design. What might take you a weekend or more can often be completed in hours by an experienced team.
Jiffy Junk’s eco-friendly approach prioritizes donating and recycling items whenever possible, aligning with sustainable music studio garage development. This responsible disposal matters to many musicians concerned about environmental impact.
Creating a Clean Foundation for Your Studio
Many garage conversion projects stall before they begin due to overwhelming clutter. Jiffy Junk’s same-day service options quickly transform cluttered spaces into workable environments. Their team removes everything from old furniture and storage boxes to garage shelving systems, providing the empty shell needed for proper acoustic treatment and infrastructure installation. Starting with professional clearing services establishes momentum for your entire project.
Complete clearing allows for accurate space measurement and planning without obstacles. This clean slate helps you visualize possibilities and make better design decisions from the beginning.
Professional services include removal of built-in shelving and storage systems that might interfere with acoustic treatment installation. These structural elements often require specialized tools and disposal methods that most homeowners don’t have readily available.
Before transforming your garage into a music studio, you’ll need to address any existing clutter. Our comprehensive “wanted: clean garage” guide offers practical insights on how to efficiently prepare your space for a studio conversion by removing unwanted items and organizing essentials, creating the perfect foundation for your creative environment.
Environmentally Responsible Clearing
Jiffy Junk prioritizes eco-friendly disposal methods, donating usable items and recycling materials whenever possible. This approach aligns perfectly with creating a sustainable studio space. Their responsible handling ensures your old garage contents find new purposes while you build your creative sanctuary. For musicians concerned about environmental impact, this service provides peace of mind during the conversion process.
Proper disposal of potentially hazardous materials (old paints, chemicals, electronics) prevents environmental contamination. These items require specialized handling that professional services are equipped to provide.
Documentation of donation and recycling efforts may provide tax benefits depending on your location. This potential financial advantage adds to the value of professional clearing services.
Creating an eco-friendly garage music studio starts with proper disposal of existing items. Our article on “green junk removal” explains how environmentally responsible clearing services can help prepare your space while minimizing environmental impact, ensuring your studio conversion aligns with sustainable practices from the very beginning.
Final Thoughts
Creating a garage music studio represents a significant investment in your musical future. By systematically addressing the key considerations outlined in this guide, you’ll develop a space that enhances creativity while delivering professional-quality results. Remember that studio development happens in stages—start with the fundamental elements that most impact your specific production style, then expand as your needs and budget allow. The journey from empty garage to functioning studio takes time, but each improvement builds toward your ultimate creative vision.
Document your studio development process through photos and measurements to track progress and inform future upgrades. This documentation helps you see how far you’ve come and make better decisions about future investments.
Consider consulting with acoustic professionals for complex issues, particularly if you’re experiencing persistent problems after implementing basic treatments. Sometimes an expert perspective can identify solutions that aren’t obvious to those without specialized knowledge.
Balancing Technical Excellence with Creative Needs
The most successful garage studios balance technical requirements with human factors. While proper acoustic treatment and equipment are essential, never lose sight of creating a space that inspires creativity. Pay attention to how the space feels emotionally, not just how it performs technically. Your studio should draw you in and make you want to create music—technical excellence supports this goal rather than defining it.
Schedule regular maintenance checks for both technical systems and comfort elements to prevent deterioration over time. Studios are dynamic environments that require ongoing attention to maintain optimal performance.
Periodically reassess your workflow and space utilization as your production style evolves, making adjustments to maintain efficiency. What works perfectly today might become limiting as your creative approach changes.
Starting Your Garage Studio Journey
Begin your garage studio transformation by clearing the space completely—contact Jiffy Junk for a free estimate on professional removal services. Once cleared, focus first on infrastructure elements like electrical systems, insulation, and basic acoustic treatment before investing in equipment. This foundation-first approach prevents costly rework and creates the conditions for successful recording and production. With proper planning and implementation, your garage will become a professional-grade creative space that serves your musical vision for years to come.
Create a phased implementation plan with clear priorities based on your specific production needs and budget constraints. This roadmap helps maintain momentum while ensuring your most critical needs are addressed first.
Build flexibility into your design to accommodate changing technology and evolving musical directions. The most successful garage music studio ideas incorporate adaptability that allows the space to grow with your creative journey.
Ready to start your garage music studio project? Our article on “planning a storage shed cleanout project” provides valuable strategies that can be applied to garage clearing as well, helping you create a systematic approach to preparing your space for a successful music studio conversion.