
25 Exposed Basement Ceiling Ideas That Will Transform Your Space
Exposed basement ceilings are really popular lately, and honestly, I totally get why. According to Building Bluebird, homeowners are choosing exposed ceiling treatments as budget-friendly alternatives to full basement renovations, with many DIY projects costing under $200. I still remember when my neighbor transformed their dreary basement into this amazing art gallery-like space just by spray painting their ceiling black – the change was incredible and cost less than dinner out for the weekend.
I’m going to walk you through 25 creative exposed basement ceiling ideas across six different styles, helping you figure out what it’ll cost, what you need to think about, and how to create a basement space that actually reflects your personality and works for how you live.
Table of Contents
-
What You Need to Think About Before You Start
-
Paint Solutions – The Easy Way to Start (Ideas 1-5)
-
Fabric and Textile Ideas (Ideas 6-8)
-
Wood and Natural Materials (Ideas 9-11)
-
Industrial and Metal Solutions (Ideas 12-15)
-
Creative and Artistic Solutions (Ideas 16-19)
-
Getting Fancy – Hybrid and Advanced Ideas (Ideas 20-25)
-
Getting Your Space Ready (Because Nobody Talks About This Part)
-
Final Thoughts
TL;DR
-
You can transform your basement ceiling without breaking the bank – paint solutions start under $200
-
Think about seven big things before you pick an approach: your budget, what’s already up there, what you actually need the space for, moisture issues, lighting, how tall your ceiling is, and the look you’re going for
-
Paint is your cheapest bet, but mixing different approaches gives you the best bang for your buck
-
Industrial and metal treatments work great if you’re going for that modern, urban vibe
-
Natural materials like wood and fabric make everything feel less like a basement and more like a real room
-
Get creative with lighting, plants, or artistic stuff and you can turn a boring basement into something people actually want to hang out in
-
Clean up first – seriously, this matters more than you think
What You Need to Think About Before You Start
Before you get excited about any specific ideas, you need to be honest about seven things that’ll make or break your project. Let’s talk money first because we all care about that – you’re looking at under $200 for simple paint jobs, $200-800 if you want to get into wood or fabric stuff, and several thousand if you’re going full renovation mode.
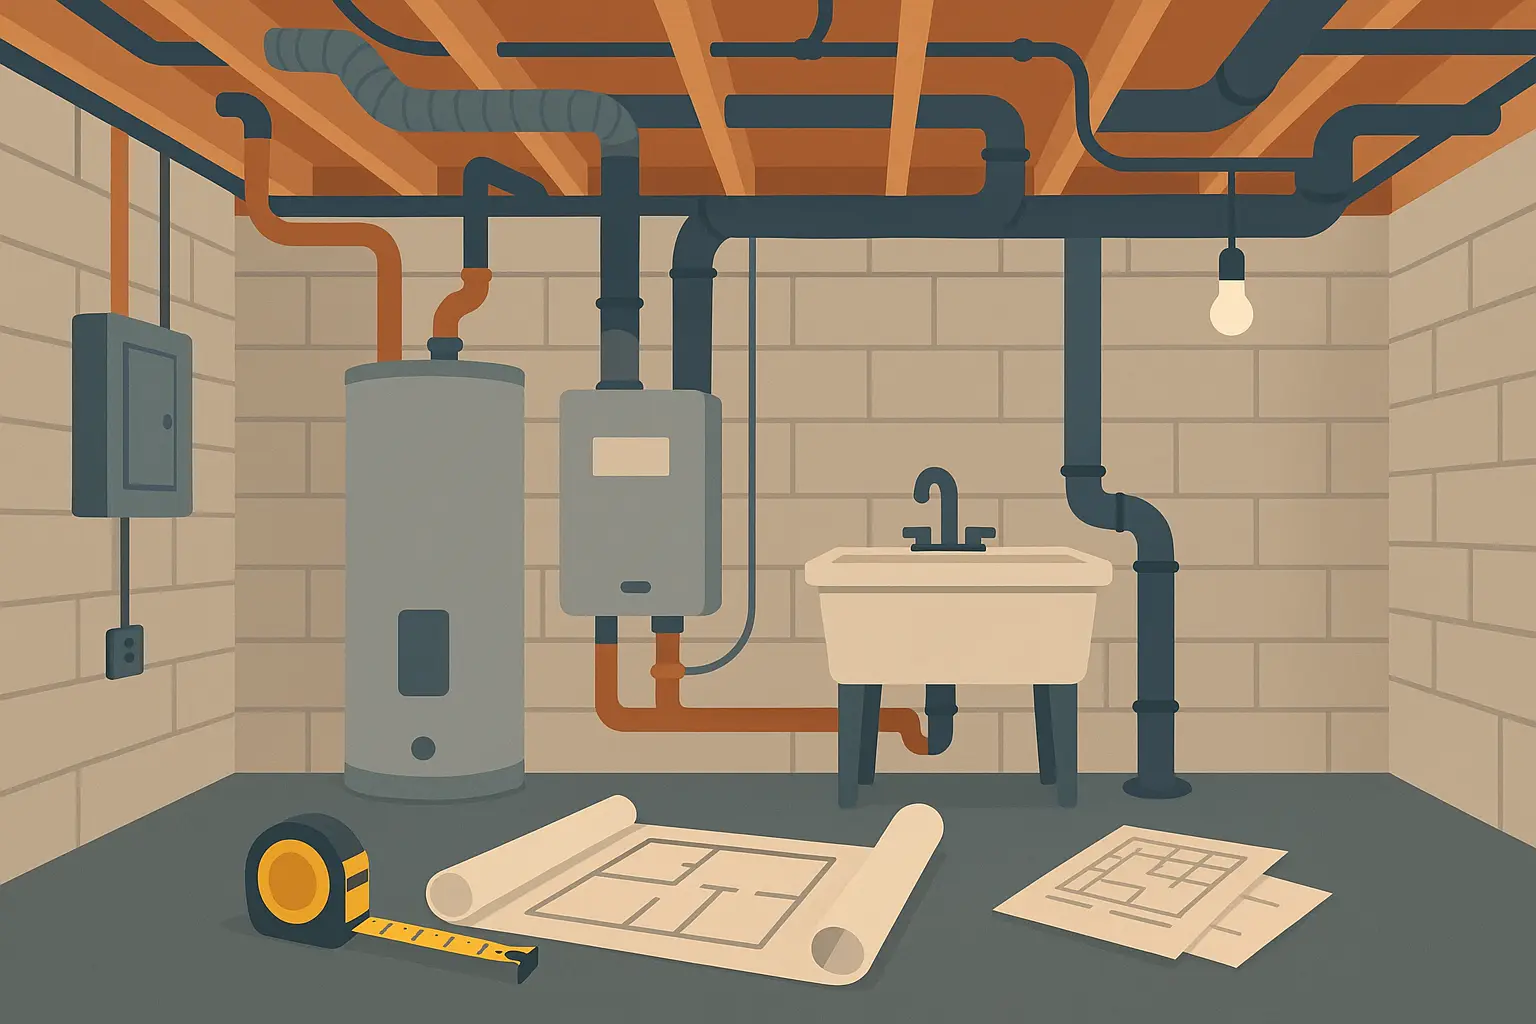
Then there’s all the stuff that’s already up there – your ductwork, electrical wires, plumbing, and the bones of your house. This matters because some treatments work with what you’ve got, others fight against it. Have you thought about how often you might need to get to those pipes or electrical lines? Because trust me, you will.
Moisture is a big deal in basements – more than people realize. Some approaches handle humidity like champs, others turn into a moldy mess if you’re not careful. And lighting? Some treatments make everything brighter, others eat up light like crazy and you’ll need more fixtures.
If your basement ceiling is under 7.5 feet, certain treatments are going to make it feel like a cave. Finally, think about the look you’re actually going for – industrial, rustic, modern, traditional – because your ceiling should work with the rest of your house, not fight it.
For getting your space ready and figuring out what you’re working with, professional basement cleanout services can help you clear everything out and actually see what’s going on up there.
Here’s what you’re looking at money-wise and time-wise:
|
What You’re Dealing With |
Easy/Cheap Options |
Middle Ground |
Go Big or Go Home |
|---|---|---|---|
|
Your Budget |
Under $200 (Paint, basic stuff) |
$200-800 (Wood slats, fabric) |
$800+ (Metal systems, smart tech) |
|
Time Investment |
1-2 days |
3-5 days |
1-2 weeks |
|
Getting to Your Pipes Later |
No problem |
Some sections come off |
Good luck with that |
|
How Much Headroom You’ll Lose |
Pretty much none |
1-3 inches |
3-6 inches |
|
Dealing with Moisture |
Depends on your paint |
Depends on your materials |
Usually pretty good |
|
Can You DIY This? |
Absolutely |
Maybe |
Probably want a pro |
Paint Solutions – The Easy Way to Start
Paint is honestly the best place to start if you’re new to this whole exposed ceiling thing. It works with whatever mess of pipes and wires you’ve got up there, you can still get to everything for maintenance, and if you hate it, you can just paint over it again. The trick is good prep work, decent primer, and paint that won’t get gross in a damp basement.
Yeah, you might need to add some lights depending on your color choice, and dark colors can make low ceilings feel even lower. But here’s the thing – I’ve watched people completely change how their basement feels with nothing more than a weekend and a few gallons of paint. It’s pretty amazing what paint can do.
1. Classic Black Painted Ceiling
Going black makes all your pipes, ducts, and wires basically disappear into the background. It’s like magic – suddenly all that stuff you were trying to hide just becomes part of the design. You’ll need good latex paint with mold-resistant properties, and yeah, you have to clean and prime everything first (I know, it’s boring, but it matters).
The downside? Black eats light like crazy. If your basement already feels dark, you’re going to need more light fixtures. But the upside is that everything else in your room will pop against that dark background. Your ceiling becomes this dramatic backdrop that makes your furniture and decor look intentional instead of random.
Real talk from Sarah in Minneapolis: She did her whole 800-square-foot basement ceiling with Sherwin-Williams ProClassic in black. Took her a weekend to clean and prime all the joists, ductwork, and electrical stuff, then two coats of paint with brushes for the detailed areas and a small roller for bigger surfaces. Cost her $180 total including primer and supplies. She added three LED track lights for $120 because yeah, it was dark. But her basement went from looking like a basement to looking like a gallery, and her home value went up $3,000. Not bad for a weekend project.
2. White Painted Exposed Basement Ceiling
White is the opposite approach – it bounces light everywhere and makes your space feel bigger and taller. Go with semi-gloss or satin so you can actually clean it, and if you can swing it, spray application gives you the most even coverage on all those weird angles and surfaces.
Here’s the catch though – white shows everything. Every cobweb, every dust bunny, every little water stain. So you better have good ventilation and be ready to touch up when life happens. But when it works? It’s like adding skylights to your basement. Everything just feels brighter and more open.
3. Spray Paint Basement Ceiling Treatment
If you’ve got a really complex ceiling with lots of pipes, ducts, and wires going every direction, spray painting might be worth the extra hassle. You get this smooth, even coverage that’s basically impossible to achieve with brushes and rollers. It looks professional because, well, it kind of is.
The downside is you need serious ventilation, you’ll spend forever masking everything off, and you might need to rent equipment. But I’ve watched contractors turn absolute ceiling chaos into something cohesive in just a few hours. If your ceiling looks like a mechanical room exploded, spraying might be your best bet.
4. Color-Blocked Painted Ceiling
This is where you get creative with different colors on different parts of your ceiling. Maybe your joists are deep gray, your ductwork is lighter gray, and the actual ceiling deck is white. Or you go bold with accent colors that highlight the cool architectural stuff and downplay the boring utility stuff.
It works best when your utilities are somewhat organized to begin with, and you can actually use color coding to help you remember which pipe does what. Strategic color placement can help with lighting too – keep the light colors on horizontal surfaces so they bounce light around. Your ceiling becomes less “stuff hanging down” and more “intentional design element.”
5. Metallic Painted Finish
Metallic paints in copper, bronze, silver, or gold can make your utilitarian basement ceiling look surprisingly sophisticated. Yeah, metallic paint costs more than regular paint, but it reflects light beautifully and can make your space feel bigger. Some metallic finishes actually handle moisture pretty well too.
The industrial elements that you might have been trying to hide suddenly look intentional and kind of glamorous. It’s a bold choice, but when it works, it really works. Who knew basement ceiling paint could make your space feel luxurious?
Fabric and Textile Ideas
Fabric is a great way to soften all that hard, industrial stuff while keeping the open feeling. You can hide the ugly utilities while showing off the cool structural elements. Just make sure whatever fabric you pick can handle some moisture and think about fire safety – nobody wants their ceiling to be a fire hazard.
The key is installing everything so you can take it down when you need to get to pipes or wires. Your exposed ceiling gets warmth and texture that paint alone just can’t give you.
6. Draped Fabric Ceiling
Fabric panels hung between your joists make everything feel softer and cozier while keeping that exposed look. Use lightweight, washable fabrics attached with hooks or tracks – nothing permanent because you will need to get up there eventually. Make sure whatever you use is fire-resistant (you can buy treatments for this).
The fabric diffuses harsh overhead lighting into something warm and inviting. I love how this transforms that industrial fluorescent glare into something you actually want to sit under. Just make sure you’ve got good ventilation and pick fabrics that can handle some humidity.

7. Canvas Drop Cloth Ceiling
Here’s a budget hack – use painter’s canvas drop cloths stretched between your ceiling joists. It’s cheap, it looks intentionally industrial-chic, and you can get the materials at any hardware store. Attach them with staples, grommets, and rope or cable systems.
Canvas hides your utilities but you can still get to them from below by just unhooking sections. It’s naturally breathable but you might want to treat it for moisture depending on your basement situation. The light filtering effect is pretty cool, and if you mess it up or get tired of it, you’re not out much money.
8. Burlap Ceiling Panels
Burlap gives you that rustic, textured look by stretching it over wooden frames or stapling it directly to your joists. It’s relatively cheap, and natural burlap has this great farmhouse vibe that works whether you’re going rustic or industrial.
You can make removable panels for utility access, and burlap creates this warm, diffused lighting that makes everything feel cozy. Just make sure you’ve got good airflow because natural fibers need to breathe. Your basement gets that coveted farmhouse texture without the farmhouse budget.
Wood and Natural Materials
Wood brings serious warmth and character to exposed ceilings. Yeah, it costs more than paint and you’ll lose some headroom, but the payoff is huge. You go from “this is a basement” to “this is a room that happens to be underground.” Just make sure you seal everything properly and have good ventilation because moisture and wood can be a bad combination.
These solutions work with lots of different styles – rustic, industrial, modern – and they make lighting feel warmer and more inviting. Your exposed ceiling goes from purely functional to genuinely beautiful.
9. Reclaimed Wood Slat Ceiling
Reclaimed wood slats installed between or across your joists add instant character and history. You can use old barn wood, cleaned-up pallets, or salvaged flooring – whatever you can get your hands on. The cost varies wildly depending on your sources, but creative scrounging can save you serious money.
You’ll need to work around your utilities, which takes some planning, and you’ll lose 1-3 inches of headroom depending on how thick your wood is. But the warmth and texture you get is worth it. Your ceiling gets instant personality and that “this has been here forever” vibe even if you installed it last weekend.
Mike from Portland’s money-saving trick: Instead of buying expensive reclaimed wood, he contacted local construction companies and scored original 1940s maple flooring from a renovation project for free. After cleaning, sanding, and sealing 200 square feet with polyurethane, he installed the planks perpendicular to his joists with construction adhesive and finishing nails. Left 2-inch gaps every 8 feet for utility access. Total cost: $150 instead of the $950 he was quoted for new reclaimed wood.

10. Bamboo Ceiling Treatment
Bamboo fencing or panels create this cool eco-friendly, textured ceiling using bamboo rolls or individual poles installed between joists. It’s affordable, flexible enough to work around obstacles, and you can cut access holes wherever you need them.
Bamboo handles moisture pretty well naturally, but you still want good ventilation. It creates these interesting shadow patterns that change throughout the day, and you barely lose any headroom. Your basement gets this zen, tropical vibe that’s completely unexpected underground.
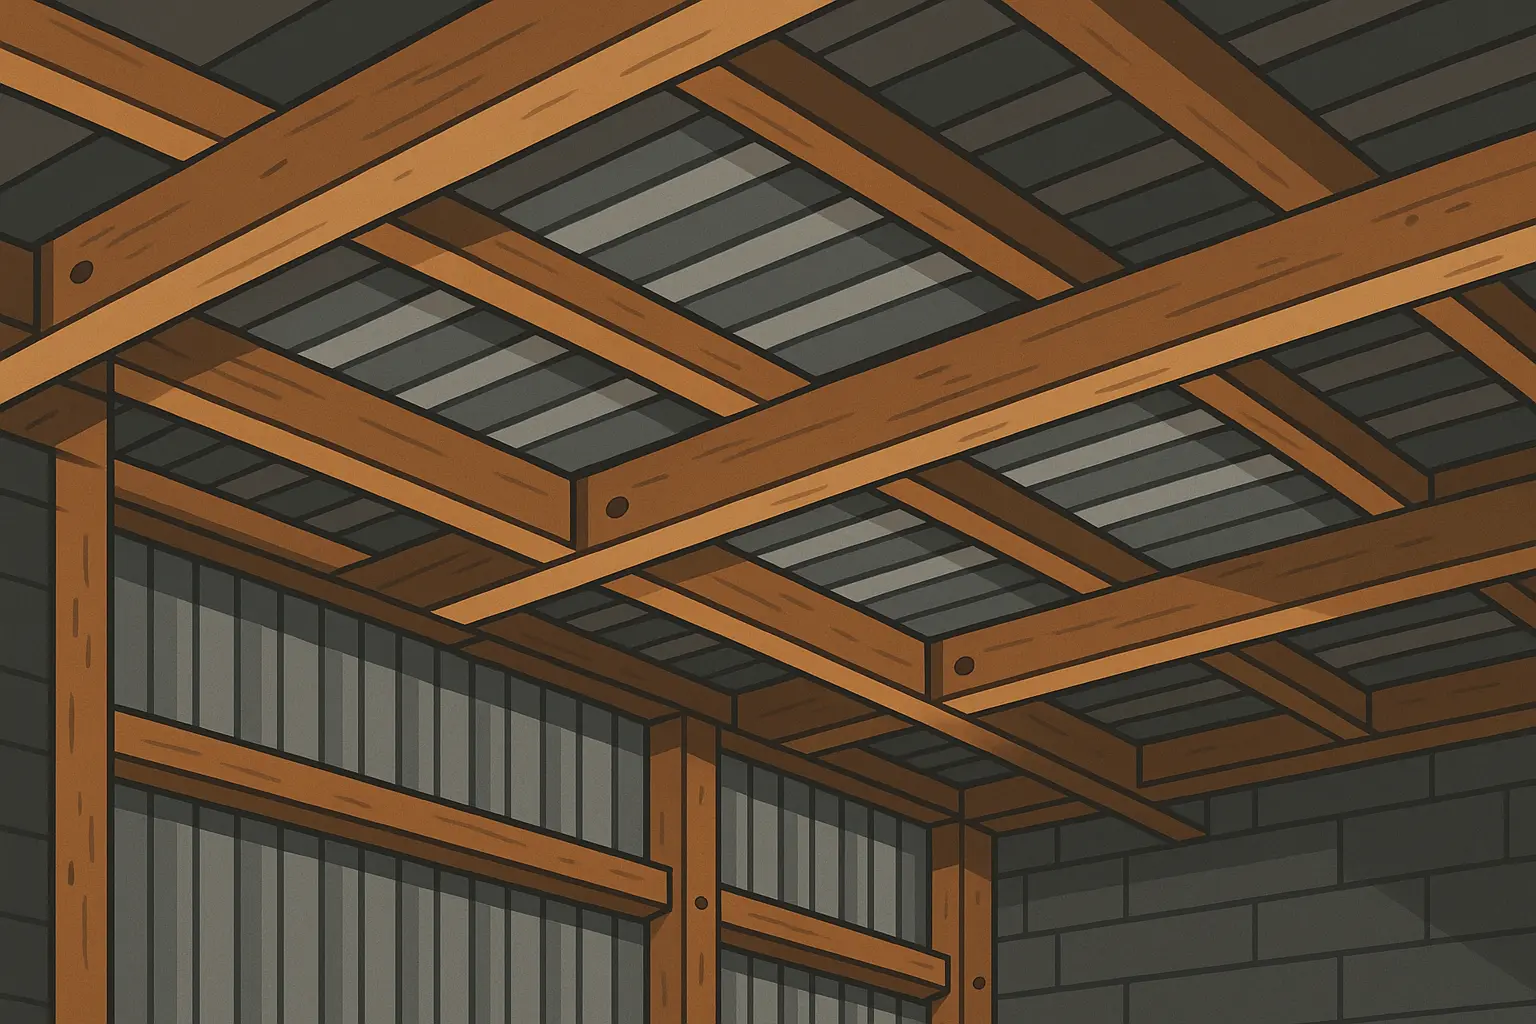
11. Exposed Beam Enhancement
Instead of hiding your ceiling joists, why not make them look intentional? Wrap them with decorative wood or add metal brackets to emphasize the architectural bones of your space. You’re celebrating the structure instead of apologizing for it.
This approach maintains utility access between the enhanced beams and you can even incorporate lighting fixtures into the enhanced joists. You’ll add 1-2 inches to the depth of your beams, but the payoff is a ceiling that looks like it was designed rather than just exposed. Your structural elements become design features.
Industrial and Metal Solutions
If you can’t beat the industrial look, embrace it. Metal solutions work with your existing mechanical systems instead of fighting them, and they handle moisture like champs. The aesthetic ranges from raw warehouse to sophisticated commercial, depending on what materials you choose and how you install them.
These treatments turn your basement ceiling from “exposed because we had to” into “exposed because we wanted to.” Perfect for modern homes where the industrial look is already part of the design.
|
What You’re Using |
Cost Range |
Handles Moisture |
How Hard to Install |
The Look You Get |
Getting to Pipes Later |
|---|---|---|---|---|---|
|
Metal Grid System |
$300-600 |
Like a champ |
Not too bad |
Commercial/Modern |
Easy (through the grid) |
|
Corrugated Metal Panels |
$400-800 |
Excellent |
Moderately tough |
Industrial/Warehouse |
Decent (panels come off) |
|
Chicken Wire/Hardware Cloth |
$100-300 |
No problem |
Pretty easy |
Raw Industrial/Urban |
Super easy (just cut it) |
|
Copper Pipe Grid |
$600-1200 |
Perfect |
Pretty complex |
Fancy Industrial |
Easy (between pipes) |
12. Metal Grid Ceiling System
Think commercial office building ceiling grid, but leave it open or only partially fill it. You get structure and organization without losing that exposed feel. Standard suspended ceiling components work fine, and you can leave sections open for utilities while filling others if you want.
You’ll lose 4-6 inches of height, which is the biggest downside, but you get clean lines and a very polished look. It’s like having a professional office space in your basement. The grid supports various lighting options and gives you that modern industrial aesthetic.
13. Corrugated Metal Panels
Corrugated metal panels installed between joists give you serious industrial character. Use galvanized or painted panels attached to wooden frames – it’s like bringing a warehouse aesthetic to your basement. The panels can be removable for utility access, which is smart planning.
Metal reflects light well and handles moisture perfectly, though you might get some interesting shadow patterns (which can be cool or annoying depending on your perspective). You’ll lose 2-4 inches of headroom for the framing, but you get that authentic urban loft vibe that’s hard to fake.
14. Chicken Wire and Hardware Cloth
This is as raw industrial as it gets – galvanized chicken wire or hardware cloth stretched between joists using staples and wooden frames. It’s cheap, it’s easy, and it looks intentionally unfinished in the best way. You can cut access holes anywhere you need them with wire cutters.
The wire creates interesting shadow patterns and lets you see your utilities while organizing the visual chaos. It’s minimal height loss and handles moisture perfectly. Your ceiling embraces that raw, urban loft aesthetic completely – it’s bold and not for everyone, but when it works, it really works.
15. Copper Pipe Grid System
This is getting fancy with plumbing supplies – custom copper pipe grids using actual plumbing pipes and fittings to create geometric patterns suspended from your ceiling structure. Copper is expensive, but it develops this beautiful patina over time, especially in humid conditions.
The pipes create organized visual frameworks around your utilities and give you hanging points for lights or plants while maintaining full access to everything. The warm tones enhance lighting, and you can customize the height based on your space. It’s sophisticated industrial design that proves plumbing supplies can be genuinely beautiful.
Creative and Artistic Solutions
This is where you get to be creative and make your ceiling into something nobody else has. These approaches often solve multiple problems – like plants that improve air quality or artistic elements that create cool lighting effects. Costs and complexity are all over the map, but you get the chance to create something truly unique.
Your exposed ceiling becomes a canvas for your imagination instead of just structural necessity. These ideas push boundaries and challenge what people think basement spaces can be.
16. Hanging Plant Ceiling Garden
Living ceilings with hanging planters suspended from your ceiling structure add actual life to your basement space. You’ll need ceiling hooks, cables, and proper drainage systems, and you have to work around all your utilities. Plant care means you need ongoing access, and the added humidity requires excellent ventilation.
Plants need adequate light (you might need grow lights), and hanging stuff reduces your effective ceiling height. But the payoff is fresh, living design that actually improves your air quality. Your ceiling becomes a thriving ecosystem that literally breathes life into the space.
When you’re planning your plant ceiling garden, consider how proper garage clean out services can help prepare adjacent storage areas for all your plant care supplies and equipment.

17. Vintage Tin Tile Ceiling
Reproduction tin ceiling tiles installed between joists add serious vintage character. Use lightweight tiles attached to wooden backing boards – it conceals utilities while adding that old-school ornate look through removable tile sections.
Metal tiles handle moisture well and enhance lighting through their reflective surfaces, though the backing boards will reduce your height. You get Victorian, vintage character that adds historical charm to your modern basement. It’s like time travel, but with better heating and cooling.
18. Rope and Nautical Elements
Thick rope, nets, or nautical hardware create maritime-themed ceiling treatments. Use rope in geometric patterns or hang nautical nets from your ceiling structure with marine hardware. Quality rope and hardware create moderate costs, and rope systems can be reconfigured when you need access.
Natural rope needs treatment for moisture while synthetic options are available. You get interesting shadow patterns with minimal height loss and a nautical, coastal vibe regardless of whether you’re anywhere near water. Your basement channels seaside vibes from the middle of Kansas if you want.
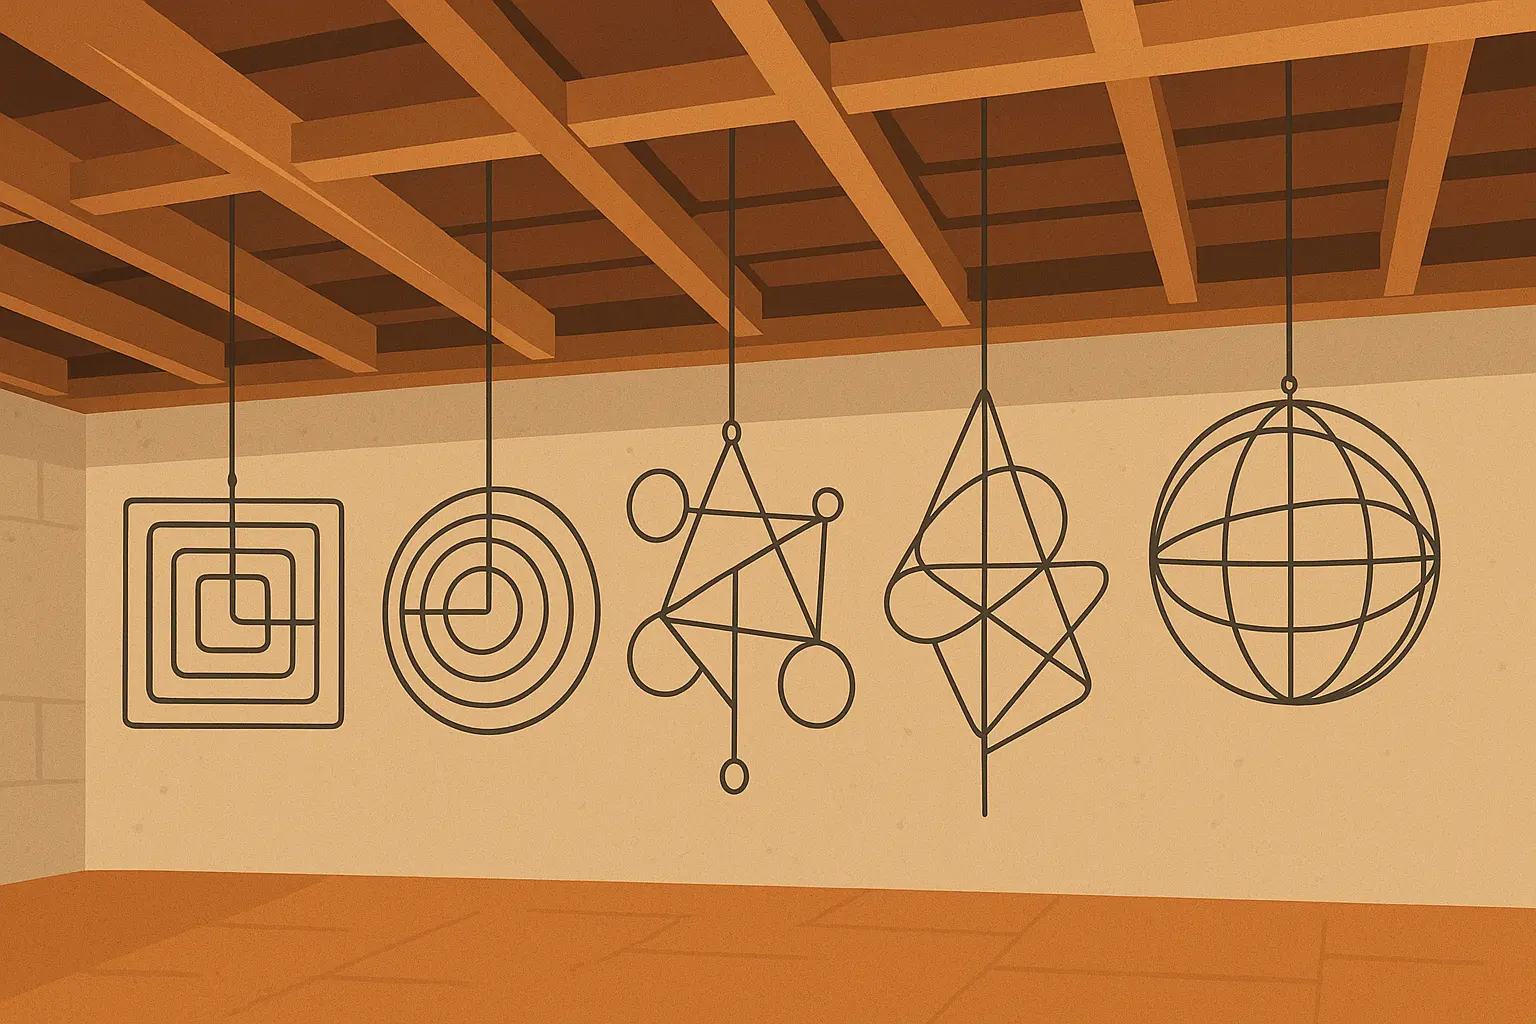
19. Artistic Wire Sculpture Ceiling
Custom wire art installations suspended from your ceiling structure use heavy-gauge wire to create abstract or geometric sculptures spanning between ceiling elements. Costs vary wildly depending on wire type and how complex you want to get, with artistic elements weaving around your existing utilities.
Custom designs can accommodate access needs, and coated wire resists moisture while creating dynamic shadow play. Height is customizable to your available space, resulting in artistic, modern, completely unique ceiling treatments. Your ceiling becomes a three-dimensional art gallery that nobody else has.
Getting Fancy – Hybrid and Advanced Ideas
These are the most sophisticated approaches – combining multiple techniques or adding modern technology for the best functionality and looks. They cost more and are more complex to install, but they give you professional-quality results that address multiple needs at once, like acoustics, lighting, and easy maintenance access.
They’re perfect if you want professional results that handle several problems simultaneously. Your exposed ceiling becomes a masterpiece where form meets function beautifully.
20. Partial Drop Ceiling with Open Sections
Combine traditional drop ceiling tiles in problem areas with open exposed sections elsewhere. Hide utilities where you need to while showcasing the attractive stuff – it’s the best of both worlds. You get easy access combined with hidden utilities where it matters most.
Different lighting types can be integrated in each section, and variable heights create visual interest while providing balanced, highly functional ceiling design. Your ceiling gets concealment where needed and openness where desired.
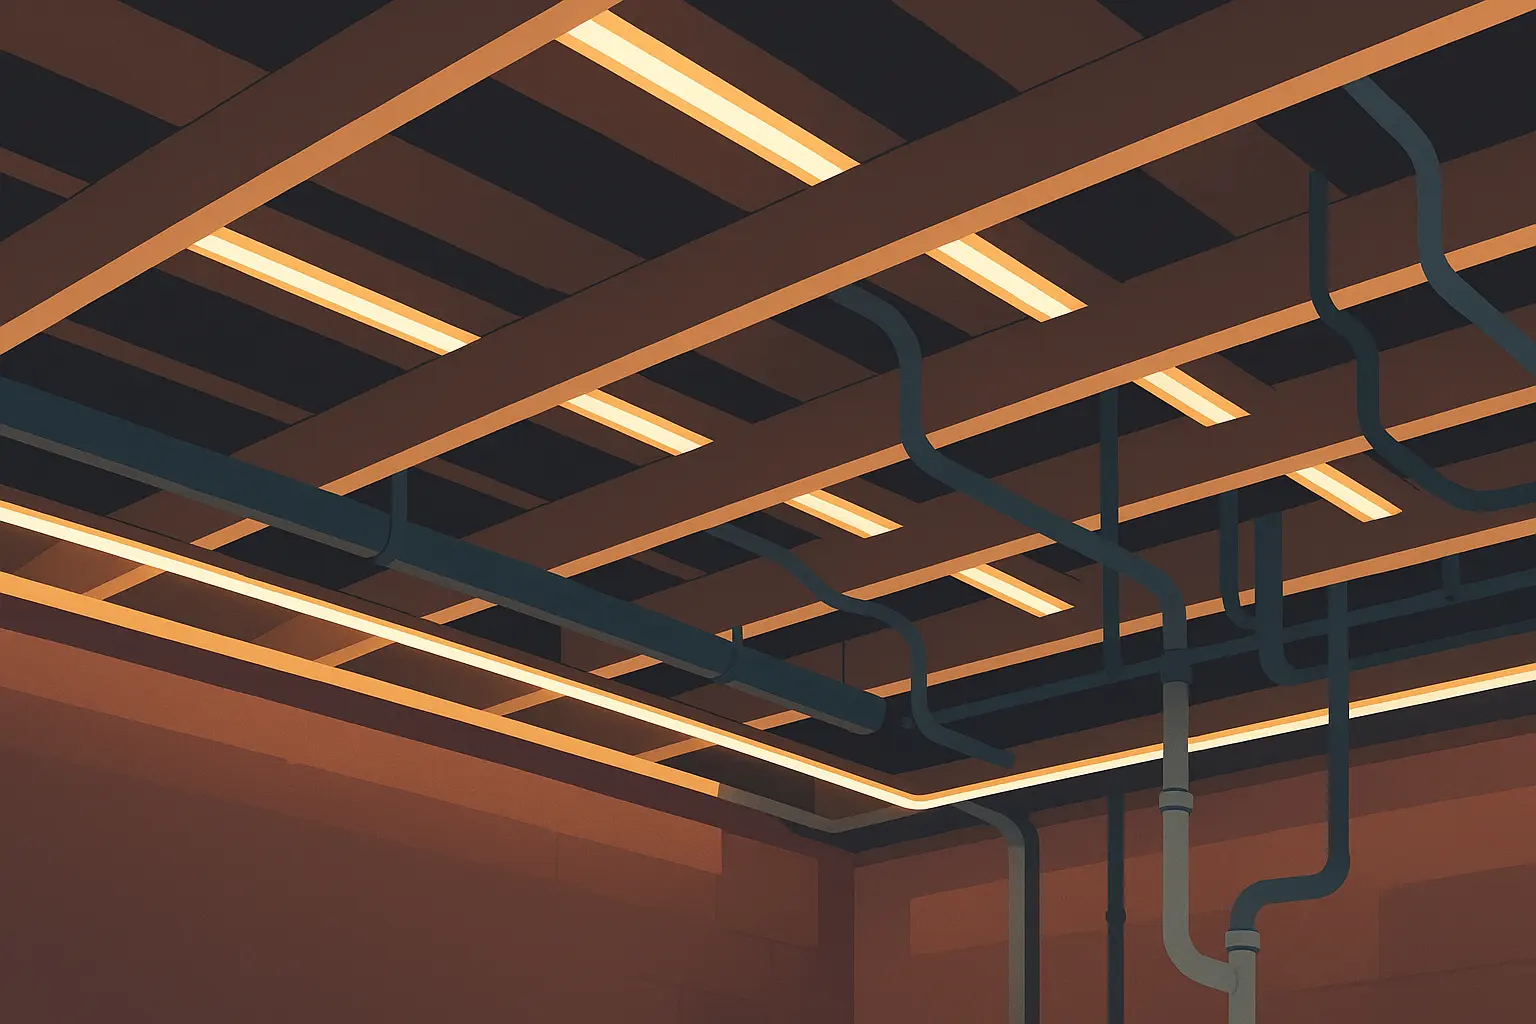
21. LED Strip Integration with Exposed Elements
LED strip lighting installed along joists and utilities transforms your ceiling into an integrated lighting system. Use LED strips in aluminum channels attached to ceiling structure – it turns utilities into lighting features while maintaining full access and adding serious functionality.
Make sure you get moisture-rated LED products. The system dramatically improves basement lighting without any height loss and can actually make spaces feel taller. Your ceiling becomes modern, high-tech, customizable lighting design that showcases architectural elements beautifully.
Jennifer from Denver’s smart setup: She installed a comprehensive LED strip system throughout her 600-square-foot basement ceiling for $450. Used 100 feet of waterproof LED strips in aluminum channels, mounting them along each joist and around major ductwork. Connected to a smart controller with 16 million color options – bright white for workspace tasks, warm amber for movie nights, color-changing patterns for entertaining. Installation took one weekend, eliminated the need for additional light fixtures, and the LED strips highlight the architectural elements perfectly.
22. Modular Panel System
Removable panels that lift out for utility access while providing a finished appearance use lightweight frames with various infill materials resting on ledgers or hanging from hooks. This requires custom fabrication but completely conceals utilities when desired while providing excellent access through removable panels.
Panel materials can be chosen for moisture resistance, and panels can integrate lighting or be removed for maintenance. You lose height by panel thickness but get clean, finished aesthetics with ultimate flexibility.
23. Acoustic Treatment Integration
Combining exposed ceiling aesthetics with acoustic panels improves sound quality using acoustic foam, fabric panels, or specialized materials installed between joists. This conceals utilities while improving room acoustics, though it may limit access depending on how you install it.
Acoustic materials must handle moisture and often absorb light while reducing height by material thickness. You get professional, purposeful design that improves how your room actually functions. Your ceiling becomes a sound engineer’s dream.
For optimal acoustic performance, ensure your space is properly prepared with professional estate cleanout services to remove any items that might interfere with sound quality.
24. Mixed Material Collage
Combining multiple materials like wood, metal, fabric, and paint in different ceiling sections creates eclectic appeal through varied treatments in different areas. Variable costs let you mix expensive and cheap elements, with different treatments highlighting or hiding various utilities as needed.
Access varies by section requiring careful planning, and multiple materials need coordinated moisture management. Different materials create varied lighting effects and heights, resulting in eclectic, personalized, highly creative approaches that celebrate creative chaos in the best possible way.
25. Smart Technology Integration
Incorporating smart home technology directly into exposed ceiling structure creates high-tech solutions by installing smart lighting, speakers, sensors, and other technology onto exposed joists and utilities. High costs include smart technology and integration expenses, but this transforms utilities into your smart home backbone while maintaining access and adding technological functionality.
Technology requires moisture protection and proper ventilation, with smart lighting becoming integral to ceiling design. Minimal height impact may actually improve perceived height, resulting in futuristic, high-tech showcases of modern living. Your ceiling becomes mission control for your entire home.
|
What You’re Doing |
Budget Range |
Time Investment |
Getting to Pipes Later |
Best For |
Key Benefits |
|---|---|---|---|---|---|
|
Partial Drop Ceiling |
$400-800 |
3-5 days |
Great (mixed access) |
Problem utility areas |
Balanced functionality |
|
LED Integration |
$300-600 |
2-3 days |
Full access |
Modern aesthetics |
Amazing lighting |
|
Modular Panels |
$800-1500 |
5-7 days |
Perfect (removable) |
Finished appearance |
Complete concealment option |
|
Acoustic Treatment |
$500-1200 |
3-4 days |
Limited |
Home theaters/music |
Sound quality improvement |
|
Mixed Materials |
$600-2000 |
1-2 weeks |
Variable by section |
Creative expression |
Unique personalization |
|
Smart Technology |
$1000-3000 |
1-2 weeks |
Full access |
Tech enthusiasts |
Integrated automation |
Getting Your Space Ready (Because Nobody Talks About This Part)
Before you can implement any of these ideas, you need to deal with all the stuff that’s accumulated in your basement over the years. Old furniture, forgotten belongings, broken appliances, outdated electronics – all that stuff that makes ceiling work difficult or impossible.
JiffyJunk’s professional team efficiently clears basements of all that accumulated stuff with their signature white glove service that includes sweeping and sanitizing areas after removal. They create the clean slate that’s essential for ceiling work since dust and debris mess with paint adhesion and installation processes.
They handle specialized item removal like electronics that need proper recycling, appliances with refrigerants, and oversized furniture through licensed, insured professionals with proper equipment. This saves you time and energy compared to weeks of self-clearing while preventing potential injuries.
A professionally cleaned, clutter-free basement lets you properly assess your infrastructure, get accurate material measurements, and successfully execute your design regardless of which ceiling treatment you choose.
Professional junk removal services can efficiently clear your basement space, while specialized furniture removal ensures safe disposal of items that might interfere with your ceiling renovation project.
Final Thoughts
Look, transforming your basement with an exposed ceiling treatment has incredible potential to create a space that’s both functional and actually looks good. The 25 ideas we’ve covered show that you don’t need a massive budget to get dramatic results – sometimes a simple coat of paint or creative use of everyday materials can completely change how your space feels.
The most successful projects start with being honest about your space’s existing conditions, your budget, and what you actually need the space to do long-term. Whether you’re drawn to the drama of a black ceiling, the warmth of reclaimed wood, or the high-tech appeal of integrated smart lighting, pick something that works with both your vision and your practical needs.
Don’t underestimate the prep work – a clean, organized workspace isn’t just helpful, it’s essential for getting results that look professional. Take time to clear out the clutter, figure out what you’re working with infrastructure-wise, and plan for ongoing maintenance access before you dive into your chosen treatment.
Whether you’re planning a complete basement transformation or just exploring cost-effective renovation options, proper preparation through professional cleanout services ensures your project starts right.
Your basement ceiling project is a chance to be creative while adding real value to your home. With careful planning, the right materials, and maybe some professional help for prep or complex installations, you can transform what was once hidden infrastructure into a design feature that becomes the focal point of your newly reimagined basement space.
Between you and me, half these projects take longer than you think they will, some will look weird for the first few weeks until you get used to them, and your ceiling will never be perfect. But that’s actually part of its charm. Pick something that makes you happy when you look up, fits your budget, and doesn’t make you want to cry when you need to fix a pipe. You’ve got this.