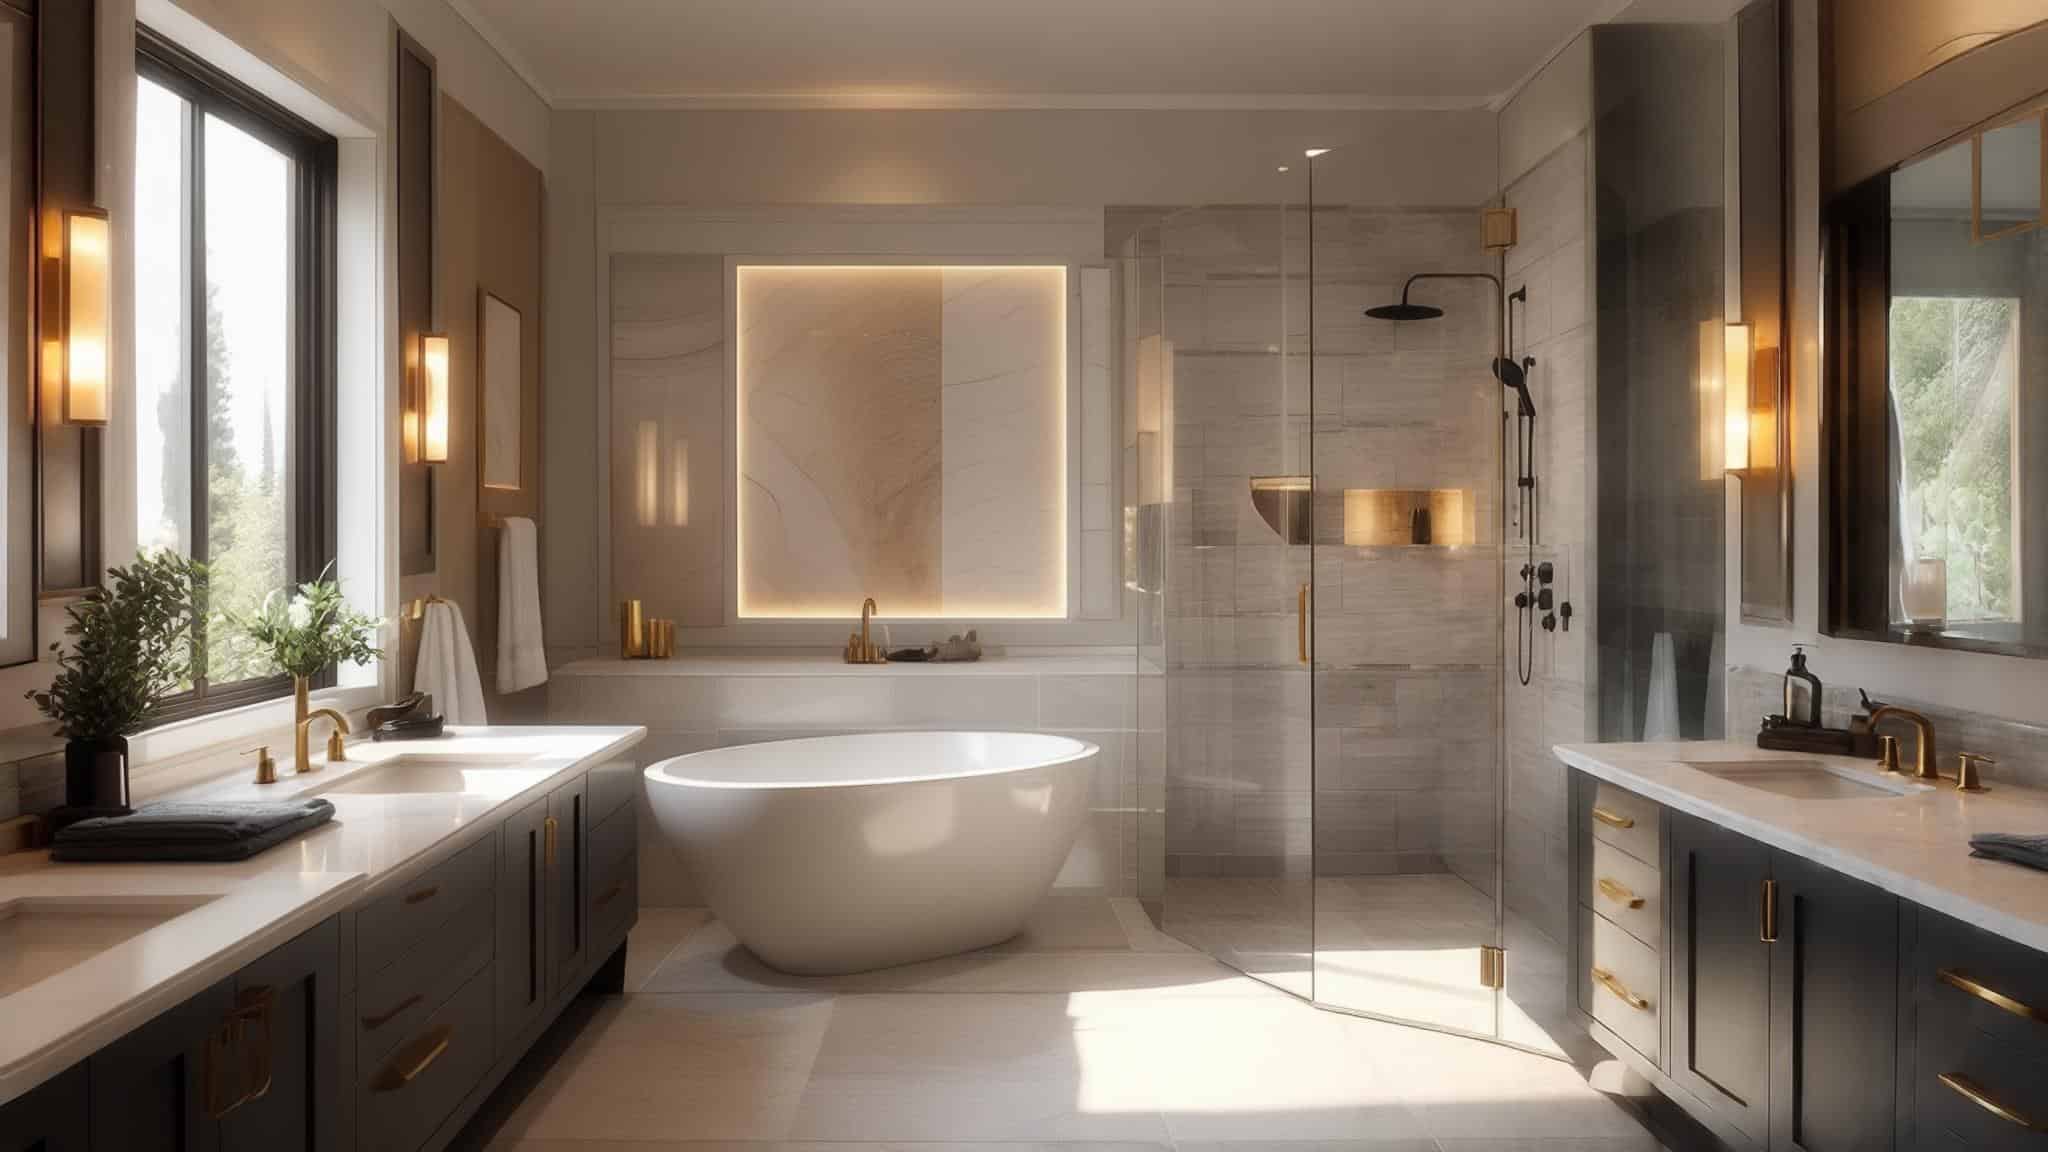
25 Clever 5×8 Bathroom Remodel Ideas to Make the Most of Your Small Space
According to recent design trends, 5×8 bathrooms represent one of the most common powder room sizes in modern homes, yet many homeowners feel stuck when it comes to making them work better. I remember walking into my friend’s builder-grade 5×7 bathroom last year – boring beige tile, basic pedestal sink, and that classic “boob light” fixture we’ve all seen a million times. It looked exactly like every other uninspiring bathroom you’d find in a newer home. But here’s the thing: even small bathrooms can become spaces you actually enjoy spending time in.
Your 5×8 bathroom might feel cramped right now, but it’s actually full of possibilities. Whether you’re dealing with an older home’s quirky layout or a newer build that needs some personality, these practical ideas will help you create a space that feels bigger while keeping your budget in check.
We’ve all been there – standing in our cramped bathroom wondering how we’re supposed to fit everything we need in such a tiny space. The good news? You don’t need to knock down walls or spend a fortune to make a real difference.
When planning your renovation, understanding what debris and old fixtures need removal is crucial for a successful project transformation, which is why bathroom demolition requires careful planning to avoid costly mistakes.
Table of Contents
-
Planning Your 5×8 Bathroom Remodel: What You Need to Know First
-
Layout and Space Planning Solutions (Ideas 1-6)
-
Storage and Organization Innovations (Ideas 7-11)
-
Lighting and Ambiance Transformations (Ideas 12-16)
-
Material and Finish Upgrades (Ideas 17-21)
-
Fixture and Feature Enhancements (Ideas 22-25)
-
How JiffyJunk Supports Your Bathroom Renovation
-
Final Thoughts
TL;DR
-
Smart layout changes like corner showers and pocket doors can give you back 6-9 square feet you didn’t know you had
-
Going vertical with storage and built-in niches gets your stuff organized without eating up floor space
-
Good lighting and mirrors can trick your eye into seeing a bigger, brighter bathroom
-
Bigger tiles and floating vanities make everything look more modern and spacious
-
Fancy features like heated floors add luxury without taking up extra room
-
Getting pros to haul away your old stuff makes the whole project way less stressful
Planning Your 5×8 Bathroom Remodel: What You Need to Know First
Let’s be honest – your 5×8 bathroom is probably driving you a little crazy right now. But before you start ripping things out, there are some important things to figure out that’ll save you headaches (and money) down the road.
Making the most of your space becomes super important when you’re working with just 40 square feet. Every inch matters, so you need to think about how you actually move around in there. Can you comfortably get around the toilet? Does the vanity door smack into the shower when you open it? These details matter way more in small spaces than you might think.
|
Budget Range |
What You Get |
How Long It Takes |
Best For |
|---|---|---|---|
|
$5,000-$8,000 |
Paint, new fixtures, vanity upgrade, basic tile |
1-2 weeks |
DIY weekend warriors |
|
$8,000-$15,000 |
New flooring, shower makeover, better lighting, storage |
2-4 weeks |
Solid improvements that make a difference |
|
$15,000-$25,000+ |
Layout changes, nice materials, smart features |
4-8 weeks |
Full luxury transformation |
Let’s talk money and time. Most 5×8 bathroom makeovers run anywhere from $5,000 if you’re doing it yourself to $25,000+ if you want all the bells and whistles. Here’s the thing though – whatever budget you think you need, add 25%. There’s always something that pops up, trust me on this one.
Your plumbing and electrical setup often decides what you can actually do more than what looks pretty on Pinterest. Moving a toilet can add $1,000+ to your project, and adding new electrical for heated floors or fancy fixtures needs a pro. Work with what you’ve got when possible – your wallet will thank you.
Think about what you actually need to store and how many people use this bathroom every day. Your morning routine shouldn’t feel like playing Tetris, so plan for enough storage that doesn’t make the space feel cluttered.
Keeping things from getting moldy becomes even more important in small bathrooms where all that humidity has nowhere to go. You’ll need a good exhaust fan, and moisture-resistant materials aren’t optional – they’re essential.
Don’t forget to think ahead. Installing grab bars during construction costs way less than trying to add them later, and taller toilets work better for pretty much everyone.
Layout and Space Planning Solutions
These six layout tricks focus on getting the most out of your 5×8 bathroom by being smart about where you put things. From efficient three-quarter bath setups to cool wet room ideas, these approaches help you claim back valuable space while making it easier to move around.
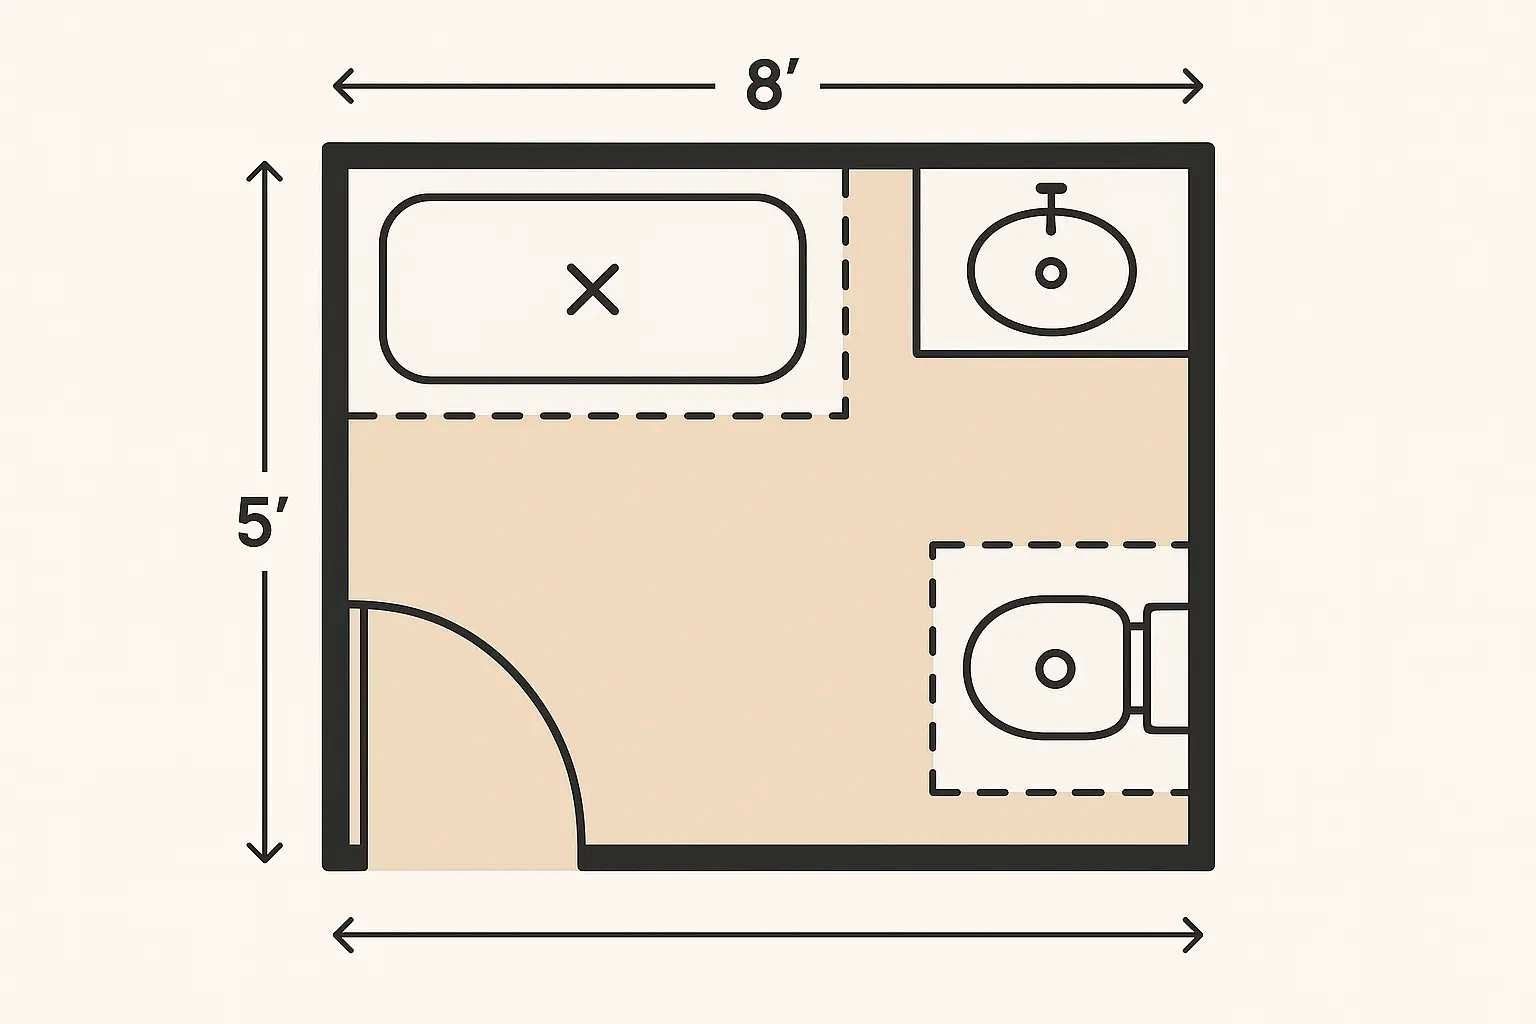
1. Three-Quarter Bath Layout with Corner Shower
Corner showers are great at making the most of your space because they tuck into that corner that’s usually just dead space anyway. Put your 32″x32″ shower in the corner farthest from the door, stick the toilet on the opposite wall, and put your vanity wherever there’s room left.
This setup creates a natural flow and usually doesn’t require moving your existing plumbing, which keeps costs reasonable. The downside? If you’re tall or broad-shouldered, you might feel a bit cramped, and storage can be tricky with this arrangement.
Sarah’s 1950s ranch had a cramped 5×8 bathroom with an old bathtub hogging the entire back wall. By ditching the tub and putting in a 32″x32″ corner shower, she gained 12 square feet of floor space. The new layout let her fit a 30″ vanity instead of that tiny pedestal sink, giving her actual storage while still being able to move around comfortably.
2. Galley-Style Linear Arrangement
Think of this like a galley kitchen but for your bathroom. Put your shower at one end, toilet in the middle, and vanity at the other end, all along the same wall. Use a 30″ shower and 24″ vanity to make sure you’ve got enough walkway space.
This setup makes plumbing way simpler and cheaper since everything’s on one wall. The downside is storage can be challenging, but wall-mounted solutions and going vertical help make up for it.
3. Wet Room Conversion
This is the ultimate in making your space feel bigger – basically, you waterproof the entire bathroom and ditch traditional shower doors completely. Add a linear drain and mount everything on the walls to keep that open, airy feeling.
Wet rooms maximize both actual and visual space while being super accessible for anyone with mobility issues. They look incredibly modern too. But fair warning – this requires serious waterproofing expertise and professional installation. It’s pricey, but the functionality and future-proofing often make it worth it.
4. Split-Level Design with Raised Shower Platform
This adds some cool architectural interest while solving drainage problems. Raise your shower area 6-8 inches on a properly waterproofed platform, which creates a clear separation between wet and dry areas.
Use glass panels instead of full walls to keep sight lines open and prevent the raised area from feeling closed off. This creates interesting visual depth and helps contain water better. Just keep in mind it’s not great for accessibility, and waterproofing at the platform edges is critical – this is definitely a job for the pros.
5. Pocket Door Integration Layout
Pocket doors can give you back 6-9 square feet by getting rid of that door swing area. That recovered space means you can fit bigger fixtures, better storage, or just move around more comfortably.
You need thick enough walls to fit the door mechanism, and it costs more than regular doors. But the space you get back often makes it worth it in small bathrooms. Just think about how it affects electrical and plumbing in that wall during planning.
6. Diagonal Shower Placement
Neo-angle showers with diagonal doors create interesting visual dynamics that can make your bathroom feel more spacious than regular corner setups. The angled entry often feels more welcoming and gives you better sight lines.
This layout offers unique design opportunities and can actually fit a slightly bigger shower interior than standard corner units. The diagonal placement often works better with where you put your vanity and toilet too. The downside? The diagonal entry might feel weird at first, and arranging furniture around the angled shower can be tricky.
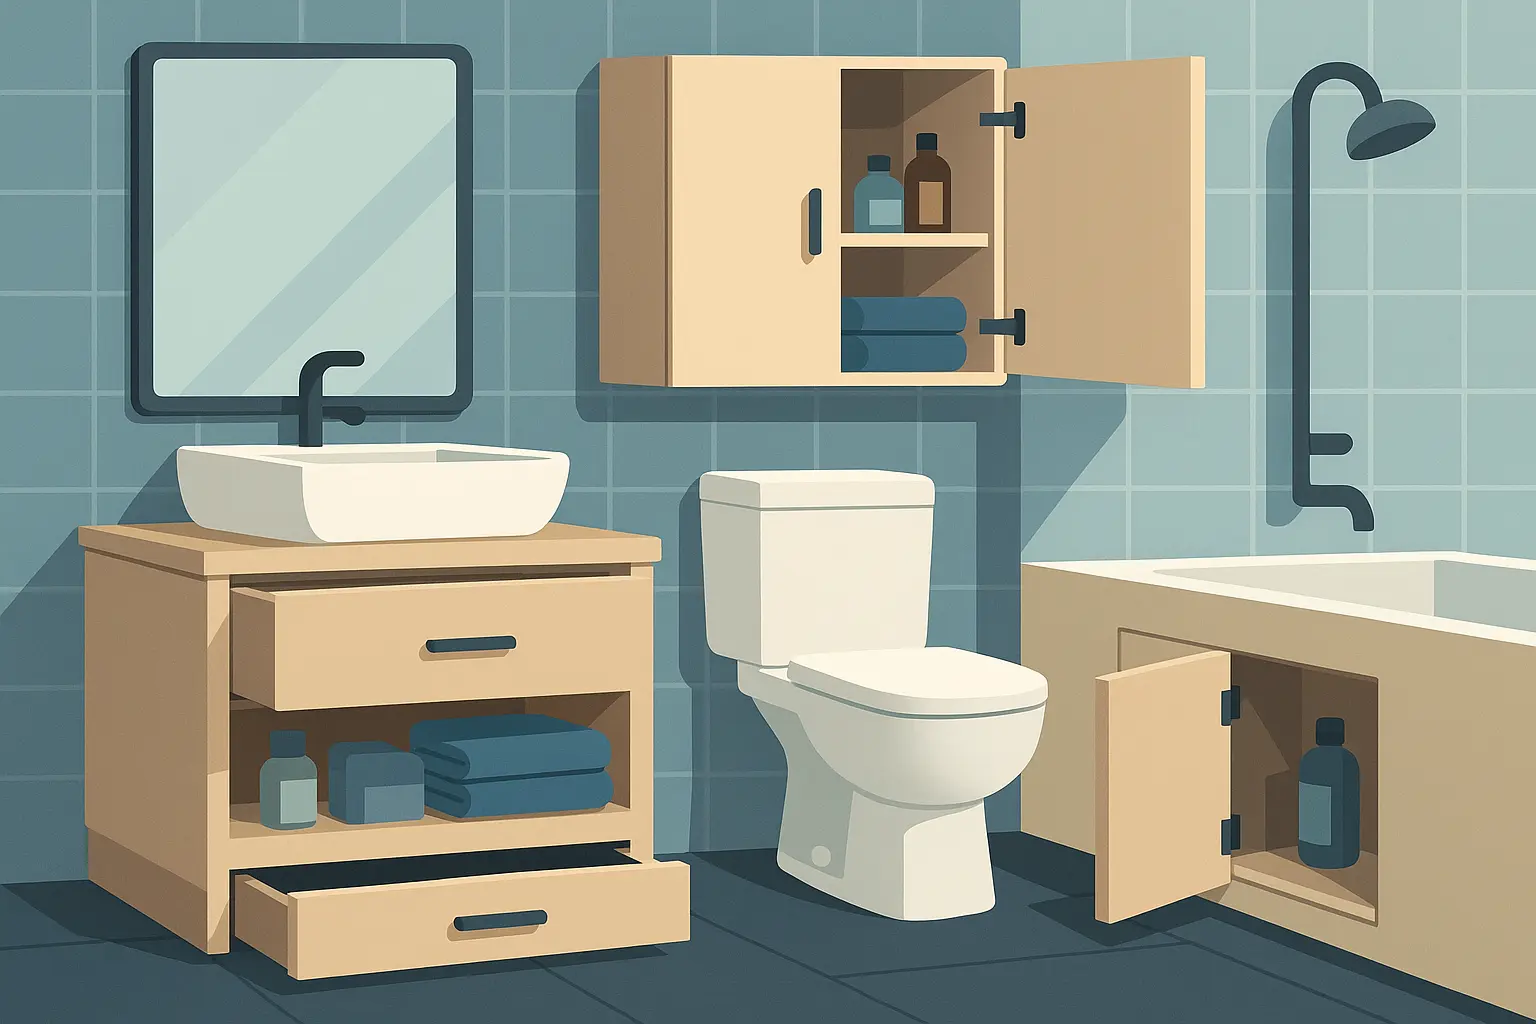
Storage and Organization Innovations
These five storage solutions help you fit everything you need in your 5×8 bathroom by going vertical, building things in, and hiding storage where you wouldn’t expect it. From floor-to-ceiling cabinets to sneaky hidden compartments, these ideas help you store your stuff without making the space feel cluttered.
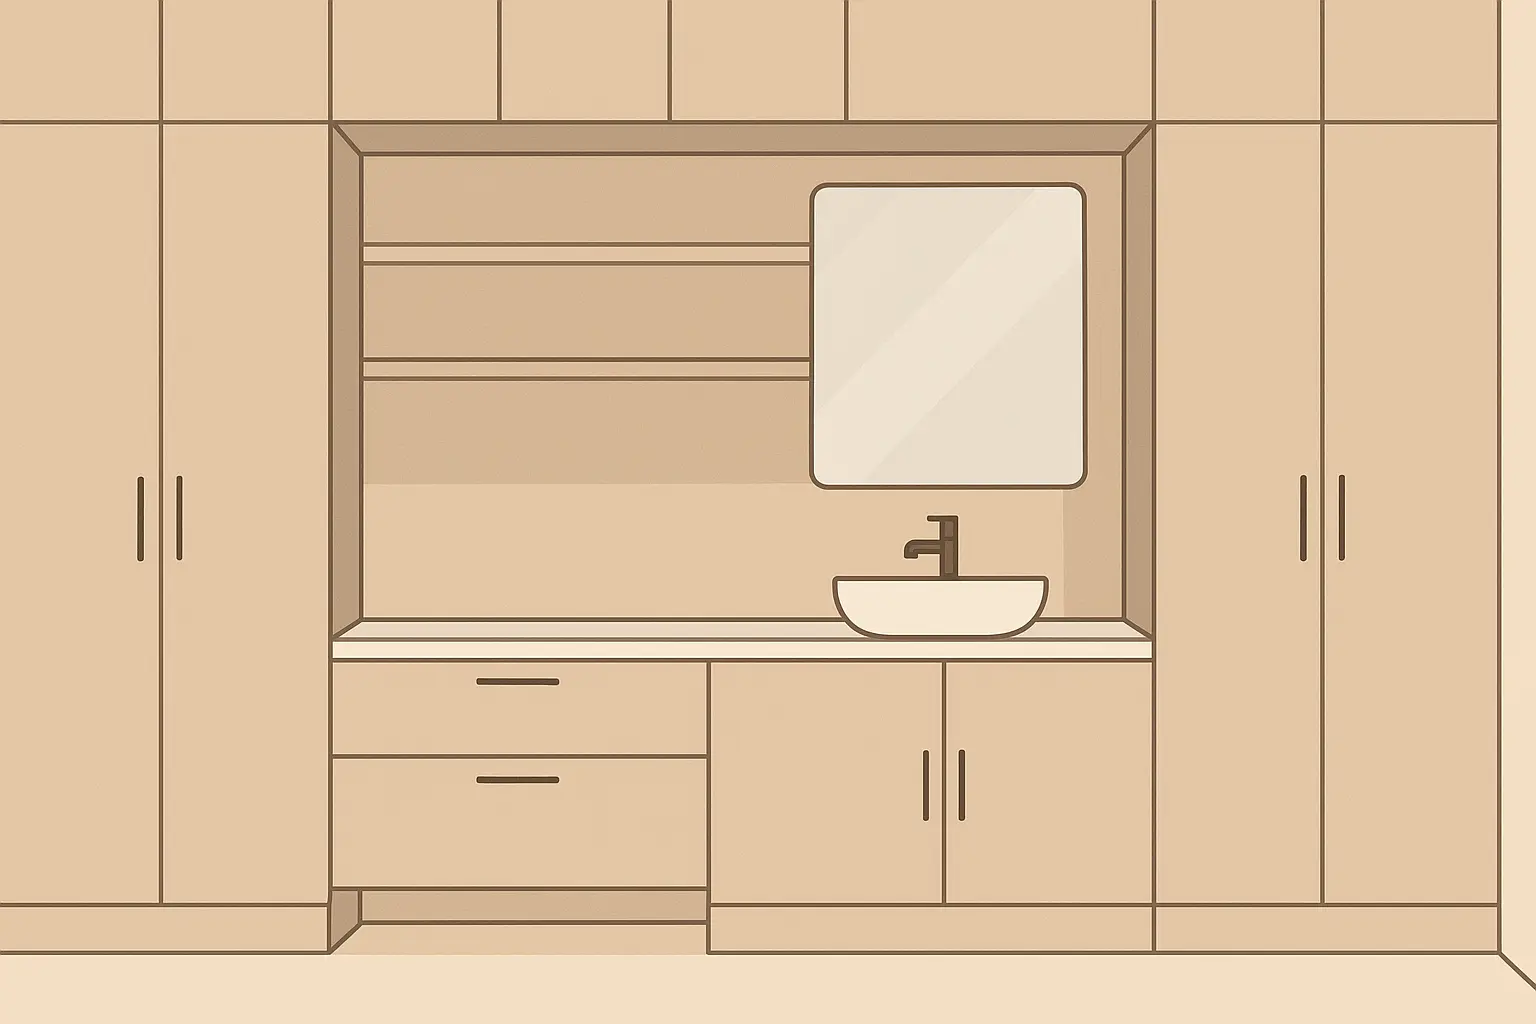
7. Floor-to-Ceiling Built-in Cabinetry
Floor-to-ceiling built-ins turn your 5×8 bathroom into a storage powerhouse. Design custom cabinets that include your vanity, linen storage, and display areas with different depths for different stuff while keeping things visually interesting.
This approach uses every inch of vertical space while creating a custom, high-end look that seriously bumps up your bathroom’s value. The built-in design eliminates clutter and creates clean, modern lines.
It costs more upfront than standard vanities, but the storage you get and the way it looks usually make it worth it. Just make sure you’ve got proper ventilation around enclosed areas and use moisture-resistant materials throughout.
8. Recessed Wall Niches and Shelving
Recessed niches use space that’s usually just wasted inside your walls. Install 12″x6″x4″ niches in shower areas, above toilets, and beside vanities for toiletries, decorative stuff, and daily essentials.
These don’t take up any floor space and create beautifully clean lines that make your bathroom look more modern. The recessed design keeps items organized and easy to reach without visual clutter.
Installation complexity depends on your wall construction and what’s already running through there. Load-bearing walls limit your options, and you need to plan carefully to avoid hitting utilities.
Mike’s contractor discovered during demo that his bathroom’s back wall was perfect for recessed niches. They put in three 12″x6″x4″ niches in the shower and two smaller ones beside the vanity mirror. The built-in storage eliminated shower caddies and gave him organized storage for daily stuff without taking up any floor space, making the small bathroom feel much more open.
9. Multi-Functional Vanity Design
Think of these as command centers for your bathroom storage. Design combinations of drawers, open shelving, and hidden compartments with features like built-in hampers, pull-out organizers, and outlets built right in.
Custom vanities maximize storage efficiency and can be perfectly tailored to what you actually need to store. The superior functionality often justifies the higher costs compared to off-the-shelf options.
Make sure to use moisture-resistant materials throughout and think about accessibility when planning drawer depths and heights. Soft-close hardware adds a nice touch while preventing damage from humid conditions.
10. Overhead Storage Solutions
This uses that vertical space that usually goes to waste. Install attractive cabinets or open shelving above toilets and along upper walls, using stylish baskets or containers to organize stuff while keeping it looking good.
This approach uses space that’s typically unused while keeping storage items visible and organized. The high position works perfectly for lightweight stuff you don’t use often, like extra towels or seasonal products.
Think about ceiling height and whether you can actually reach things when planning overhead storage. Items stored high should be lightweight and stuff you don’t need very often. Proper mounting is crucial for safety in humid bathroom environments.
11. Hidden Storage Integration
This maintains your bathroom’s clean look while maximizing what you can store. Build concealed storage into medicine cabinet mirrors, toe-kick drawers under vanities, and hidden compartments in shower benches or behind false walls.
This approach gives you serious storage capacity without visual clutter, creating a sophisticated, uncluttered appearance. The hidden nature maintains clean sight lines while providing plenty of organizational space.
Installation can be complex and costly, but the payoff in both storage and visual appeal usually makes it worth it. Make sure access is easy and provide proper ventilation for enclosed spaces to prevent moisture problems.
Lighting and Ambiance Transformations
These five lighting strategies create depth, functionality, and a more luxurious feel in your 5×8 bathroom through layered lighting, natural light, LED integration, statement fixtures, and smart technology. Good lighting design can dramatically change how spacious and inviting your small bathroom feels.
12. Layered Lighting Design
Instead of relying on that one overhead light (you know, the dreaded “boob light”), layer different types of lighting. Combine general lighting through recessed ceiling fixtures, task lighting with vanity sconces, accent lighting with LED strips under vanities, and maximize any natural light you can get.
Install dimmer switches so you can adjust the mood throughout the day. This comprehensive approach creates depth and visual interest while making sure you can actually see what you’re doing.
|
Lighting Type |
What to Use |
How Bright |
What It’s For |
|---|---|---|---|
|
General |
Recessed ceiling lights |
60-75W equivalent LED |
Overall room lighting |
|
Task |
Vanity sconces/strips |
40-60W equivalent LED |
Getting ready, shaving |
|
Accent |
Under-cabinet LED strips |
10-20W LED |
Mood and visual depth |
This requires more electrical planning and costs more upfront, but the luxury and versatility you get make it worth it. Just make sure all fixtures are rated for bathroom humidity.
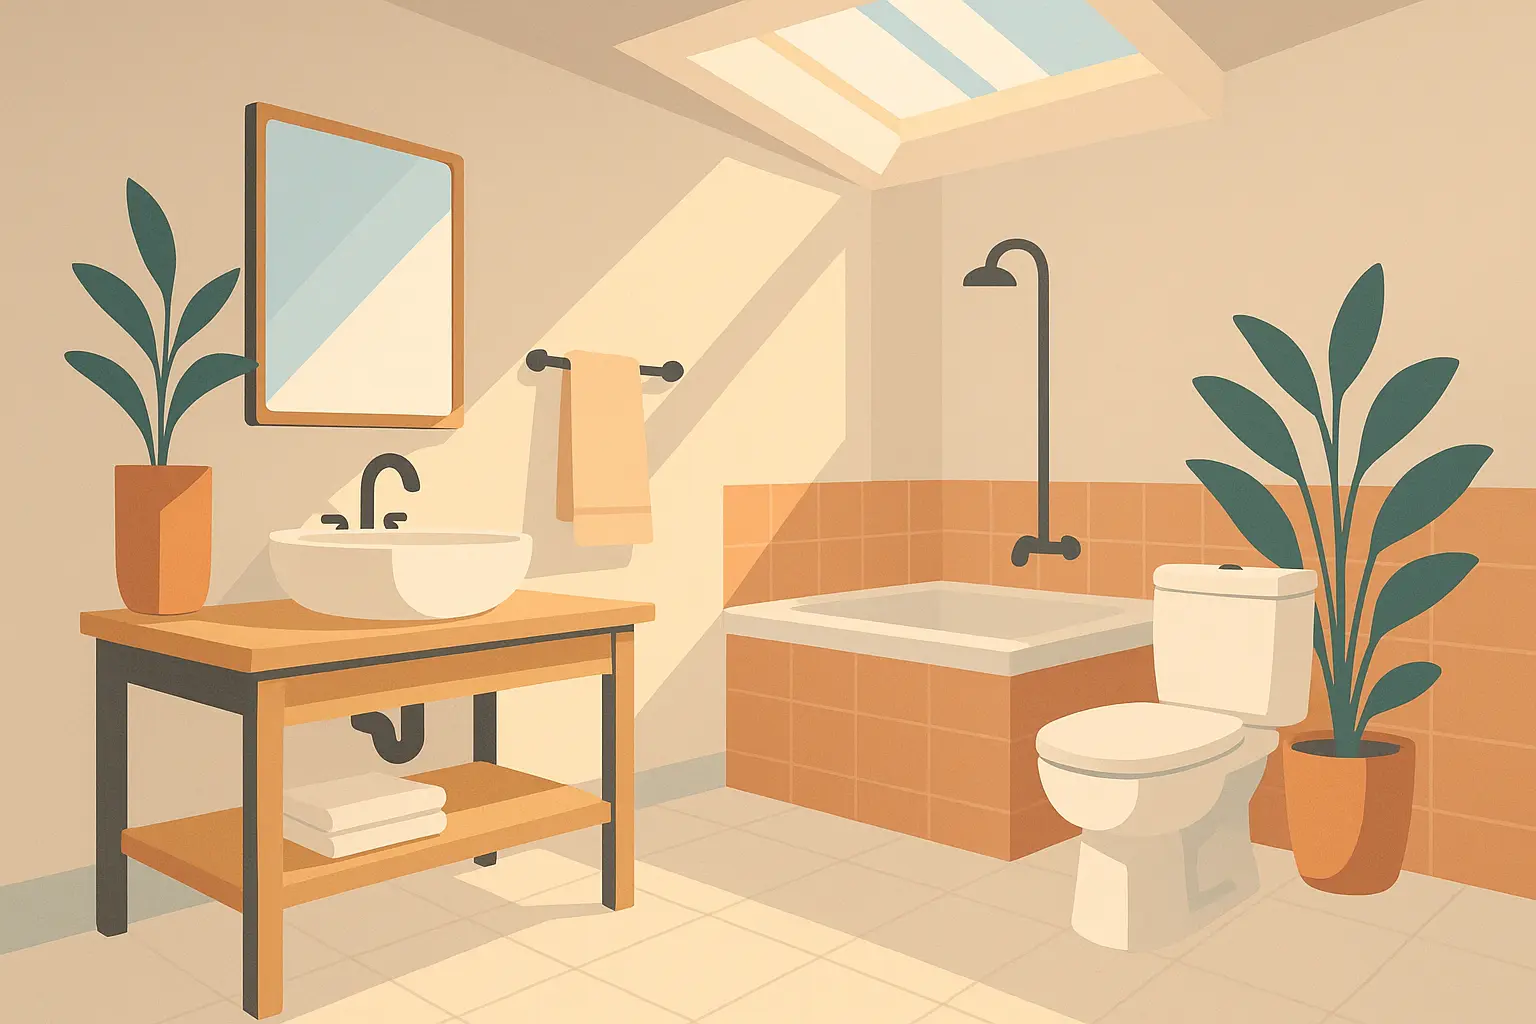
13. Skylight or Solar Tube Installation
Natural light changes everything in small bathrooms. Install at least a 2’x2′ skylight or 10-14″ diameter solar tube to fill your space with daylight. Combine with light-colored surfaces to maximize the brightening effect.
Natural light makes your space feel bigger better than any artificial lighting while cutting down on daytime electrical use. Plus, there’s something psychologically great about natural light in your daily routine.
This requires roof work and expert waterproofing to prevent leaks – definitely not a DIY job. Think about privacy and how the light changes seasonally when planning where to put it.
14. LED Mirror and Backlit Features
LED technology gives you incredible versatility for bathroom lighting. Install LED-backlit mirrors, illuminated shower niches, and under-cabinet lighting systems. Use color-changing LEDs if you want to get fancy with customizable ambiance.
LED lighting is super energy efficient and lasts forever, with modern options that show colors accurately. You can customize it for different moods and activities. It costs more initially, but long-term energy savings and functionality make it worthwhile.
15. Statement Light Fixtures
A statement fixture serves as functional art in your small bathroom. Install a dramatic chandelier, pendant light, or artistic sconce as a focal point that complements your overall design while providing adequate light.
Statement fixtures can completely transform your space’s character and give people something to talk about. The right fixture adds personality and sophistication that elevates your entire bathroom.
Make sure fixtures are appropriately sized for your 5×8 space and rated for bathroom humidity. You might need professional installation for heavy or complex fixtures to ensure safety and code compliance.
16. Smart Lighting Integration
Smart lighting systems bring convenience and efficiency to your bathroom routine. Install smart switches, motion sensors, and programmable lighting scenes with features like automatic night lights, sunrise simulation, and voice control.
These systems offer significant convenience and energy savings through automated scheduling and occupancy sensing. Being able to customize lighting scenes for different activities makes your daily bathroom experience better.
Smart lighting requires compatible electrical systems and costs more upfront. Consider the learning curve for everyone who uses the bathroom and make sure you have reliable connectivity.
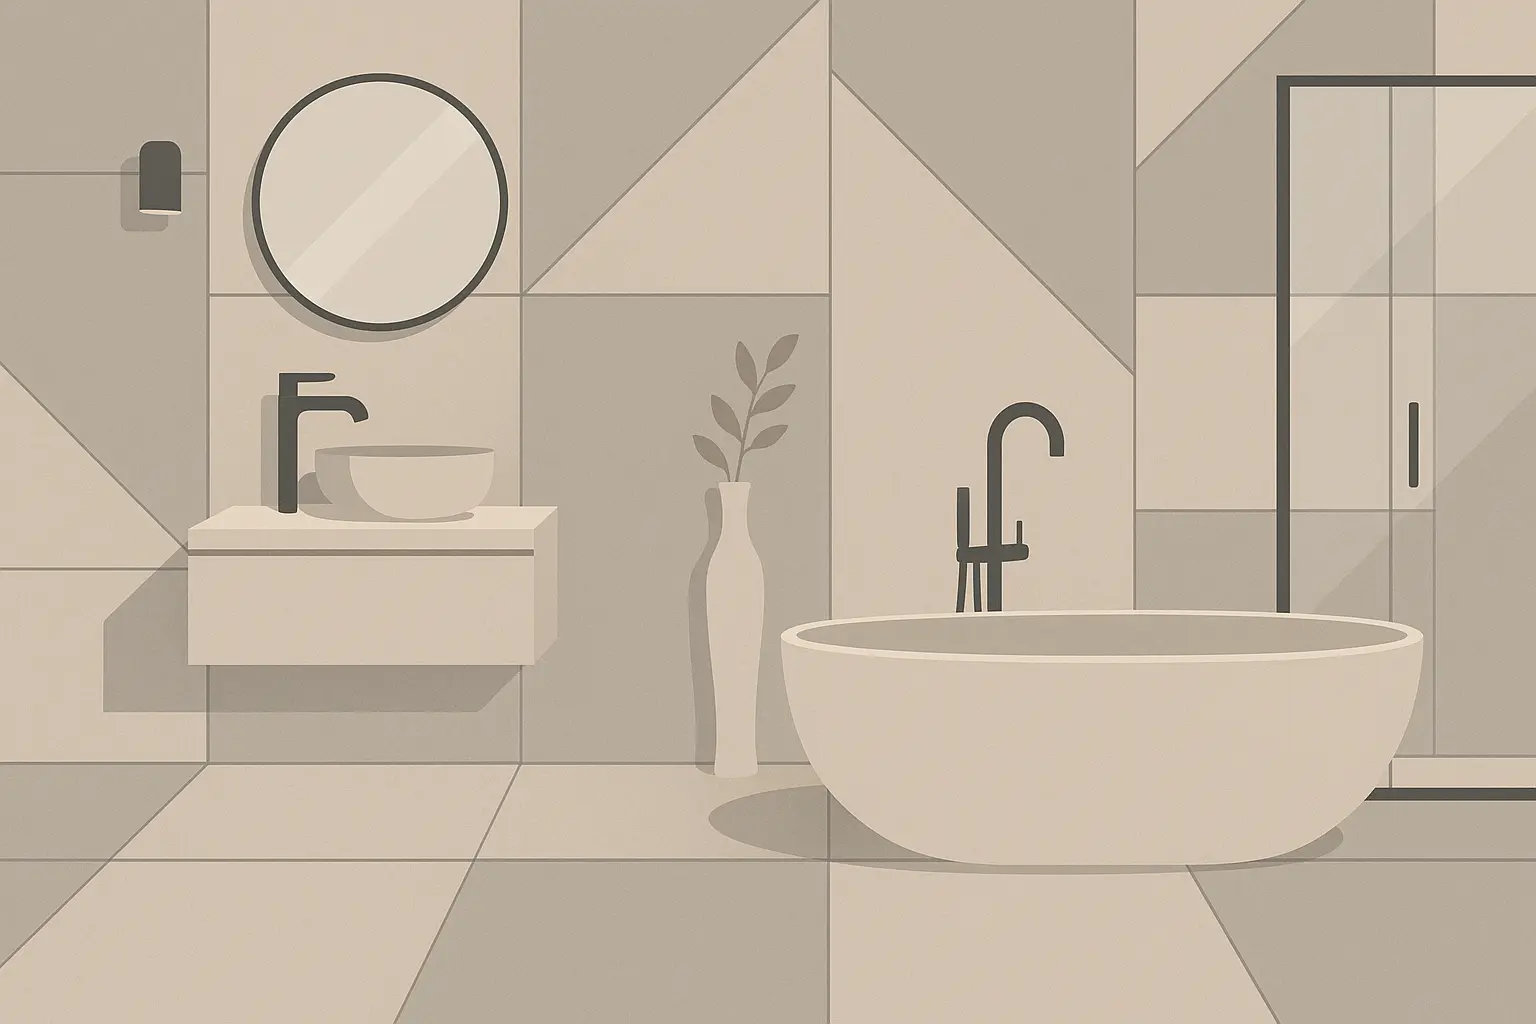
Material and Finish Upgrades
These five material and finish strategies make your 5×8 bathroom look better and work better through large tiles, natural stone features, luxury vinyl flooring, reflective surfaces, and strategic texture. The right materials can make your small space feel bigger while adding value and style.
17. Large Format Tile Installation
Big tiles create clean, expansive looks in small spaces. Use 12″x24″ or larger tiles on walls and floors to minimize grout lines and create visual flow. Consider book-matching patterns for dramatic stone-look effects.
Large tiles make your bathroom feel more spacious while being easier to maintain since there are fewer grout lines to scrub. The clean, modern look works great in contemporary styles.
This definitely needs skilled professionals and careful prep work to prevent tiles from being uneven or cracking. You’ll have more waste due to cutting in small spaces, so order 15-20% extra material.
18. Natural Stone Feature Walls
Natural stone feature walls add instant luxury and sophistication. Create accent walls using marble, travertine, or slate behind vanities or in shower areas for dramatic visual impact and increased home value.
Natural stone provides unmatched beauty and uniqueness – no two installations look identical. The luxury appeal and durability make stone an excellent long-term investment for your bathroom.
Stone needs proper sealing and ongoing maintenance to prevent staining and damage. Costs vary dramatically by stone type and how complex the installation is. Think about moisture resistance and slip-resistance for shower applications.
Jennifer transformed her builder-grade 5×8 bathroom by installing a stunning Carrara marble feature wall behind her floating vanity. The 12″x24″ marble tiles with book-matched veining became the room’s focal point, making the space feel luxurious and expensive despite keeping the original layout and other fixtures. The $800 investment in materials added an estimated $2,500 in home value.
19. Luxury Vinyl Plank Flooring
Luxury vinyl plank (LVP) flooring performs incredibly well in bathroom environments. Choose waterproof options with realistic textures and varied plank sizes that convincingly look like real hardwood or natural stone.
LVP offers excellent durability, complete water resistance, and comfort underfoot at reasonable cost. Installation is usually straightforward for DIY-capable homeowners, and maintenance is minimal.
While LVP doesn’t have the prestige of natural materials, high-quality options are virtually impossible to tell from authentic wood or stone. The practical benefits often outweigh looks in bathroom applications.
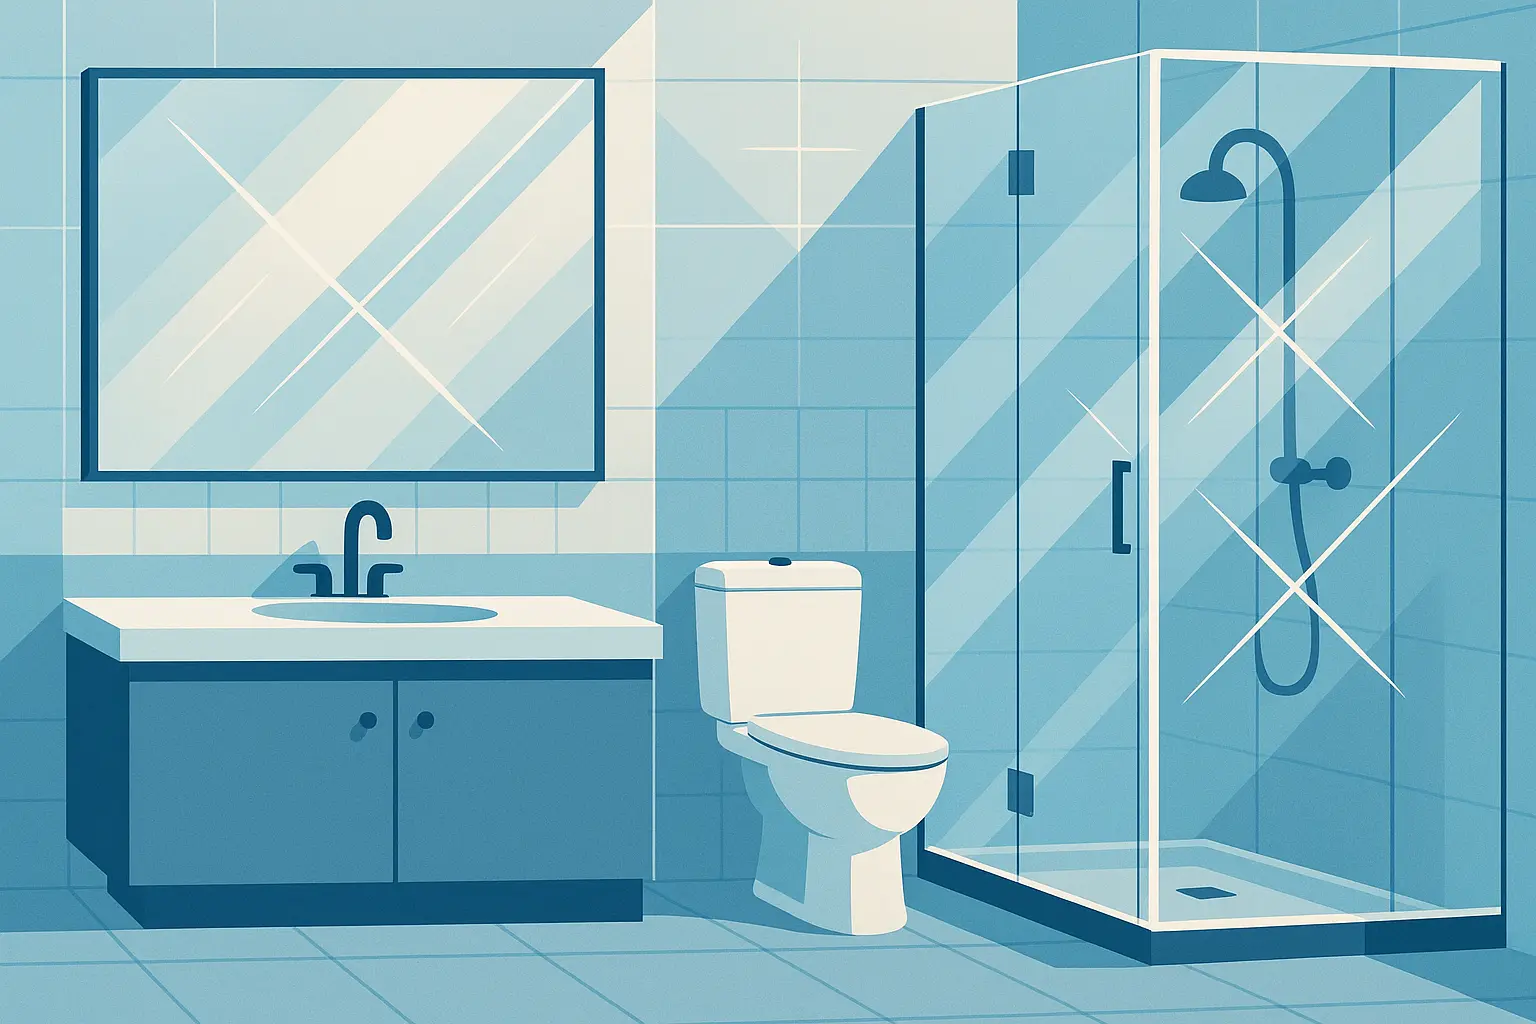
20. Glass and Mirror Surfaces
Reflective surfaces work magic in small bathrooms. Maximize mirrors, glass shower enclosures, and glossy tile finishes to amplify available light and create convincing illusions of expanded space.
Glass and mirror surfaces double your visual space by reflecting light and views throughout the bathroom. The amplified brightness makes your 5×8 space feel significantly larger and more open.
Reflective surfaces need frequent cleaning and show water spots easily. Balance glossy finishes with some matte elements to avoid an overly sterile, hospital-like appearance.
21. Textured and Patterned Elements
Textured and patterned elements add personality and visual depth to your bathroom design. Use textured tiles, moisture-resistant patterned wallpaper, or decorative panels strategically as accent features rather than covering everything.
Textures and patterns prevent your small bathroom from feeling flat or boring while expressing your personal style. Strategic placement creates focal points that draw attention and add sophistication.
Use patterns carefully in small spaces to avoid visual overwhelm. Think about maintenance requirements for textured surfaces and make sure patterns complement rather than compete with other design elements.
Fixture and Feature Enhancements
These four premium fixture upgrades transform your 5×8 bathroom into a luxury retreat through walk-in showers, floating vanities, smart toilets, and heated flooring systems. While they cost more, these features deliver significant comfort, functionality, and home value improvements.
|
Fixture Upgrade |
Cost Range |
How Hard to Install |
Value Added |
|---|---|---|---|
|
Walk-in Shower |
$2,500-$6,000 |
Hard (waterproofing required) |
High – luxury appeal |
|
Floating Vanity |
$800-$2,500 |
Medium (wall mounting) |
Medium – modern look |
|
Smart Toilet |
$1,200-$4,000 |
Hard (electrical required) |
High – luxury/efficiency |
|
Heated Floors |
$600-$1,500 |
Medium (electrical/flooring) |
High – comfort/value |
22. Walk-in Shower with Frameless Glass
Walk-in showers represent the ultimate in bathroom luxury and accessibility. Install curbless designs with frameless glass panels, linear drain systems, and built-in benches. Include multiple shower heads and handheld options for ultimate functionality.
Walk-in showers are highly desirable features that maximize visual space while providing excellent accessibility for users with mobility challenges. The seamless design creates a spa-like experience in your small bathroom.
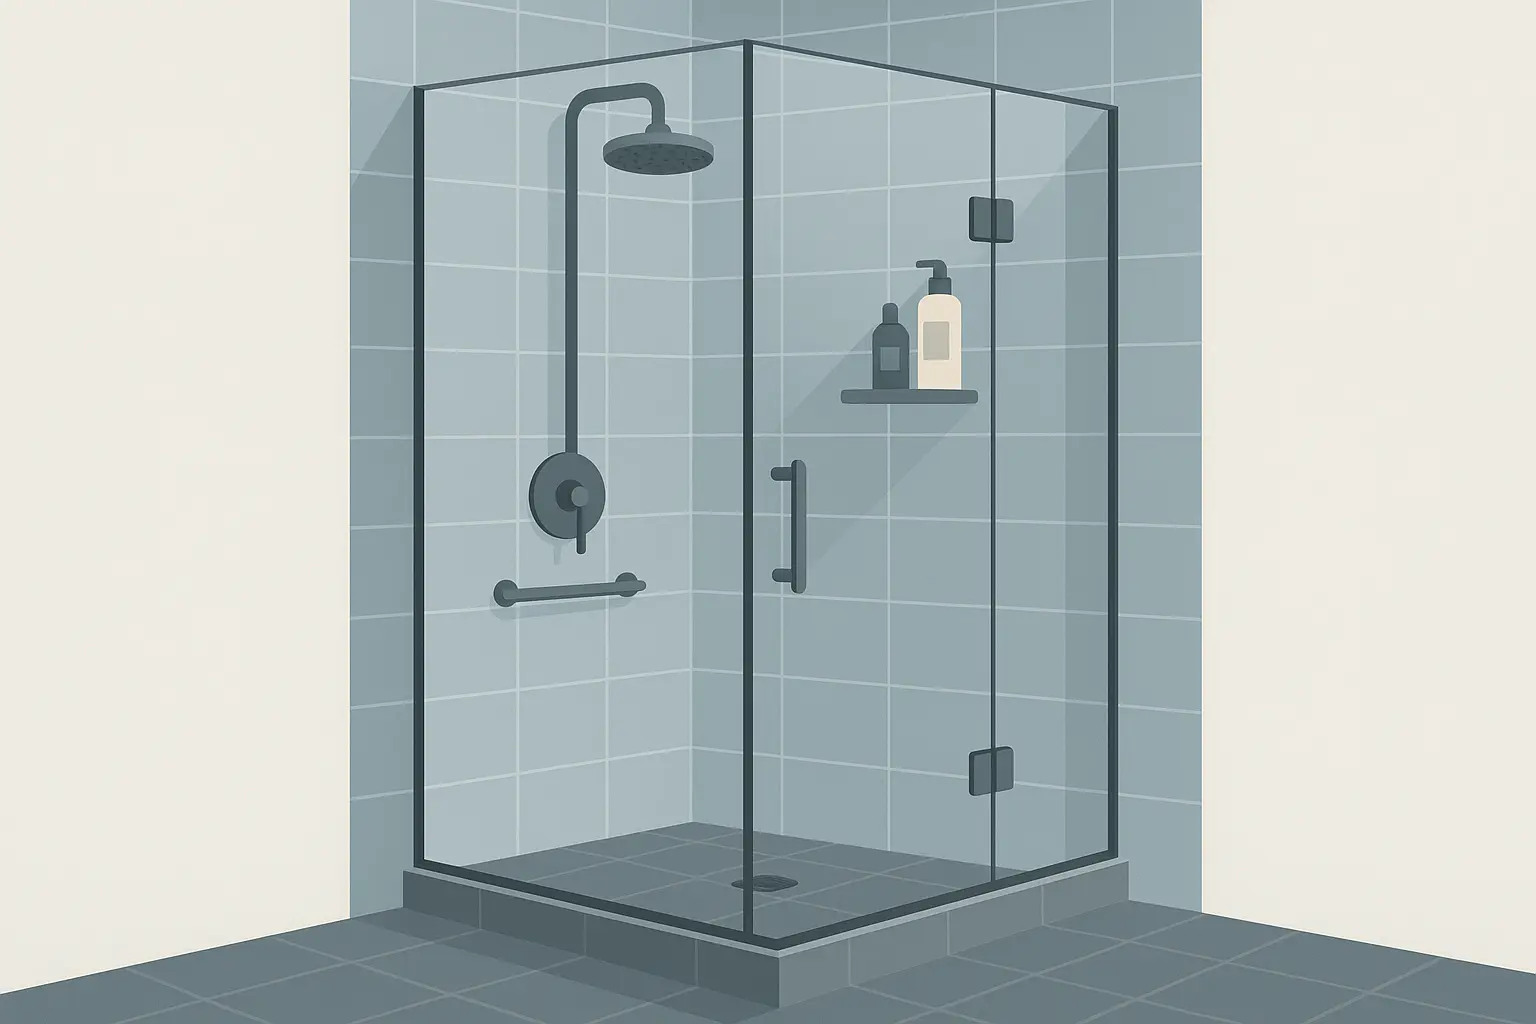
This definitely needs precise waterproofing and drainage expertise to prevent costly water damage. The open design may allow water and heat to escape more easily than enclosed showers.
23. Floating Vanity with Integrated Sink
Floating vanities create modern, sophisticated looks while making your bathroom feel more spacious. Install wall-mounted units with integrated countertop and sink combinations, adding under-cabinet lighting for dramatic effect.
The floating design creates visual lightness and makes floor cleaning significantly easier. The open space beneath prevents your bathroom from feeling bottom-heavy while maintaining clean, contemporary lines.
Installation requires solid wall mounting and careful plumbing planning for wall-mounted supply lines. Storage capacity may be limited compared to traditional floor-mounted vanities.
24. Smart Toilet Integration
Smart toilets bring luxury and advanced hygiene to your bathroom routine. Install models with heated seats, bidet functions, automatic flushing, and integrated nightlights. Choose compact elongated designs for optimal space efficiency.
Smart toilets offer substantial luxury and hygiene benefits while adding significant home value. The advanced features enhance daily comfort and can reduce toilet paper usage substantially.
Installation requires electrical connections and professional plumbing modifications. Maintenance can be more complex than standard toilets, and the initial investment is substantial. Plus, when they break, you’ll need both a tech support guy AND a plumber.
25. Heated Floor System
Heated floors transform your bathroom experience, especially during colder months. Install electric radiant heating systems beneath tile or stone flooring with programmable thermostats and zone controls for energy efficiency.
Heated floors provide unmatched luxury and comfort while adding significant perceived value to your bathroom. The consistent, gentle warmth eliminates that cold shock on winter mornings.
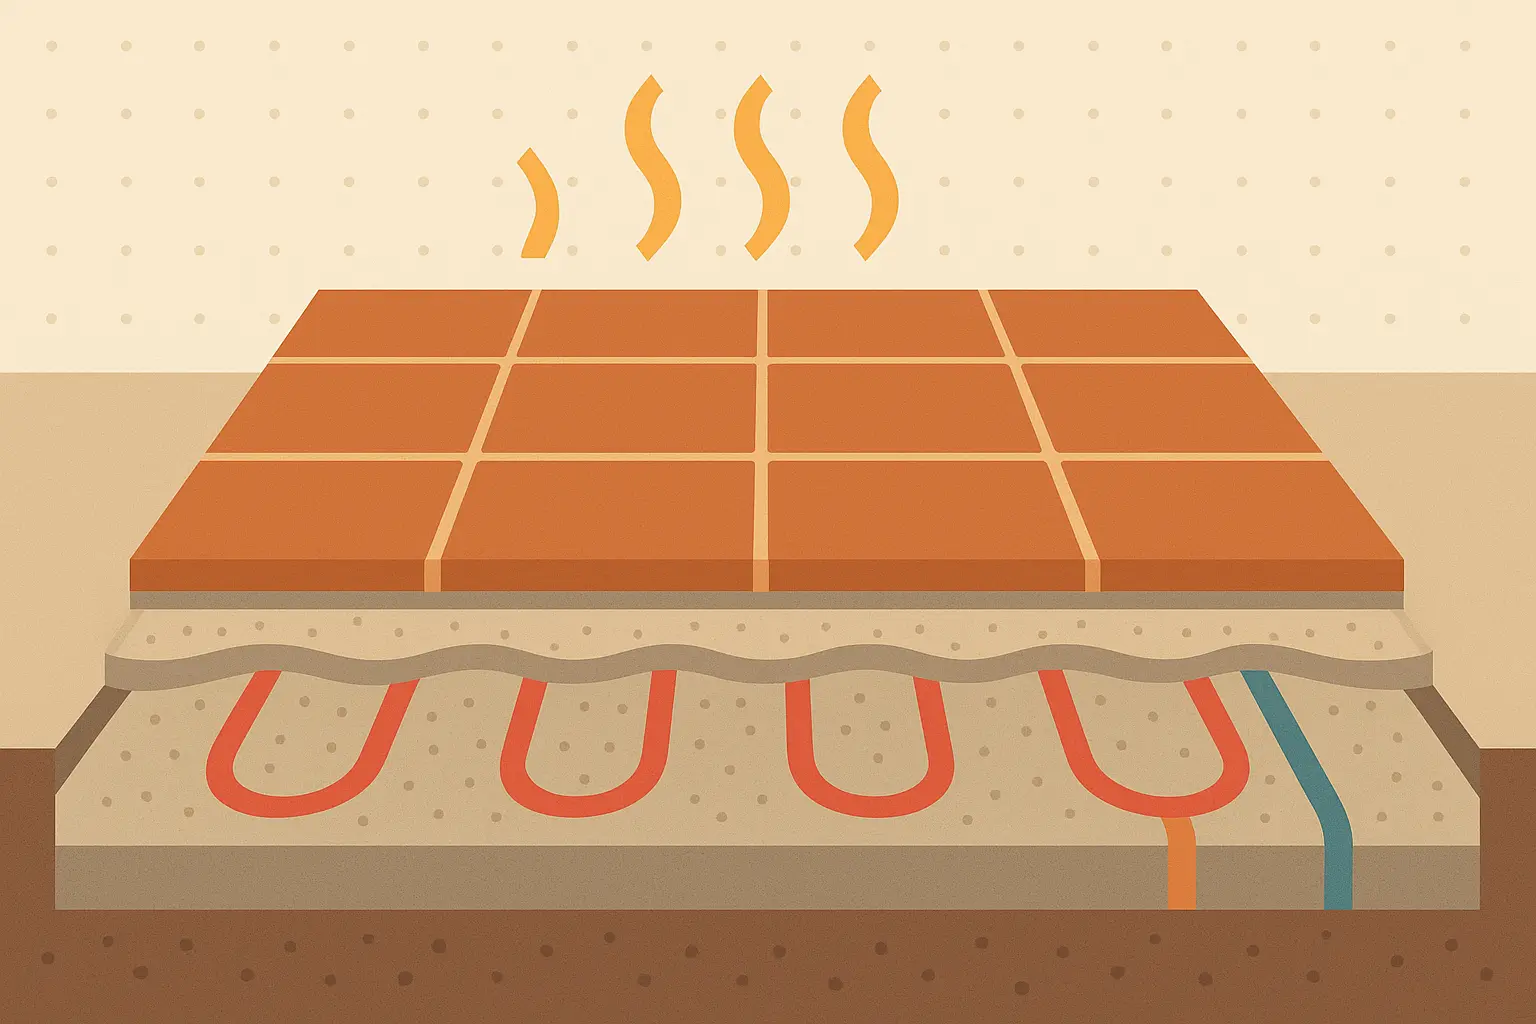
Installation works best during complete renovations since flooring must be removed. Operating costs vary by local electricity rates and usage patterns – you’ll see it on your electric bill every month. The system adds minimal floor height but requires electrical modifications.
How JiffyJunk Supports Your Bathroom Renovation
Bathroom renovations generate way more debris, old fixtures, and construction waste than you’d expect – it can quickly take over your home and workspace. That’s where JiffyJunk’s professional removal services become invaluable partners in making your renovation successful.
Before you start your 5×8 bathroom remodel ideas, we’ll clear out existing fixtures, outdated vanities, old tile, and all that accumulated stuff you’ve been storing. Our team safely removes toilets, bathtubs, shower units, and cabinets while ensuring proper appliance disposal and recycling whenever possible.
During construction, debris and packaging materials pile up fast in your small space. Our flexible scheduling accommodates multiple pickups throughout your project timeline, keeping work areas safe and organized for contractors and family members.
Once your beautiful new bathroom is complete, our construction debris removal services ensure your space is left spotless and debris-free so you can immediately enjoy your newly remodeled bathroom. Our commitment to eco-friendly practices means we’ll properly sort materials, donate usable fixtures to local charities, and recycle materials whenever possible – supporting sustainable renovation practices while reducing landfill waste.
Ready to start your 5×8 bathroom transformation? Contact JiffyJunk today to schedule your pre-renovation cleanout and learn how our renovation debris removal services can keep your project running smoothly from start to finish.
Final Thoughts
Your 5×8 bathroom has incredible potential for transformation, regardless of your budget or timeline. These 25 remodel ideas prove that small spaces can deliver both functionality and style when you approach them with smart planning and creative solutions.
The key to success is understanding your space’s unique challenges and opportunities before you start. Whether you’re doing simple storage upgrades or going for a complete luxury overhaul, each decision should support how you actually use the space while adding value to your home.
The secret to maximizing your 40 square feet lies in thoughtful space planning, smart storage solutions, and choosing fixtures that do double duty. Don’t let the small size limit your vision – embrace it as an opportunity to create a highly functional, personalized space that reflects your style and meets your needs.
Whether you’re tackling a DIY project or working with professionals, remember that proper demolition and cleanup sets the foundation for a successful renovation that transforms your 5 x 8 bathroom into the space of your dreams.
Bottom line: the best bathroom upgrade is the one you’ll still love in five years. Focus on solving real problems rather than just following trends, and you’ll end up with a space that works for your actual life, not just your Instagram feed.