25 Small Outdoor BBQ Area Ideas That’ll Transform Your Tiny Space Into a Grilling Paradise
Table of Contents
-
Let’s Talk About What You Actually Need to Think About
-
Portable and Flexible BBQ Solutions (Ideas 1-5)
-
Built-In and Permanent BBQ Installations (Ideas 6-10)
-
Space-Saving Compact Design Solutions (Ideas 11-15)
-
Multi-Functional BBQ Area Designs (Ideas 16-20)
-
Weather-Protected BBQ Options (Ideas 21-25)
-
Real-World Implementation Examples
-
Budget and Planning Analysis
-
How JiffyJunk Can Help Your BBQ Area Project
TL;DR
-
You don’t need a mansion’s backyard to create an amazing BBQ setup – I’ve seen magic happen in spaces smaller than most bedrooms
-
Portable options are perfect if you’re renting or just want to test the waters without committing thousands
-
Built-in solutions cost more upfront but turn your outdoor space into something your neighbors will actually envy
-
When every square foot counts, multi-functional designs are your best friend – think grill cart that’s also your bar
-
Weather protection isn’t just nice to have; it’s what separates fair-weather grillers from year-round BBQ heroes
-
You can start decent for under $500 or go all-out for $15,000+ (both are totally valid choices)
-
That 10-foot clearance rule? It’s not just bureaucratic nonsense – it’s what keeps your house from becoming a news story
-
Professional cleanup makes the difference between a smooth project and three weekends of hauling debris
Last summer, I watched my neighbor Jim turn his cramped 8×10 patio into the most popular hangout spot on the block. I’m talking about a space so small you could barely fit a bistro table, but somehow he managed to squeeze in a full grilling setup that had the whole neighborhood jealous. That’s when it hit me – you don’t need a massive backyard to create BBQ magic.
According to Backyard Boss, backyard BBQs bring life to everyday dining regardless of season, creating perfect spots for low-key dinners and parties where you can relax and enjoy unique outdoor cooking experiences. Look, we all know BBQs just make food taste better – there’s something about cooking outside that turns a regular Tuesday into a mini celebration.
Whether you’re working with a tiny balcony or a modest backyard corner, the right outdoor BBQ area design can maximize your outdoor living potential while staying within budget and safety requirements. I’ve spent years helping homeowners discover that size doesn’t determine functionality when it comes to creating the perfect BBQ area.
Let’s Talk About What You Actually Need to Think About
Before you get all excited about specific BBQ setups, let’s get real about six things that’ll make or break your project: figuring out what space you actually have, keeping your house from burning down, not going broke, dealing with weather, getting power and water where you need them, and honestly assessing how much maintenance you’re willing to do.
Here’s the thing nobody tells you about small space grilling – you’ll probably burn your first few meals because you’re trying to flip burgers while dodging your neighbor’s laundry hanging three feet away. Been there, done that, learned the hard way that placement is everything.
First things first – grab a measuring tape and get real about what you’re working with. I know it’s tempting to eyeball it, but trust me, that “plenty of room” feeling disappears fast when you’re trying to squeeze past a hot grill. Measure your space, then subtract room for opening the grill lid, pulling out chairs, and not bumping into things while carrying hot food.
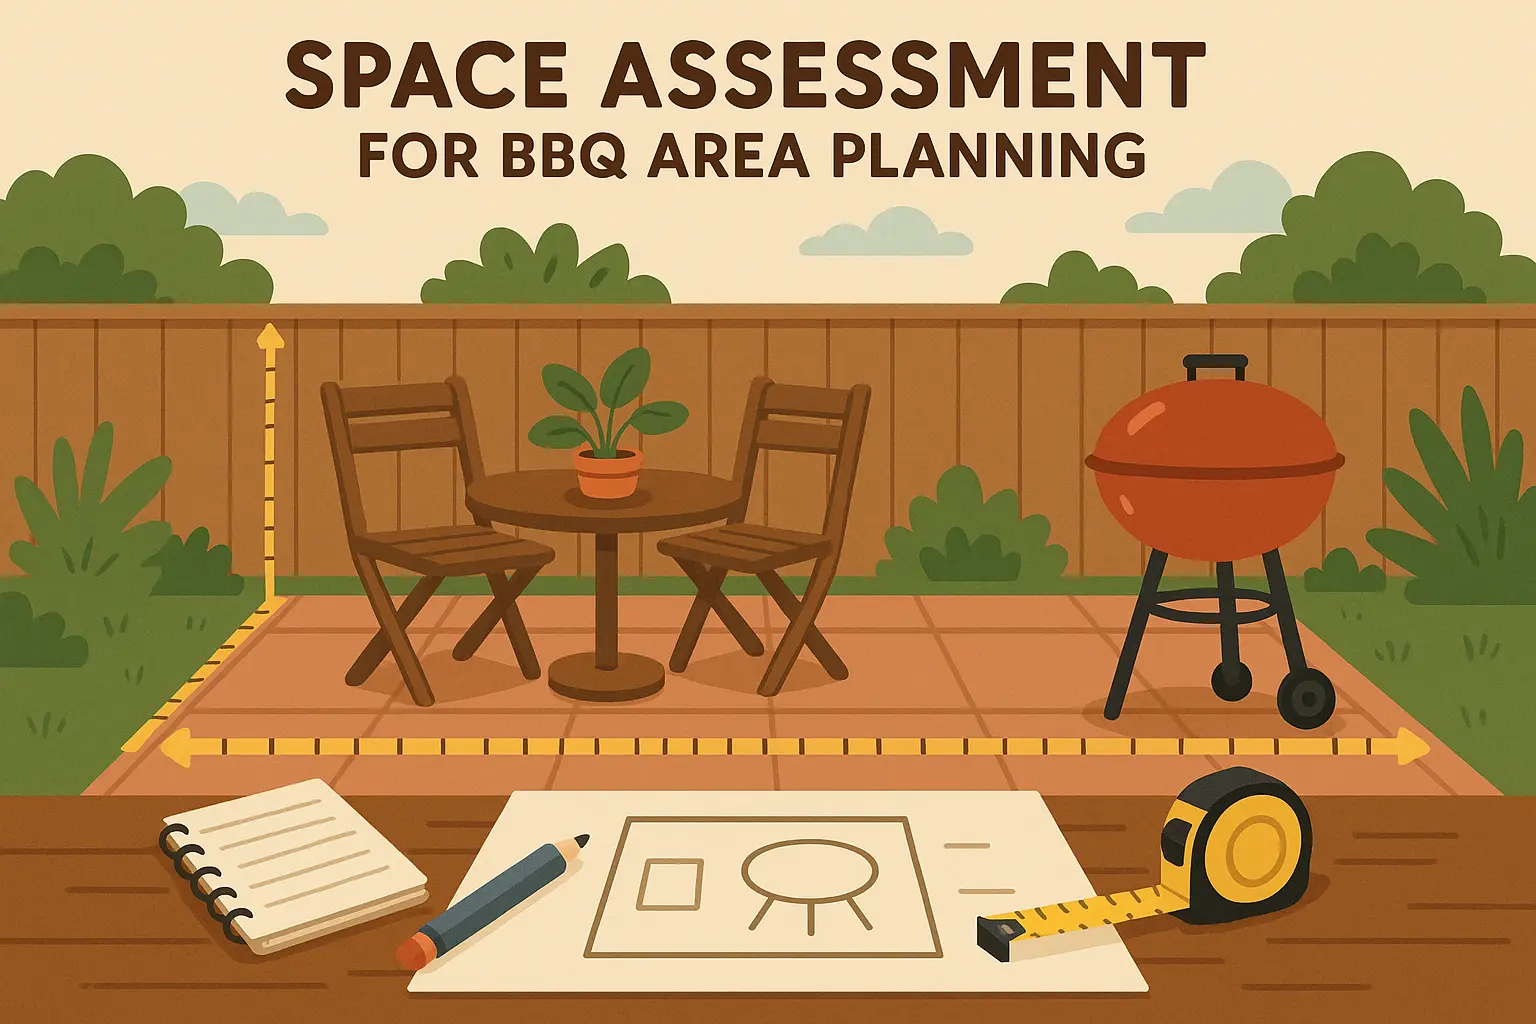
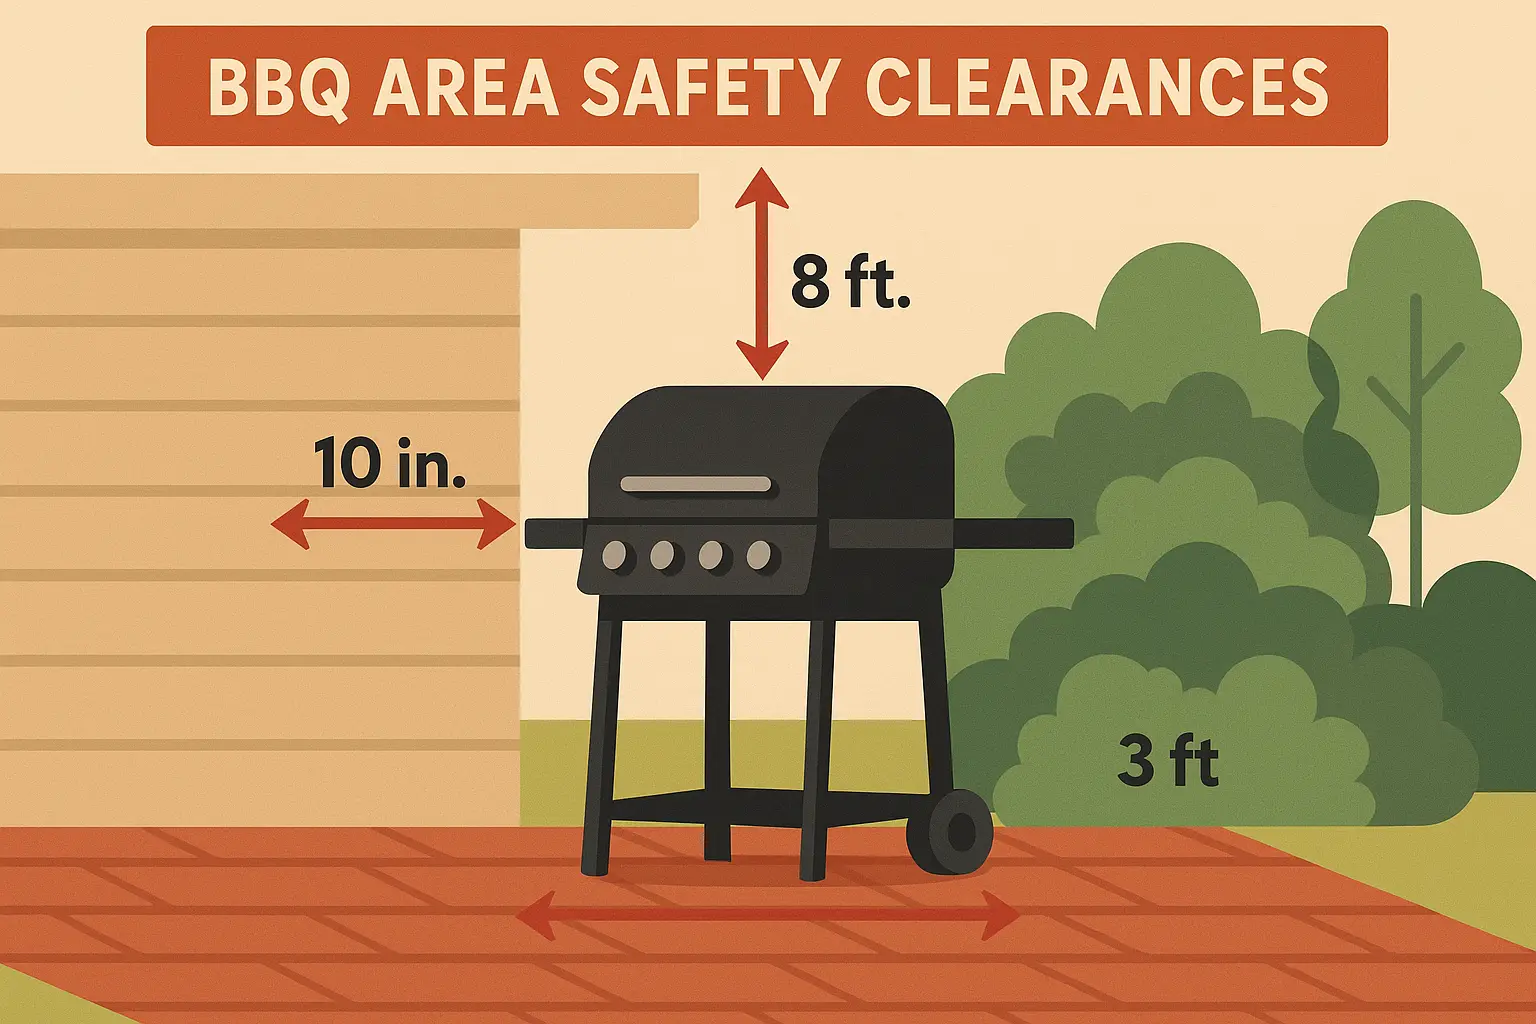
Okay, the 10-foot clearance rule – I get it, it sounds excessive. But here’s why it matters: My buddy Dave thought he could cheat this and put his grill 6 feet from his deck railing. One windy day and a grease flare-up later, he was explaining to his insurance company why his deck looked like a campfire. Don’t be Dave.
When planning your outdoor BBQ area, consider how construction debris removal services can streamline your installation process by clearing existing materials and maintaining a clean workspace throughout your project.
|
Planning Factor |
What This Actually Means |
How It Affects Your Setup |
|---|---|---|
|
Space Reality Check |
How much room you really have vs. what you think you have |
Determines if you’re getting a tiny hibachi or something you can actually cook for friends on |
|
Not Burning Your House Down |
Following those annoying clearance rules and ventilation stuff |
Where you can actually put the grill without becoming a cautionary tale |
|
Money Talk |
What you can afford now vs. what you want eventually |
Whether you’re shopping garage sales or custom outdoor kitchen showrooms |
|
Weather Happens |
Rain, wind, snow – your grill doesn’t care about your dinner plans |
Do you need a cover, or are you building Fort Knox for your BBQ? |
|
Getting Power and Water |
How close are outlets and hoses to where you want to cook |
Determines if you’re running extension cords or calling electricians |
|
Maintenance Reality |
How much scrubbing, sealing, and upkeep you’ll actually do |
Stainless steel vs. natural stone – both look great, one’s way easier |
Let’s be honest about money here. You can absolutely create a decent BBQ setup for under $300 if you’re willing to get creative and maybe hit up some garage sales. But if you want the Instagram-worthy setup that makes your friends jealous? Yeah, you’re looking at a few thousand. Both are totally fine – just know what you’re getting into.
Your local weather isn’t just small talk – it’s a major factor in what kind of setup will actually work. If you live somewhere it rains every other day, that uncovered grill is going to spend more time under a tarp than cooking food. Hot and sunny? You’ll want some shade or you’ll be grilling in an oven. Windy area? Good luck keeping your burger buns from flying into the neighbor’s yard.
Water and electricity nearby make everything easier, but they’re not deal-breakers. I’ve seen amazing setups that work perfectly fine with just propane and a water pitcher for cleanup. But if you’re dreaming of a sink and built-in lighting, you’ll need to factor in the cost of getting utilities where you want them.
Here’s something I learned the expensive way: maintenance matters more than you think. That beautiful natural stone counter looks amazing until you realize it needs sealing every year and stains if you look at it wrong. Stainless steel might be boring, but it cleans up with a rag and some spray. Choose based on how much weekend time you want to spend maintaining your outdoor kitchen versus using it.
Portable and Flexible BBQ Solutions
Look, not everyone owns their place or wants to commit to permanent installations. Maybe you’re renting, maybe you move a lot, or maybe you just want to test the waters before going all-in. These five portable solutions are perfect for people who need flexibility without sacrificing the ability to grill a decent burger.
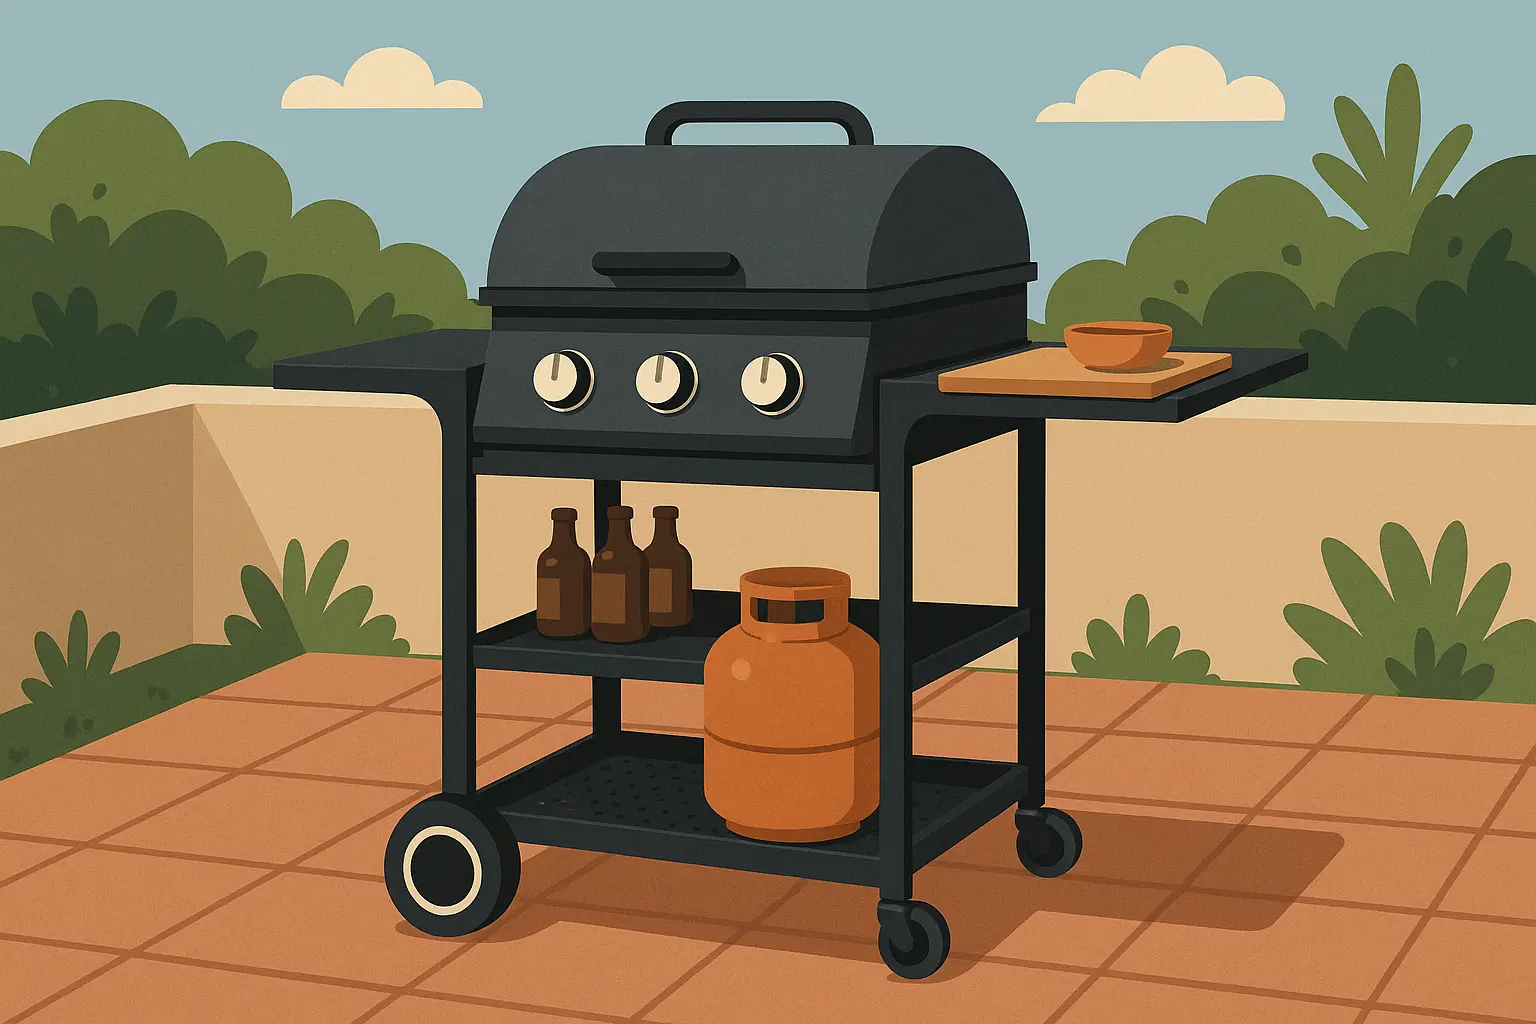
1. Rolling Grill Cart Setup
This is your Swiss Army knife of BBQ setups. Get a wheeled cart with shelves, hooks, and maybe a cutting board, then plop your grill on top. When you’re done cooking, roll the whole thing into the garage or against a wall. When friends come over, wheel it out to wherever makes sense.
The beauty of this setup is you can start basic and add pieces over time. Need more prep space? Add a side table. Want to store more stuff? Get a cart with more shelves. Your landlord giving you grief? Pack it all up and take it with you.
You’re looking at $200-800 depending on how fancy you get, and the best part is you can probably set it up in under an hour. No permits, no permanent changes, no angry HOA letters.
2. Folding Prep Station with Portable Grill
This is perfect for people with truly tiny spaces – think apartment balconies or postage stamp patios. Get a compact grill (charcoal or electric work great) and pair it with a folding table that can disappear when you’re not using it.
I love this setup for beginners because it forces you to keep things simple. You can’t accumulate a bunch of BBQ gadgets you don’t need because you literally don’t have space for them. It’s like the tiny house of grilling setups.
The whole thing can cost as little as $150 if you shop smart, and when winter hits, everything fits in a closet. Perfect for people who want to grill but don’t want grilling to take over their lives.
Before setting up your portable grill area, ensure your space is properly cleared with professional garage clean-out services to create the perfect foundation for your new outdoor cooking setup.
Sarah’s Balcony Magic: My friend Sarah lives in a downtown apartment with a balcony the size of a walk-in closet. She got a Coleman RoadTrip grill and a folding table from Costco, added a storage ottoman that doubles as seating, and somehow created the most efficient little cooking setup I’ve ever seen. Total cost: $380. Setup time: 15 minutes. And yes, she grows herbs in little pots on the railing. It’s like a cooking show, but real.
3. Multi-Level Plant Stand Grill Station
This is for the creative types who like to think outside the box. Take a tiered plant stand (or build one if you’re handy) and turn it into a vertical storage system around your tabletop grill. Bottom tier for charcoal or tools, middle for plates and utensils, top for your small grill.
It’s budget-friendly ($100-300), looks intentional rather than thrown together, and when grilling season ends, you can actually use it for plants. Genius, right?
The key is finding a stand that’s sturdy enough to handle the weight and heat. Metal works better than wood, and make sure you can easily access everything without playing Jenga with hot cooking equipment.
4. Tailgate-Style Setup
If you’ve ever been to a good tailgate party, you know these people have portable cooking down to a science. The idea is everything packs into containers or your car, sets up quickly, and breaks down just as fast.
This works great if you like to take your BBQ on the road – camping, beach days, or just moving your party to different spots in your yard. A portable grill, folding chairs, collapsible table, and a good cooler are your basics.
You’ll spend $300-700 depending on how elaborate you get, but the flexibility is unmatched. Plus, if you ever move or want to completely change your setup, you haven’t invested in anything permanent.
5. Balcony Rail Grill Mount
For apartment dwellers with balconies, this is a game-changer. Special grills that clamp or mount to your balcony railing, usually electric since most buildings don’t allow gas on balconies. Pair it with a small side table, and you’ve got a complete setup that uses zero floor space.
Just make sure to check your building’s rules first – some places are cool with it, others will send you angry letters. Also, consider your downstairs neighbors. Grease dripping on their patio furniture isn’t going to win you any friends.
The cost runs $200-600, and while you’re limited to smaller grills, you’d be amazed what you can cook on these things. I’ve seen people make full dinners for four on a balcony grill smaller than a microwave.
Built-In and Permanent BBQ Installations
Okay, now we’re talking about the serious stuff. These are the setups that make your neighbors slow down when they drive by. They cost more, take longer to install, and you can’t take them with you if you move. But man, when they’re done right, they turn your backyard into something special.
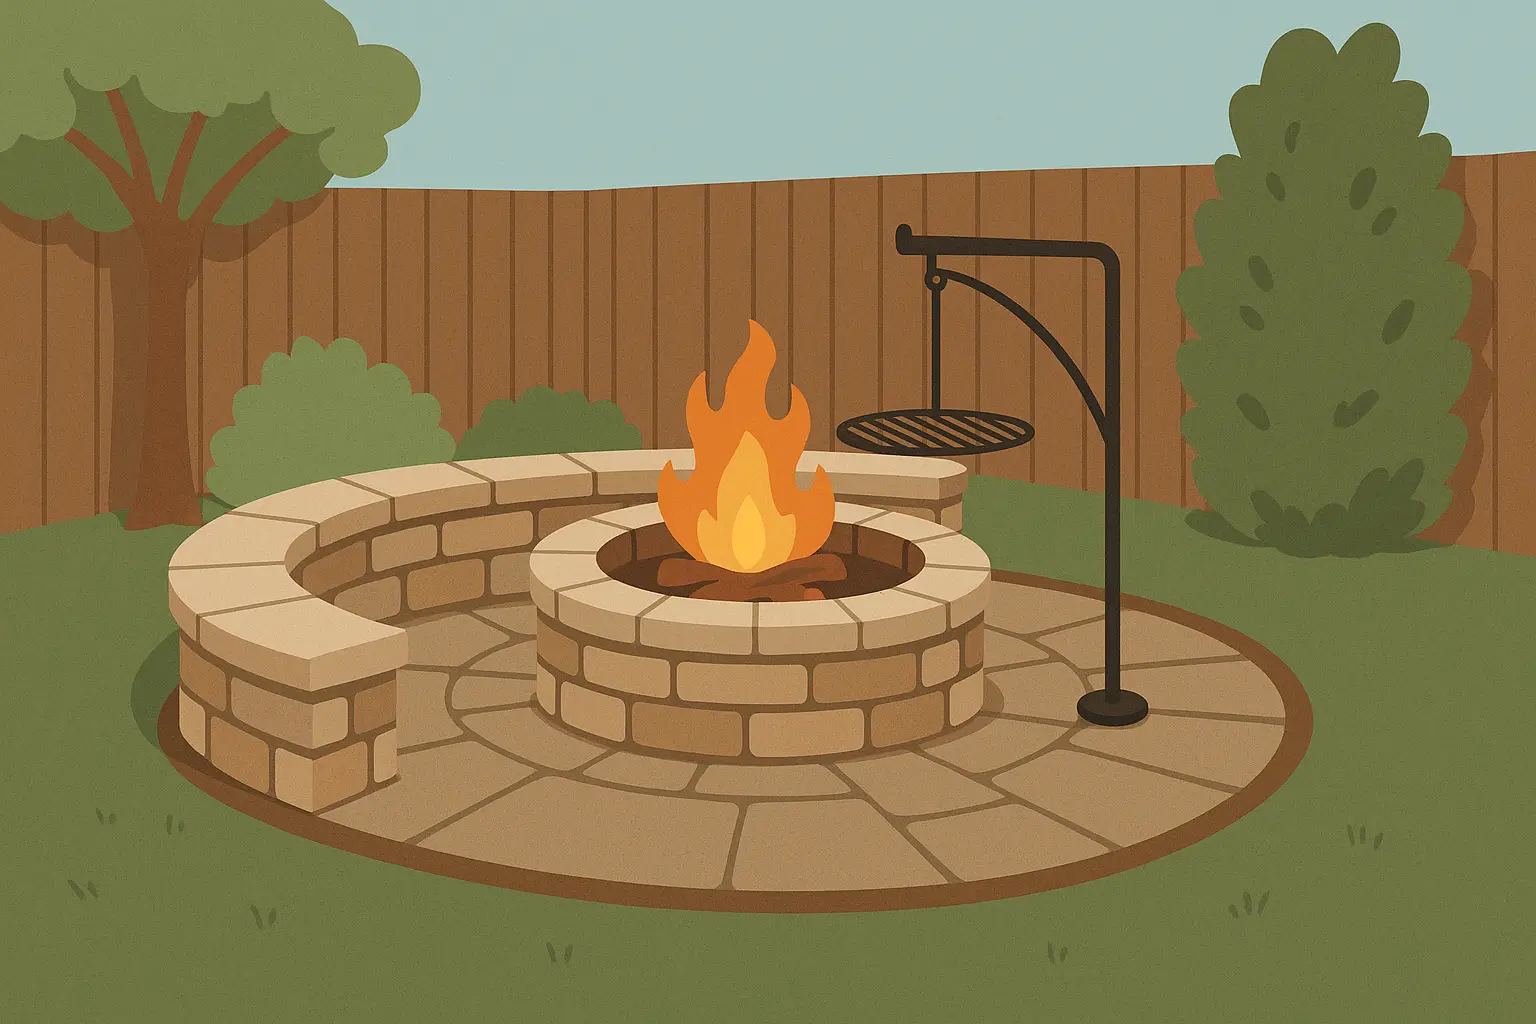
6. Corner Stone Fire Pit with Swing-Arm Grill
This is rustic cooking at its finest. Build a stone fire pit in a corner of your yard, add a swing-arm grill grate, and suddenly you’re cooking over actual fire like your ancestors did, but with better beer nearby.
The corner placement is genius because corners are usually wasted space anyway, and the stone walls give you wind protection and extra seating. Plus, when you’re not grilling, it’s still a fire pit for roasting marshmallows and having those deep conversations that only happen around fires.
You’re looking at $1,000-3,000 depending on how fancy you get with the stonework, but this adds serious property value. Just make sure you check local fire restrictions – some areas get touchy about open flames.
7. Built-In Island with Storage
This is the dream setup – a permanent cooking island with built-in grill, storage cabinets, prep space, maybe even a sink and mini-fridge. It’s like having an outdoor kitchen that happens to be in your backyard.
The investment is serious ($2,000-8,000), and you’ll probably need professionals for the gas lines, electrical, and maybe plumbing. But when it’s done, you’ll wonder how you ever cooked indoors.
The key is planning the workflow. You want everything within arm’s reach – grill, prep space, storage, trash. Think about how you actually cook, not just how it looks in magazine photos.
8. Retaining Wall Integration
If you’ve got a sloped yard or need a retaining wall anyway, why not build your grill area into it? The wall gives you wind protection, storage space behind it, and a built-in counter height surface.
This is especially smart if you’re already dealing with drainage issues or erosion. Kill two birds with one stone – fix your yard problems and create an awesome cooking area. Just make sure whoever designs it knows about both structural engineering
This is especially smart if you’re already dealing with drainage issues or erosion. Kill two birds with one stone – fix your yard problems and create an awesome cooking area. Just make sure whoever designs it knows about both structural engineering and fire safety.
Costs run $1,500-5,000 depending on how much wall you’re building, but it’s often cheaper than building a separate retaining wall and a separate BBQ area.
When installing permanent barbecue area features, professional concrete demolition services can help prepare your space by removing existing hardscaping and creating the perfect foundation for your new installation.
Mike’s Hillside Solution: My buddy Mike had a backyard that was basically a ski slope. Instead of fighting it, he built a retaining wall with a built-in grill niche. The wall stops erosion, the grill area is protected from wind, and the whole thing looks like it was always meant to be there. Plus, he’s got storage space behind the wall for all his BBQ gear. Smart guy, that Mike.
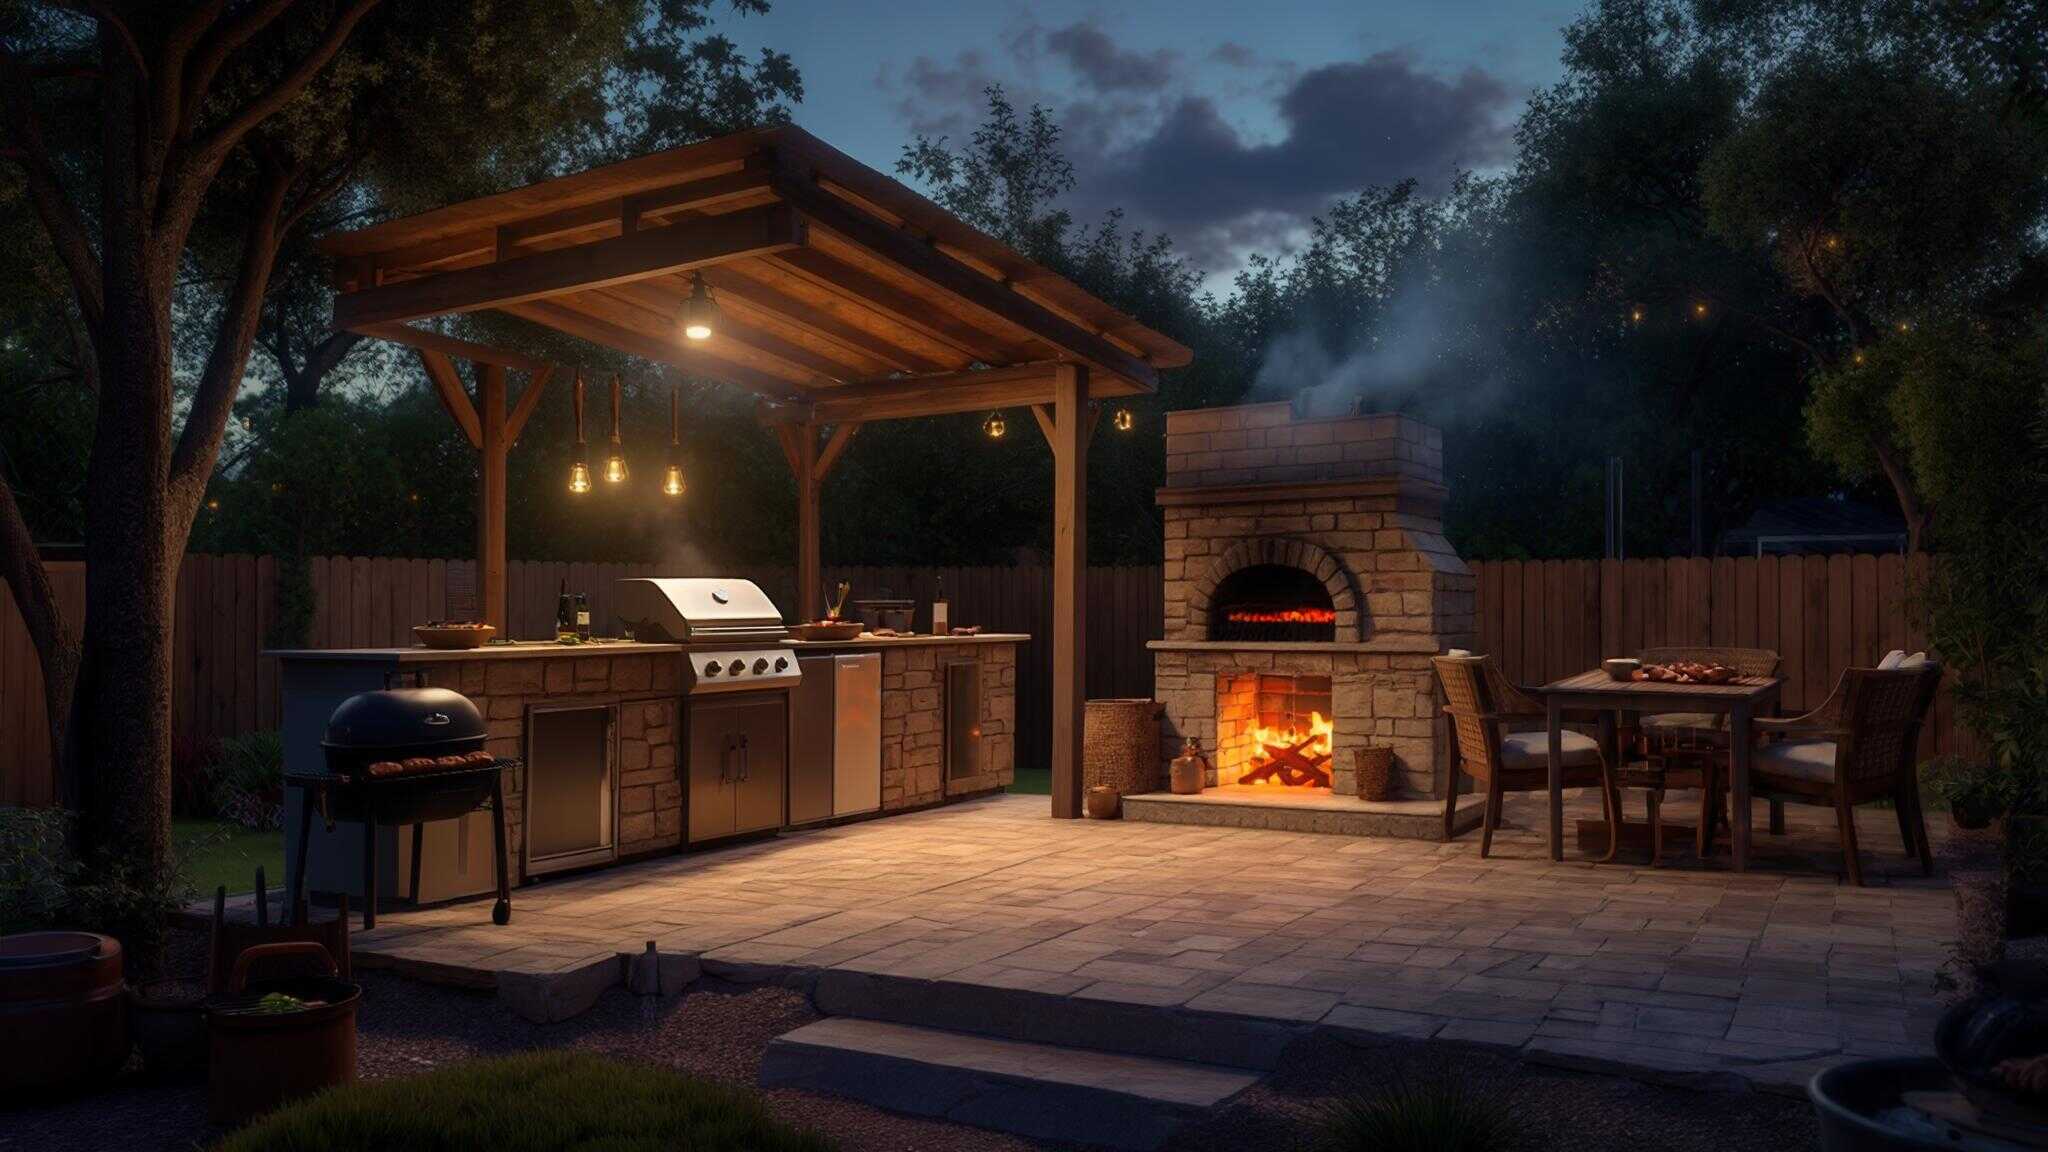
9. Pergola-Covered Cooking Station
A pergola over your grill area gives you the best of both worlds – weather protection without feeling closed in. Add some climbing plants, and you’ve got natural shade and privacy too.
The structure itself runs $1,200-4,000, and while it won’t keep you completely dry in a downpour, it’ll handle light rain and give you blessed shade on hot days. Just make sure it’s tall enough for proper ventilation – nobody wants to grill in a smoke cloud.
Pro tip: design it so you can add a retractable canopy later if you decide you want more weather protection. Future you will thank present you for thinking ahead.
10. Sunken Fire Bowl BBQ Area
This is for people who want something really unique. Excavate a circular area, build it up with stone or concrete, add built-in seating around the perimeter, and put a fire bowl in the center that can handle cooking grates.
It’s intimate, wind-protected, and creates this awesome gathering space that feels separate from the rest of your yard. The downside is cost ($2,500-6,000) and the fact that you’re literally digging a hole in your yard.
Make sure you plan for drainage – the last thing you want is a swimming pool where your fire pit should be. And check for underground utilities before you start digging. Trust me on this one.
Space-Saving Compact Design Solutions
When every square foot counts, you’ve got to get creative. These ideas are for people working with narrow spaces, weird corners, or places where a traditional setup just won’t fit. The goal is maximum function in minimum space without making it feel cramped or dangerous.
11. Vertical Wall-Mounted System
Think of this as the Murphy bed of grilling. Mount your grill to a wall, add fold-down prep surfaces, hooks for tools, magnetic strips for spices, and vertical storage for everything else. When you’re not cooking, it all folds up against the wall and barely takes up any space.
This works great for narrow side yards or areas where you need to keep walkways clear. You’ll spend $400-1,200 depending on how elaborate you get, and you’ll definitely want professional installation – a falling grill is nobody’s friend.
The key is making sure your wall can handle the weight and heat. Brick or concrete block walls work best. Wood siding? Not so much.

12. L-Shaped Counter Design
Corners are usually wasted space, but an L-shaped counter turns that dead zone into your command center. Grill on one leg of the L, prep space on the other, storage underneath both. The center stays open for people to move around.
This gives you way more counter space than you’d think possible in a small area, and the workflow is actually better than a straight line setup. You can prep on one side while something’s cooking on the other.
Expect to spend $1,500-4,000, and you’ll probably want professional help with the construction. But when it’s done, you’ll have more functional space than friends with twice the square footage.
13. Fold-Down Murphy-Style Grill Cabinet
This is the ultimate space-saver. Build a weatherproof cabinet that opens to reveal a complete grilling station, then closes back up to look like, well, a cabinet. Perfect for HOA-controlled areas where outdoor grills aren’t supposed to be visible.
The engineering is tricky ($1,800-3,500), and you’ll definitely need professional installation. But if you’re dealing with space restrictions or appearance requirements, this is your solution. Just make sure the ventilation works properly when it’s closed – trapped heat and gas fumes are serious problems.
14. Tiered Deck Platform
Build a small raised platform with different levels for different functions. Grill on the highest level, prep on the middle, storage on the bottom. It creates visual interest and organizes everything without taking up more floor space.
This works especially well on sloped yards where you’re fighting gravity anyway. The different levels give you better drainage and make everything more accessible. Plus, it looks intentional rather than like you just plunked a grill down wherever it fit.
Costs run $800-2,500, and if you’re handy with basic construction, it’s a decent DIY project. Just make sure your foundation is solid – nobody wants their grill platform to slide downhill during a dinner party.
15. Galley-Style Linear Setup
Sometimes you’ve got a long, narrow space that won’t work for traditional layouts. Think side yards, narrow patios, or strips between buildings. A galley kitchen approach puts everything in a line – grill at one end, then prep, then storage, then serving area.
It’s efficient if you’re usually cooking alone, and everything stays within a few steps. The downside is it doesn’t work great for multiple cooks or large groups. But for everyday grilling, it’s perfect.
Budget runs $600-2,000, and it’s one of the easier setups to cover or enclose later if you decide you want weather protection.
Multi-Functional BBQ Area Designs
Look, when you’re working with a postage stamp-sized patio, every inch has to pull double duty. Your grill cart? It’s also your prep table, storage unit, and maybe even your bar cart for weekend beers. These designs are all about making one piece of furniture do the work of three.
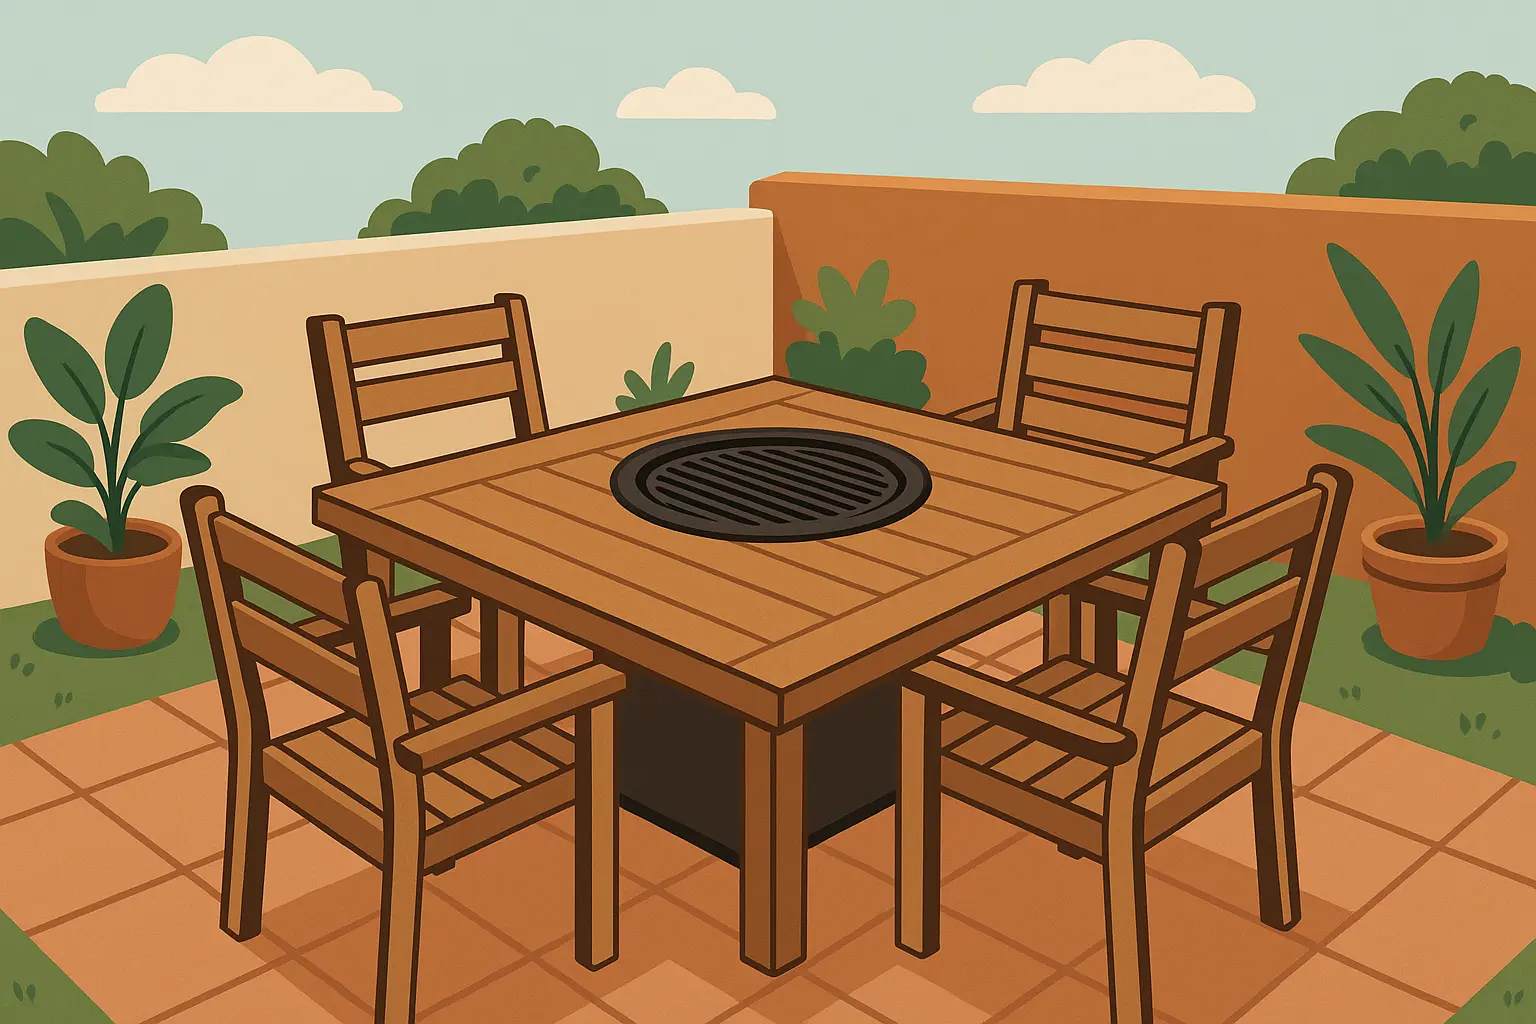
16. Dining Table with Built-In Grill
Picture this: a dining table with a grill built right into the center. Everyone sits around it, cooks their own food, and you’ve got interactive dining that’s actually fun instead of awkward. Korean BBQ restaurants have been doing this forever – turns out it works great in backyards too.
The dining table with built-in grill sounds amazing in theory – and it is – but nobody warned me that grease splatters don’t care about your nice outdoor cushions. Learn from my mistake: washable everything, or keep the fancy stuff far away from the action zone.
You’re looking at $1,200-3,000, but it replaces both your dining set and your grill, so the math works out better than you’d think. Just make sure you’ve got good ventilation – nobody wants to eat dinner in a cloud of smoke.
17. Storage Bench with Grill Top
Build or buy benches that open up to reveal storage inside, then add grill tops that can be installed when you want to cook. When you’re not grilling, you’ve got extra seating. When you are grilling, you’ve got cooking surfaces and all your gear stored right underneath.
This is genius for small spaces because your furniture is also your cooking equipment and your storage solution. The heat management takes some planning – you don’t want to melt whatever’s stored inside – but it’s totally doable.
Costs run $800-2,200, and if you’re decent with woodworking, it’s a fun DIY project. Just make sure you use heat-resistant materials and plan for proper ventilation.
When planning multi-functional outdoor BBQ area designs, consider how decluttering services can help clear your space and provide the clean foundation needed for your new installation.
|
Multi-Functional Design |
What It Does |
Bonus Features |
Why Your Small Space Will Love It |
|---|---|---|---|
|
Dining Table Grill |
Cooking & Eating in one spot |
Everyone’s involved, no lonely cook |
No separate dining furniture needed |
|
Storage Bench Grill |
Seating, Storage, & Cooking |
Triple duty furniture |
One piece does the work of three |
|
Planter Box Surround |
Cooking & Growing food |
Fresh herbs, wind protection |
Your grill area feeds itself |
|
Pool Deck Integration |
Cooking & Swimming access |
Party central location |
Makes your pool area way more useful |
|
Spa Surround BBQ |
Cooking & Relaxation |
Year-round entertainment |
Hot tub + hot food = perfect combo |
18. Planter Box Grill Surround
Build large planter boxes around your grill area and fill them with herbs, vegetables, or just pretty plants that can handle heat. The boxes give you wind protection, extra counter space, and fresh ingredients for whatever you’re cooking.
I love this setup because your grill area becomes productive – you’re not just using space, you’re growing food in it. Plus, the plants help absorb some of the heat and smoke, making the whole area more pleasant.
You’ll spend $600-1,800 depending on how elaborate you get, and the ongoing maintenance is actually kind of relaxing. There’s something satisfying about picking fresh basil to put on the burger you just grilled three feet away.
19. Pool Deck Integration
If you’ve got a pool, integrate your BBQ area into the deck system. Position everything so you can easily access it from both the pool and the house, and suddenly your pool area becomes party central instead of just a place to swim.
The key is keeping everything far enough from the water to be safe but close enough to be convenient. Nobody wants to drip pool water all over the grill area, but nobody wants to trek across the yard for a burger either.
This is a bigger investment ($2,000-6,000) and you’ll definitely need professional help with the design, but it creates this seamless indoor-outdoor-pool flow that makes your whole backyard feel bigger and more connected.
20. Spa/Hot Tub Surround BBQ
Build your cooking area into the deck or surround of your hot tub or spa. Think about it – you’re already relaxing in hot water, why not have hot food within arm’s reach? It’s like the ultimate in lazy luxury.
The materials have to handle moisture and chemicals, so this isn’t cheap ($2,500-7,000), but it creates this unique entertainment zone where you can literally cook dinner while soaking in the hot tub. Your friends will be so jealous.
Just make sure the ventilation works properly – nobody wants BBQ smoke mixing with hot tub chemicals. And maybe keep the really messy foods away from the spa. Ribs and hot tubs don’t mix well.
Weather-Protected BBQ Options
Rain happens. Wind happens. That one day when it’s 95 degrees and you still want to grill happens. I used to be the guy who’d cancel BBQ plans if there was a 20% chance of drizzle. Now? I’ve got a setup that laughs at weather forecasts. Game changer.
21. Gazebo Grill Station
A permanent gazebo designed specifically for grilling gives you a dedicated outdoor room that works in almost any weather. Make sure it’s got proper ventilation – you don’t want to turn your gazebo into a smoke chamber.
The investment is significant ($1,500-4,500), but you get weather protection, defined space, and a structure that adds real value to your property. Plus, when you’re not grilling, it’s still a great place to hang out.
Key things to remember: it needs to be tall enough for proper air circulation, strong enough to handle wind, and positioned so smoke doesn’t blow back into the structure. Get these right, and you’ll be grilling in weather that sends other people indoors.

22. Lean-To Covered Area
Build a simple roof structure that leans against your house, fence, or garage wall. It’s cheaper than a full gazebo ($800-2,500) and gives you overhead protection without feeling closed in.
This works great if you’ve got a prevailing wind direction or just need protection from sun and light rain. The key is making sure you’ve still got adequate clearance from the building – that fire safety stuff doesn’t go away just because you added a roof.
If you’re handy with basic construction, this is a decent DIY project. Just make sure your attachment points are solid and your drainage works properly. Water pooling on your new roof is not the look you’re going for.
23. Retractable Awning Setup
Motorized or manual awnings that extend when you need them and retract when you don’t. It’s like having weather protection on demand, and when it’s retracted, your space looks completely open.
The flexibility is amazing ($1,200-3,500), and modern awnings are way more durable than the flimsy things from years ago. You can get ones that handle decent wind and provide real UV protection.
The motorized ones are convenient but more expensive and one more thing that can break. Manual ones require a little effort but are simpler and more reliable. Choose based on how often you’ll actually use it.
24. Three-Season Room Extension
This is going all-in – converting or building a three-season room that opens to your outdoor space but can be enclosed when weather gets nasty. You can literally grill in January while everyone else is stuck with sad indoor cooking.
My friend Jennifer went all-out and converted her screened porch into what I call “BBQ headquarters.” Twelve grand later, she’s grilling in January while the rest of us are stuck with sad indoor cooking. Is it overkill?
My friend Jennifer went all-out and converted her screened porch into what I call “BBQ headquarters.” Twelve grand later, she’s grilling in January while the rest of us are stuck with sad indoor cooking. Is it overkill? Maybe. Does she throw the best winter parties? Absolutely.
The investment is serious ($5,000-15,000), and you’ll need professional design and construction. But if you’re serious about outdoor cooking and live somewhere with harsh weather, it might be worth it. Just make sure the ventilation system can handle grilling activities – regular three-season rooms aren’t designed for that.
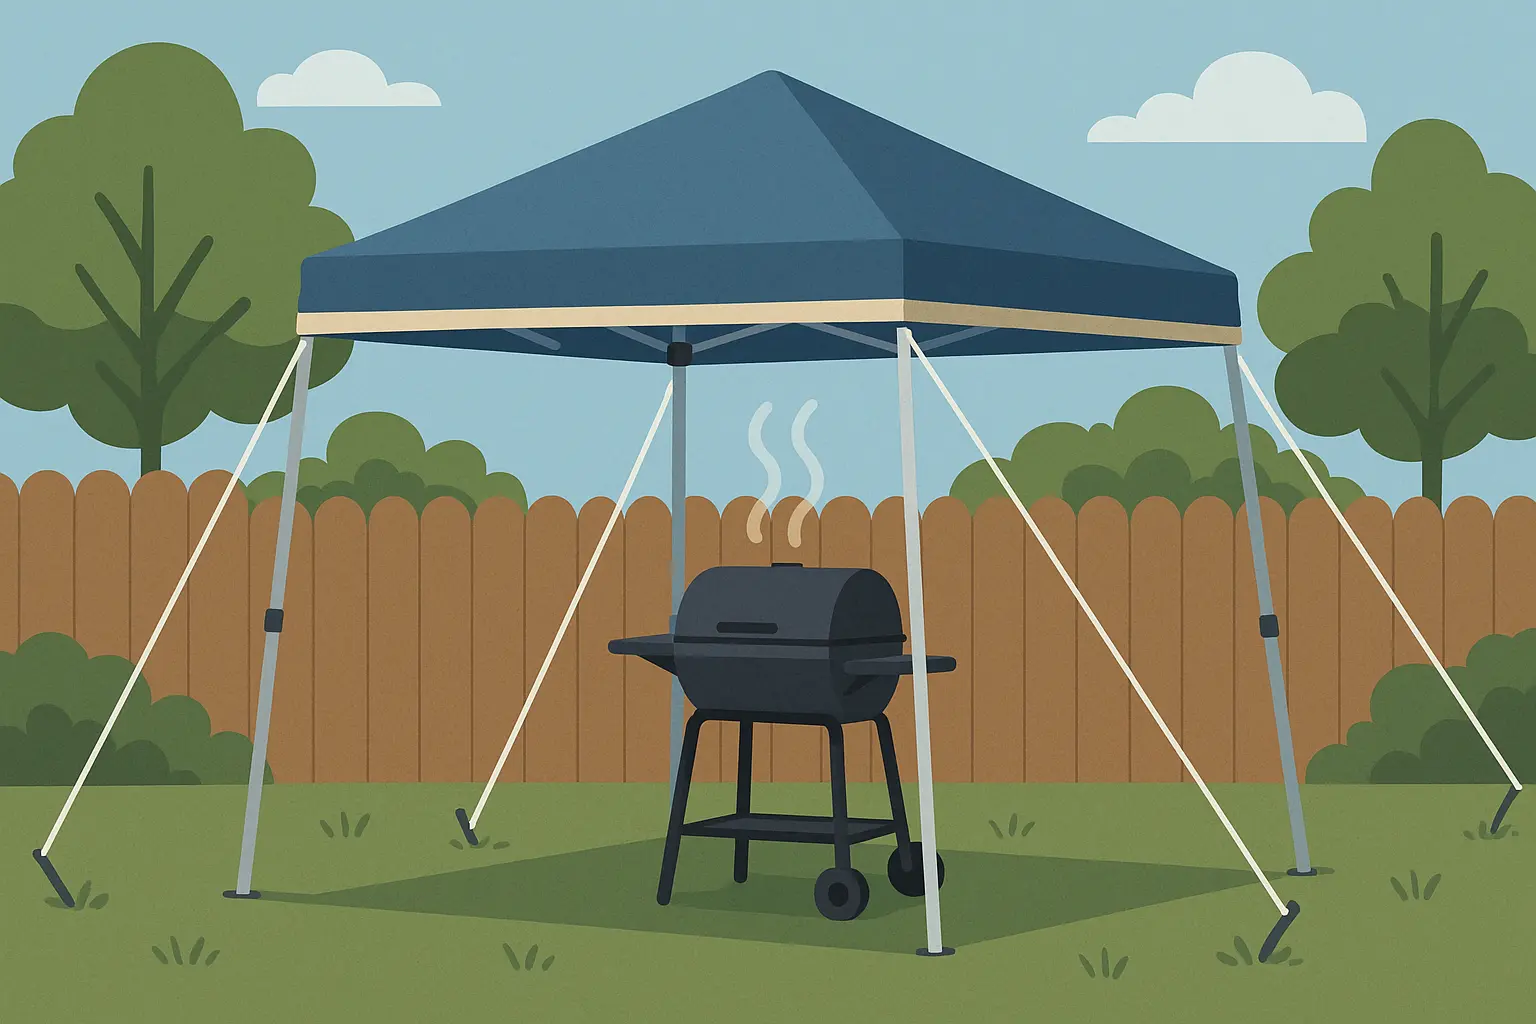
25. Portable Canopy System
Sometimes you just need temporary weather protection that doesn’t require permanent installation. A good portable canopy system can be set up when weather threatens and stored away when you don’t need it.
This is the budget-friendly option ($300-1,000), and it’s completely DIY. The downside is setup time and storage space, but if you only occasionally need weather protection, it makes perfect sense.
Look for canopies designed for outdoor cooking – they need to be higher than regular pop-up tents and made from fire-resistant materials. And invest in good stakes and guy lines. Nothing ruins a BBQ like your canopy blowing away in the middle of cooking.
Real-World Implementation Examples
Let’s talk about how this stuff actually works in real life, because theory is nice but practice is where you find out if your brilliant idea actually makes sense.
For rolling grill cart setups, I’ve seen people use everything from a Weber Genesis on a custom-built cart to a Big Green Egg on wheels. The key is making sure your cart can handle the weight and heat. That cheap cart from the hardware store might look fine, but when you load it with a heavy grill and accessories, things can get wobbly fast.
The Coleman RoadTrip series paired with a folding table is probably the most foolproof portable setup I’ve seen. It literally sets up in minutes, cooks surprisingly well, and when you’re done, everything fits in a closet. Add a small storage ottoman for seating and supplies, and you’ve got a complete system for under $400.
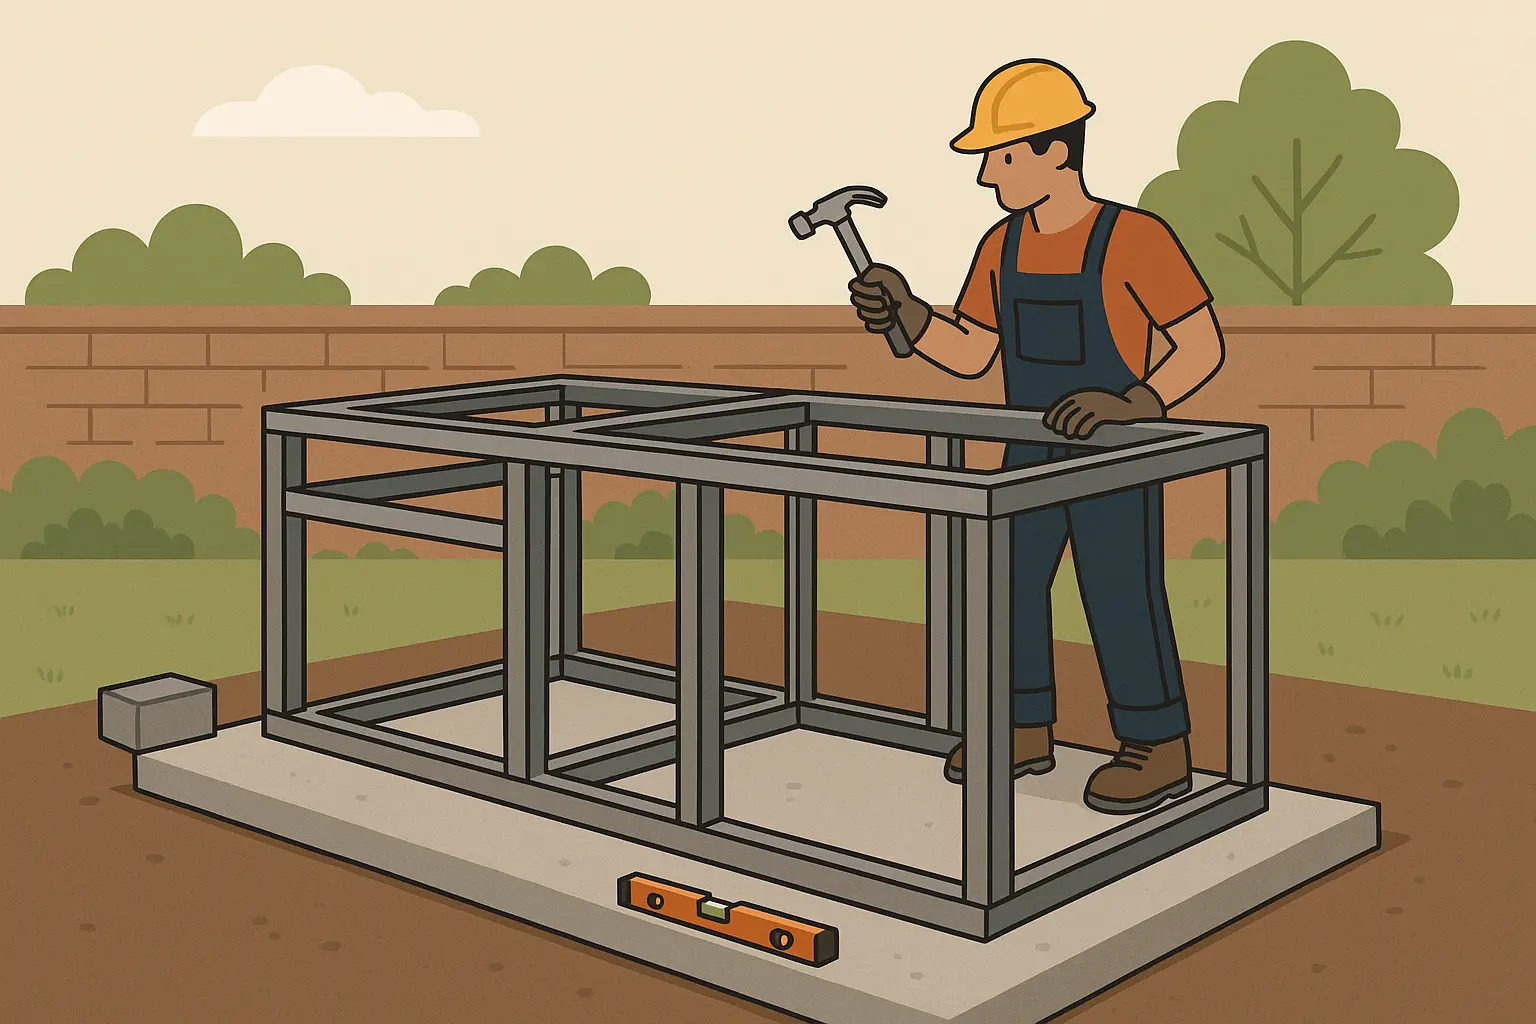
Built-in islands are where things get complicated fast. You need a concrete foundation with proper drainage, a steel frame that won’t rust out in three years, cement board backing that can handle heat, and exterior finishes that look good and last. Then there’s the grill insert, storage cabinets with hardware that won’t corrode, prep surfaces that can handle hot pans and sharp knives, electrical with GFCI protection, maybe plumbing if you want a sink, and ventilation that meets code requirements.
It sounds overwhelming because it kind of is. This is where you really want professional help, at least for the planning phase. I’ve seen too many DIY islands that look great for six months and then start falling apart because someone skipped crucial steps.
When implementing complex outdoor barbecue area projects, professional construction waste disposal services ensure your workspace remains safe and organized throughout the installation process.
Jennifer’s Three-Season Room Project: Jennifer’s project took eight weeks and cost $12,500, but now she’s got a 12×16 room that functions year-round. The key features that make it work: commercial-grade exhaust fan rated for grilling, slate flooring that can handle heat and spills, insulated walls with fire-resistant backing, fold-away glass panels for cross-ventilation, and a heating system for winter use. She can host dinner parties for 12 people in January while the rest of us are making sad indoor food.
Three-season room extensions are serious construction projects. You need foundation work, permits, structural framing designed for the extra ventilation requirements, windows and doors positioned for airflow, specialized ventilation systems that can handle grilling smoke, fire-resistant materials throughout, electrical systems with enough capacity for fans and lighting, flooring that can handle heat and grease, and integration with your home’s existing systems.
Budget and Planning Analysis
Here’s the deal with money – you can start small and build up. I know people who began with a $150 portable grill and slowly added pieces over years. Others saved up and went big right away. Both approaches work. The only wrong move is not starting because you think you need to do everything at once.
|
Budget Range |
What You Can Actually Get |
Space You Need |
What It’s Good For |
|---|---|---|---|
|
Under $500 |
Decent portable grill, folding table, basic storage |
About the size of a parking space |
Testing the waters, renters, seasonal use |
|
$500-$1,500 |
Rolling cart setup, wall-mounted systems, basic weather protection |
Small patio or deck area |
Regular use, small families, weekend entertaining |
|
$1,500-$5,000 |
Built-in elements, covered areas, multi-functional designs |
Dedicated outdoor space |
Serious cooking, regular entertaining, property improvement |
|
Over $5,000 |
Custom installations, three-season rooms, full outdoor kitchens |
Substantial outdoor area |
Year-round use, major entertaining, significant property value |
Space Reality Check: Tiny spaces (under 50 sq ft) work great for rolling carts, folding setups, balcony mounts, wall systems, and Murphy-style cabinets. Small areas (50-100 sq ft) can handle corner installations, L-shaped designs, linear layouts, and basic covered structures. Medium spaces (100-200 sq ft) accommodate built-in islands, pergola systems, gazebos, and tiered platforms. Larger areas (200+ sq ft) can fit pool integrations, three-season rooms, and sunken installations.
Budget Breakdown Reality: Under $500 gets you plant stand conversions, basic tailgate setups, simple portable canopies, and entry-level portable grills with folding tables. You’re shopping garage sales and discount stores, but you can absolutely create something functional.
$500-$1,500 covers decent rolling carts, quality folding systems, basic built-in elements, and simple retaining wall integration. This is where most people end up – enough functionality without breaking the bank.
$1,500-$5,000 opens up permanent islands, pergola systems, gazebos, and comprehensive storage solutions. You’re getting into territory where this stuff actually adds property value and impresses the neighbors.
Over $5,000 is three-season rooms, pool integrations, custom stonework, and basically anything you can dream up. This is where you call professionals and start thinking about permits.
Safety and Code Reality: Portable solutions, temporary setups, and electric-only systems usually fly under the radar. Wall-mounted systems and basic built-ins might need permits depending on your area. Gas lines, permanent structures, and enclosed spaces almost always require professional installation and permits. Three-season rooms and complex utility work definitely need professionals and probably multiple permits.
Climate Considerations: All-weather setups include covered structures, three-season rooms, and retractable systems. Fair-weather designs are open-air built-ins, corner installations, and pool integrations. Season-dependent options include most portable solutions and basic outdoor setups. Climate-specific needs might push you toward pergolas in hot areas or enclosed spaces in harsh climates.
Maintenance Reality: Low maintenance means stainless steel portables, simple stone installations, and basic covered areas. You’re looking at occasional cleaning and maybe covering things in winter.
Moderate maintenance includes wood structures, planted areas, and systems with moving parts. You’ll spend some weekend time keeping things looking good.
High maintenance covers natural stone with mortar, integrated landscaping, and motorized systems. Beautiful when maintained, headaches when neglected.
Professional service territory includes complex utility systems, structural elements, and specialized equipment. Budget for annual professional maintenance if you go this route.
How JiffyJunk Can Help Your BBQ Area Project
One last thing – and this comes from experience – don’t underestimate the cleanup part of this project. I spent a whole weekend hauling away old patio furniture and construction debris before I could even think about setting up my new grill area. Wish I’d known about services that handle this stuff from the start.
When you’re planning your small outdoor BBQ area, there’s one thing nobody talks about that can make or break your whole project: the mess. Whether you’re clearing out old stuff to make room or dealing with construction debris from installation, the cleanup phase is where a lot of great plans go sideways.
Getting Started Right: Before you can install anything decent, you’ve got to clear out whatever’s currently taking up space. Old patio furniture, broken planters, that pile of lumber from your last project – it all has to go somewhere. I’ve seen people spend more time figuring out how to get rid of old stuff than actually planning their new setup.
Construction Mess Management: Even simple projects create more debris than you’d expect. Concrete cutting, old deck removal, excavation for permanent installations – this stuff adds up fast. And unlike regular trash, you can’t just bag it up and put it on the curb.
Professional debris removal keeps your project moving instead of grinding to a halt while you figure out what to do with a pile of broken concrete. Plus, it keeps your workspace safe – construction debris and hot grills don’t mix well.
Old Equipment Reality: Upgrading from that ancient gas grill or getting rid of a rusted fire pit isn’t as simple as dragging it to the curb. These things are heavy, potentially hazardous, and regular trash services won’t touch them.
Whether you’re planning a simple portable setup or a complex built-in installation, professional appliance disposal services ensure your old grilling equipment is removed responsibly while you focus on creating your perfect outdoor cooking space.
Seasonal Reality: Winter storage is the thing nobody thinks about until November hits and you’re standing in your garage wondering where to put a grill cart, two folding chairs, and a cooler full of BBQ tools. Plan for the off-season, or you’ll be playing outdoor furniture Tetris in the dark.
If you’ve accumulated more outdoor stuff than you have storage space, professional cleanout services can help you figure out what’s worth keeping and what’s just taking up space.
Project Completion: After weeks of construction, your beautiful new BBQ area is finally done, but your yard looks like a construction zone. Scattered packaging, leftover materials, general construction mess – none of this is stuff you want to deal with when you’re ready to fire up the grill for the first time.
Professional cleanup gets your space ready to use immediately instead of spending your first weekend with your new setup cleaning up construction debris. You’ve invested time and money in creating the perfect outdoor cooking space – why not be able to enjoy it right away?
The connection between professional cleanup and successful BBQ projects is simple: starting clean, staying organized during construction, and finishing with a space that’s ready to use makes the difference between a project you love and one that feels like it never quite got finished.
With nationwide coverage and transparent pricing starting around $100, professional cleanup becomes an affordable part of any outdoor renovation. It’s not just about convenience – it’s about making sure your investment in outdoor living pays off from day one.
Final Thoughts
Look, your first BBQ setup probably won’t be perfect. Mine wasn’t. But you know what? That first burger you flip in your own little outdoor kitchen is going to taste amazing anyway. Start somewhere, learn as you go, and upgrade when you can.
The key to success isn’t having the biggest budget or the most space – it’s being honest about what you actually need and what you’re willing to maintain. I’ve seen incredible setups in spaces smaller than most bedrooms, and I’ve seen expensive outdoor kitchens that never get used because they’re too complicated or require too much upkeep.
Whether you go with a $200 portable cart or invest in a $10,000 built-in island, the goal is the same: creating a space where you actually want to cook and hang out. Everything else – the fancy features, the Instagram-worthy aesthetics, the neighbor envy – is just bonus.
Remember that safety isn’t negotiable, planning prevents problems, and professional help (whether for construction or cleanup) often costs less than fixing mistakes. Your outdoor BBQ area should enhance your life, not create stress.
Most importantly, don’t let perfect be the enemy of good. Start with what you can afford and what fits your space. You can always upgrade later, but you can’t get back all those dinners you didn’t grill while you were waiting for the perfect setup.
Fire up that grill, invite some friends over, and enjoy the fact that you’ve created something special in your own backyard, no matter how small it might be.