25 Practical Patio Privacy Ideas That’ll Actually Give You Some Peace and Quiet
I’ll never forget the morning I stepped onto my patio with my coffee, ready to enjoy some peaceful quiet time, only to lock eyes with my neighbor who was doing the exact same thing on his new second-story deck. That awkward wave and forced smile made me realize how desperately I needed better patio privacy. According to recent industry research, there’s no one-size-fits-all option when it comes to patio privacy, with homeowners considering factors like level of privacy desired, amount of shade needed, and what they want privacy from.
Whether you’re dealing with nosy neighbors, busy streets, or simply want to create an intimate atmosphere for entertaining, the right privacy solution can completely change your patio experience. You’ll find options ranging from quick DIY fixes under $100 to permanent installations that add real value to your home.
Table of Contents
-
Key Factors for Choosing Your Perfect Privacy Solution
-
Living Privacy Solutions (Natural Barriers)
-
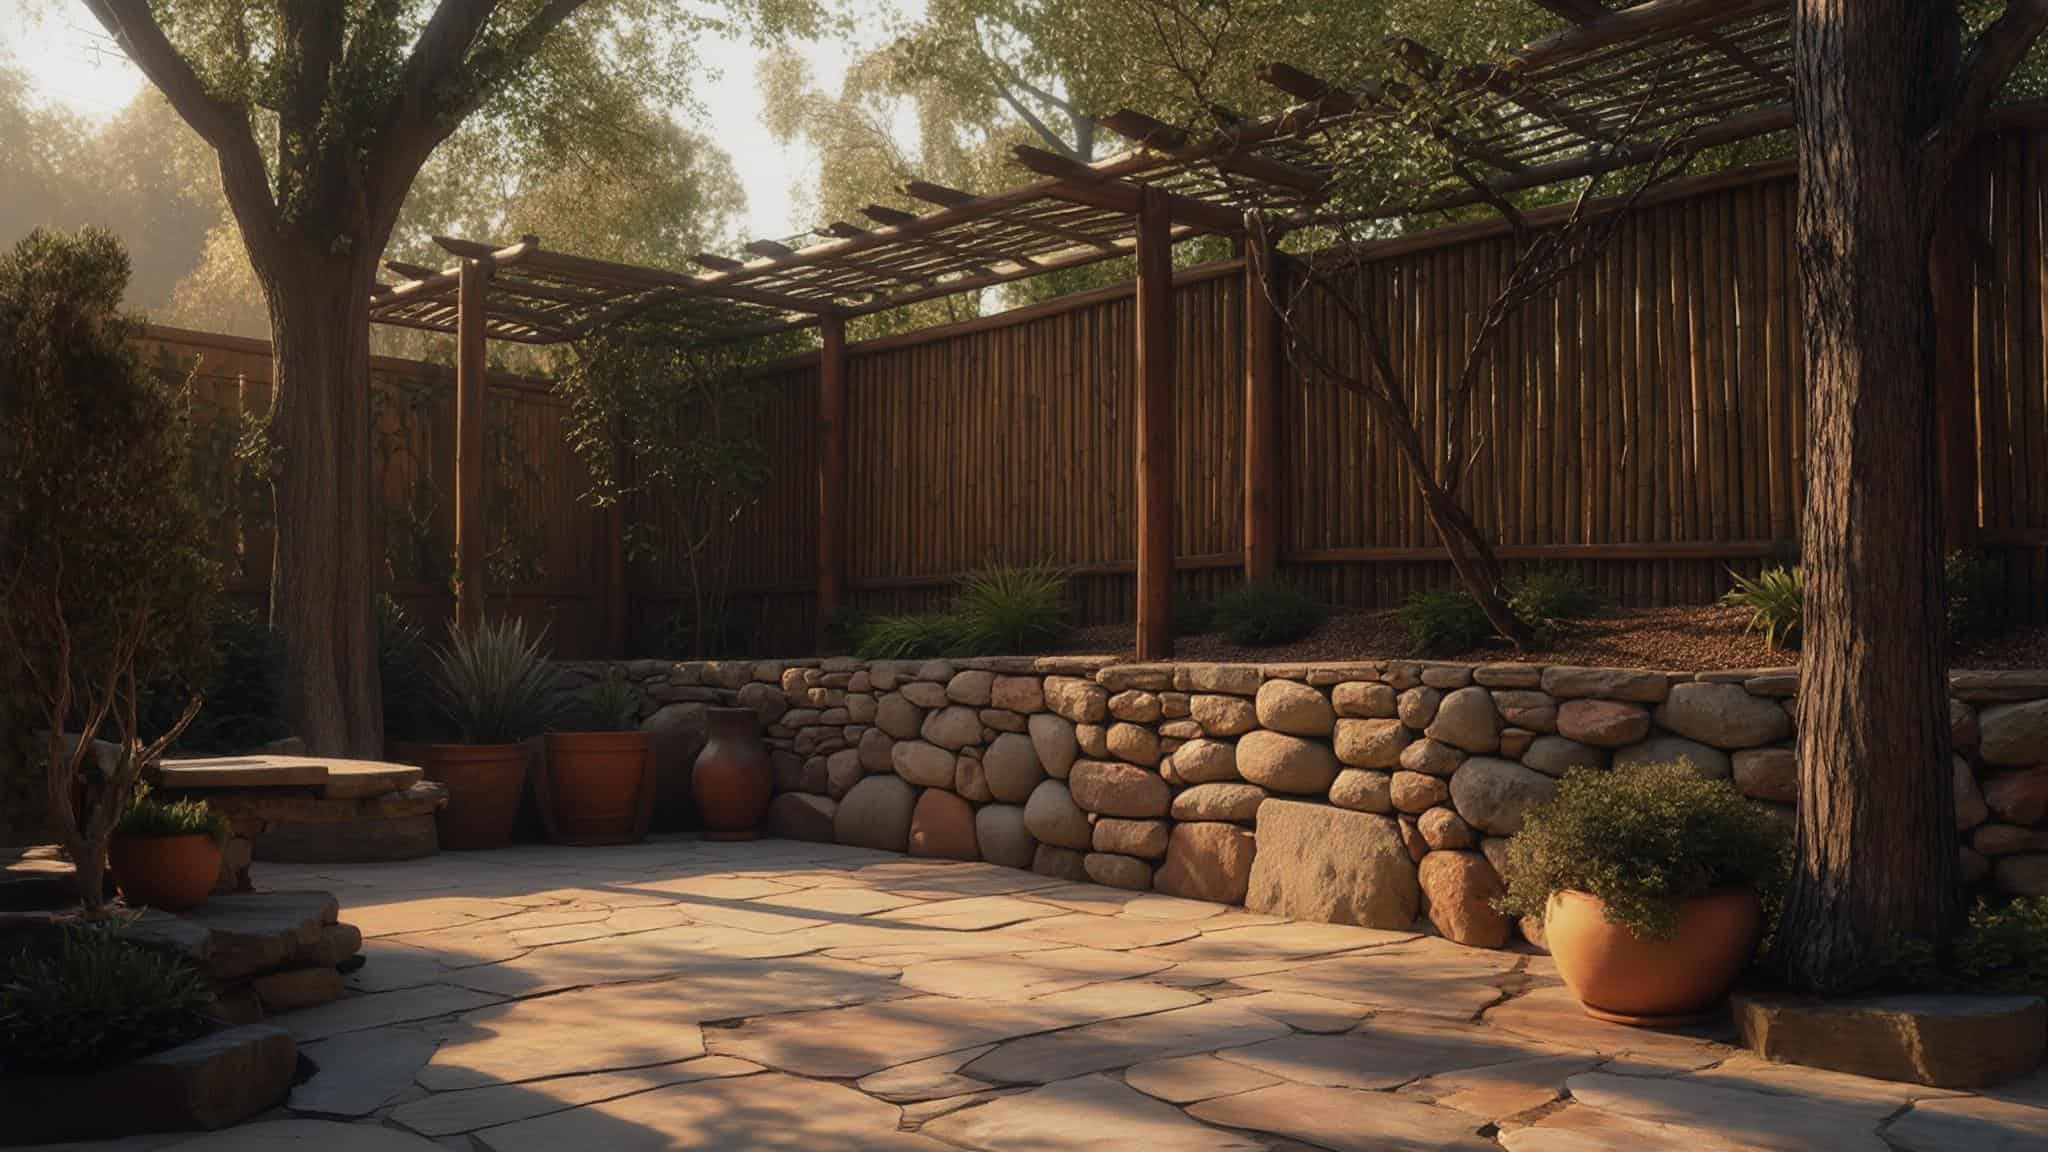
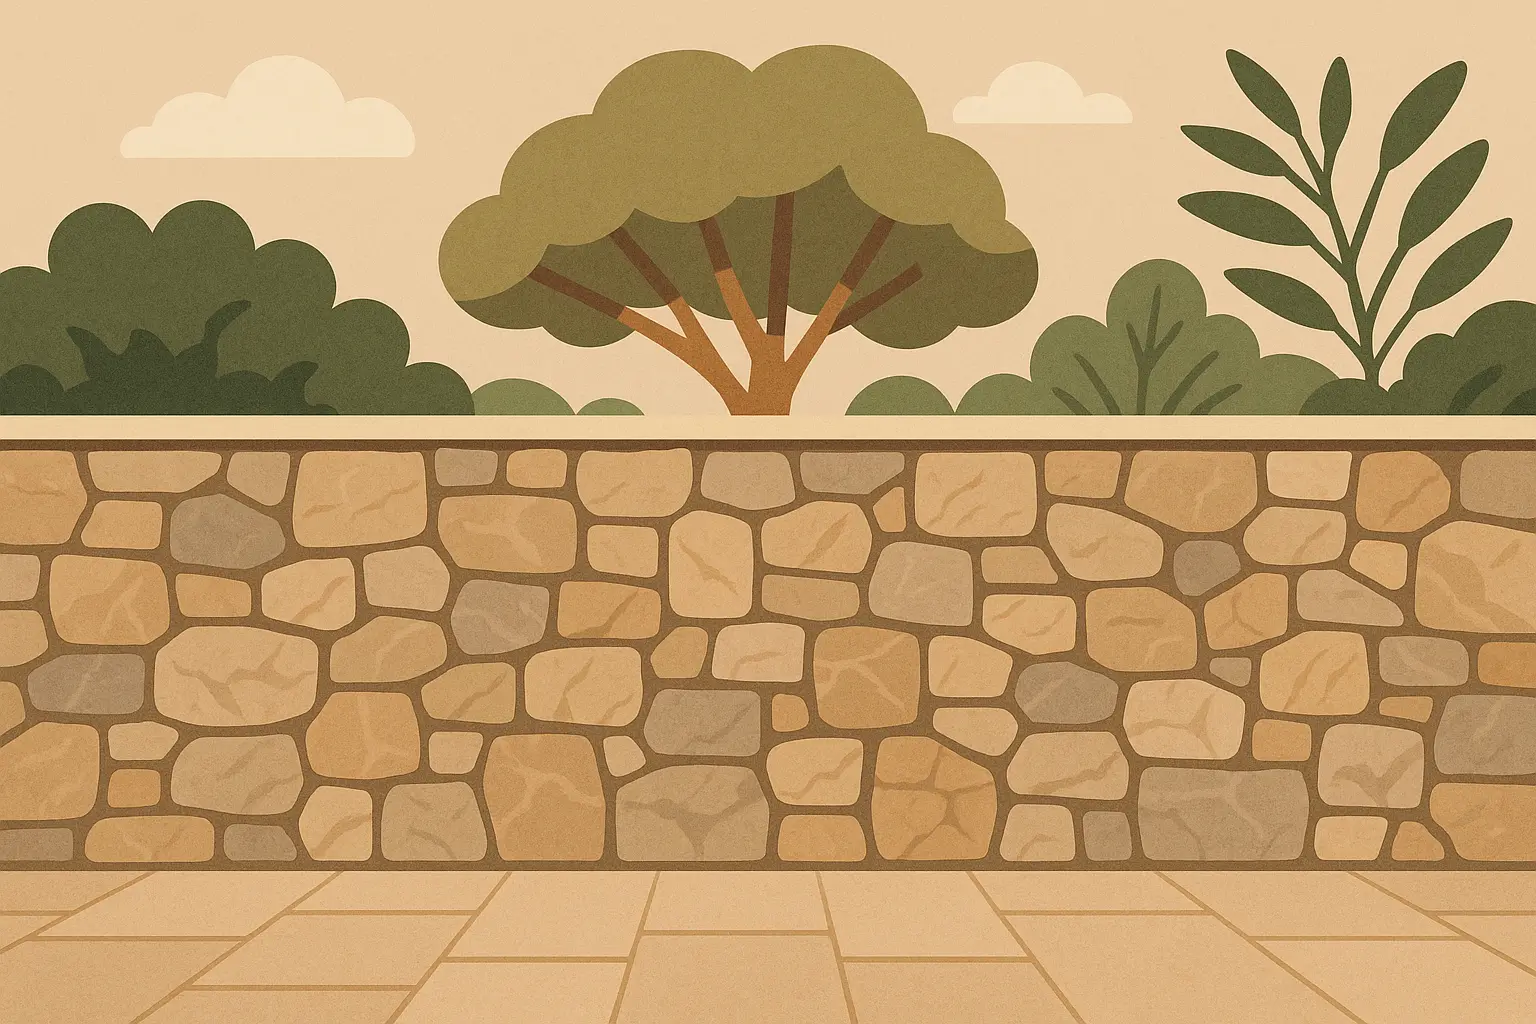
Constructed Privacy Fences and Walls
-
Flexible and Temporary Solutions
-
Creative and Multi-Functional Options
-
DIY Privacy Screen Solutions
-
Planning Your Privacy Project Implementation
-
How JiffyJunk Supports Your Patio Transformation
-
Final Thoughts
TL;DR
-
Figure out what you actually need before buying anything – height, coverage, and whether it needs to be permanent
-
Plants like evergreen hedges look great but take time to fill in – don’t expect instant privacy
-
Fences give you privacy right away but might need permits and can be pricey
-
Temporary stuff like curtains and screens let you adjust privacy as needed
-
DIY options using pallets or lattice can work great for under $200 if you’re handy
-
Your local weather matters a lot – what works in Arizona won’t necessarily work in Minnesota
-
Factor in what it’ll really cost over time, not just the upfront price
-
Get creative – you can combine different approaches for better results
Key Factors for Choosing Your Perfect Privacy Solution
Getting your patio privacy right the first time saves you from expensive do-overs later. Here’s what actually matters when you’re planning this stuff.
Height and Coverage Assessment
First things first – figure out how much privacy you actually need. Full privacy usually means 6-8 feet of solid coverage, while partial screening for wind protection or just creating some separation works fine at 3-5 feet.
Walk around your property at different times of day to see where people can actually see you. Don’t forget about seasonal changes – that leafy tree providing summer privacy might leave you completely exposed come winter.
Climate and Weather Reality Check
Your local weather is going to make or break whatever you install. Wind, rain, snow, blazing sun, and humidity all beat up outdoor materials differently.
Here’s the deal with different climates: If you live somewhere hot and dry, stick with composite, metal, or stone. If you get a lot of rain and snow, treated cedar or vinyl will save you headaches. And if you’re near the ocean, anything that rusts is going to be a problem.
|
Climate Zone |
What Actually Works |
Skip These |
What You Need to Know |
|---|---|---|---|
|
Hot & Dry |
Composite, Metal, Stone |
Untreated Wood |
UV protection is everything |
|
Cold & Wet |
Treated Cedar, Vinyl, Composite |
Bamboo, Untreated Wood |
Freeze-thaw will destroy cheap stuff |
|
Humid Areas |
Aluminum, Vinyl, Composite |
Untreated Wood, Iron |
Mold and rust are real problems |
|
Near the Ocean |
Stainless Steel, Vinyl, Composite |
Regular Steel, Untreated Wood |
Salt air eats everything |
|
Normal Weather |
Cedar, Composite, Stone |
Tropical Plants |
You’ll need seasonal maintenance |
Check If You Need Permits
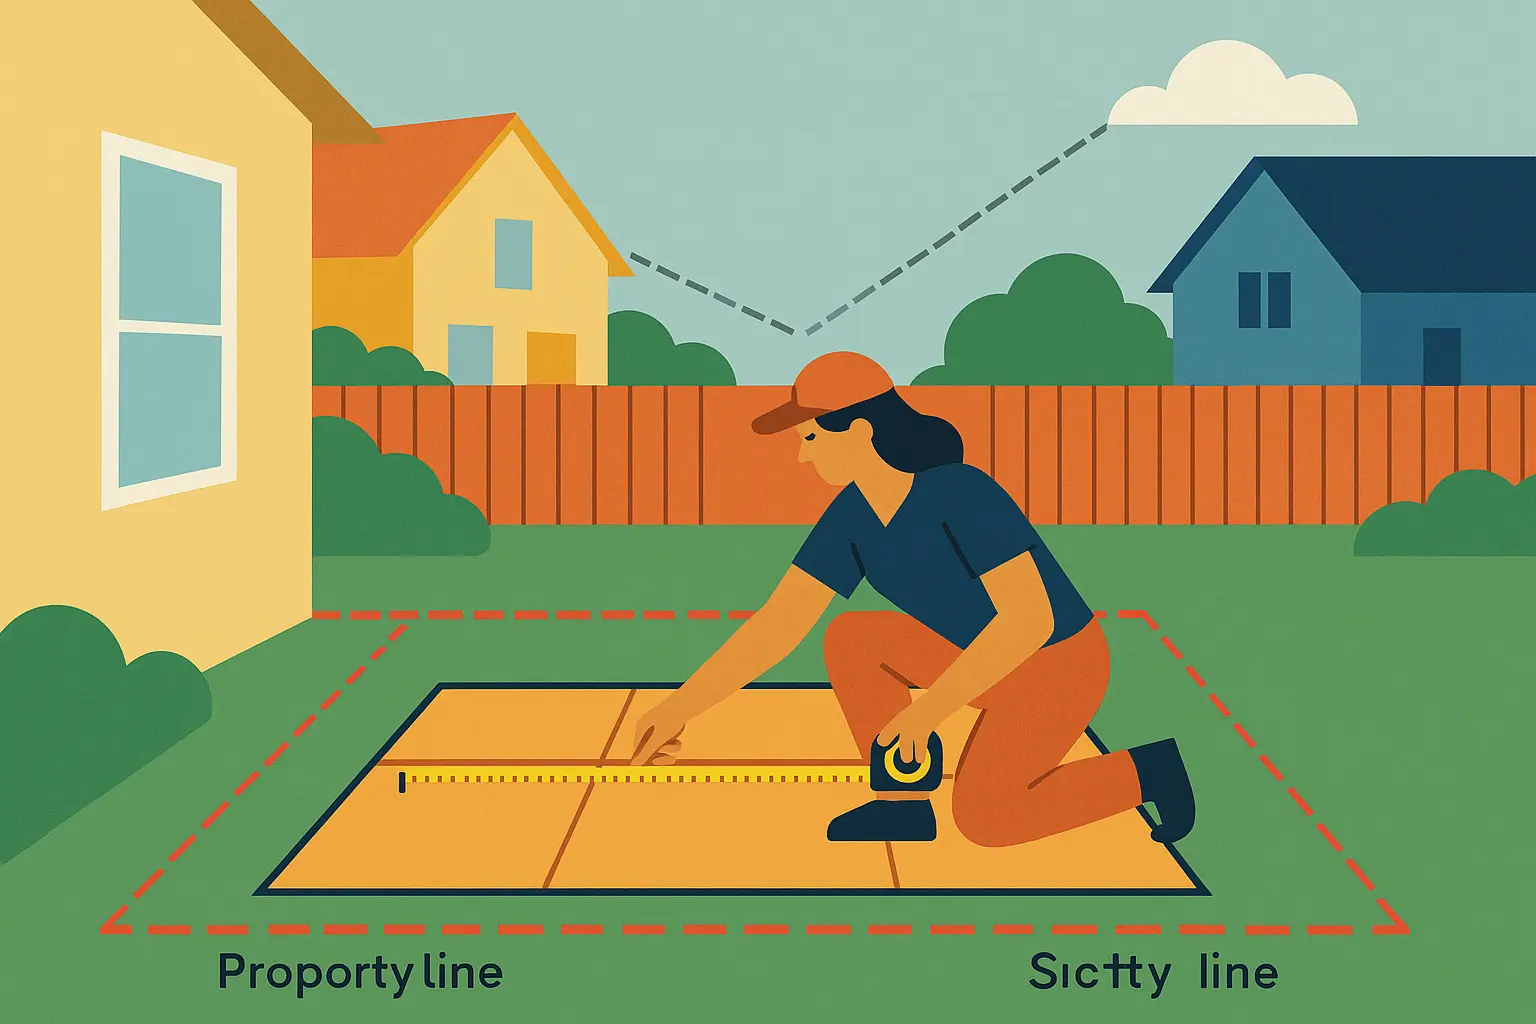
Nothing kills a project faster than the city showing up to tell you to tear it down. Check with your HOA and city hall about height limits, setback requirements, and whether you need permits before you buy anything.
Temporary structures usually have fewer restrictions, but it’s better to ask than assume.
Be Honest About Maintenance
Some options need annual staining, regular plant care, or structural check-ups, while others you can basically ignore for decades. That “cheap” wood fence might cost more than stone over ten years when you factor in all the maintenance.
Think about whether you’re actually going to keep up with the upkeep or if you need something more set-it-and-forget-it.
Living Privacy Solutions (Natural Barriers)
Plants can create some of the most effective and beautiful privacy screens available. They get better with age, which is more than you can say for most fences.
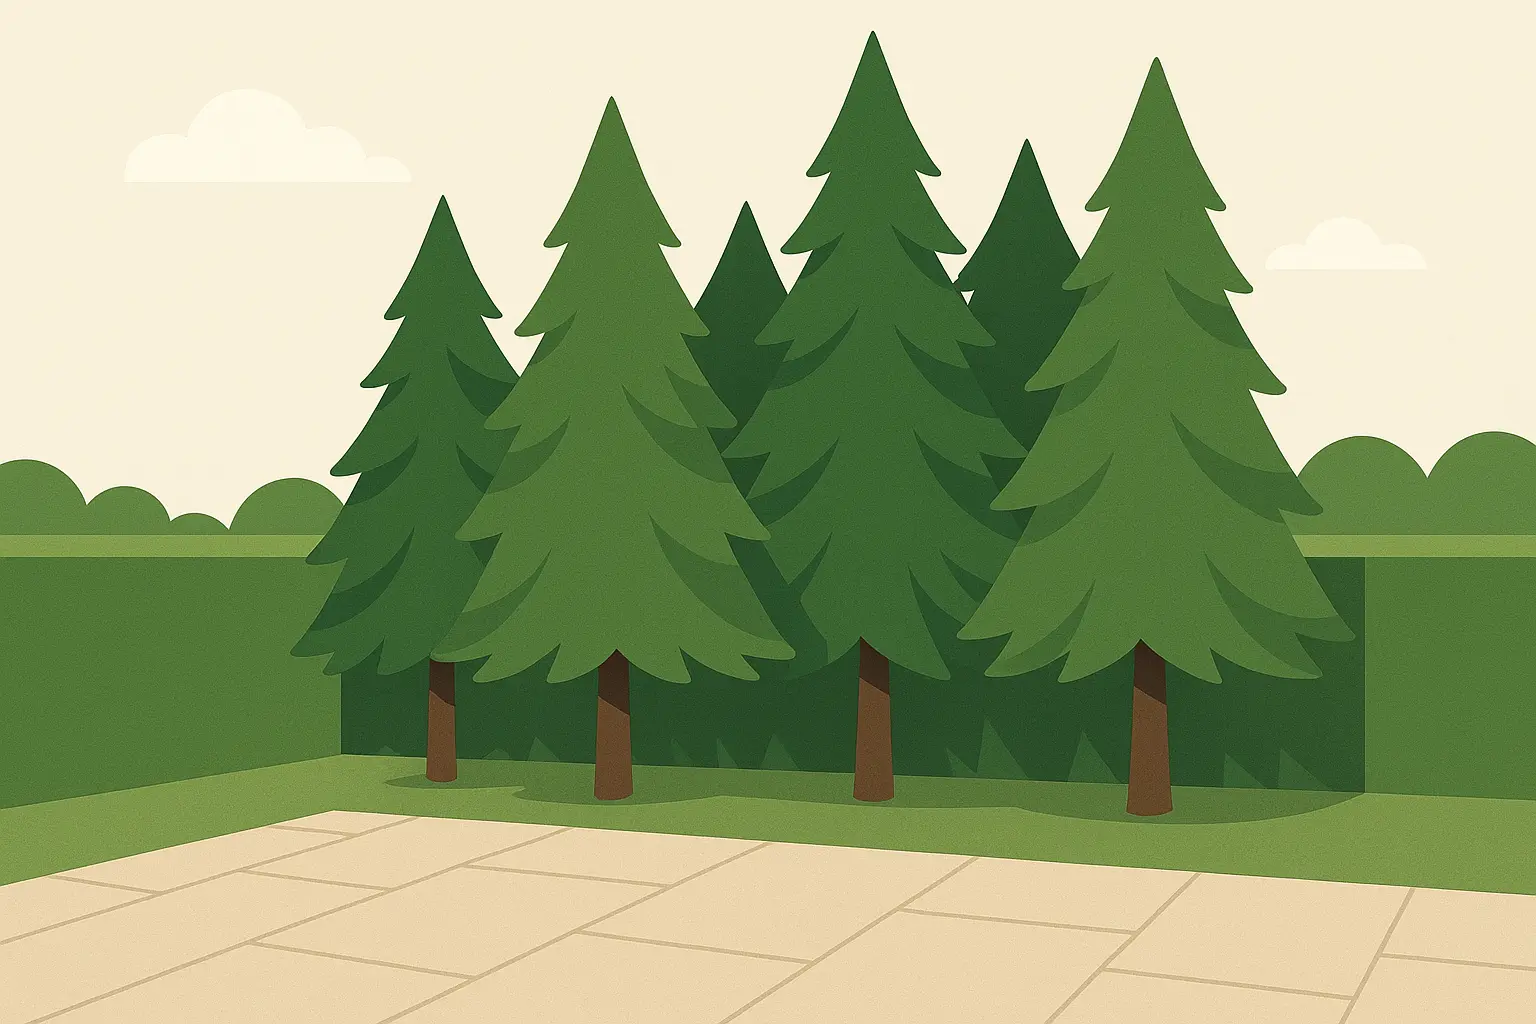
1. Evergreen Hedge Walls
Dense evergreen hedges give you year-round privacy that actually improves over time. Fast-growing varieties like Leyland Cypress, Arborvitae, or Privet fill in quickly when you plant them 3-4 feet apart.
What You Get: Really solid privacy once they’re established, usually 6-12 feet tall depending on what you plant. Most climates work fine if you pick the right variety. Usually no permit issues, though some places have height limits near property lines.
What It’ll Cost You: About $15-30 per plant, which adds up fast. Moderate DIY project – you’ll need to dig holes and prep the soil properly. Annual trimming and occasional fertilizer. Classic look that fits with most landscapes.
Sarah’s Reality Check: When Sarah moved into her new home, her backyard patio faced directly into three neighboring yards. She planted 15 Emerald Green Arborvitae saplings, 3 feet apart along her property line. Cost her $450 for plants plus $200 for soil work. The first year, they looked pretty sparse and she wondered if she’d made a mistake. After two growing seasons, her 4-foot saplings hit 7 feet and finally gave her real privacy. Takes about 2 hours to trim them each year and maybe $50 in fertilizer. Five years later, they’re 9 feet tall and probably added a couple thousand to her property value.
2. Bamboo Groves
Clumping bamboo grows fast – we’re talking 3-5 feet per year. Just make sure you get the clumping kind, not the spreading kind, unless you want to deal with bamboo taking over your entire neighborhood.
What You Get: Excellent privacy that grows fast. Works well in zones 5-10, handles most weather. Some places restrict bamboo because of invasive species concerns.
What It’ll Cost You: $20-50 per plant, grows fast so you get your money’s worth quickly. Easy to plant yourself, just install root barriers to keep it contained. Low maintenance once it’s going, maybe thin it out annually. Modern, zen look that works great with contemporary designs.
3. Climbing Vine Trellises
Build or buy sturdy trellises and let fast-growing vines like clematis, honeysuckle, or grape do the work. You get structure plus natural beauty, and it changes with the seasons.
What You Get: Good privacy when it’s mature, usually 6-8 feet, but it’ll look different throughout the year. Pick vines that work in your climate. No permit issues for plants.
What It’ll Cost You: $100-300 for trellis plus plants. Moderate DIY project – you need a solid support structure. Regular pruning and training, plus seasonal cleanup. Romantic, cottage-garden look with seasonal changes.
4. Layered Shrub Borders
Mix different height shrubs like photinia, viburnum, or flowering quince in staggered arrangements. You get natural-looking privacy with year-round structure and seasonal color.
What You Get: Good privacy, 4-8 feet depending on what you plant. Pick the right plants for your area and you’re golden. No permit headaches.
What It’ll Cost You: About $200-500 for 20 feet of mixed plantings. Pretty easy DIY project. Seasonal pruning and mulching. Natural look with year-round interest.
5. Ornamental Grass Screens
Tall grasses like pampas, miscanthus, or fountain grass create soft barriers that move in the breeze. You get partial privacy with nice texture and movement.
What You Get: Partial privacy, usually 3-6 feet tall. Most grasses are tough and adaptable. No permit issues.
What It’ll Cost You: Cheap at $10-25 per plant. Easy to plant. Low maintenance – just cut them back once a year. Soft, natural look that adds movement and texture.
If you’re starting from scratch, you might need yard waste disposal services to clear out old plantings or overgrown stuff first.
Constructed Privacy Fences and Walls
When you need privacy right now and don’t want to wait for plants to grow, built solutions deliver results from day one.
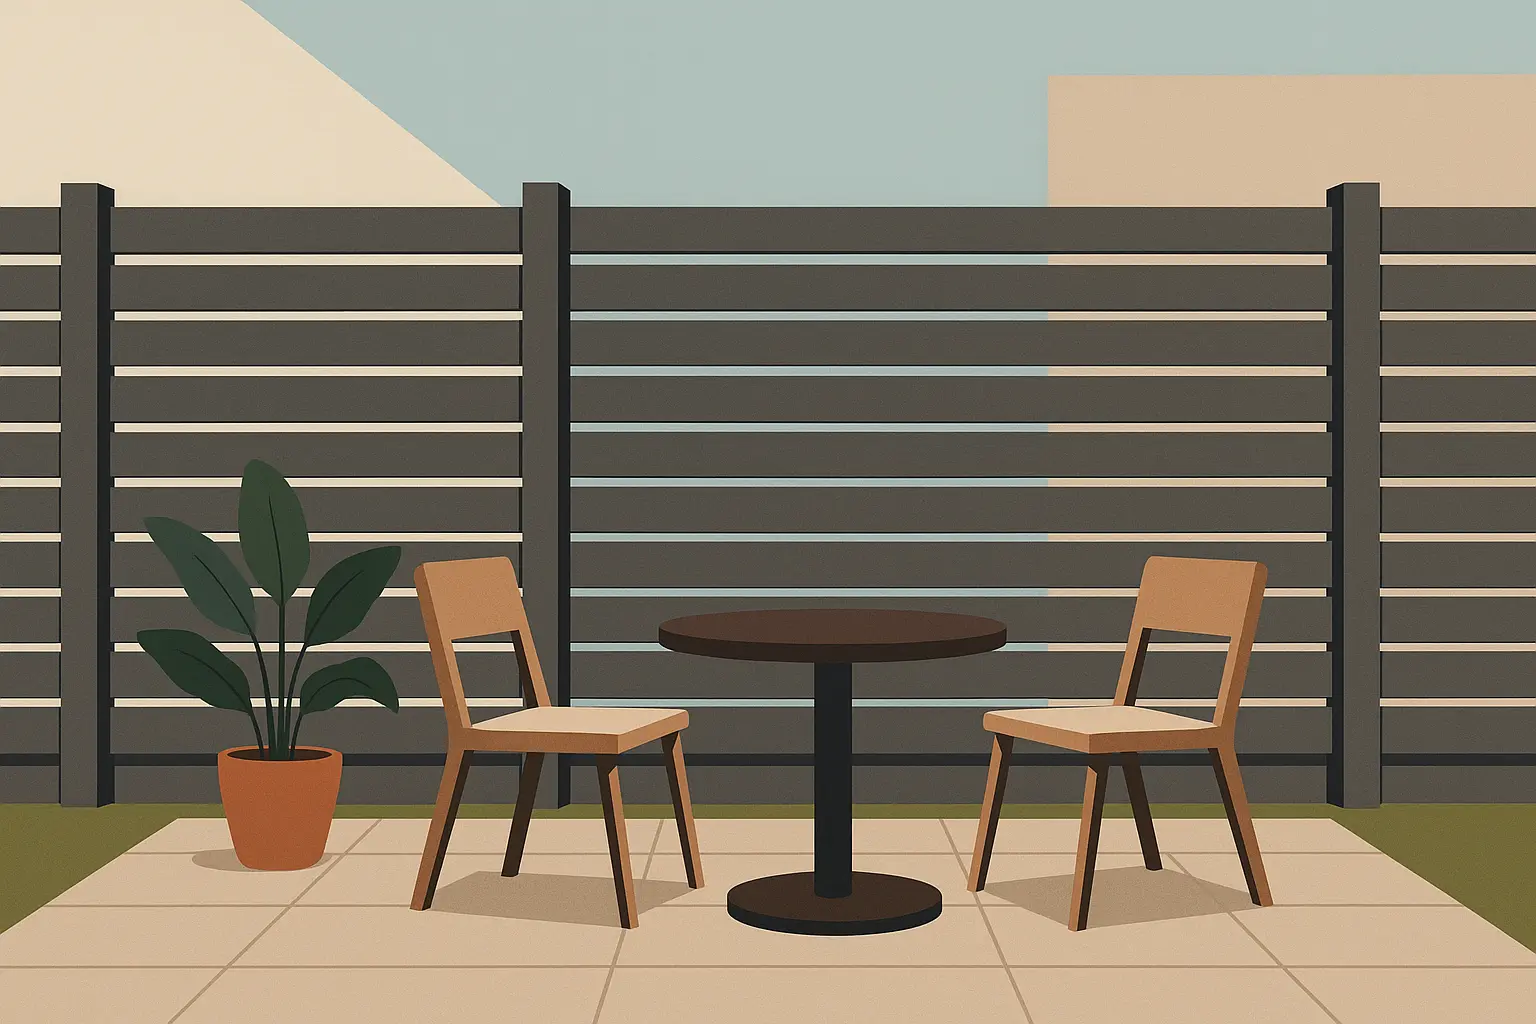
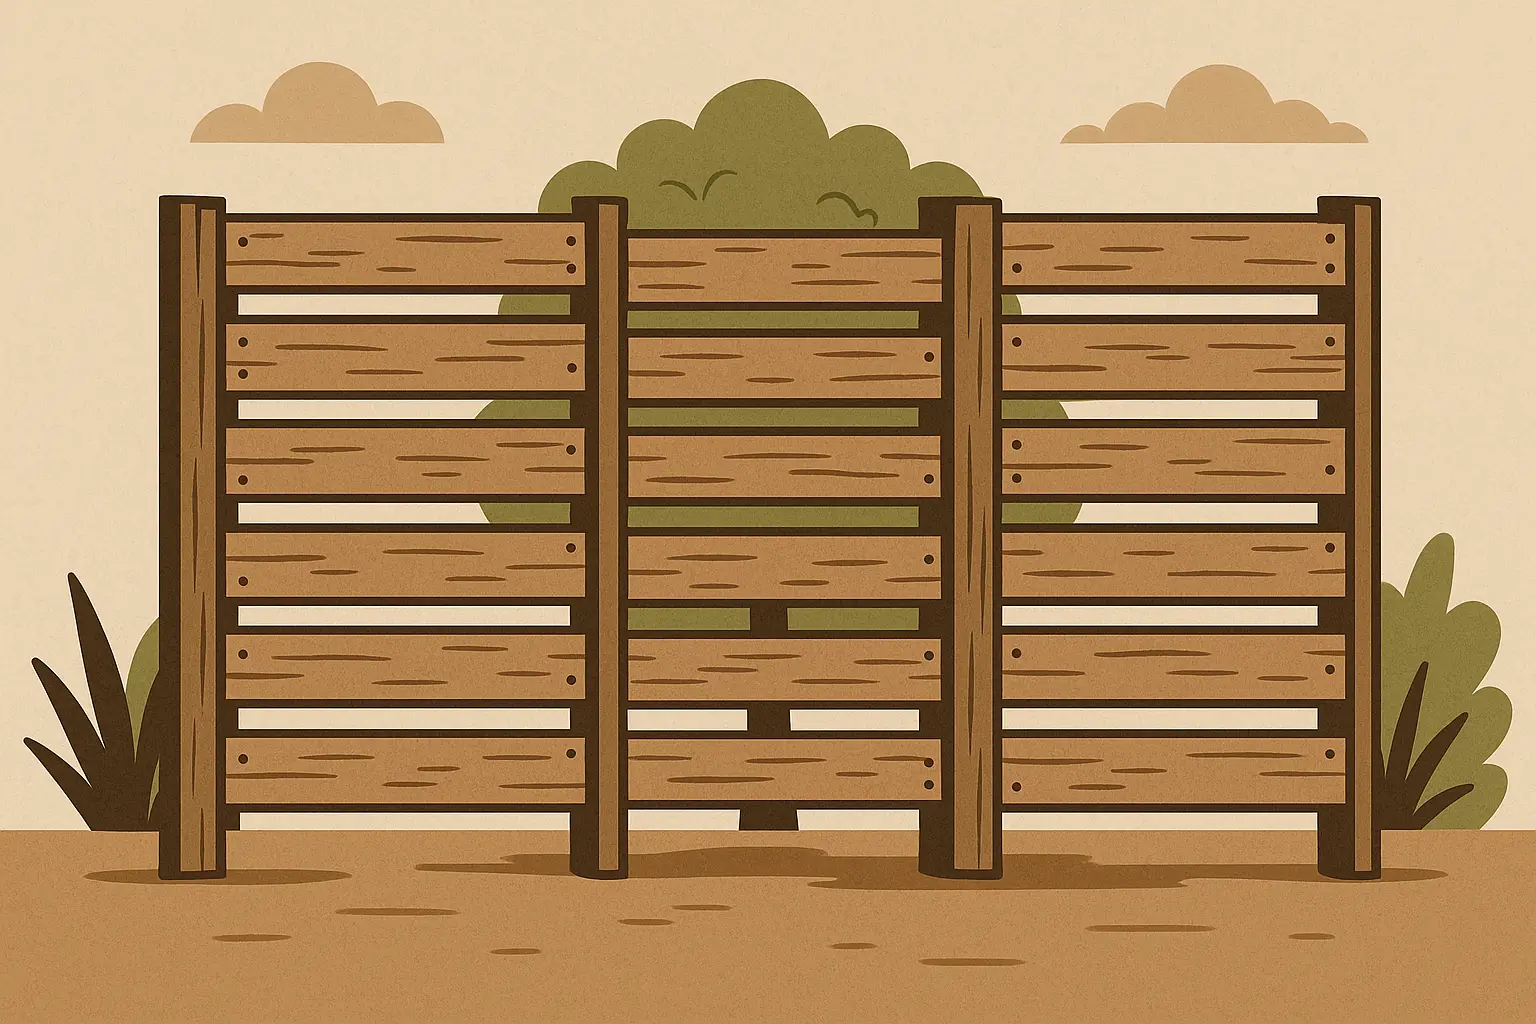
6. Horizontal Slat Fencing
Modern horizontal wood or composite slats create clean, contemporary lines. Cedar and composite hold up well with minimal maintenance.
What You Get: Excellent privacy with customizable height. Good weather resistance with the right materials. Might need permits and has to meet setback requirements.
What It’ll Cost You: $25-45 per linear foot. Usually need a pro for best results, though experienced DIYers can handle it. Stain or seal every 2-3 years. Clean, modern look that works with contemporary homes.
7. Vertical Board Privacy Fences
Traditional vertical fencing using cedar, pine, or composite. Board-on-board installation eliminates gaps for maximum privacy.
What You Get: Solid privacy with complete coverage. Good weather resistance with treated materials. Check height limits and setback requirements.
What It’ll Cost You: $20-35 per linear foot. Doable DIY project if you’re handy with tools. Regular staining needed. Traditional look that fits most homes.
8. Decorative Block Walls
Concrete blocks create permanent, low-maintenance barriers. You can paint them, stucco them, or leave them natural.
What You Get: Complete privacy and excellent weather resistance. Often needs permits and professional installation for structural reasons.
What It’ll Cost You: $30-60 per linear foot. Need a pro for structural integrity. Very low maintenance – just occasional cleaning. Modern look that you can customize with textures and colors.
9. Stone or Brick Walls
Natural stone or brick creates elegant, permanent privacy that adds real value to your property while working with both traditional and contemporary styles.
What You Get: Complete privacy with excellent durability. Usually needs permits and engineering.
What It’ll Cost You: $50-100+ per linear foot – this is a real investment. Need professional installation. Virtually maintenance-free for decades. Timeless look that adds significant property value.
10. Gabion Wall Systems
Wire cages filled with stones create a modern, industrial look with excellent drainage. You can add planters for extra visual interest.
What You Get: Excellent privacy with customizable height. Stone and wire handle all weather conditions. Might need engineering consultation for tall installations.
What It’ll Cost You: $25-40 per linear foot. Moderate DIY project with proper planning. Very low maintenance – just check the wire occasionally. Industrial-modern look that works well with contemporary landscapes.
Flexible and Temporary Solutions
Sometimes you need privacy that adapts to changing situations rather than something permanent. These options give you control over when and where you want screening.
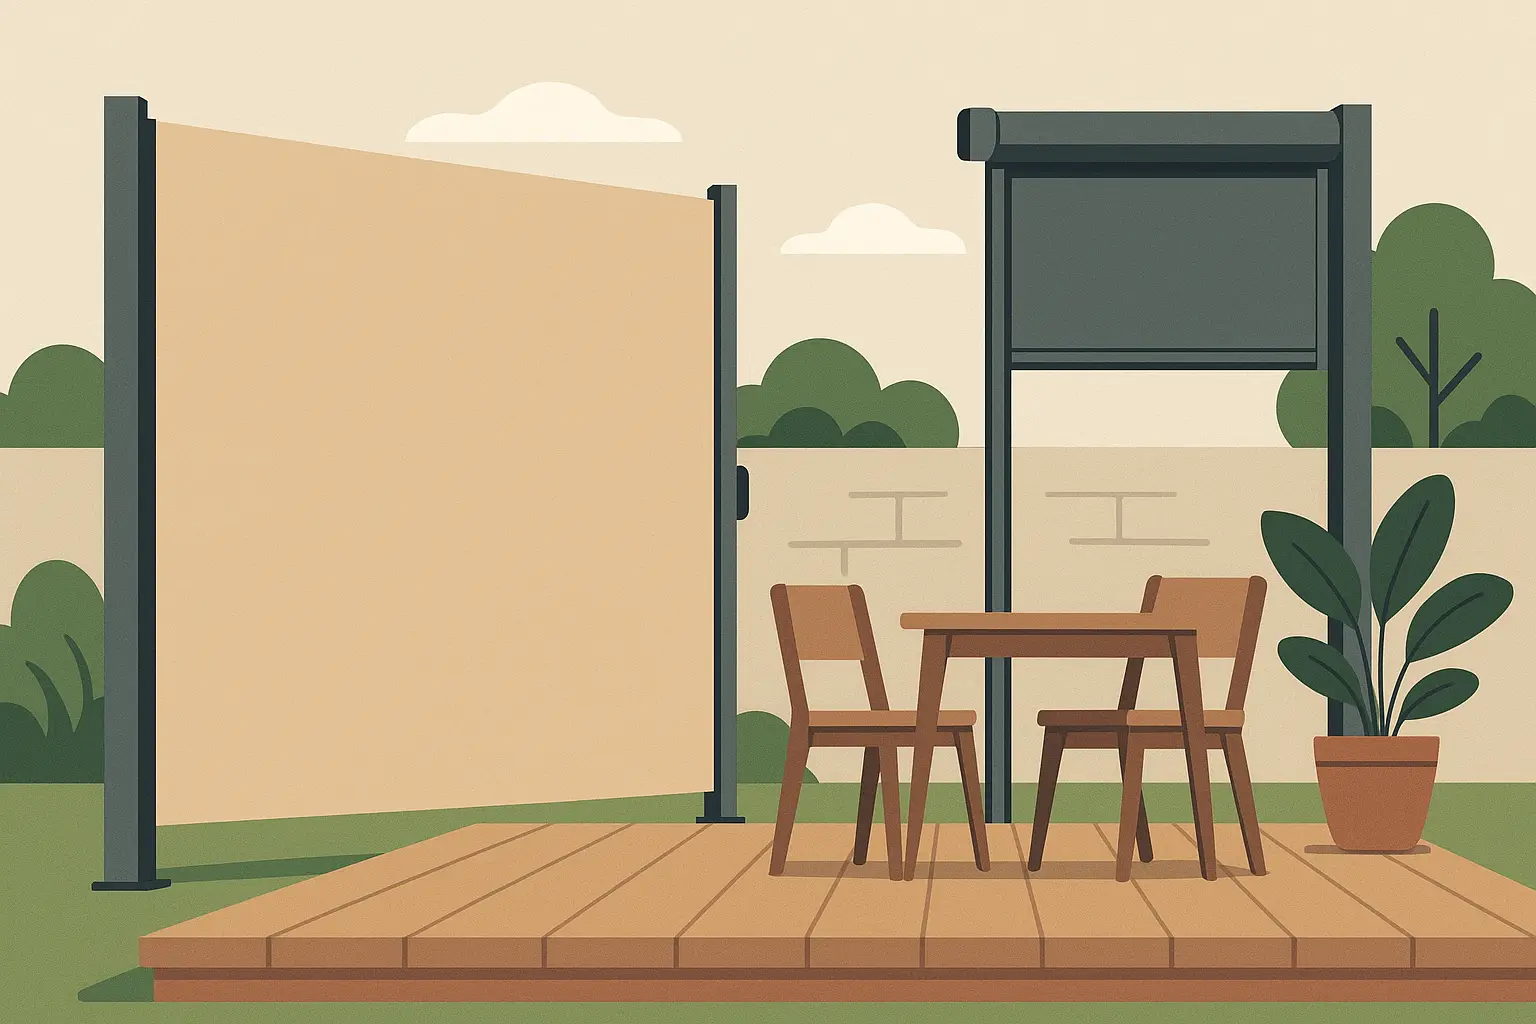
11. Retractable Privacy Screens
Motorized or manual retractable screens give you privacy exactly when you want it. Perfect for patios where you want flexibility between open and private settings.
What You Get: Privacy on demand. Good weather resistance with quality materials. Usually no permit issues for residential use.
What It’ll Cost You: $500-2000+ per installation. Usually need a pro, especially for motorized versions. Low maintenance – occasional cleaning and lubrication. Clean, modern look that stays out of the way when you don’t need it.
12. Outdoor Privacy Curtains
Weather-resistant fabric panels hung from pergolas, gazebos, or curtain rods provide soft privacy with lots of color and opacity options.
What You Get: Good privacy with adjustable coverage. Need weather-resistant fabric. No permit issues.
What It’ll Cost You: $100-400 depending on size and fabric quality. Easy DIY project using standard curtain hardware. Seasonal washing and fabric replacement every 2-3 years. Soft, resort -like look with tons of color and pattern options.
Mike’s Rental Solution: As a renter, Mike couldn’t install permanent fencing but needed privacy from his apartment balcony’s street exposure. He installed ceiling-mounted curtain tracks on his covered balcony and hung weather-resistant outdoor curtains in navy blue. Total cost: $180 for tracks, hardware, and curtains. Took 3 hours with basic tools, and the curtains give him adjustable privacy throughout the day. When he moves, the whole thing comes with him without damaging the property.
13. Portable Privacy Panels
Freestanding panels that you can move around as needed. Materials include wood, metal, fabric, or composite on wheeled or weighted bases.
What You Get: Moderate privacy, usually 4-6 feet tall. Weather resistance depends on what they’re made of. No restrictions since they’re temporary.
What It’ll Cost You: $150-500 per panel system. No installation needed – use them right away. Maintenance depends on the material. Flexible design lets you change configurations as needed.
14. Shade Sails with Privacy Features
Triangular or rectangular fabric installations provide both shade and visual screening when positioned right. Two functions in one solution.
What You Get: Partial privacy with significant shade benefits. Good weather resistance with UV-resistant materials. Check height restrictions in some areas.
What It’ll Cost You: $200-600 per sail installation. Moderate DIY project – you need strong anchor points properly positioned. Low maintenance, though seasonal removal is smart in harsh climates. Modern, nautical look that adds architectural interest.
15. Folding Screen Dividers
Multi-panel folding screens adjust to different configurations for customizable privacy. Materials range from wood to metal to synthetic options.
What You Get: Moderate privacy with portable screening. Weather resistance varies by material. No restrictions for temporary installations.
What It’ll Cost You: $200-800 per screen system. No installation needed. Low maintenance – occasional cleaning and minor repairs. Works with any design style and stores easily when not needed.
Creative and Multi-Functional Options
Why settle for basic privacy when you can create solutions that do multiple jobs? These approaches maximize your investment while adding unique character.
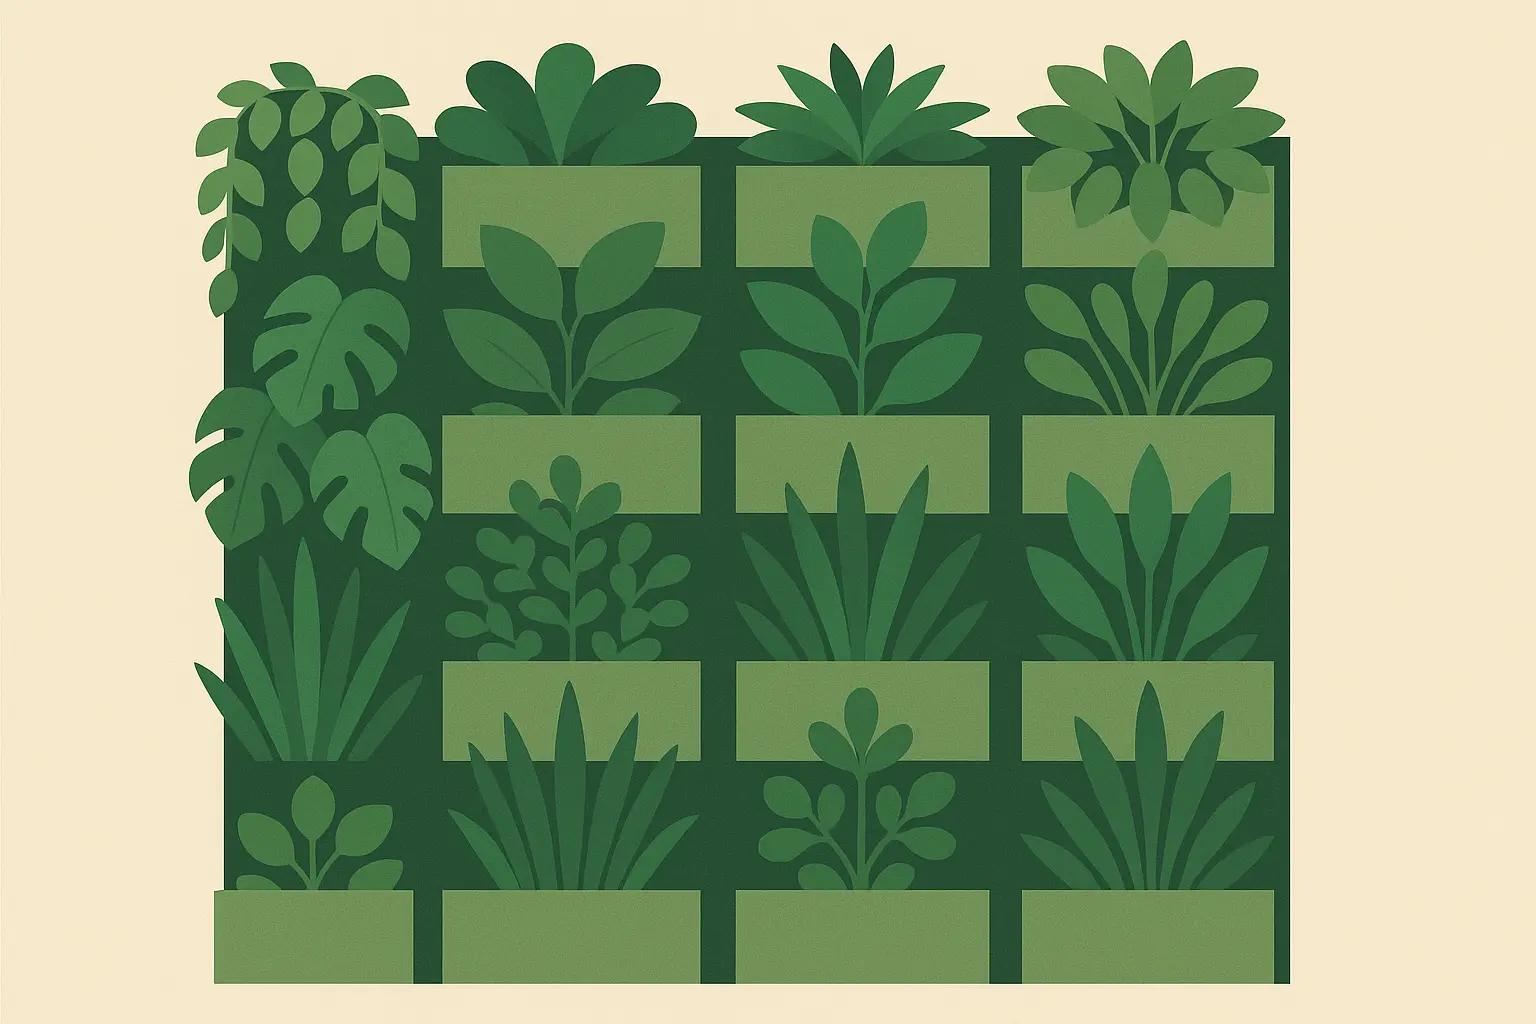
16. Living Wall Systems
Vertical gardens using modular planting systems create green privacy walls. You can grow herbs, flowers, or foliage plants for air cleaning, food production, and stunning looks.
What You Get: Good privacy, usually 4-8 feet with lush plant coverage. Plant selection depends on your climate. Might need irrigation permits in some areas.
What It’ll Cost You: $40-80 per square foot – this is expensive. Often need a pro for irrigation and structural stuff. High maintenance – regular watering, fertilizing, and plant replacement. Stunning visual impact with air purification and potential food production.
Fair warning – this living wall thing looks amazing on Instagram, but you’re basically signing up to be a plant babysitter. If you kill houseplants, maybe skip this one.
17. Water Feature Walls
Fountains or water walls provide visual privacy while adding sound to block unwanted noise. Available in natural stone or modern materials.
What You Get: Moderate privacy with effective sound masking. Need freeze protection in cold areas. Might need electrical permits for pump installation.
What It’ll Cost You: $1000-5000+ depending on complexity. Usually need a pro for electrical and plumbing. Moderate to high maintenance including pump care and seasonal shutdown. Luxury look that creates a focal point with relaxing sounds.
18. Artistic Metal Screens
Laser-cut metal panels in decorative patterns provide privacy while allowing air flow. Powder-coated finishes resist weather while creating artistic focal points.
What You Get: Good privacy with customizable patterns that let air through. Excellent weather resistance with powder coating. No permit issues for decorative installations.
What It’ll Cost You: $100-300 per panel. Moderate DIY or professional installation depending on mounting. Very low maintenance – just occasional washing. Artistic look that serves as statement pieces.
|
Privacy Solution |
What You’ll Really Pay |
How Long to Install |
How Much Work |
Privacy Level |
|---|---|---|---|---|
|
Evergreen Hedges |
$15-30 per plant |
1-2 days |
You’ll be trimming annually |
Really good once grown |
|
Horizontal Slat Fence |
$25-45 per linear foot |
Long weekend, maybe two |
Staining every few years |
Excellent |
|
Retractable Screens |
$500-2000+ per unit |
Half day (pro install) |
Pretty easy |
Good when you need it |
|
Living Wall Systems |
$40-80 per sq ft |
1-2 days |
High maintenance plant care |
Good if you keep plants alive |
|
DIY Bamboo Rolls |
$30-60 per 8ft section |
Few hours |
Replace every 3-5 years |
Good |
|
Stone/Brick Walls |
$50-100+ per linear foot |
Several days |
Basically none |
Excellent |
19. Mixed Material Combinations
Combine different materials like wood and metal, stone and glass, or plants and structures for unique, layered privacy that creates visual depth.
What You Get: Variable privacy depending on your design and materials. Weather resistance depends on what you choose. Check requirements for each material.
What It’ll Cost You: Highly variable, $500-3000+ based on materials and complexity. Usually need professional design and installation. Maintenance depends on materials. Highly customizable for unique designs.
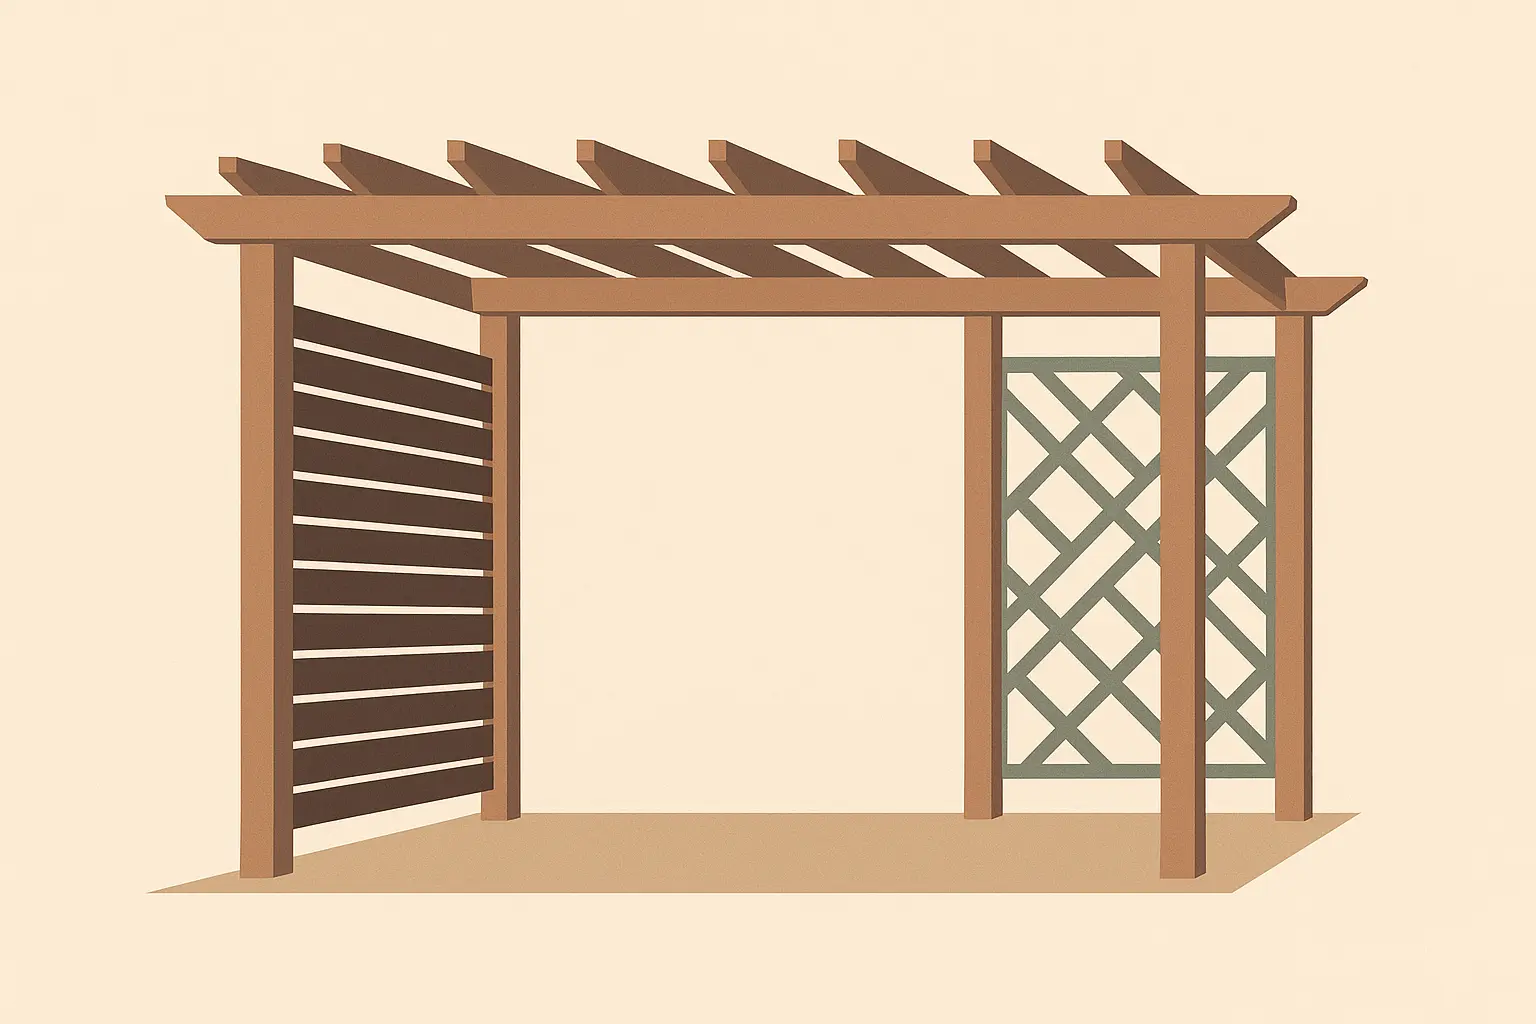
20. Pergola with Privacy Panels
Add privacy panels to existing or new pergolas for overhead structure combined with side screening. Options include solid panels, lattice work, or climbing plant supports.
What You Get: Good privacy with overhead definition and side screening. Good weather resistance with proper materials. Might need permits for permanent structures.
What It’ll Cost You: $1000-4000+ for complete systems. Often want a pro for structural integrity. Maintenance depends on materials. Classic outdoor room look that defines space while providing privacy.
DIY Privacy Screen Solutions
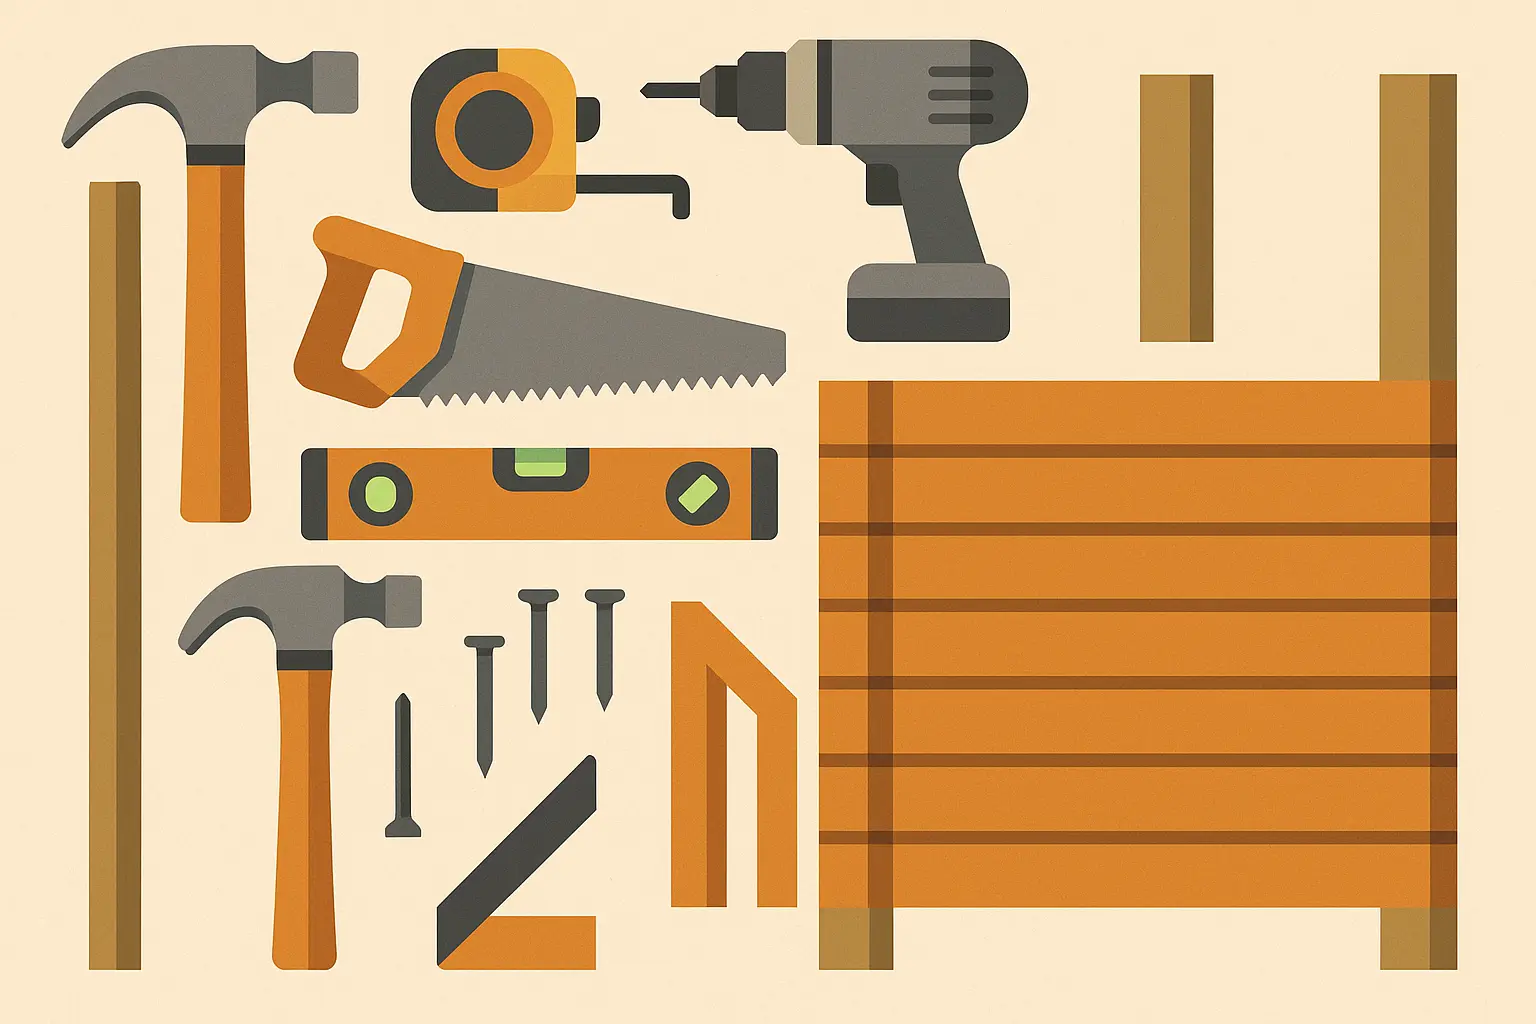
If you’re handy and want to save money, these DIY approaches can get you excellent results for a fraction of professional installation costs.
21. Pallet Wood Privacy Screens
Repurpose shipping pallets into rustic privacy screens by sanding, staining, and mounting them vertically or horizontally between posts.
What You Get: Moderate privacy limited by standard pallet size. Need weather treatment for durability. Usually no restrictions for temporary structures.
What It’ll Cost You: $50-150 per section using free or cheap pallets. Easy DIY project for beginners. Regular re-staining for weather protection. Rustic, upcycled look that’s environmentally friendly.
22. Lattice Panel Systems
Pre-made lattice panels mounted between posts create quick privacy installations that support climbing plants for enhanced coverage over time.
What You Get: Partial privacy with plant support capabilities. Good weather resistance with treated materials. No permit issues.
What It’ll Cost You: $15-30 per panel plus posts. Easy DIY weekend project. Occasional staining or sealing. Traditional look that works well with climbing plants.
When starting your DIY project, you might need to clear existing materials first. Professional garage clean out services can help create workspace for your construction materials and tools.
Tom’s Weekend Reality: Tom needed privacy screening for his 20-foot patio but had a tight budget and only weekends to work. He bought 8 lattice panels at $25 each and six 4×4 treated posts at $15 each. Using a post-hole digger and basic tools, he installed the posts in concrete on Saturday and mounted the panels on Sunday. Total cost: $290 plus concrete and hardware. He planted morning glory vines at the base, and by mid-summer, they provided good coverage. The project took 12 hours over two days. Just took way longer than he thought it would, and he had to make three trips to the hardware store for stuff he forgot.
23. Outdoor Fabric Panels
Create custom privacy screens using outdoor fabric, grommets, and mounting hardware for seasonal color changes and complete design control.
What You Get: Good privacy with customizable opacity based on fabric choice. Need outdoor-rated fabric for weather resistance. No permit issues for fabric installations.
What It’ll Cost You: $100-300 per installation depending on fabric quality and size. Easy DIY project using basic sewing and mounting skills. Seasonal cleaning and eventual fabric replacement. Unlimited color and pattern options.
24. Bamboo Roll Screening
Natural bamboo fencing rolled out and attached to existing structures or posts provides quick privacy installation with tropical appeal.
What You Get: Good privacy available in various heights. Natural material that degrades over time. No permit issues for temporary installations.
What It’ll Cost You: $30-60 per 8-foot section – very affordable. Super easy DIY installation with basic fastening. Low maintenance but replacement needed every 3-5 years. Natural, tropical look that complements outdoor living.
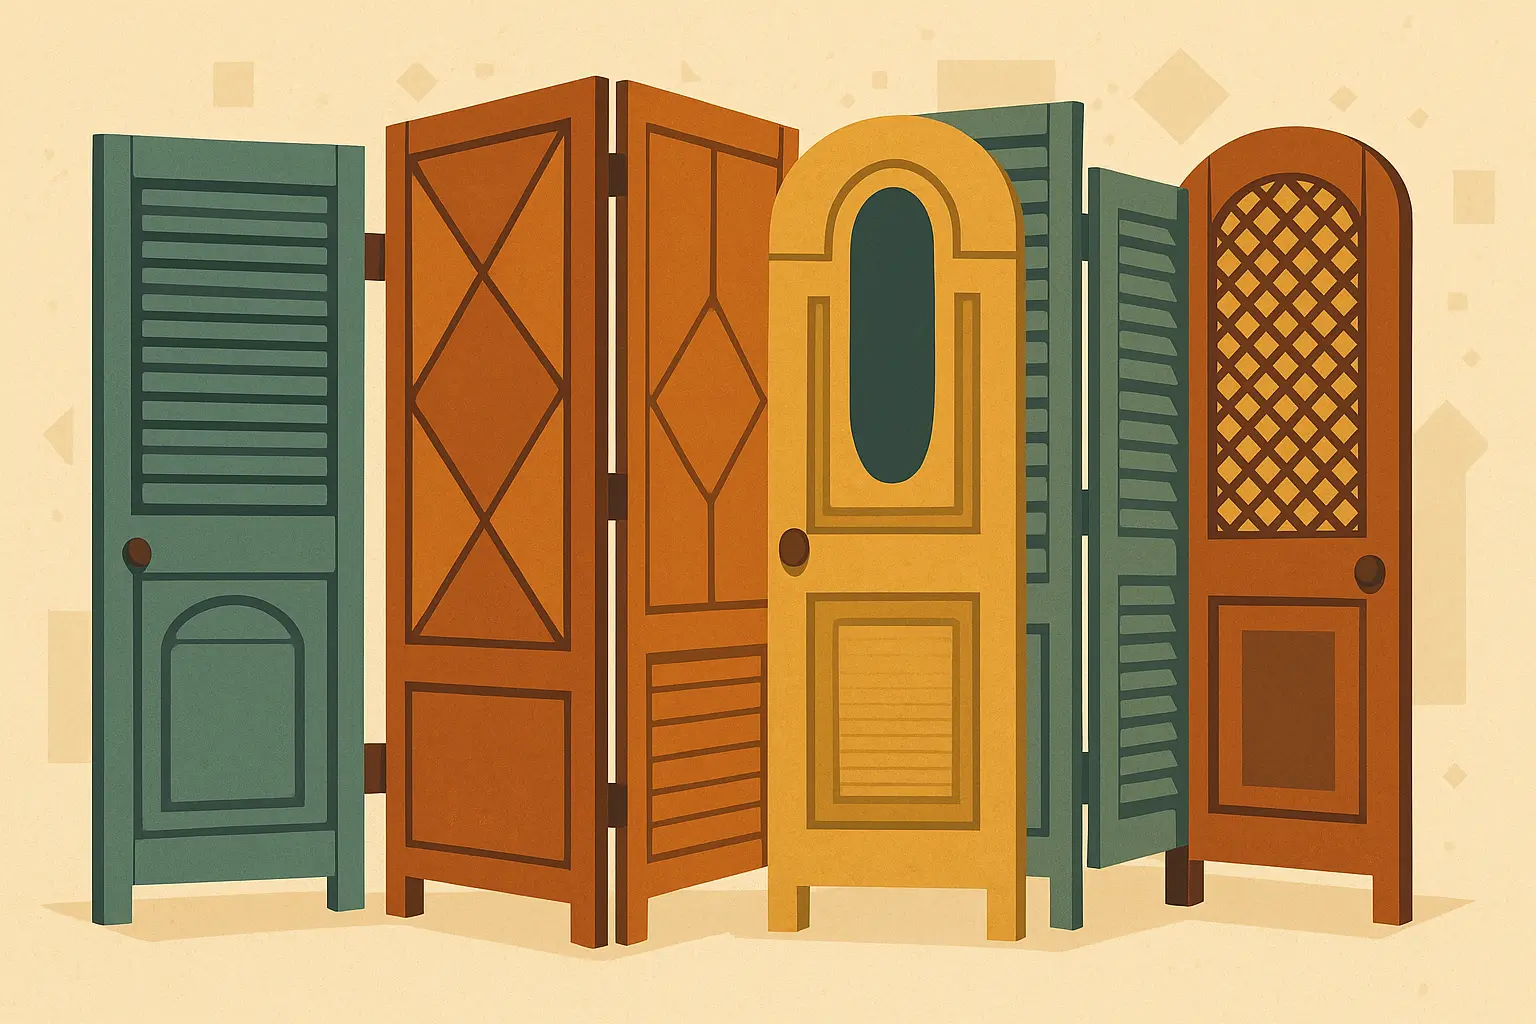
25. Repurposed Material Screens
Use reclaimed doors, shutters, or architectural elements to create unique privacy with historical character while being environmentally conscious.
What You Get: Variable privacy depending on source materials and condition. Weather resistance highly variable based on original construction. No restrictions for artistic installations.
What It’ll Cost You: Variable cost $100-500 depending on material sourcing and restoration needs. Moderate DIY project requiring creativity and basic construction skills. Variable maintenance as some materials may need restoration. Unique character with environmental benefits.
DIY projects often generate construction debris and packaging waste. Consider scheduling construction debris removal services to keep your workspace clean and safe during installation.
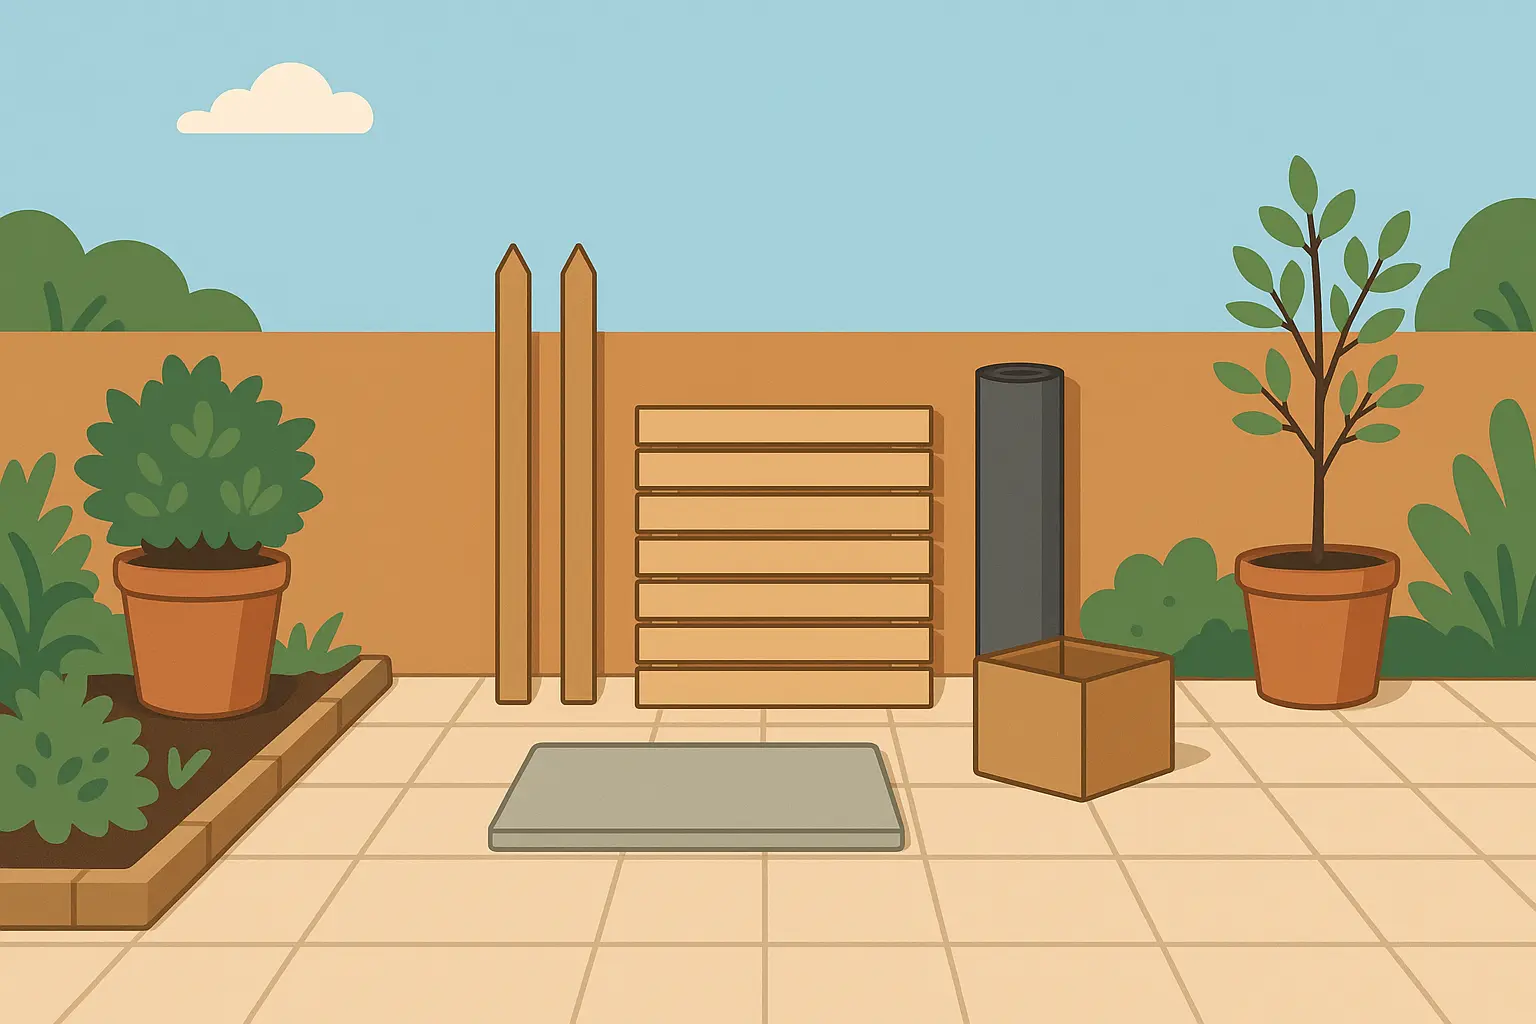
Planning Your Privacy Project Implementation
Turning your privacy vision into reality requires some planning so you don’t end up with a half-finished mess in your backyard.
|
Project Type |
How Long It Really Takes |
Tools You’ll Need |
Skill Level |
Permit Needed |
|---|---|---|---|---|
|
Bamboo Roll Installation |
Half a day |
Basic hand tools |
Anyone can do this |
No |
|
Lattice Panel System |
Long weekend |
Post digger, drill, level |
Some DIY experience helpful |
Usually No |
|
Horizontal Slat Fence |
Long weekend, maybe two |
Saw, drill, level, concrete mixer |
Pretty experienced DIYer |
Often Yes |
|
Living Wall System |
1-2 days + months for plants to fill in |
Drill, irrigation tools |
Some experience needed |
Sometimes |
|
Stone/Brick Wall |
Week or more |
Masonry tools, mixer |
Call a pro |
Yes |
|
Retractable Screens |
Half day (with pro) |
Specialized mounting tools |
Definitely call a pro |
Sometimes |
Simple DIY Examples
Bamboo Roll Screening Project: Buy 6-foot tall bamboo rolls at $30-50 per 8-foot section, then attach to existing fence posts using zip ties or galvanized wire. Add a top rail for a finished look and better durability.
Pallet Privacy Screen: Find free pallets from local businesses, sand them smooth so you don’t get splinters, apply weather-resistant stain in your chosen color, then mount vertically between 4×4 posts set in concrete. Expect to spend $100-200 for an 8-foot section.
More Complex Installations
Horizontal Slat Fencing System: You’ll need cedar or composite slats (1×4 or 1×6), galvanized metal framework, and concrete for secure posts. Set posts 6-8 feet apart in concrete, install horizontal framework, then attach slats with consistent spacing.
Plan on a long weekend, maybe two if you run into problems. And you will run into problems – trust me on this one. Cost runs $25-45 per linear foot when professionally installed. You’ll need to stain it every 2-3 years if you go with wood.
Living Wall System Installation : You’ll need modular planting containers, automated irrigation system, appropriate growing medium, and plants suited for your sun/shade conditions. Mount structural framework to wall or create freestanding support, install drip irrigation, then select plants based on requirements and mature size.
Installation takes 1-2 days, but expect 3-6 months for full plant establishment and coverage. Costs $40-80 per square foot. Weekly watering (if not automated), monthly fertilizing, and seasonal plant replacement as needed.
Creating an effective privacy solution requires understanding your specific conditions and choosing materials that will actually perform well in your environment long-term.
How JiffyJunk Supports Your Patio Transformation
Look, these projects make a mess. If hauling debris to the dump sounds like your idea of fun, go for it. If not, having someone else deal with the cleanup is worth every penny.
Pre-Project Space Clearing
Before installing your privacy solution, you’ll likely need to remove old outdoor furniture, broken planters, overgrown vegetation, or deteriorated fencing materials cluttering your patio area. JiffyJunk clears away these obstacles efficiently, creating a clean workspace for your privacy installation.
Construction Debris Management
Privacy projects generate significant waste including old fence panels, concrete from removed posts, packaging materials from new purchases, and excess building supplies. JiffyJunk’s professional removal ensures all debris gets properly removed, recycled when possible, and disposed of responsibly, leaving your space clean and ready for enjoyment.
Whether you’re dealing with old furniture disposal from your patio area or need help with construction waste, professional removal services keep your privacy project on track.
Getting Rid of Stuff the Right Way
Many privacy project materials can be recycled or repurposed rather than sent to landfills. JiffyJunk’s commitment to eco-friendly practices means your old wood fencing might be donated to community gardens, metal components get recycled, and usable materials are diverted from waste streams.
Time and Stress Elimination
Instead of making multiple trips to disposal facilities or struggling with bulky material removal, JiffyJunk’s same-day service means you can focus on enjoying your newly private outdoor space rather than dealing with cleanup headaches.
For larger projects involving deck removal or extensive renovation work, professional cleanup services ensure your privacy transformation stays on schedule.
Ready to start your patio privacy project? Contact JiffyJunk at (844) 543-3966 for a free estimate on clearing away the old to make room for your perfect private patio. With service areas across the US and Canada, JiffyJunk’s professional teams are ready to help you achieve your outdoor privacy goals efficiently and affordably.
Final Thoughts
Bottom line: there’s no perfect solution that works for everyone. Your nosy neighbor situation is different from mine. The best privacy solution for your space depends on your specific circumstances rather than following trends or choosing the most expensive option.
Think about how much privacy you actually need, your willingness to maintain different materials, and whether you prefer immediate results or don’t mind waiting for natural barriers to establish. That “fast-growing” hedge is going to look pretty sparse for the first year or two. Don’t expect instant privacy unless you’re willing to pay for bigger plants upfront.
When planning your project, don’t forget that some installations may require backyard cleanup before you can begin construction.
Start with something simple and cheap, see how it works, then upgrade if you need to. Be honest about your privacy needs, budget limitations, and maintenance capabilities. Then pick something that aligns with reality rather than wishful thinking about how much yard work you’ll actually do.
Whether you choose living barriers that improve over time, constructed solutions that provide immediate results, or flexible DIY options that adapt to changing needs, remember – even a mediocre privacy screen is better than making awkward eye contact over your morning coffee. And trust me, whatever you choose will probably take longer and cost more than you initially planned, but it’ll be worth it when you can finally relax on your patio without feeling like you’re on display.