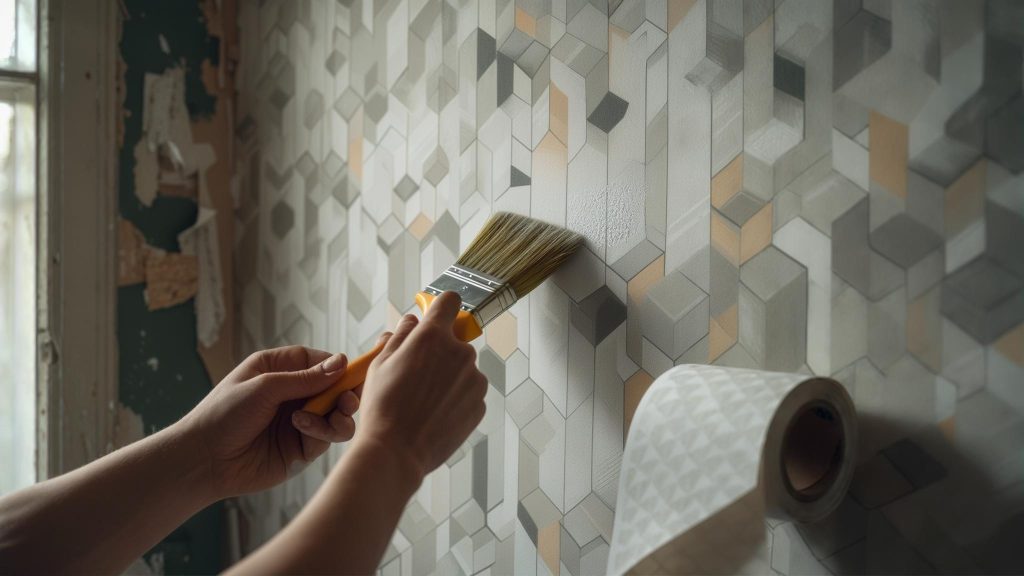
25 DIY Wallpaper Ideas That’ll Transform Your Space Without Breaking the Bank
Last winter, I was staring at my boring beige bedroom walls, feeling totally defeated by a $3,000 wallpaper installation quote. That’s when my neighbor Sarah showed me her gorgeous DIY accent wall made with… contact paper. I kid you not – it looked like expensive designer wallpaper, and she spent $30 total. That moment opened my eyes to the world of DIY wallpaper techniques – from simple paint methods to creative upcycling projects. These 25 diy wallpaper ideas will show you how to achieve professional-looking results while keeping costs manageable and maintaining complete creative control over your space.
Table of Contents
- Essential Planning Considerations for DIY Wallpaper Success
- Paint-Based Wallpaper Techniques
- 1. Ombré Gradient Walls
- 2. Geometric Stencil Patterns
- 3. Sponge Painting Texture
- 4. Striped Accent Walls
- 5. Color Blocking Designs
- Paper & Fabric Wallpaper Applications
- 6. Vintage Map Collages
- 7. Fabric Panel Wallpaper
- 8. Book Page Feature Walls
- 9. Wrapping Paper Accent Panels
- 10. Contact Paper Patterns
- Natural & Textural Wallpaper Elements
- 11. Grasscloth Texture Technique
- 12. Wood Plank Accent Walls
- 13. Stone and Brick Stenciling
- 14. Rope and Twine Textures
- Artistic & Creative Wallpaper Techniques
- 15. Hand-Painted Murals
- 16. Stamped Repeat Patterns
- 17. Watercolor Wash Effects
- 18. Chalkboard Paint Feature Walls
- Modern & Minimalist Wallpaper Options
- 19. Washi Tape Geometric Designs
- 20. Removable Wall Decals
- 21. Painted Accent Shapes
- 22. Metallic Leaf Application
- Upcycled & Sustainable Wallpaper Options
- 23. Newspaper and Magazine Collages
- 24. Fabric Scrap Patchwork
- 25. Recycled Paper Bag Textures
- Professional Cleanup Support for Your DIY Projects
- Final Thoughts
TL;DR
- People who love DIY projects can achieve stunning wallpaper effects using paint techniques, paper applications, and creative materials starting at just $10-50 per project
- Skill levels range from beginner-friendly washi tape designs to advanced hand-painted murals, ensuring options for every comfort zone
- Some walls need way more prep work than others – some techniques work on textured walls while others demand perfectly smooth surfaces
- How easy it is to remove matters a lot when choosing your technique, with options ranging from completely reversible to permanent installations
- Natural and textural elements create high-impact focal points but need intermediate to advanced skills
- Upcycled materials offer eco-friendly alternatives while reducing project costs and creating unique artistic expressions
- Professional cleanup services can eliminate renovation debris and prep work, letting you focus entirely on the creative fun stuff
Essential Planning Considerations for DIY Wallpaper Success
Okay, let’s get real about planning your DIY wallpaper project. I’ve seen too many people dive in headfirst only to realize halfway through that they’re in over their heads.
First up – be honest about your skill level. If you’ve never done anything more complicated than hanging a picture frame, maybe don’t start with a hand-painted mural. I learned this lesson when I confidently tackled a complex geometric pattern as my first project. Spoiler alert: it looked like a toddler’s art project gone wrong.
Your budget isn’t just about paint and supplies. Don’t forget to factor in tools and the cost of potential do-overs – trust me, you’ll need it. My friend Mike budgeted $50 for his striped wall project and ended up spending $120 after buying the wrong paint twice and needing extra primer.
Before diving into specific DIY wallpaper ideas, you’ll want to think through several key factors that’ll determine your project’s success. Your experience level matters significantly – simple stenciling projects can wrap up in a weekend, while complex hand-painted murals might stretch across several weeks.

Think about your room’s personality too. That bold zebra print might look amazing on Pinterest, but will you still love it when you’re trying to fall asleep? I made this mistake in my guest room – visitors kept commenting on how “energizing” it was. Not exactly the vibe I was going for.
| Planning Factor | Beginner Considerations | Intermediate Considerations | Advanced Considerations |
|---|---|---|---|
| Time Investment | 1-2 days maximum | 3-5 days acceptable | 1-2 weeks or more |
| Budget Range | $10-50 per project | $50-100 per project | $100-200+ per project |
| Skill Requirements | Basic measuring, painting | Pattern matching, blending | Artistic ability, precision work |
| Surface Prep | Clean walls sufficient | Light sanding, priming | Extensive prep, repairs |
| Removal Difficulty | Completely reversible | Moderate effort required | Permanent or wall damage |
| Tool Requirements | Basic household tools | Some specialty items | Professional-grade tools |
And here’s something nobody talks about: prep work takes FOREVER. Like, seriously. That “quick weekend project” might stretch into the following weekend just because you spent Saturday scraping old paint and filling holes. Don’t feel bad if it takes longer than expected – we’ve all been there.
Room function affects durability requirements too. Bathrooms need moisture-resistant options, kids’ rooms need washable surfaces, and high-traffic areas require durable finishes. Consider long-term maintenance before committing to any technique.
Some walls need way more prep work than others. Some work beautifully on textured walls, others demand perfectly smooth, primed surfaces. Don’t underestimate prep time – it often takes longer than the actual wallpaper application.
Paint-Based Wallpaper Techniques
Paint techniques are honestly your best friend when starting out. They’re forgiving, affordable, and if you hate the result, you can just paint over it. Can’t do that with real wallpaper! These DIY wallpaper methods offer the most durable and cost-effective options, using standard wall paint to create sophisticated pattern and texture effects.
1. Ombré Gradient Walls
This technique looks way harder than it actually is. The secret? Work fast and don’t overthink it. I spent so much time trying to make my first gradient “perfect” that the paint dried before I could blend it properly. The result? Harsh lines that looked nothing like the dreamy sunset effect I was going for.
Creating a stunning color fade effect transforms any wall into a sophisticated focal point. You’ll need 3-4 paint shades within the same color family, starting with your darkest tone at the bottom and gradually blending upward to the lightest shade.
Sarah’s Bedroom Ombré Success Story: “I chose four shades of sage green for my bedroom accent wall – from deep forest at the bottom to pale mint at the top. Using a large sea sponge, I worked in 2-foot horizontal sections, blending each transition while the paint stayed wet. The key was having all four paint colors mixed and ready before starting, plus keeping a spray bottle handy to mist the wall if any section started drying too quickly. Total cost was $45 for paint and supplies, and the result looks like expensive custom wallpaper.”
Start with colors that are already pretty close to each other – it’s much more forgiving than trying to blend drastically different shades. This technique demands smooth, primed walls for best results. Budget around $30-60 for paint and supplies, and plan for intermediate skill requirements.
2. Geometric Stencil Patterns
Stencils are like training wheels for DIY wallpaper. They give you that professional look without needing steady hands or artistic talent. Pre-made stencils open up endless pattern possibilities, from trendy hexagons to classic chevrons and intricate Moroccan-inspired motifs.
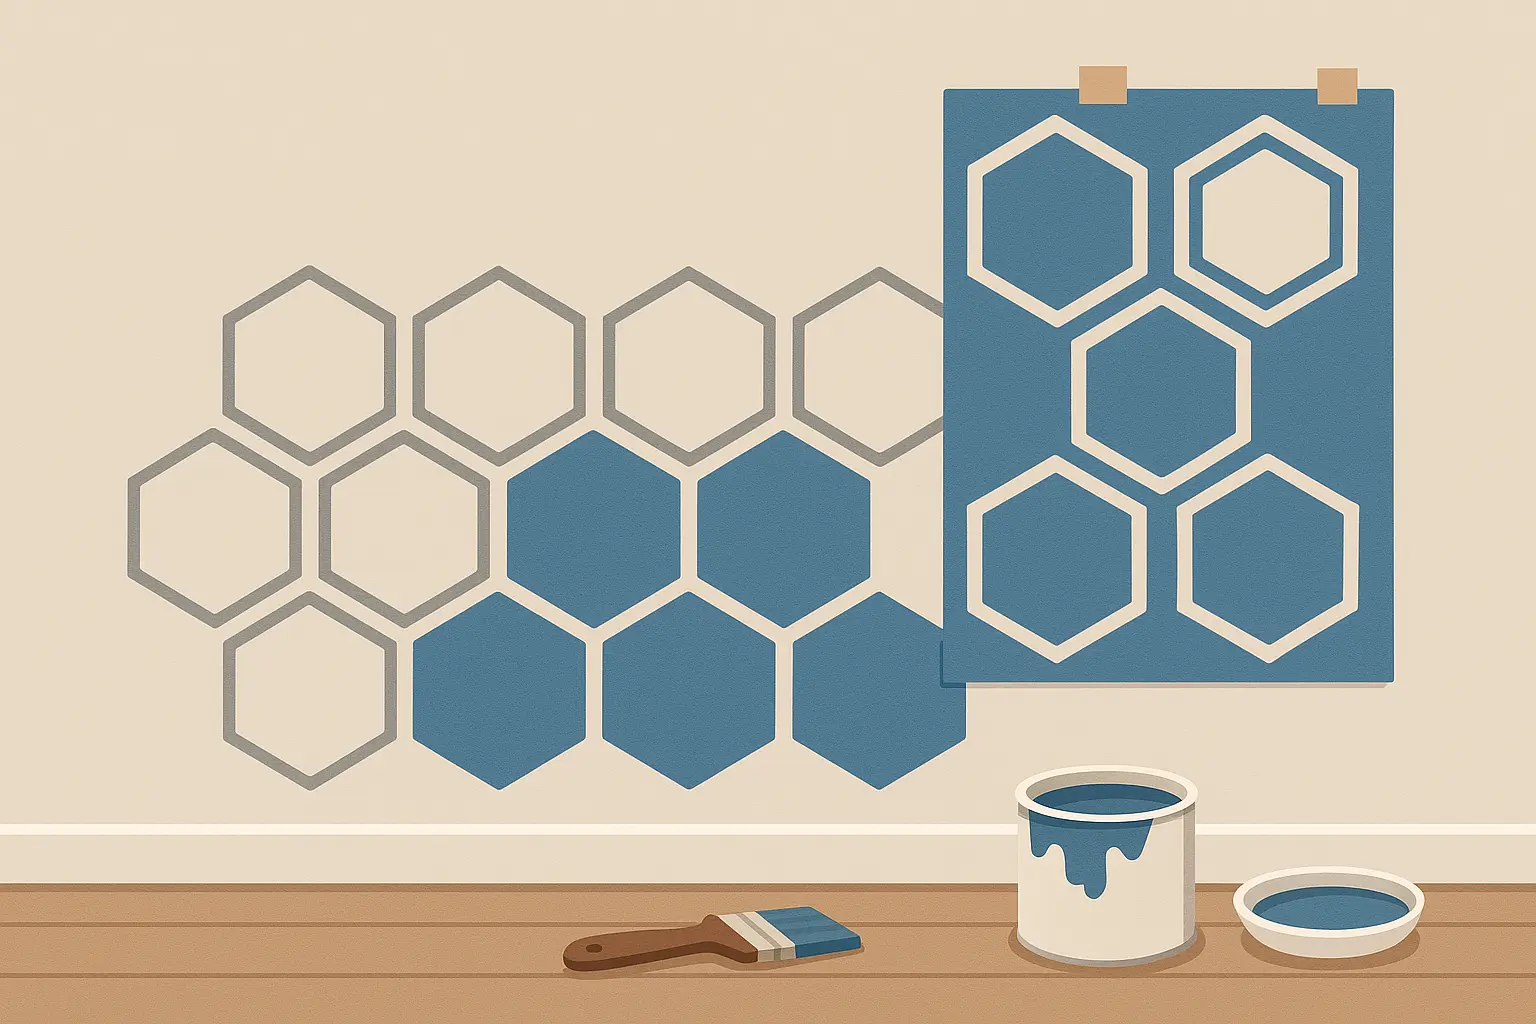
The biggest mistake people make? Loading up their brush or roller with too much paint. Less is definitely more here. I learned this after my first attempt looked like paint had exploded on my wall instead of crisp, clean shapes.
Pro tip from experience: Buy good painter’s tape. The cheap stuff will either not stick properly or leave residue when you remove it. Neither is fun to deal with.
Foam rollers deliver the crispest lines, while stencil brushes offer more control in tight corners. Most wall surfaces work well with proper priming. Budget $25-75 for stencils and paint, with skill requirements ranging from beginner to intermediate depending on pattern complexity.
3. Sponge Painting Texture
This is probably the most forgiving technique ever. Seriously, it’s almost impossible to mess up because the whole point is to look organic and random. Natural sea sponges create organic, cloud-like textures that add depth and visual interest to any wall.
My mom did this in her powder room using three shades of blue, and even though she was convinced she was “doing it wrong,” it turned out gorgeous. The imperfections just added to the charm.
This technique shines in rustic or Mediterranean-style spaces where aged, weathered appearances enhance the overall aesthetic. Most wall surfaces accept sponge painting well. Keep costs low at $20-40 for sponges and paint.
4. Striped Accent Walls
Stripes seem simple until you’re standing there with a measuring tape trying to figure out why your wall isn’t perfectly square. Here’s what I wish someone had told me: most walls aren’t actually straight, so don’t drive yourself crazy trying to make everything mathematically perfect.
Painter’s tape becomes your best friend for creating perfectly straight stripes in any width you choose. Vertical stripes make rooms feel taller, while horizontal stripes add visual width – choose based on your space’s needs.
Measure from your ceiling line, not the floor – trust me on this one. And remove that tape while the paint is still slightly tacky, or you’ll end up peeling off chunks of your beautiful work.
This beginner-friendly technique works on most wall surfaces and keeps costs reasonable at $15-35 for tape and paint.
5. Color Blocking Designs
This is where you can get really creative and modern. I did a huge triangle in my home office, and it completely transformed the space. The key is picking colors that make you happy – don’t just follow trends if they don’t speak to you.
Bold geometric shapes and contrasting color blocks create striking modern focal points that work beautifully in contemporary spaces. Sharp edges are crucial for professional results – invest in high-quality painter’s tape and remove it while paint is still slightly wet.
Smooth walls show color blocking best, though slight texture won’t ruin the effect. Budget $30-70 for paint and tape, with intermediate skills needed for measuring and taping precision.
Paper & Fabric Wallpaper Applications
This is where things get fun and weird in the best way possible. You’re basically turning trash into treasure, and the results can be absolutely stunning. These creative DIY wallpaper alternatives use materials ranging from vintage maps to fabric panels, offering unique solutions that traditional wallpaper can’t match.
6. Vintage Map Collages
I’m obsessed with this look, especially for a reading nook or home office. Thrift stores are goldmines for old atlases – I found a 1970s world atlas for $2 that had the most beautiful aged pages.
Old maps, vintage atlases, and printed map pages create fascinating wall treatments that spark conversations and showcase your wanderlust. The overlapping technique is key here. Don’t try to make it look like traditional wallpaper with perfect seams. The organic, layered look is what makes it interesting.
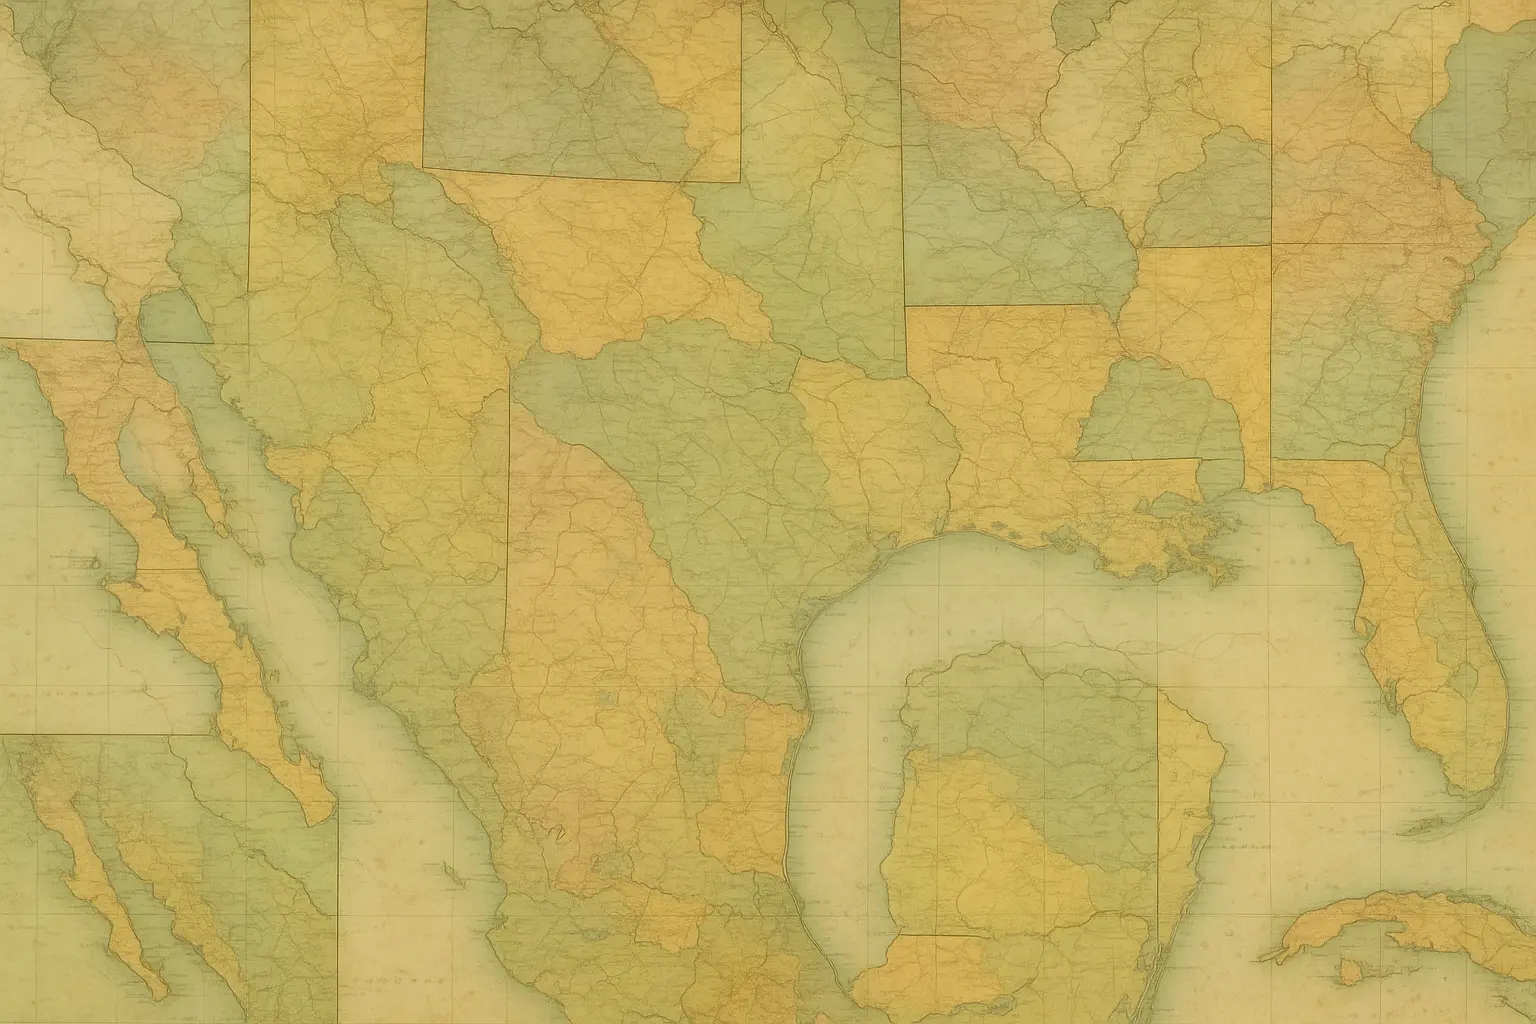
Travel-themed rooms and home offices benefit most from this treatment. Consider focusing on places you’ve visited or dream destinations for personal meaning. Clean, smooth walls work best for adhesion. Source maps affordably from thrift stores, estate sales, or online printables. Budget $20-50 total, with beginner skill requirements.
7. Fabric Panel Wallpaper
This was a game-changer for me. I had this gorgeous fabric that I loved but not enough for curtains or pillows. Stretching it over canvas frames and hanging them as wall panels gave me the look I wanted without committing to permanent wallpaper.
Fabric brings warmth and texture that paint alone can’t match. Stretch fabric over lightweight wooden frames for removable panels, or apply directly to walls using liquid starch for temporary installations.
The liquid starch method is brilliant for renters. It holds fabric to the wall temporarily but peels off clean when you move. My sister used this technique in three different apartments.
Budget $40-120 depending on fabric selection. Intermediate skills help with measuring and mounting, though the liquid starch method forgives mistakes easily.
8. Book Page Feature Walls
Michael’s literary wall is probably my favorite project story. He turned damaged books into art, and it’s absolutely stunning. The key is choosing books with content you actually want to look at every day.
Pages from damaged books, vintage sheet music, or printed literary excerpts create unique literary-themed accent walls. I tried this with old sheet music in my daughter’s room, and she loves pointing out different
Pages from damaged books, vintage sheet music, or printed literary excerpts create unique literary-themed accent walls. I tried this with old sheet music in my daughter’s room, and she loves pointing out different songs and trying to hum the melodies. It’s become this interactive element we never expected.
Michael’s Home Office Book Wall: “I collected damaged paperback novels from library book sales for $0.25 each and used pages from classics like ‘Pride and Prejudice’ and ‘The Great Gatsby’ for my home office accent wall. I arranged them in a subtle grid pattern, overlapping edges by about half an inch, and sealed everything with three coats of matte polyurethane. The literary atmosphere transformed my workspace, and visitors always comment on being able to read snippets of famous passages. Total investment was just $18 for books, adhesive, and sealer.”
Choose content thoughtfully – poetry pages work beautifully in bedrooms, while technical diagrams suit home offices. Most wall surfaces accept book pages well with proper adhesive. Budget $15-35 for adhesive and sealer.
9. Wrapping Paper Accent Panels
Don’t sleep on this technique! High-quality wrapping paper has some seriously gorgeous patterns. I used botanical wrapping paper in my powder room, and guests always ask where I found such beautiful wallpaper.
High-quality wrapping paper offers sophisticated patterns at fraction of wallpaper costs. Apply with removable adhesive or double-sided tape for rental-friendly installations that won’t damage walls upon removal.
The seasonal switch-out idea is genius too. Imagine changing your accent wall for holidays or just when you need a mood boost. Small spaces showcase wrapping paper beautifully without overwhelming the area.
Clean walls ensure best adhesion for temporary applications. Budget $10-30 for paper and adhesive. Beginner skill level makes this perfect for commitment-shy decorators.
10. Contact Paper Patterns
Modern contact paper has come SO far. I remember the wood-grain stuff from the 70s, but today’s options are legitimately beautiful. My friend used marble contact paper in her rental kitchen, and it looks like expensive stone tile.
Modern contact papers have evolved far beyond basic shelf liner into sophisticated patterns rivaling traditional wallpaper. Wood grain, marble, geometric, and botanical designs offer style without permanent commitment.
The application takes patience, but YouTube tutorials are your friend here. Watch a few before you start, and don’t try to rush it. High-quality vinyl options last years while remaining completely removable for rental situations.
Clean, smooth walls provide best results. Budget $25-60 for quality contact paper covering accent wall areas. Beginner skills and rental-friendly removal make this perfect for temporary style solutions.
| Paper/Fabric Technique | Cost Range | Skill Level | Durability | Removability | Best Applications |
|---|---|---|---|---|---|
| Vintage Map Collages | $20-50 | Beginner | Medium | Moderate effort | Home offices, travel rooms |
| Fabric Panel Wallpaper | $40-120 | Intermediate | Good | Easy (frames) / Hard (direct) | Bedrooms, living rooms |
| Book Page Feature Walls | $15-35 | Beginner | Medium | Moderate effort | Reading nooks, studies |
| Wrapping Paper Panels | $10-30 | Beginner | Fair | Very easy | Powder rooms, small spaces |
| Contact Paper Patterns | $25-60 | Beginner | Good | Very easy | Rental properties, temp décor |
Natural & Textural Wallpaper Elements
These techniques create the most dramatic transformations but require more skill and patience. Don’t attempt these on your first DIY wallpaper project unless you’re feeling really confident. Natural and textural wallpaper elements bring organic warmth and sophisticated depth using materials like wood planks, rope, and specialized paint techniques.
11. Grasscloth Texture Technique
This is definitely advanced territory. I watched my neighbor attempt this, and it took her three tries to get the brushing technique right. But when she nailed it? Absolutely gorgeous. It looks like expensive grasscloth wallpaper at a fraction of the cost.
Specialty textured paint additives combined with precise brushing techniques create convincing grasscloth appearances without the expense or installation challenges of real grasscloth wallpaper. Vertical dragging motions with textured brushes mimic natural fiber patterns beautifully.
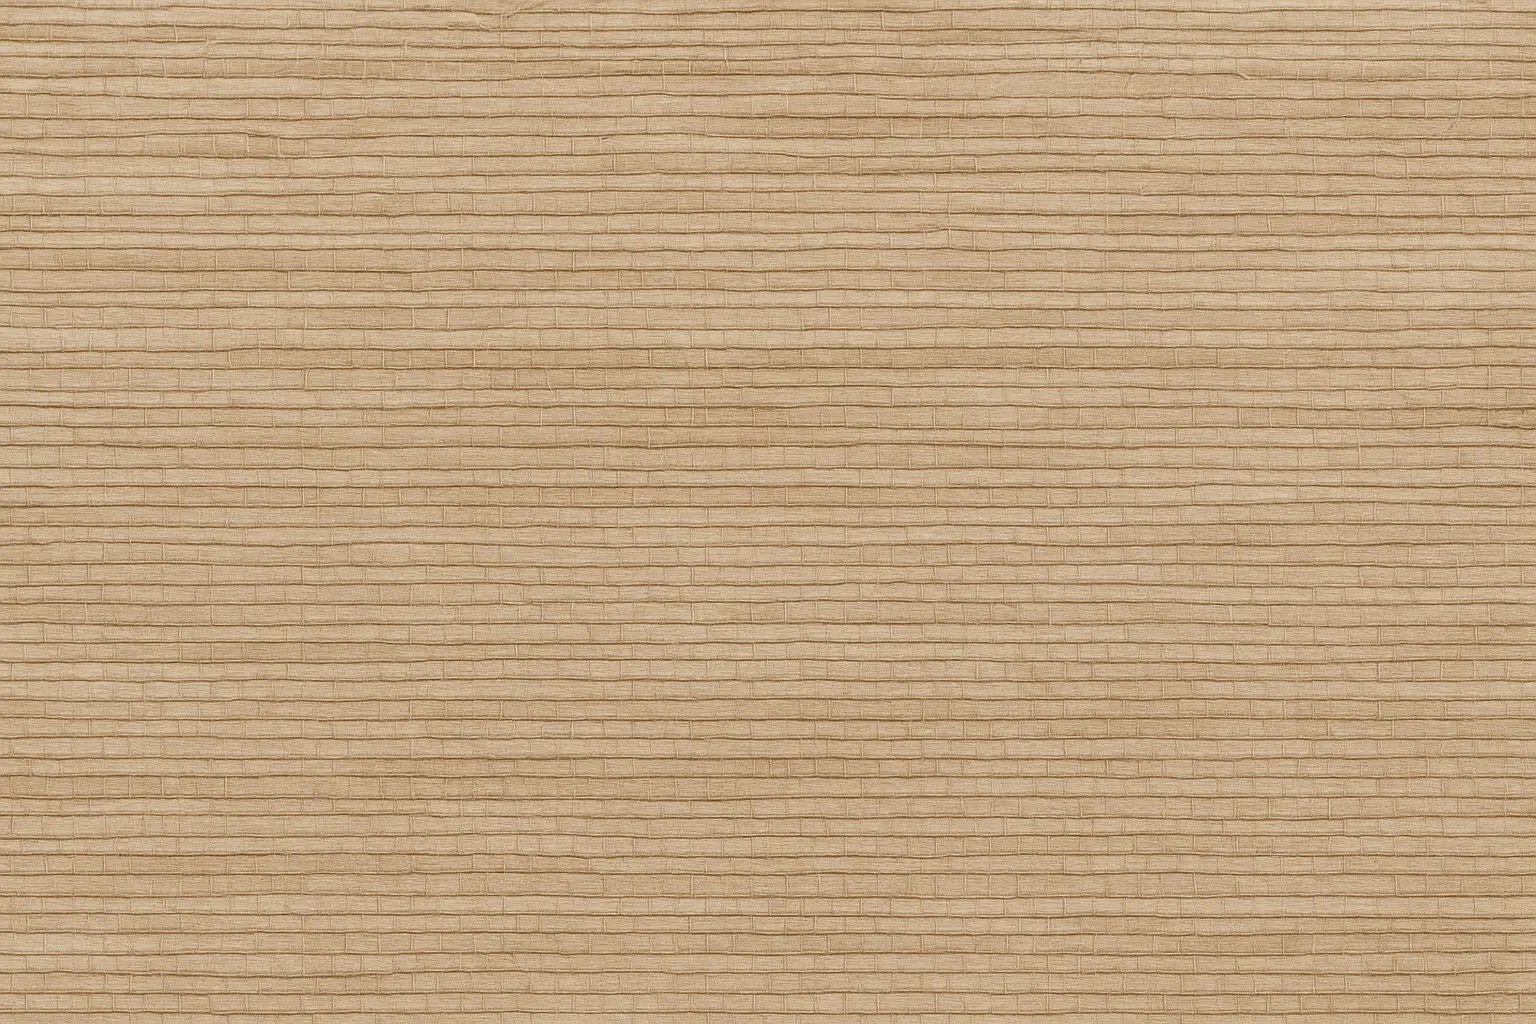
Practice on a piece of cardboard first. Seriously. The rhythm and pressure take some getting used to. This advanced technique demands perfectly smooth wall surfaces and considerable practice to master the brushing rhythm.
Budget $40-80 for specialty paints and textured brushes. Advanced skill requirements mean practicing on sample boards before tackling full walls. The sophisticated natural texture works exceptionally well in dining rooms, bedrooms, and formal living spaces.
12. Wood Plank Accent Walls
Real wood planks are stunning but heavy and expensive. The vinyl alternatives have gotten incredibly realistic though. My brother used vinyl planks in his man cave, and even close up, they look like real reclaimed wood.
Real wood planks transform spaces with unmatched natural warmth and texture. Reclaimed barn wood brings rustic character, while new planks offer consistent appearance and easier installation. Wood-look vinyl provides budget-friendly alternatives with easier handling.
Measure twice, cut once is especially important here. Wood (even fake wood) is less forgiving than paint if you mess up. Vertical installation makes rooms feel taller, while horizontal placement adds visual width.
Budget varies dramatically: $80-120 for vinyl options, $150-200+ for real wood. Intermediate to advanced skills help with cutting, measuring, and mounting. The dramatic transformation justifies the investment, though removal typically damages walls.
13. Stone and Brick Stenciling
This technique can look amazing or terrible depending on your color choices. The key is studying real stone and brick to understand how the colors naturally vary. Don’t make every “brick” the same shade – that’s what screams “fake” to people.
Large-scale stencils combined with multiple paint colors create convincing stone and brick effects without the weight, cost, or structural requirements of real masonry. Layer different shades for authentic depth and weathered appearances.
Most wall surfaces work well with proper priming. Budget $35-65 for large stencils and multiple paint colors. Intermediate skills help with color blending and stencil positioning. The realistic results provide rustic charm without structural modifications.
14. Rope and Twine Textures
I love this for coastal or nautical themes, but it’s definitely a commitment. The texture is permanent and pretty dramatic. My friend did this in her beach house bathroom, and it perfectly captures that driftwood cabin vibe.
Natural rope and twine create unique three-dimensional wall textures perfect for coastal, nautical, or rustic themes. Parallel lines create subtle texture, while geometric patterns make bold statements.
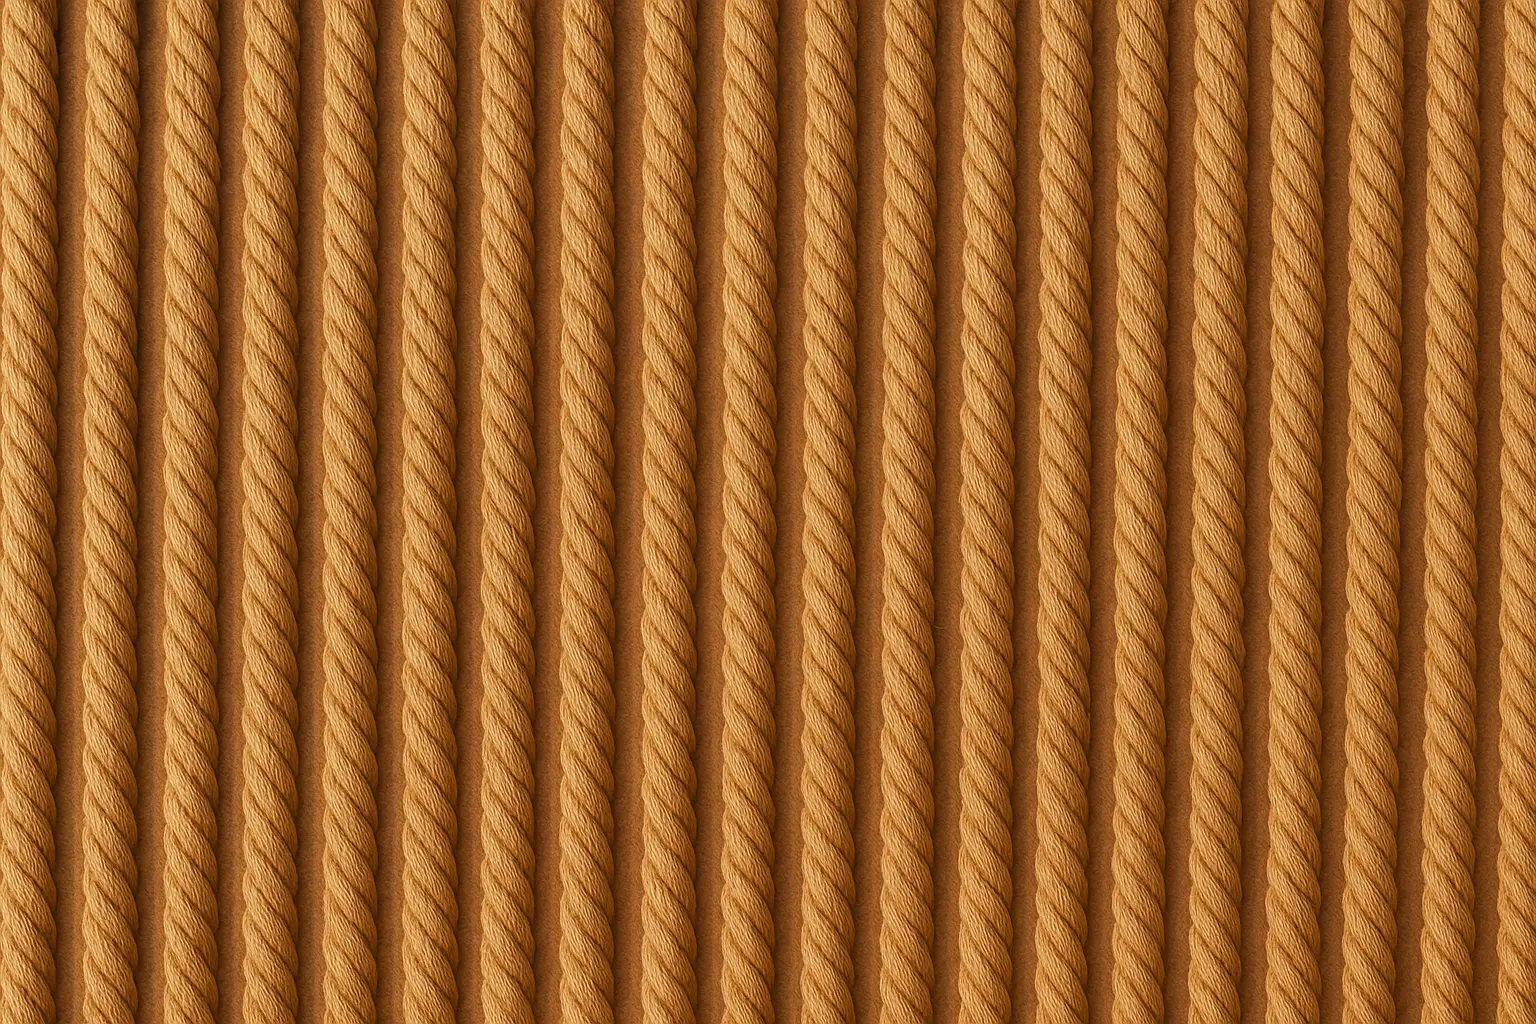
Strong adhesive ensures long-term attachment – construction adhesive works better than craft glue for heavy rope. Clear protective coating prevents fraying and makes cleaning easier while preserving natural fiber appearance.
Most wall surfaces accept rope application. Budget $30-55 for rope and adhesive. Intermediate skills help with pattern planning and consistent spacing. The unique texture creates conversation pieces, though removal requires patience and potential wall repair.
Artistic & Creative Wallpaper Techniques
This is where you can really let your creativity shine. Don’t be intimidated – even simple artistic touches can transform a space. These DIY wallpaper methods allow complete customization through hand-painting, stamping, watercolor effects, and functional chalkboard surfaces.
15. Hand-Painted Murals
Jessica’s mountain mural story gives me all the feels. She kept it simple and focused on shapes rather than details, which is exactly the right approach for beginners.
Custom murals transform walls into unique artistic expressions impossible to achieve with any other method. Start small. Maybe paint a simple tree silhouette or abstract shapes before attempting a full landscape. You can always add more elements later if you’re feeling confident.
Jessica’s Nursery Mountain Mural: “I painted a simple mountain landscape in my daughter’s nursery using just four colors – sky blue, cloud white, mountain gray, and forest green. I started with the sky gradient, added simple mountain silhouettes, then finished with pine tree shapes in the foreground. The key was keeping it simple and working in layers, letting each dry completely before adding the next. Total time was three weekends, cost was $52 for quality acrylic paints, and the result is a one-of-a-kind focal wall that grows with her.”
Smooth, primed walls are essential for detailed work. Budget varies widely: $30-50 for simple designs, $75-100+ for complex murals. Advanced artistic skills and significant time commitment required.
16. Stamped Repeat Patterns
Potato stamps aren’t just for kids! I made some gorgeous stamps from potatoes and foam blocks for my daughter’s room. The slightly imperfect, handmade look is actually more charming than machine-perfect patterns.
Custom stamps from potatoes, foam blocks, or carved rubber create unique repeating patterns impossible to find in commercial wallpaper. Simple geometric shapes work well for beginners, while intricate designs challenge more experienced crafters.
Consistent spacing and pressure are crucial for professional results. Create spacing guides using cardboard templates or measuring tools. Practice on sample boards to perfect technique before tackling full walls.
Most wall surfaces accept stamped patterns well. Budget $15-40 for stamp materials and paint. Beginner to intermediate skills depending on pattern complexity.
17. Watercolor Wash Effects
This technique is so relaxing to do. There’s something meditative about watching colors blend and flow together. Don’t fight the organic nature – let happy accidents happen.
Diluted paint applied in flowing, organic patterns creates serene watercolor effects perfect for bedrooms, bathrooms, or meditation spaces. I did this in soft blues and greens in my bedroom, and it creates the most peaceful atmosphere. Guests always comment on how calming the room feels.

Work quickly while paint remains wet for best blending results. Layer colors gradually, allowing each layer to partially dry before adding the next. Smooth walls show watercolor effects best. Budget $25-50 for paints, spray bottles, and brushes.
18. Chalkboard Paint Feature Walls
Perfect for families! We did this in our kitchen, and it’s become the family command center. Grocery lists, kids’ artwork, inspirational quotes – it’s constantly changing and always functional.
Specialty chalkboard paint transforms walls into functional writing surfaces perfect for kitchens, home offices, or children’s rooms. Just make sure you buy quality chalkboard paint. The cheap stuff never quite erases cleanly.
Proper surface preparation ensures smooth writing surfaces – prime walls thoroughly and sand lightly between coats. Most wall surfaces work with proper priming. Budget $20-45 for chalkboard paint and supplies. Beginner skill level makes this accessible to most DIYers.
When planning artistic projects, consider how decluttering your workspace beforehand creates better conditions for creative focus and professional results.
Modern & Minimalist Wallpaper Options
These are perfect for commitment-phobes or renters who want style without permanence. Modern and minimalist DIY wallpaper options emphasize clean lines, geometric patterns, and sophisticated materials like metallic leaf and removable decals.
19. Washi Tape Geometric Designs
This is probably the most renter-friendly option ever. I’ve done this in three different apartments, and it always makes the space feel more intentional and designed.
Colorful washi tape creates geometric patterns, picture frames, or accent designs without any permanent commitment. The key is planning your pattern first. Sketch it out or use painter’s tape to mock it up before committing to the washi tape.

Simple geometric patterns work best – stripes, chevrons, or grid patterns create modern looks without overwhelming spaces. Clean walls ensure best tape adhesion. Budget $10-30 for various tape colors and widths. Beginner skill level requires no special tools beyond scissors.
20. Removable Wall Decals
Quality matters here. Cheap decals look cheap and don’t remove cleanly. Invest in good vinyl decals – they’re worth the extra cost.
High-quality vinyl decals provide wallpaper-like coverage in countless designs from botanical motifs to geometric patterns and abstract art. Large-scale decals create maximum impact with minimal effort.
Clean, smooth walls provide best results, though slight texture won’t prevent application. Budget $25-100 depending on decal size and quality. Beginner application process makes this accessible to everyone.
21. Painted Accent Shapes
Simple geometric shapes can be incredibly impactful. I painted a large circle behind my bed in a soft sage green, and it creates this perfect focal point without being overwhelming.
Large, simple shapes painted in contrasting colors create modern, gallery-like focal points perfect for contemporary spaces. Templates ensure consistent shapes and professional results.
Most wall surfaces work well with proper priming. Budget $20-50 for paint and template materials. Intermediate skills help with measuring and template positioning.
22. Metallic Leaf Application
This is definitely advanced and requires patience, but the results are stunning. The way real metal leaf catches light is impossible to replicate with paint.
Gold, silver, or copper leaf sheets create luxurious metallic effects impossible to achieve with paint alone. Applied over specially prepared base coats, metal leaf provides authentic shimmer and depth that catches light beautifully throughout the day.
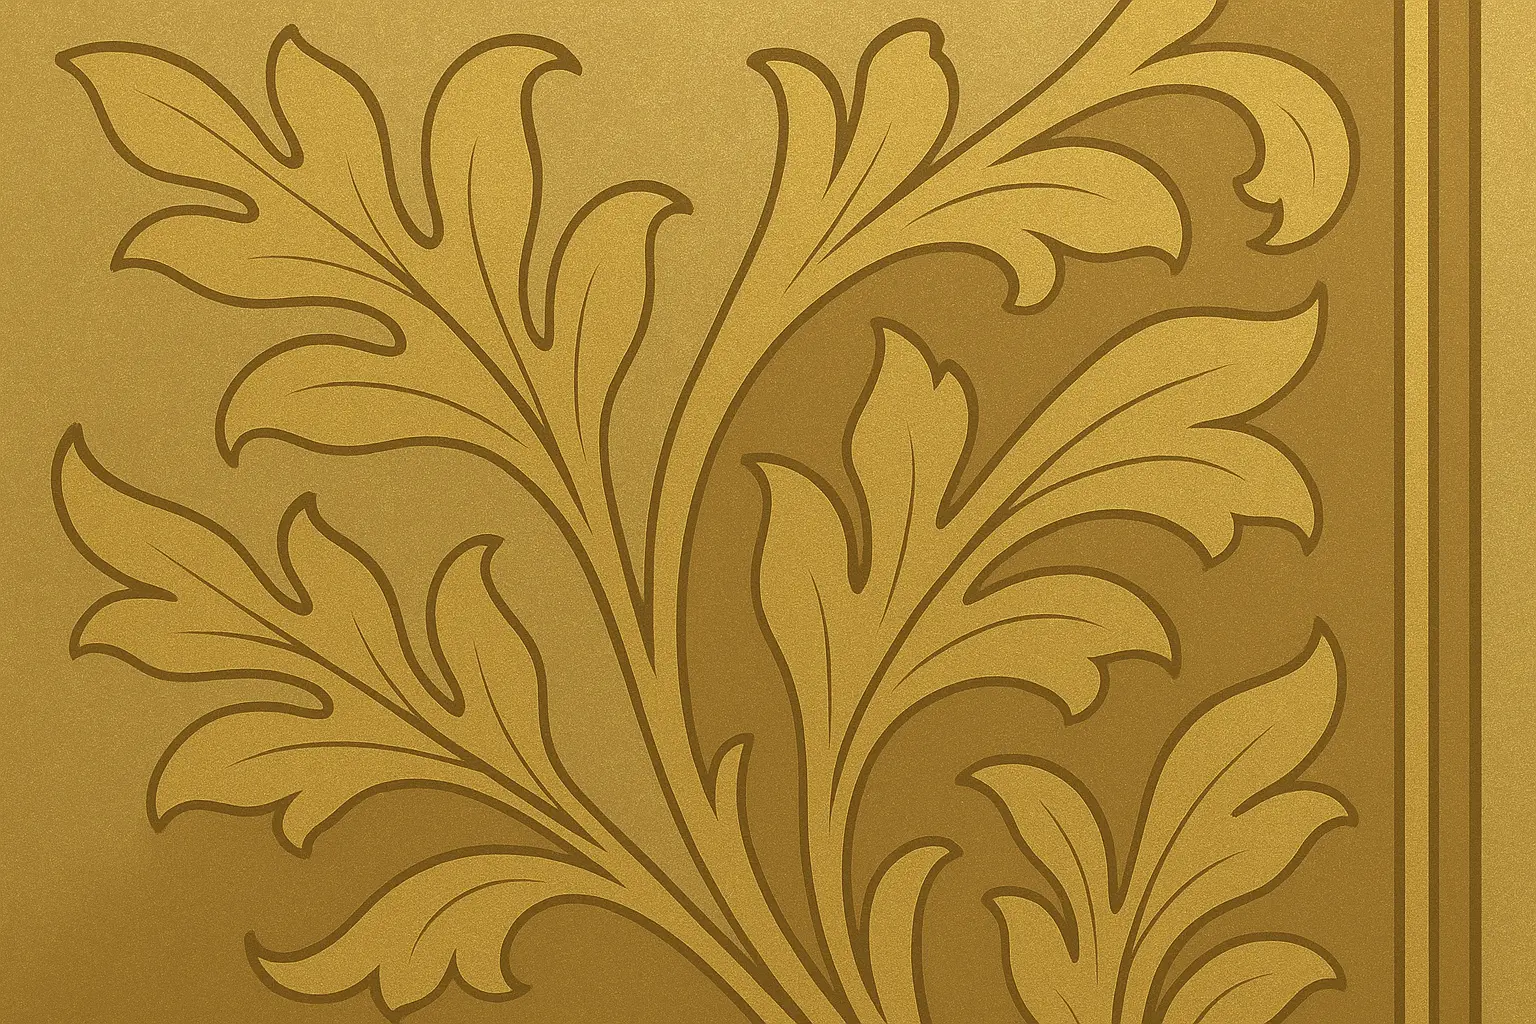
Timing is crucial – adhesive must reach proper tackiness before
Timing is crucial – adhesive must reach proper tackiness before leaf application. Work in small sections, smoothing leaf gently to avoid tearing. Smooth walls are essential for even leaf application. Budget $60-120 for leaf sheets, adhesive, and sealer.
| Modern Technique | Cost Range | Skill Level | Time Investment | Removability | Best Room Types |
|---|---|---|---|---|---|
| Washi Tape Designs | $10-30 | Beginner | 2-4 hours | Excellent | Any room, rentals |
| Wall Decals | $25-100 | Beginner | 1-3 hours | Excellent | Living rooms, bedrooms |
| Painted Shapes | $20-50 | Intermediate | 4-8 hours | Paint-over only | Modern spaces |
| Metallic Leaf | $60-120 | Advanced | 8-12 hours | Difficult | Formal rooms, accents |
Upcycled & Sustainable Wallpaper Options
These techniques let you be creative while being environmentally conscious. Plus, they’re usually super budget-friendly. Upcycled and sustainable DIY wallpaper options repurpose materials like newspapers, fabric scraps, and paper bags into unique wall treatments that reduce waste.
23. Newspaper and Magazine Collages
This is such a fun way to personalize your space. Choose content that means something to you – travel magazines for wanderlust vibes, vintage ads for retro charm, or local newspapers for hometown pride.
Newspapers, magazines, and printed materials create fascinating collages when arranged thoughtfully by color, theme, or artistic vision. Random arrangements create eclectic, bohemian looks while organized patterns provide structured aesthetics.
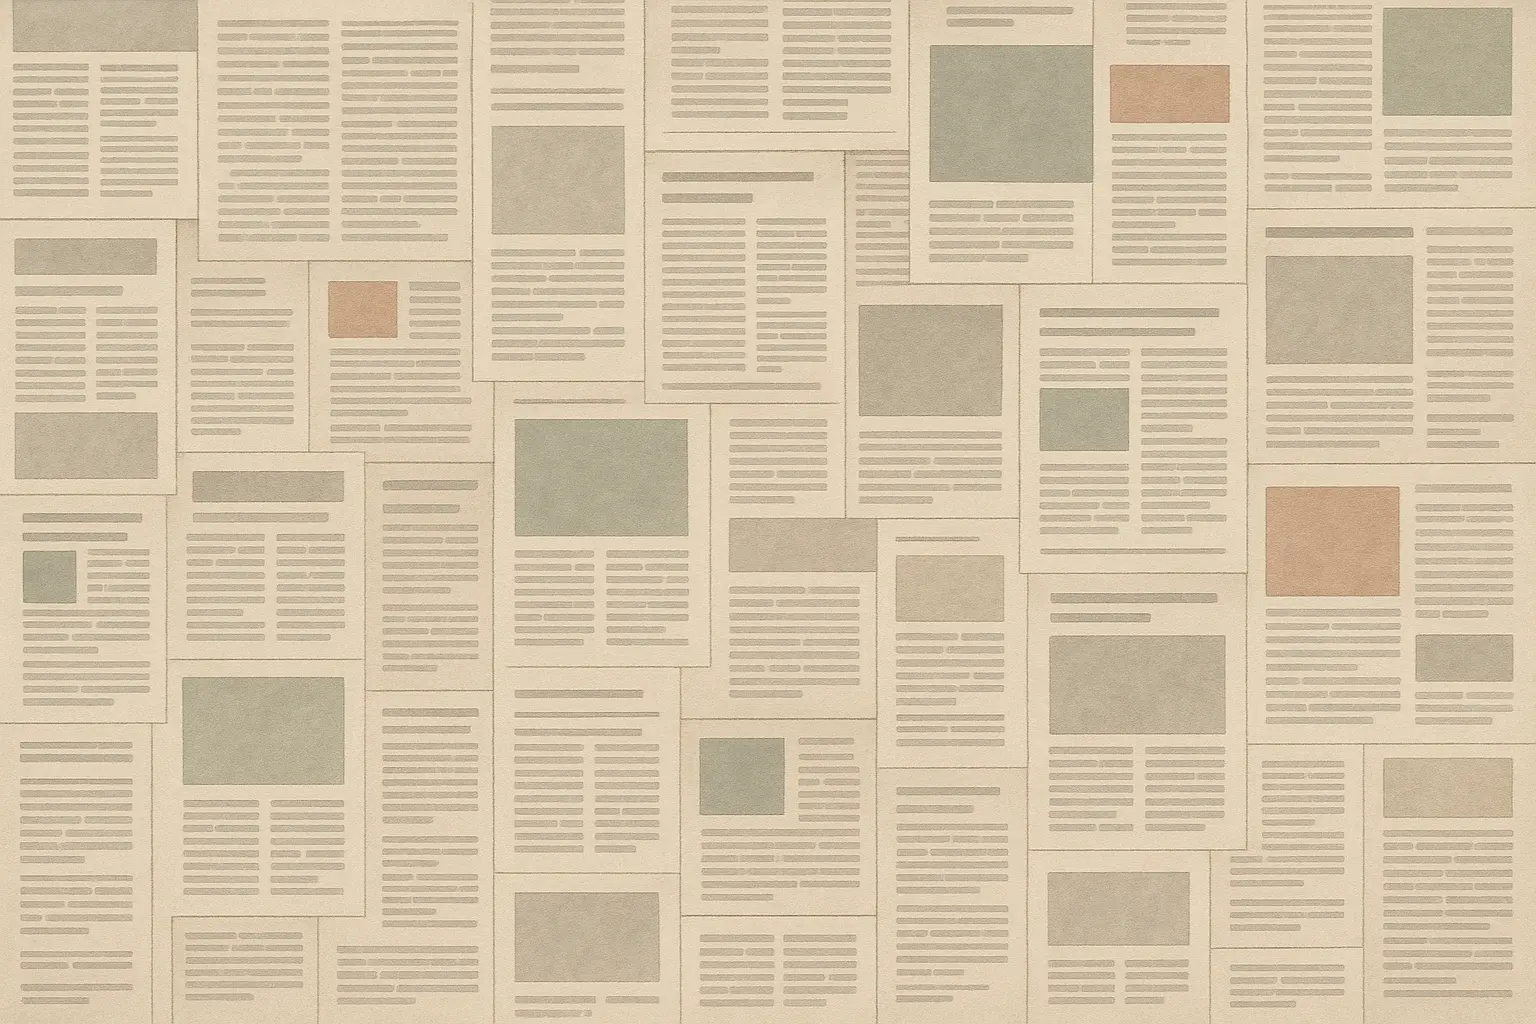
Consider content carefully – vintage advertisements work beautifully in retro spaces, while colorful magazine pages suit modern rooms. Clean walls provide best adhesion for paper materials. Budget $5-25 for adhesive and protective sealer – the main materials are often free from recycling bins.
24. Fabric Scrap Patchwork
Perfect for quilters or anyone who hoards fabric scraps (guilty!). It creates this cozy, bohemian vibe that’s impossible to achieve any other way.
Collected fabric scraps arranged in patchwork patterns create eclectic, bohemian wall treatments full of texture and visual interest. Mix patterns, colors, and fabric types for maximum impact, or organize by color families for more structured looks.
Various wall surfaces work depending on attachment method chosen. Budget $15-40 for adhesive and mounting supplies – fabric scraps are often free from sewing projects or thrift stores. The sustainable approach creates unique artistic expressions while reducing textile waste.
25. Recycled Paper Bag Textures
This technique blew my mind when I first saw it. Paper bags transformed into sophisticated leather-like texture? Genius. And practically free!
Brown paper bags crumpled and smoothed create surprisingly sophisticated leather-like wall textures. The natural creasing patterns provide organic texture impossible to replicate with other materials, and the neutral base accepts paint or stain beautifully.
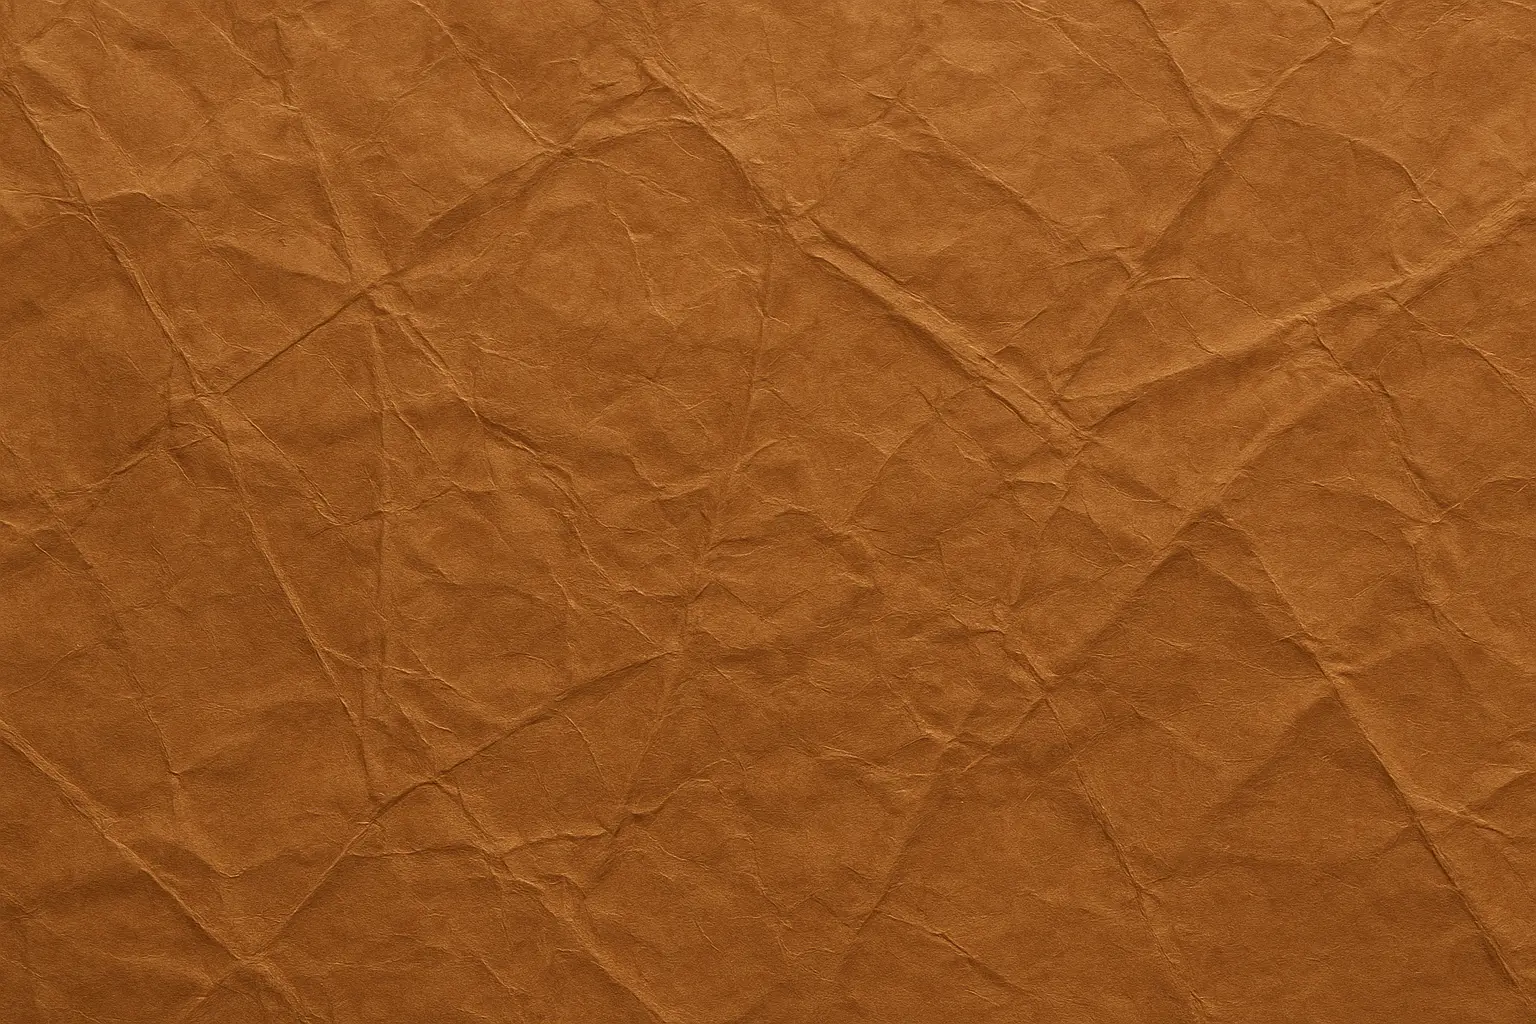
Crumple bags thoroughly, then smooth partially to retain interesting texture patterns. Apply with wallpaper paste, overlapping edges slightly for seamless coverage. Most wall surfaces accept paper bag application well. Budget $10-35 for bags and wallpaper paste.
| Sustainable Technique | Materials Source | Environmental Impact | Cost Range | Unique Benefits |
|---|---|---|---|---|
| Newspaper Collages | Recycling bins, free | Diverts waste from landfills | $5-25 | Historical/artistic content |
| Fabric Patchwork | Sewing scraps, thrift stores | Reduces textile waste | $15-40 | Rich textures, bohemian style |
| Paper Bag Texture | Grocery bags, packaging | Repurposes common waste | $10-35 | Unique leather-like finish |
Professional Cleanup Support for Your DIY Projects
Let’s be honest – DIY projects create way more mess than you expect. Paint cans, drop cloths, packaging materials, failed attempts… it adds up fast.
If the thought of dealing with all that cleanup makes you want to skip the project entirely, there are services that handle the messy stuff so you can focus on the fun creative part. Sometimes it’s worth it to have professionals clear out furniture beforehand and haul away debris afterward, especially for bigger projects.
Pre-Project Space Preparation
Getting your room ready for a DIY wallpaper project often means moving furniture, clearing out accumulated items, and creating adequate workspace. JiffyJunk’s White Glove Treatment clears everything out professionally, giving you the clean canvas you need for successful project execution.
Heavy furniture removal and years of accumulated décor items can physically strain DIY enthusiasts before they even start their creative work. Professional clearing eliminates this exhaustion factor while ensuring nothing gets damaged during the moving process.
Ongoing Project Waste Management
Active DIY projects generate continuous waste streams that can quickly overwhelm your workspace. Paint containers, failed test patches, packaging materials, and broken tools create safety hazards when they pile up around your work area.
JiffyJunk’s same-day and next-day service options keep your workspace clean and safe throughout multi-day projects. You can focus entirely on perfecting your technique rather than managing growing debris piles.
Their expertise in construction debris removal extends seamlessly to DIY renovation projects, ensuring proper disposal of all materials.
Post-Project Cleanup Excellence
Completing your stunning DIY wallpaper transformation often leaves you with boxes of leftover materials, furniture that no longer matches your new aesthetic, and general renovation debris scattered throughout your space.
Professional removal services handle everything from paint supplies to outdated furniture pieces, ensuring your newly decorated room showcases your creative achievement rather than project remnants. Their comprehensive approach means you finish with a completely organized, clutter-free space.
Eco-Conscious Disposal Practices
Many DIY wallpaper enthusiasts choose sustainable techniques for environmental reasons. JiffyJunk shares this environmental commitment by prioritizing donations and recycling whenever possible, ensuring your project waste gets disposed of responsibly.
Understanding furniture donation options helps maximize the environmental benefits of your renovation project while supporting local communities.
Usable materials go to local charities, recyclable items get processed appropriately, and only true waste heads to landfills. This approach aligns perfectly with the sustainable mindset that drives many upcycled wallpaper projects.
Stress-Free Project Focus
DIY projects become overwhelming when waste management competes with creative focus. Professional cleanup support allows you to concentrate entirely on perfecting your wallpaper technique while experts handle logistics.
Their 24/7 customer service and free virtual estimates make planning waste removal around your project timeline simple and stress-free. Whether you’re tackling simple washi tape designs or complex hand-painted murals, professional cleanup ensures beautiful, organized results.
For comprehensive support, explore their office cleanout services which can be adapted for home workspace preparation and organization.
Ready to start your DIY wallpaper project with professional cleanup support? Contact JiffyJunk for a free estimate and discover how their comprehensive junk removal services transform your renovation experience from stressful to enjoyable.
Final Thoughts
Look, DIY wallpaper isn’t about being perfect or creating Pinterest-worthy rooms (though you totally might). It’s about making your space feel like YOU and having fun in the process.
These 25 DIY wallpaper ideas prove that stunning wall transformations don’t require professional installation or massive budgets. From simple washi tape geometric designs costing under $15 to sophisticated metallic leaf applications, there’s a technique matching every skill level, budget, and aesthetic preference.
Success with DIY wallpaper projects depends heavily on honest self-assessment of your abilities, available time, and project goals. Start small, be patient with yourself, and remember that even “mistakes” often turn into happy accidents that make your space unique. My favorite wall in my house is actually the one where I “messed up” the technique but ended up loving the unexpected result.
Beginners should start with removable options such as contact paper or wall decals before progressing to permanent techniques including hand-painted murals or wood plank installations. The beauty of DIY wallpaper lies in complete creative control over your space. You’re not limited to commercially available patterns or professional installation schedules.
Planning your project timeline around professional cleanout services ensures you maintain organized, efficient workspaces throughout the entire DIY process.
Remember that preparation often determines results more than technique complexity. Proper surface prep, quality materials, and realistic timeline planning contribute more to professional-looking outcomes than advanced artistic skills. Take time to plan thoroughly, practice techniques on sample boards, and don’t rush the process.
The most important thing? Pick a technique that excites you. If you’re not excited about the process, you probably won’t love the result. Trust your instincts, take your time, and enjoy transforming your space one wall at a time. Whether you choose sustainable upcycled materials or modern minimalist approaches, each technique offers opportunities for personal expression impossible with traditional wallpaper.