25 Game-Changing Bedroom Recording Studio Ideas for 2025: Transform Your Space
This comprehensive guide explores 25 innovative bedroom recording studio ideas across five essential categories. You’ll discover practical solutions for acoustic treatment, space optimization, noise control, budget-friendly DIY options, and equipment organization. Whether you’re a beginner setting up your first home studio or looking to upgrade your existing space, these ideas will help you create a functional recording environment without sacrificing your bedroom’s comfort.
Table of Contents
-
What to Consider When Creating a Bedroom Recording Studio
-
Acoustic Treatment Solutions
-
Space-Optimizing Furniture and Layout
-
Noise Control and Isolation
-
Budget-Friendly DIY Solutions
-
Tech and Equipment Organization
-
How Jiffy Junk Can Help Prepare Your Space
-
Final Thoughts
What to Consider When Creating a Bedroom Recording Studio
Before diving into specific bedroom studio ideas, I need to address some critical factors that will impact your setup’s effectiveness. Creating a functional home studio requires understanding the unique challenges of bedroom recording spaces.
Room acoustics play a massive role in your recording quality. Untreated bedrooms typically suffer from flutter echo, standing waves, and frequency imbalances that can make even great performances sound amateur. These acoustic problems aren’t just minor inconveniences—they’re fundamental issues that can completely undermine your production quality.
Power management is another crucial consideration that many beginners overlook. Standard residential circuits (typically 15-20 amps) can become overloaded when running multiple pieces of studio equipment simultaneously. This not only risks tripping breakers but can introduce unwanted electrical noise into your recordings. I’ve learned this lesson the hard way after ruining several vocal takes with mysterious buzzing that turned out to be power-related interference.
Before designing your home studio, it’s helpful to declutter your space completely. Our comprehensive decluttering guide offers strategies to create a clean foundation for your recording setup.
|
Key Consideration |
Impact on Recording |
Mitigation Strategy |
|---|---|---|
|
Room Dimensions |
Creates specific resonant frequencies |
Strategic acoustic treatment at problem frequencies |
|
Floor Material |
Affects sound reflection and vibration |
Area rugs, isolation platforms |
|
Wall Construction |
Determines sound transmission to adjacent rooms |
Additional mass, decoupling techniques |
|
Window Presence |
Allows external noise infiltration |
Window treatments, plugs, or isolation shields |
|
Electrical Capacity |
Limits equipment usage, potential for interference |
Dedicated circuits, power conditioning |
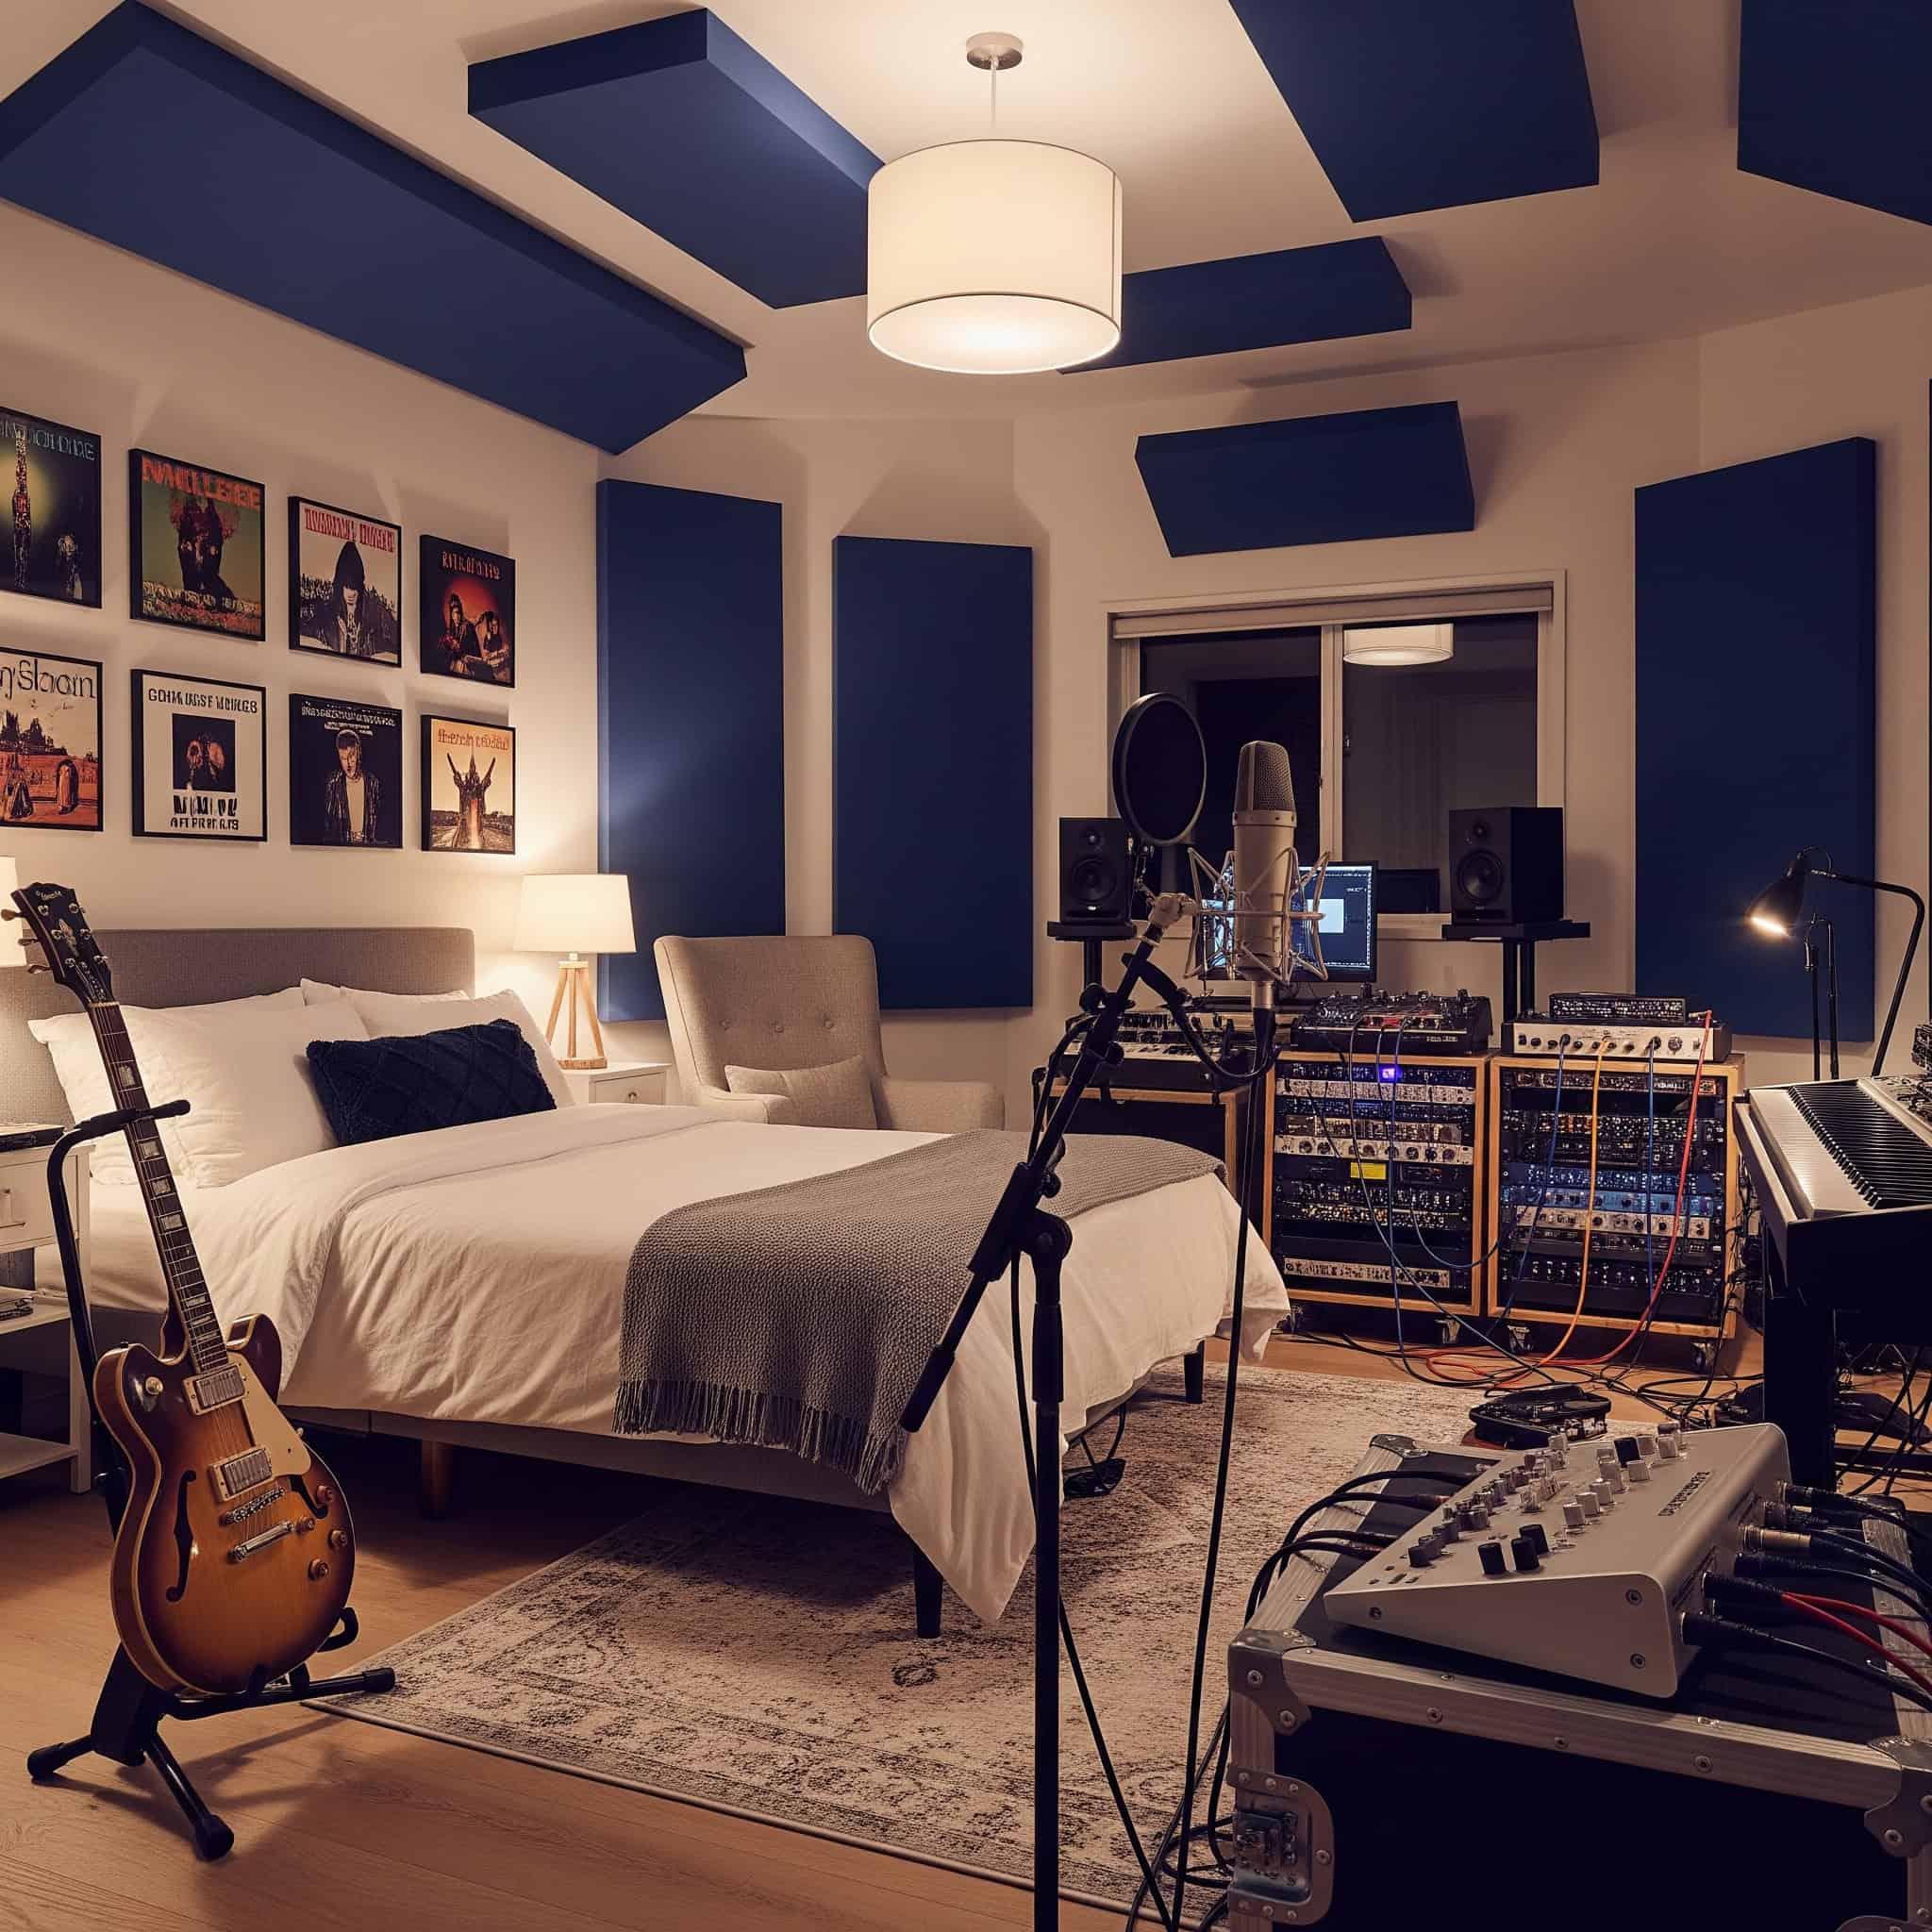
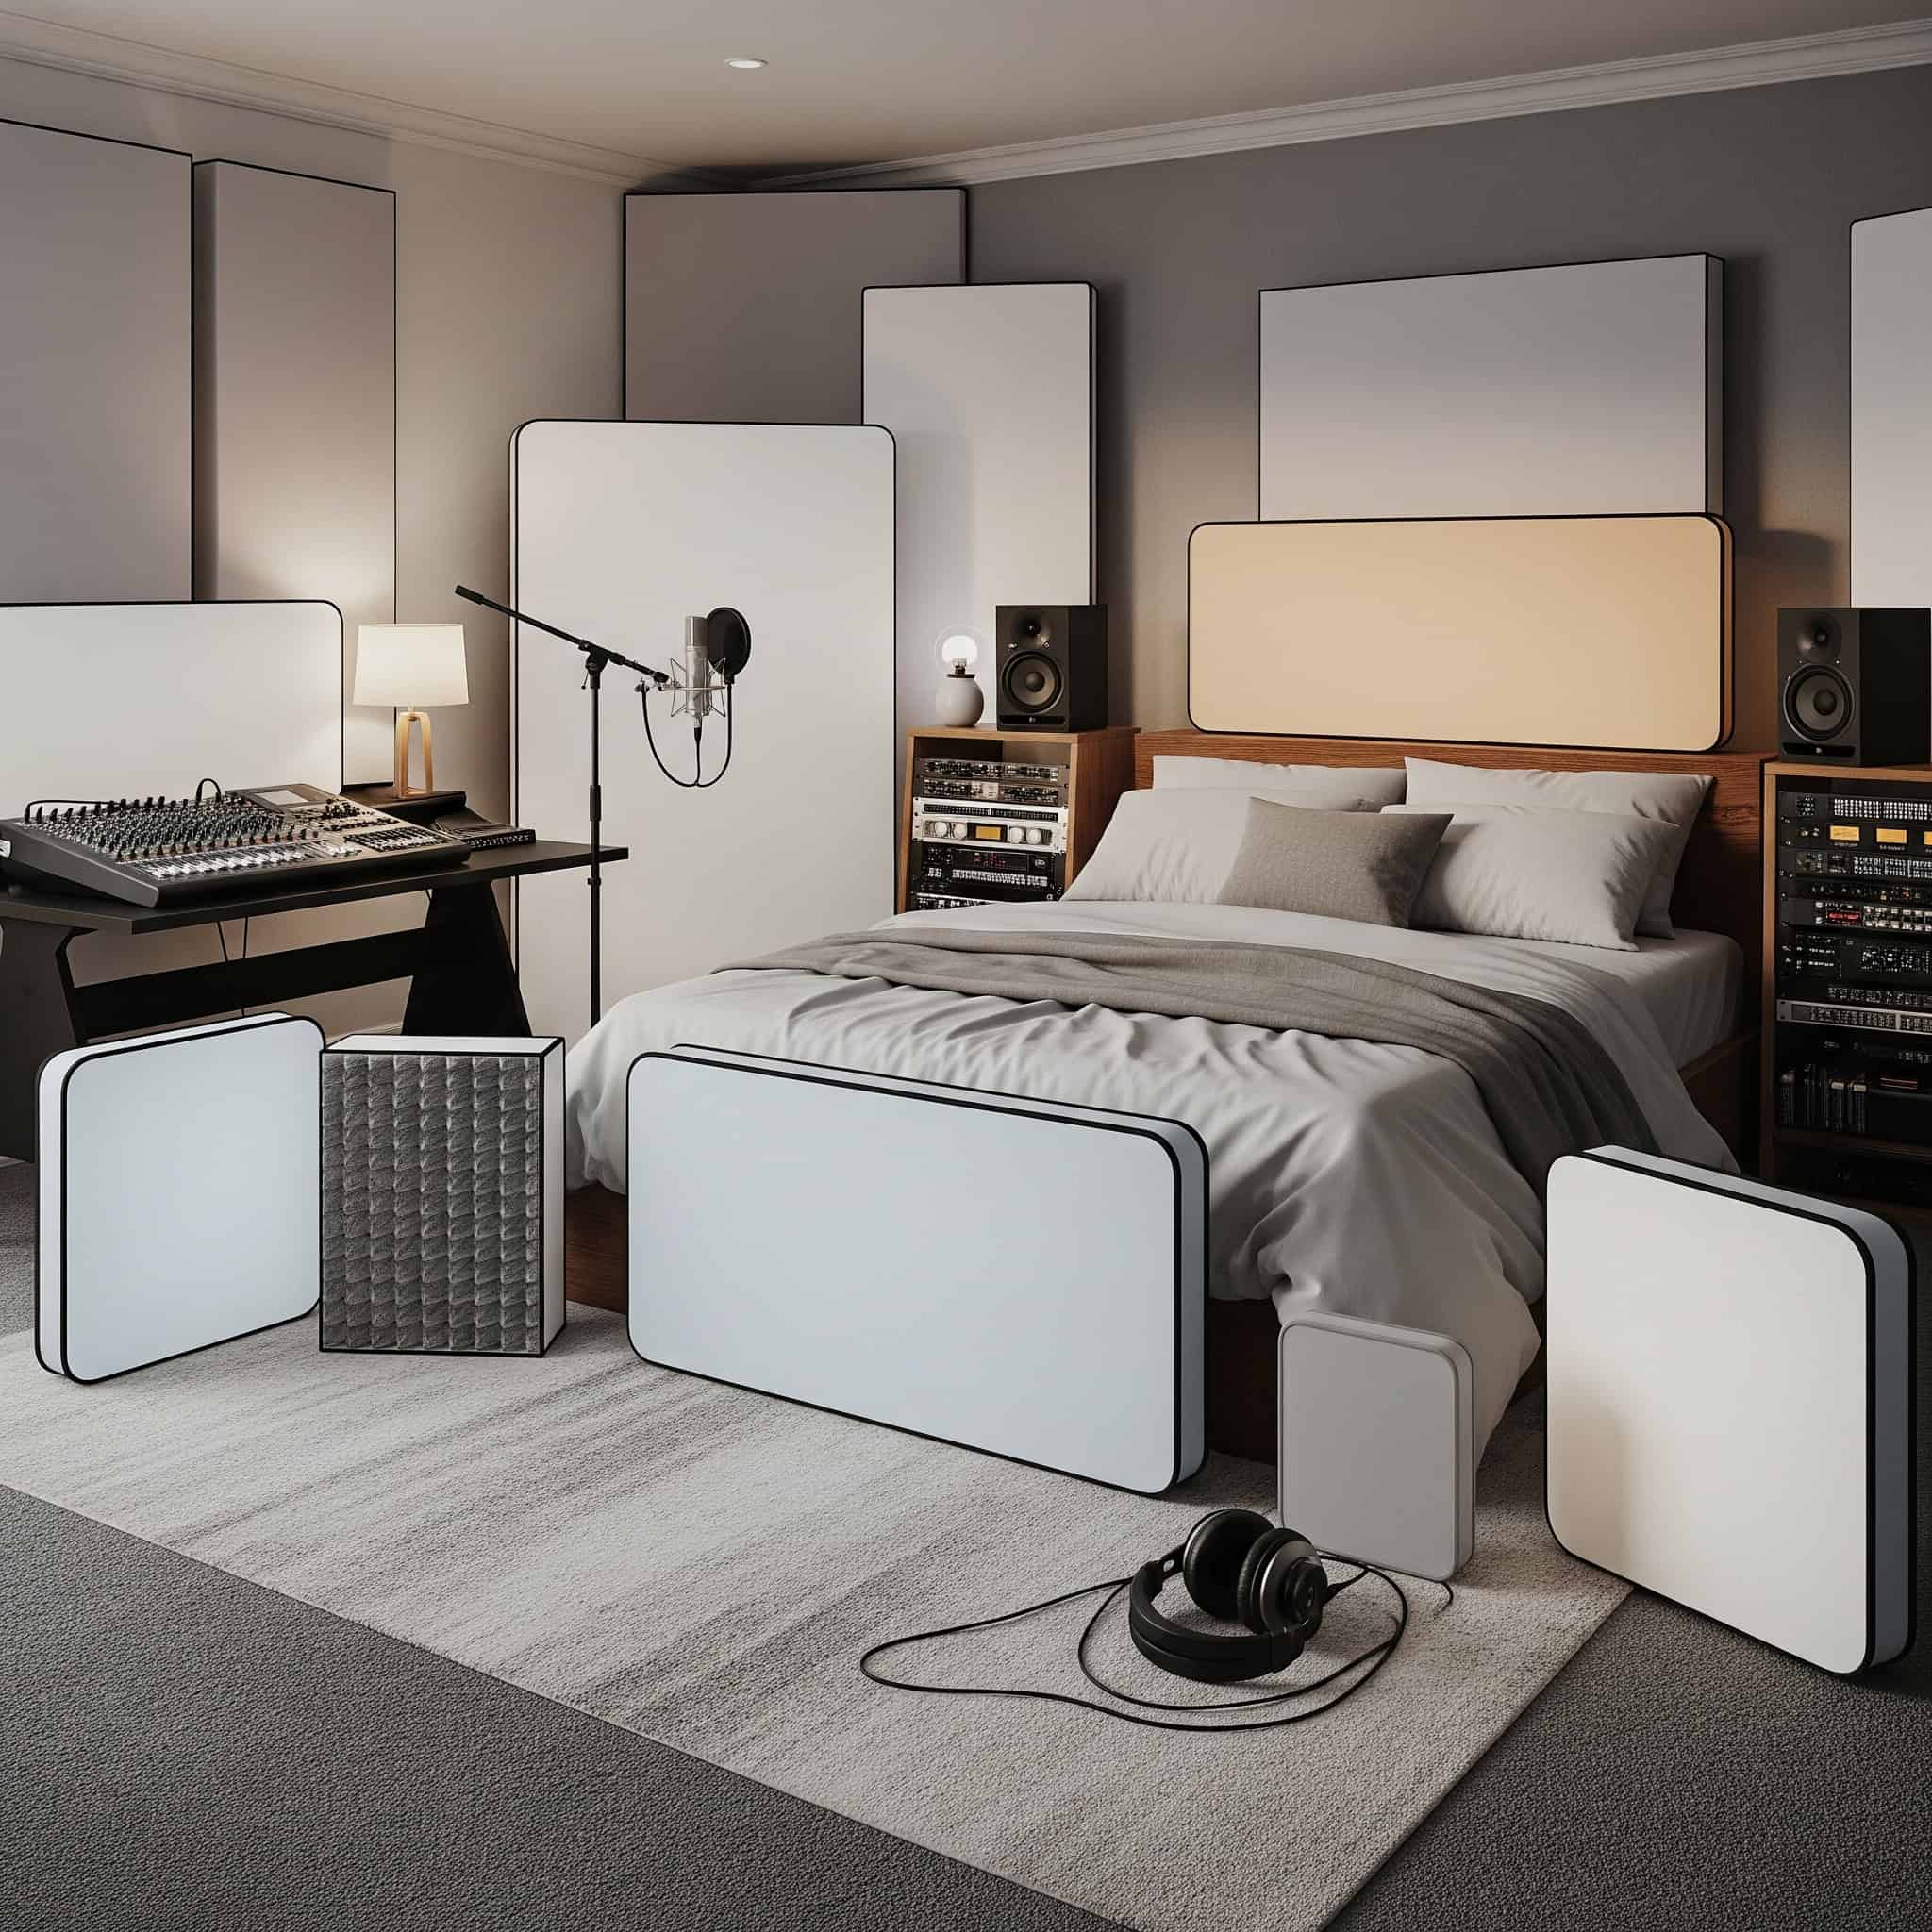
Acoustic Treatment Solutions
1. Modular Acoustic Panels
Modular acoustic panels offer a customizable solution for treating your bedroom’s sound reflections. I’ve found these fabric-wrapped panels incredibly versatile since they can be rearranged as your needs change, making them perfect for evolving studio setups.
Professional acoustic panels typically feature a core of mineral wool or fiberglass with densities between 40-80 kg/m³. This specific density range isn’t arbitrary—it provides effective absorption across mid and high frequencies (250Hz-4kHz), which is where most problematic reflections occur in bedroom studios.
Strategic placement at first reflection points (where sound first bounces off walls before reaching your ears) can reduce early reflections by 6-10dB. This dramatic improvement in monitoring accuracy makes a world of difference when mixing. I’ve transformed my home studio design by placing these panels at key reflection points, and the improvement in my mixes was immediate and substantial.
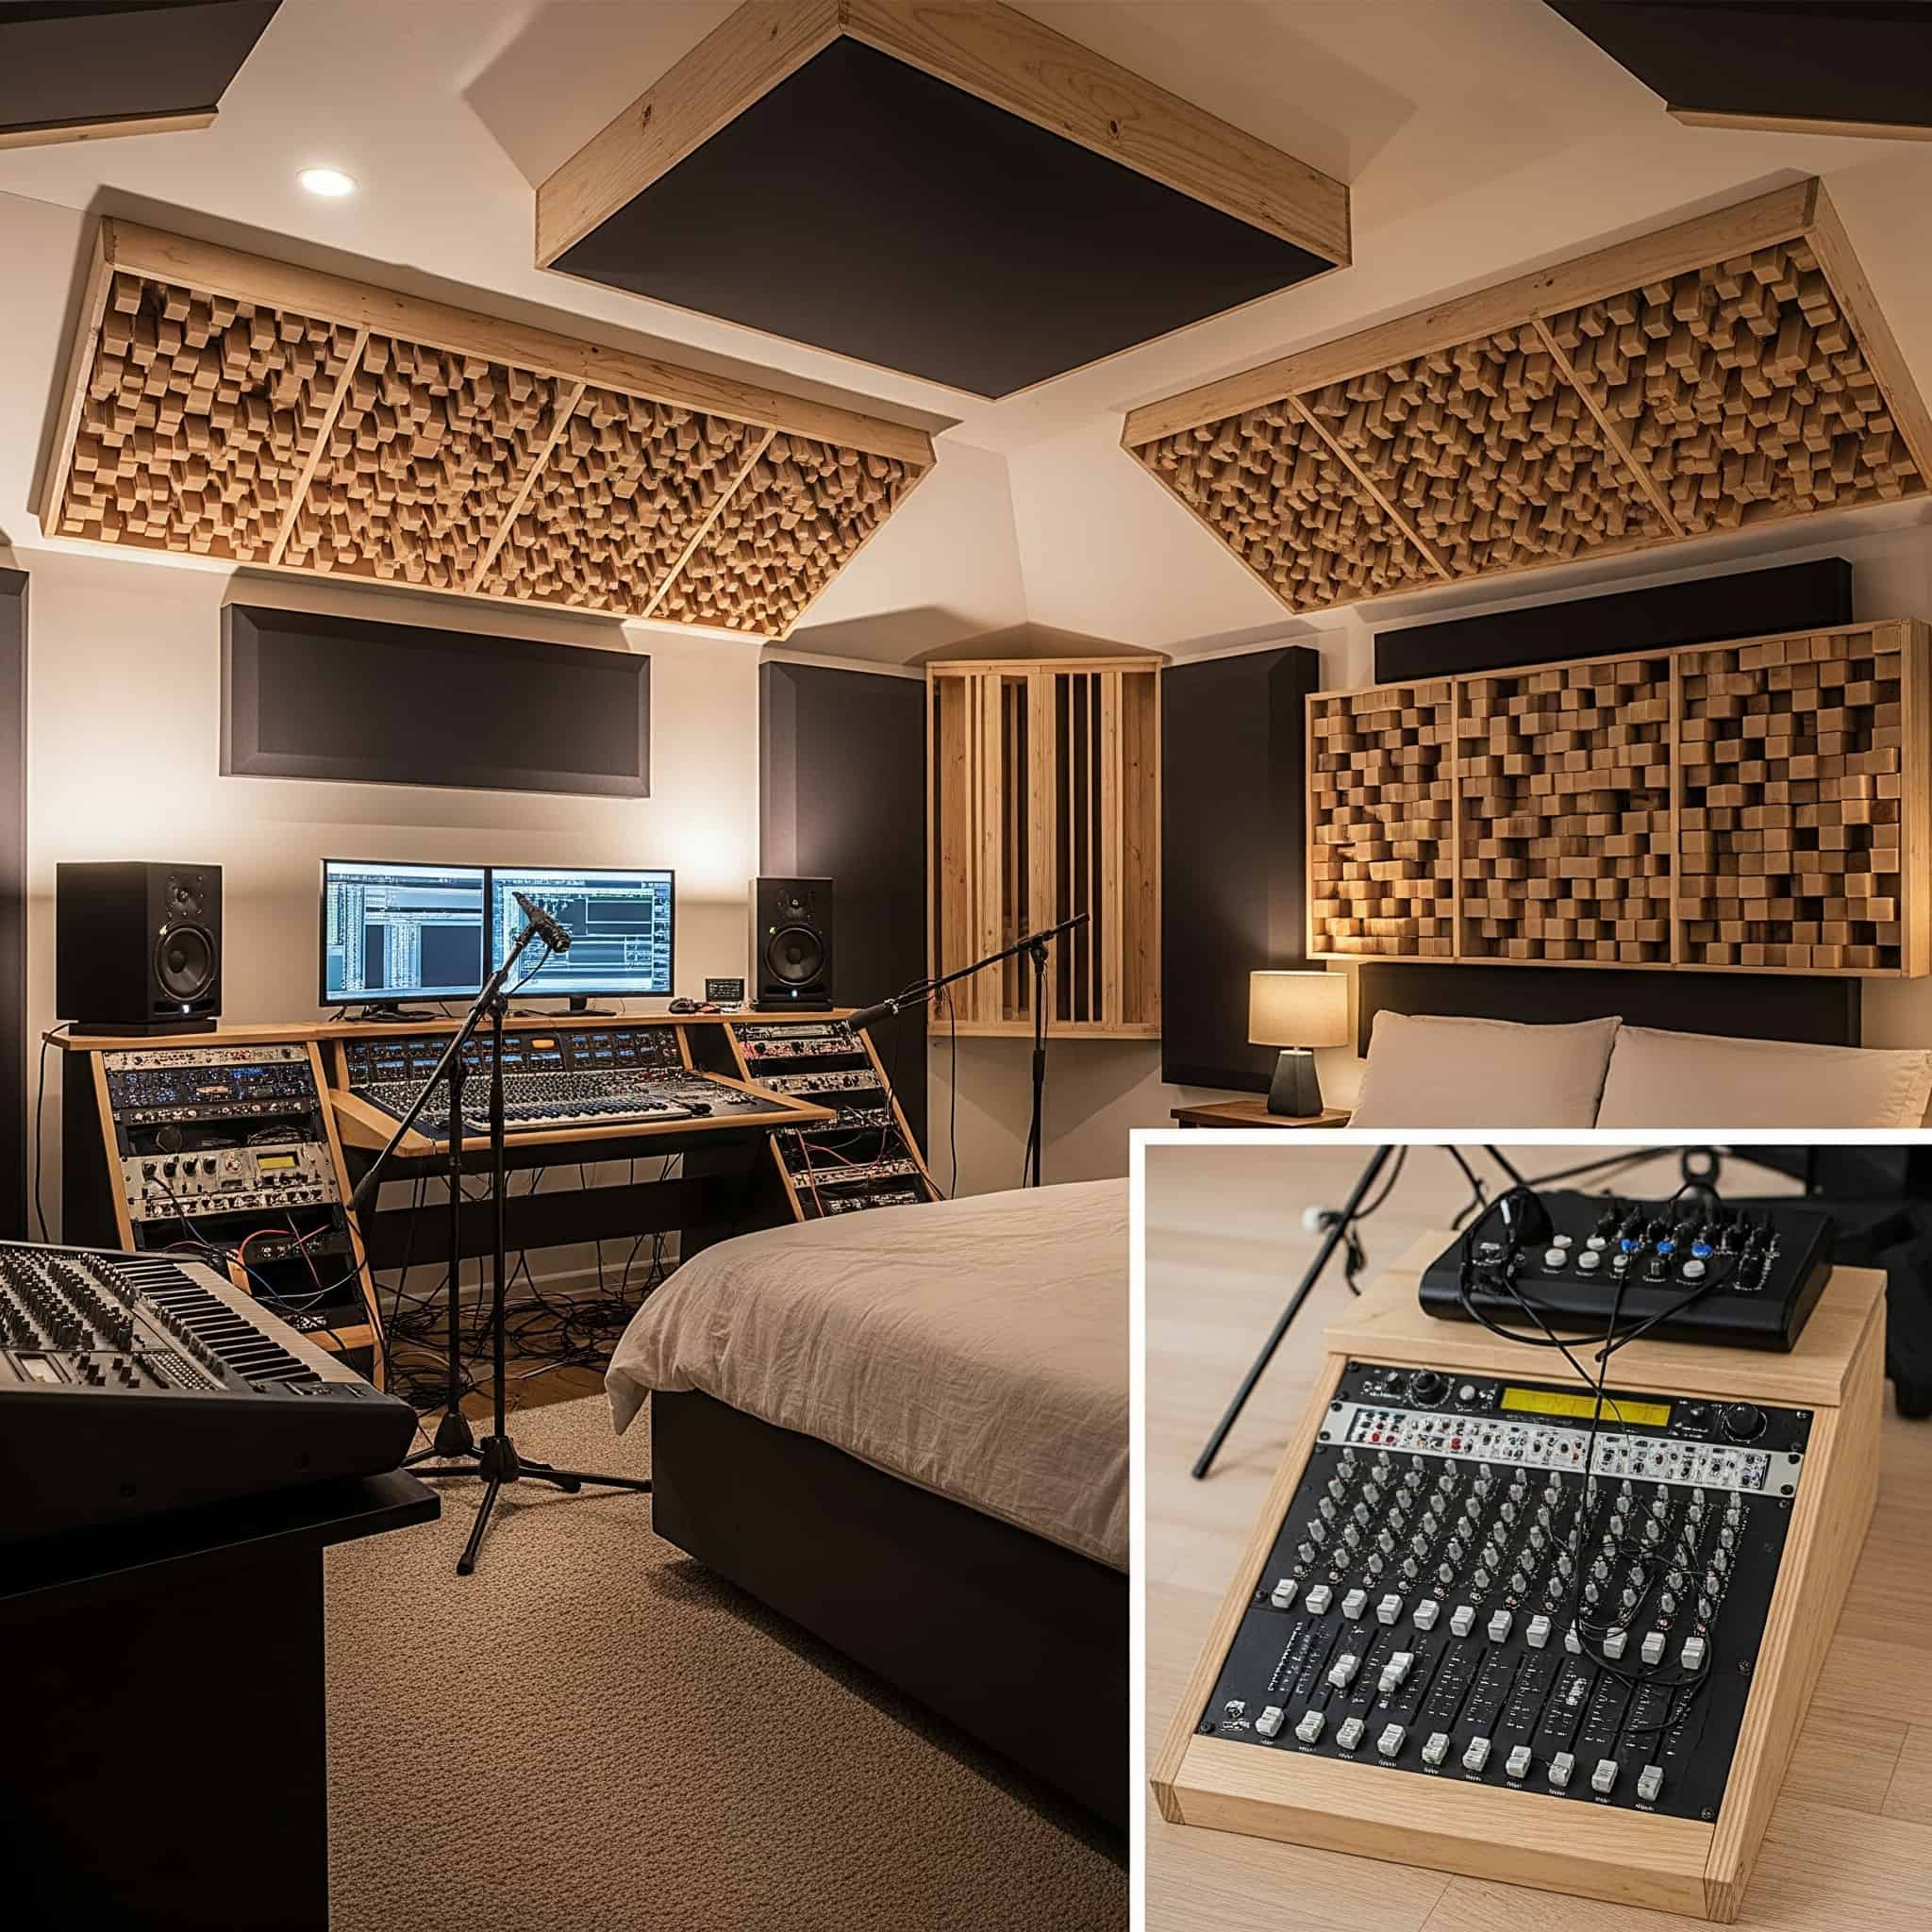
2. Ceiling Cloud Installation
Ceiling clouds target problematic ceiling reflections that can color your recordings. These suspended acoustic panels hang above your workstation, intercepting sound waves before they bounce between parallel surfaces.
Ceiling clouds should be positioned directly above the listening position at a minimum distance of 12-18 inches from the ceiling. This specific distance isn’t random—it effectively traps both direct reflections and standing waves that would otherwise create frequency cancellations at your mixing position.

Multi-layer designs incorporating both absorption and diffusion materials provide more balanced frequency response than single-material solutions. This is particularly important in the critical 200Hz-1kHz range where vocal intelligibility lives. My home studio benefited enormously from ceiling treatment, especially for vocal recordings where clarity is paramount.
3. Corner Bass Traps
Bass frequencies build up in room corners and can create muddy, undefined low-end in your recordings and mixes. Corner bass traps specifically target these problem areas, absorbing low-frequency energy that regular panels can’t handle.
Effective bass traps require significant depth (minimum 4-6 inches) and density to absorb frequencies below 100Hz. This is why broadband traps typically perform better than tuned resonators in variable bedroom environments—they provide more consistent absorption across the frequency spectrum.
Stacking bass traps from floor to ceiling in tri-corners (where two walls meet the ceiling) can increase low-frequency absorption by up to 40% compared to standard corner placement. This makes them the most efficient location for bass management in your music studio room. When I added proper bass trapping to my recording studio design, the improvement in low-end clarity was remarkable—suddenly I could hear definition in bass guitars and kick drums that had previously been masked by room modes.
4. Portable Reflection Filters
Reflection filters provide targeted acoustic treatment right at the source. These curved shields mount directly to microphone stands, creating a semi-isolated recording environment without treating the entire room.
Most commercial reflection filters provide 10-15dB of rejection for off-axis sounds and reflections, primarily affecting frequencies above 800Hz. This targeted frequency range is ideal for vocal recording but has minimal impact on bass frequencies, which is why they work best as part of a comprehensive treatment strategy.
Multi-layer designs incorporating air gaps between absorptive materials outperform single-layer filters by creating impedance mismatches that improve mid-frequency absorption. This sophisticated acoustic principle allows these portable solutions to achieve impressive results without increasing overall size.
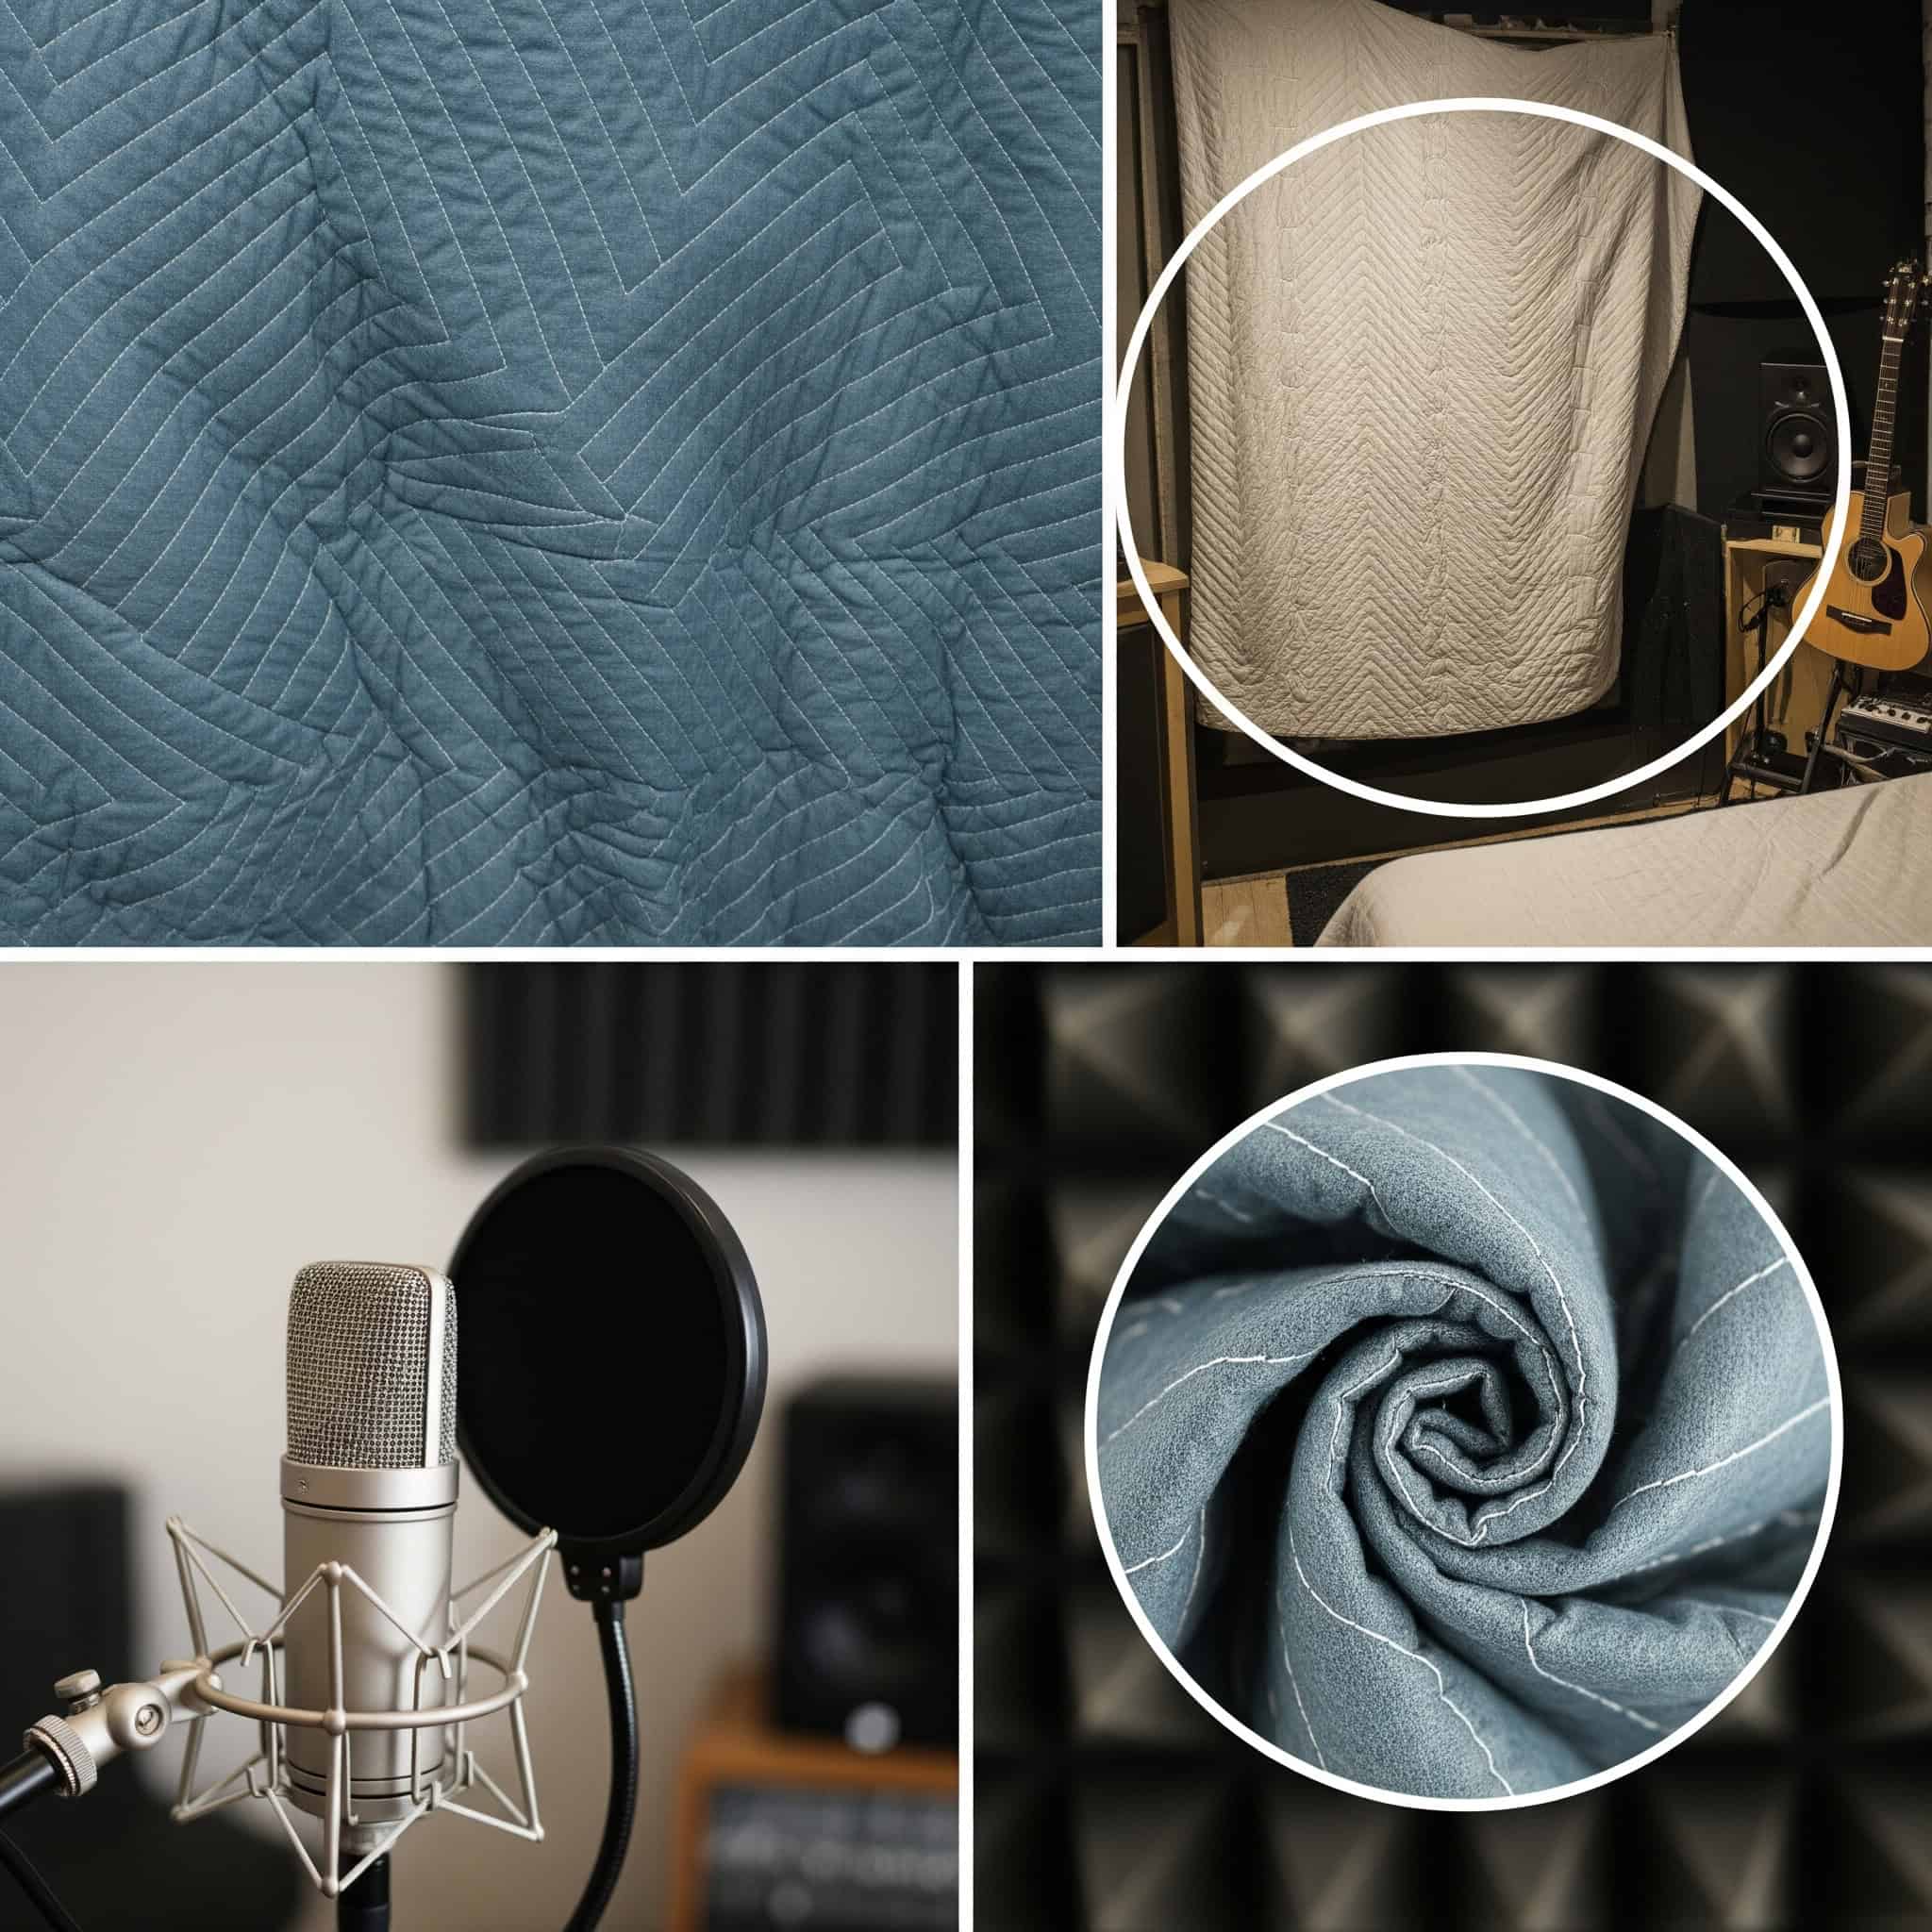
5. Acoustic Curtains
Acoustic curtains serve dual purposes in bedroom studios: they absorb sound reflections while controlling light. I’ve used these specialized heavy curtains to replace my regular window treatments, improving room acoustics without permanent installation.
Professional acoustic curtains typically feature multiple layers of dense fabric (400-500 g/m²) with pleating that increases surface area. This specific construction provides absorption coefficients of 0.5-0.7 at mid-frequencies, making them surprisingly effective for fabric-based treatment.
Hanging curtains 3-4 inches from walls creates an air gap that significantly improves low-mid frequency absorption. This simple spacing technique transforms ordinary-looking curtains into effective acoustic tools for your home studio. I’ve found this particularly useful in rental apartments where drilling into walls for panel mounting isn’t an option.
For better acoustic results, you might need to remove old furniture that’s causing unwanted reflections. Learn about furniture disposal options in our furniture removal guide to make space for your new acoustic treatments.
A professional voiceover artist transformed her 10×12 bedroom into a functional recording space by focusing first on acoustic treatment. She installed six 2’×4′ acoustic panels at first reflection points (identified using the mirror technique), hung acoustic curtains over her window, and placed bass traps in the corners. This strategic approach cost under $500 but reduced her room’s reverb time from 0.8 seconds to 0.3 seconds, creating a professional-sounding space without permanent modifications to her rental apartment.
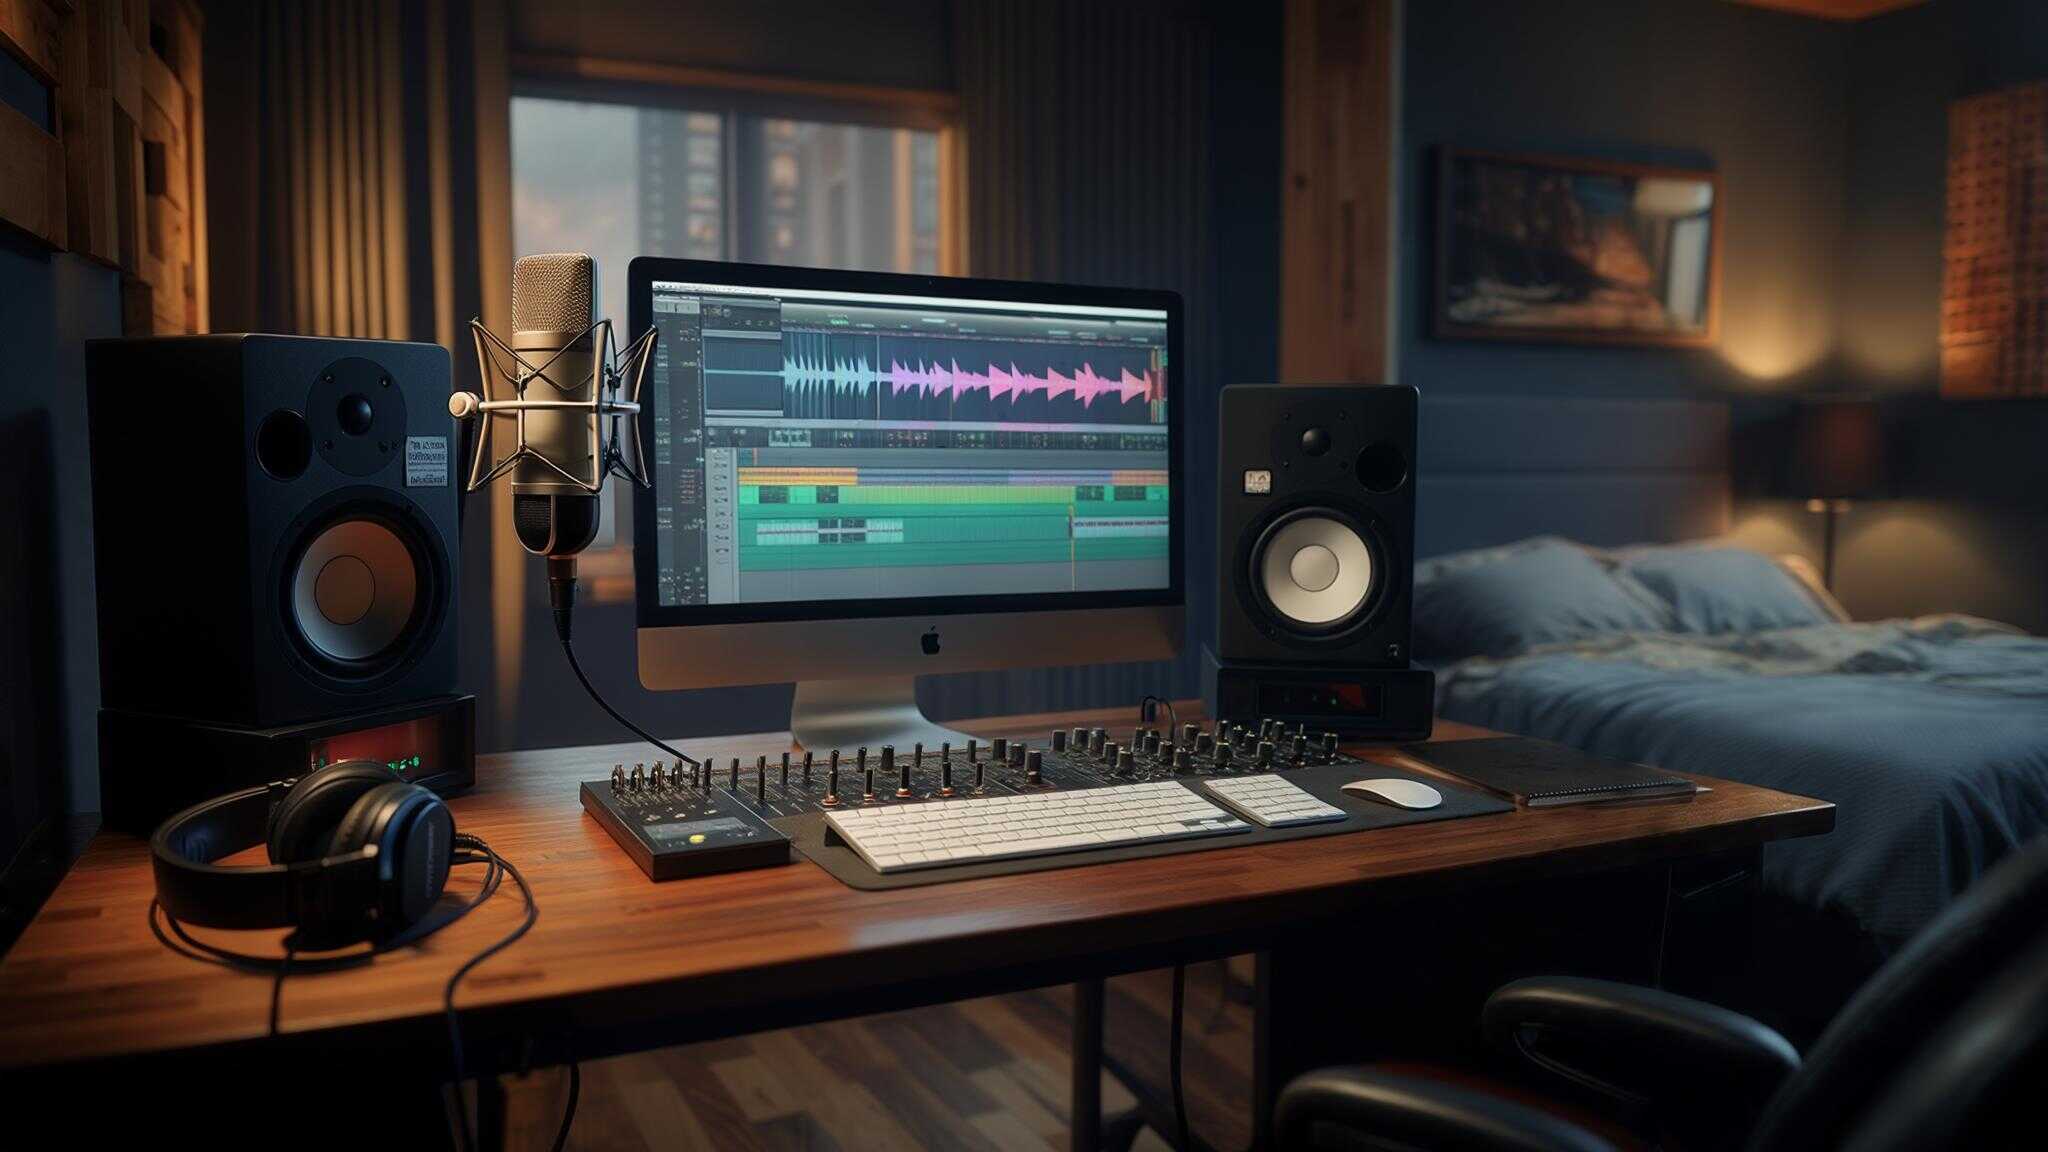
Space-Optimizing Furniture and Layout
6. Wall-Mounted Folding Desks
Wall-mounted folding desks provide the ultimate space-saving solution for bedroom studios. When folded up against the wall, they free up valuable floor space for sleeping or other activities.
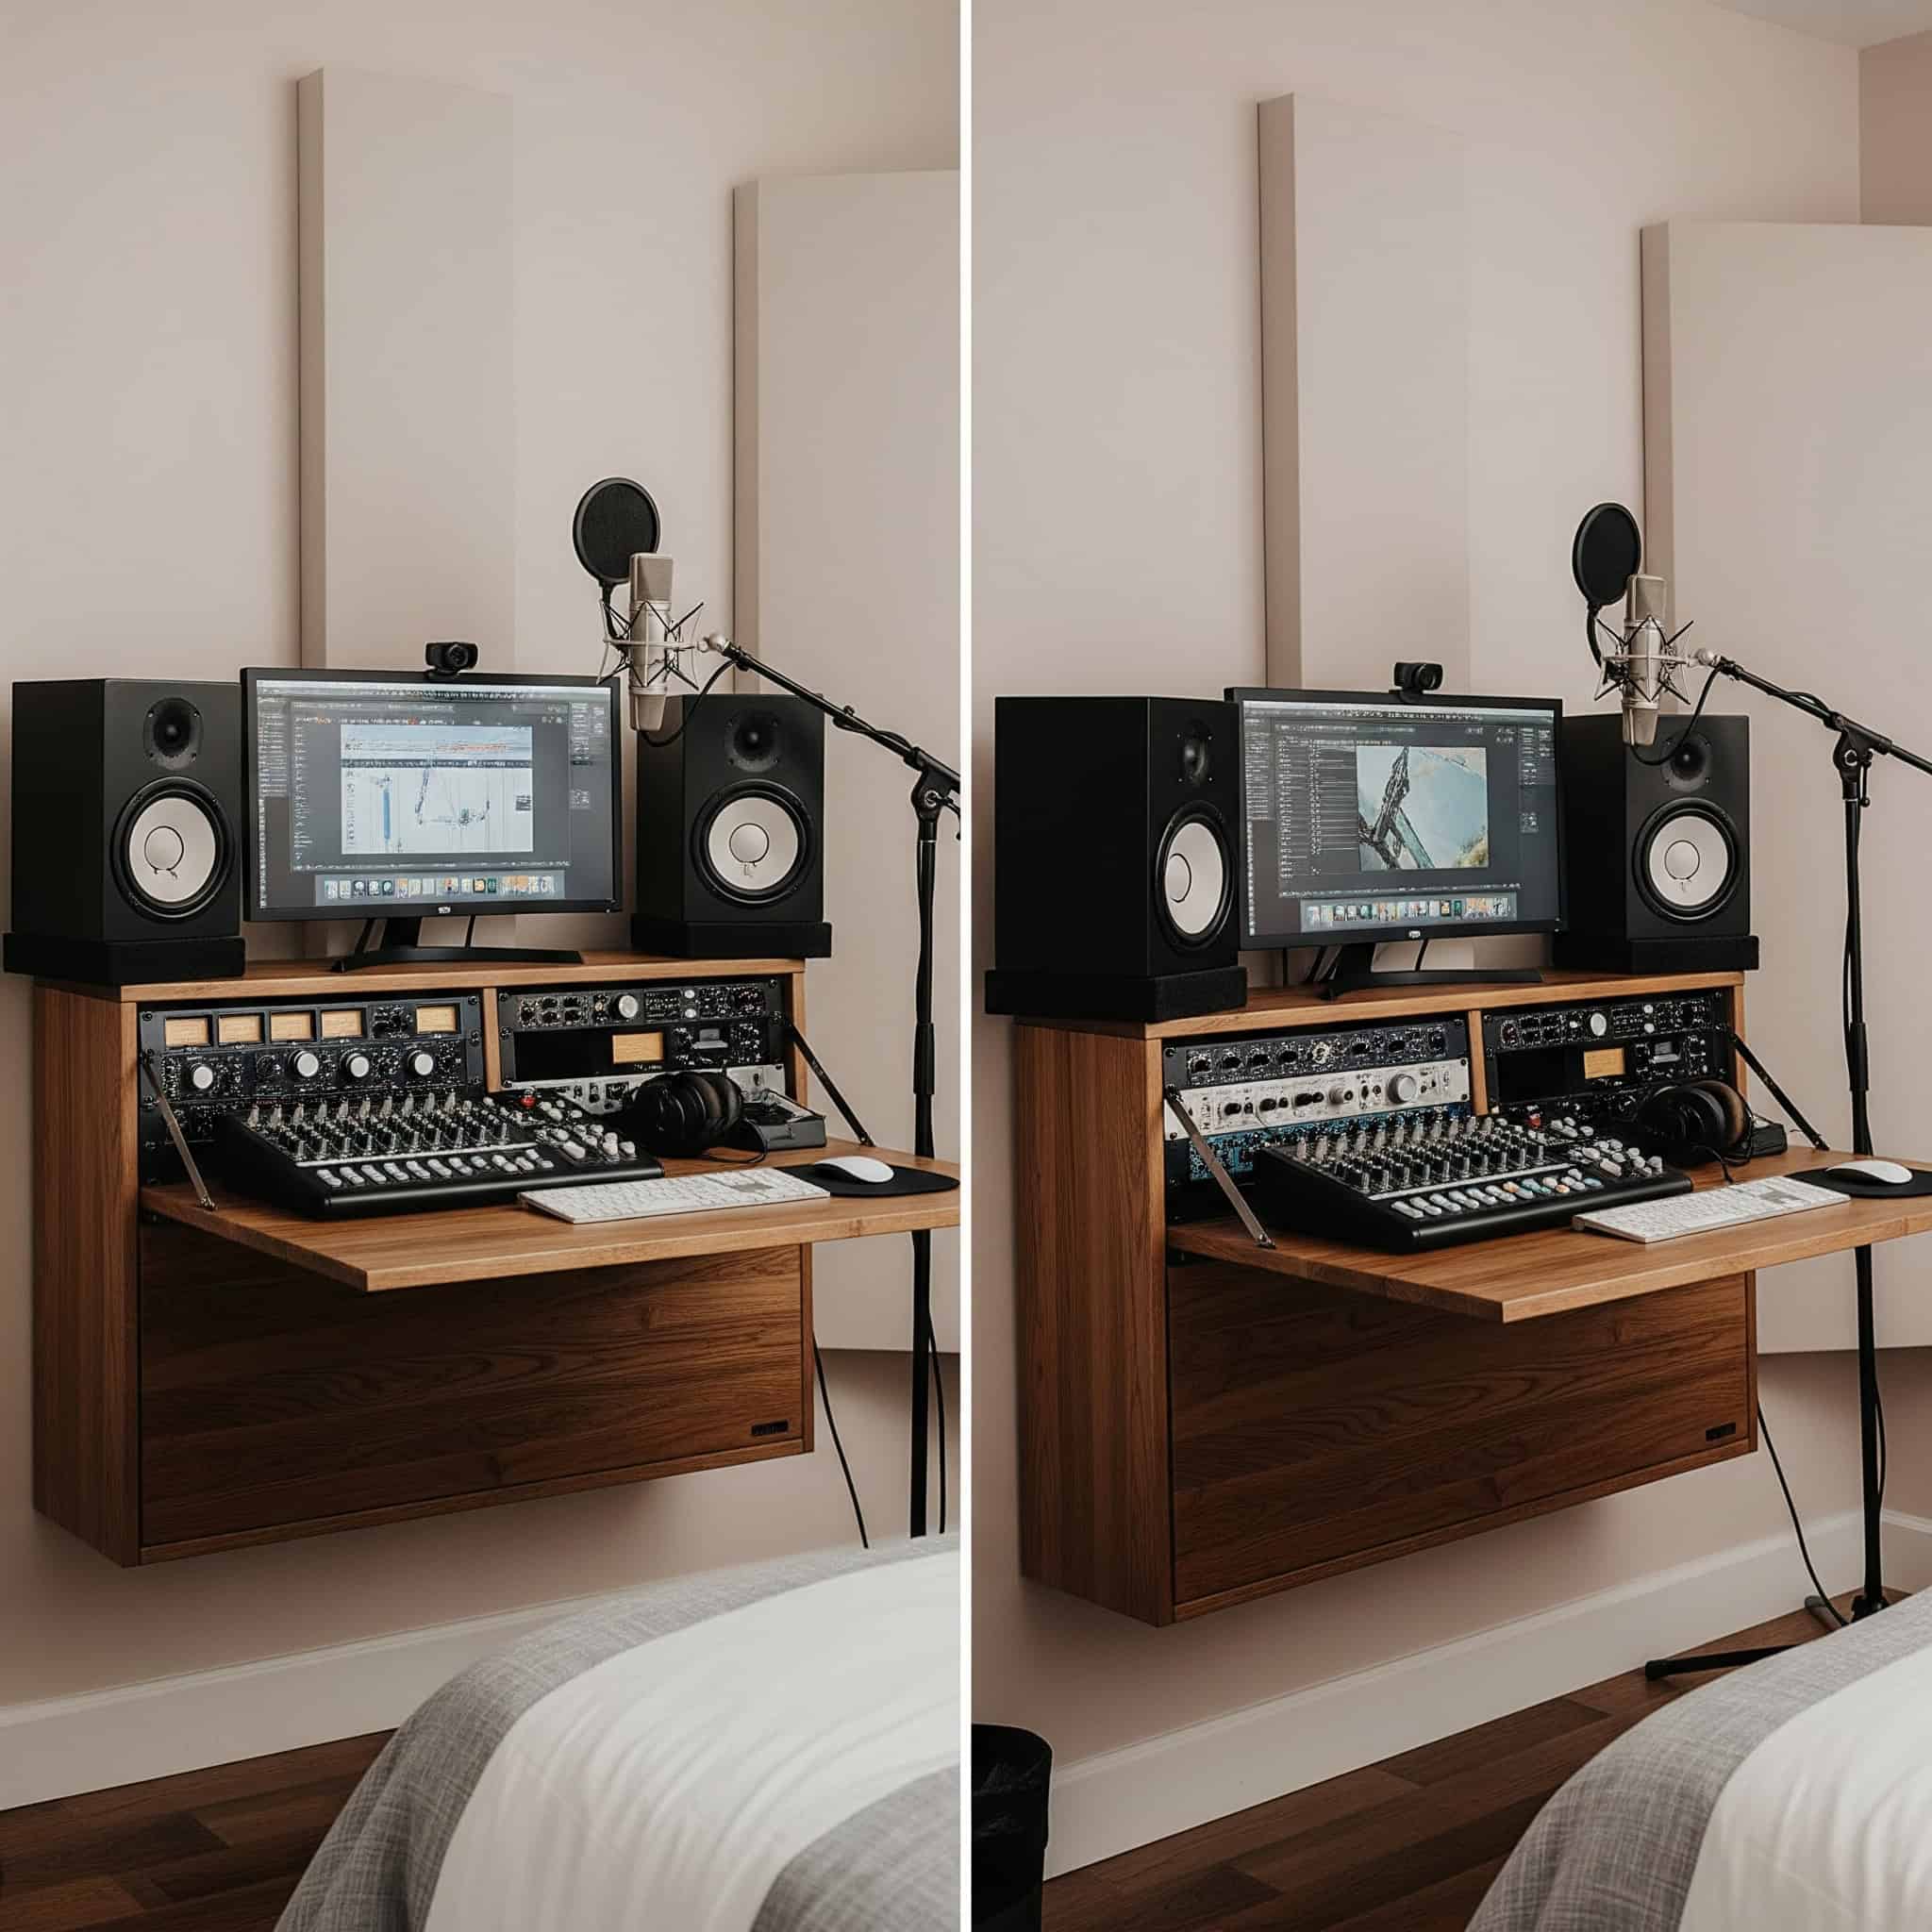
Weight capacity is crucial for studio desks, with quality folding models supporting 75-150 pounds when properly mounted. This isn’t just about preventing collapse—it’s about ensuring your expensive equipment remains secure. These desks must be installed into wall studs using heavy-duty brackets and appropriate fasteners to achieve this load capacity.
Cable management becomes particularly important with folding desks, requiring quick-disconnect solutions and cable organizers. Without proper cable management, the folding/unfolding process can damage connections or create a tangled mess that undermines the convenience of the folding design. I’ve incorporated this solution in my home studio and music studio room, and it’s been a game-changer for my small space.
7. Vertical Equipment Racks
Vertical equipment racks maximize your studio’s footprint by building upward instead of outward. These tall, narrow units efficiently store rack-mounted gear, audio interfaces, and other equipment while minimizing floor space usage.
Proper ventilation becomes critical in vertical racks, with recommended minimum clearances of 1-2 inches between heat-generating components. This specific clearance isn’t arbitrary—it prevents thermal buildup that can damage sensitive electronics and introduce noise into your recording studio setup. For racks exceeding 12U of equipment, active cooling becomes necessary to maintain safe operating temperatures.
Rack weight distribution should follow a bottom-heavy approach, placing power amplifiers and heavier components lower in the rack. This prevents dangerous tipping hazards that could damage equipment or cause injury. I’ve learned this lesson through experience after a poorly balanced rack nearly toppled during a session.
8. Under-Bed Storage Solutions
The space beneath your bed represents valuable, often unused real estate in bedroom studios. Rolling drawers or custom platforms can transform this area into perfect storage for equipment, cables, microphones, and other gear you don’t need daily access to.
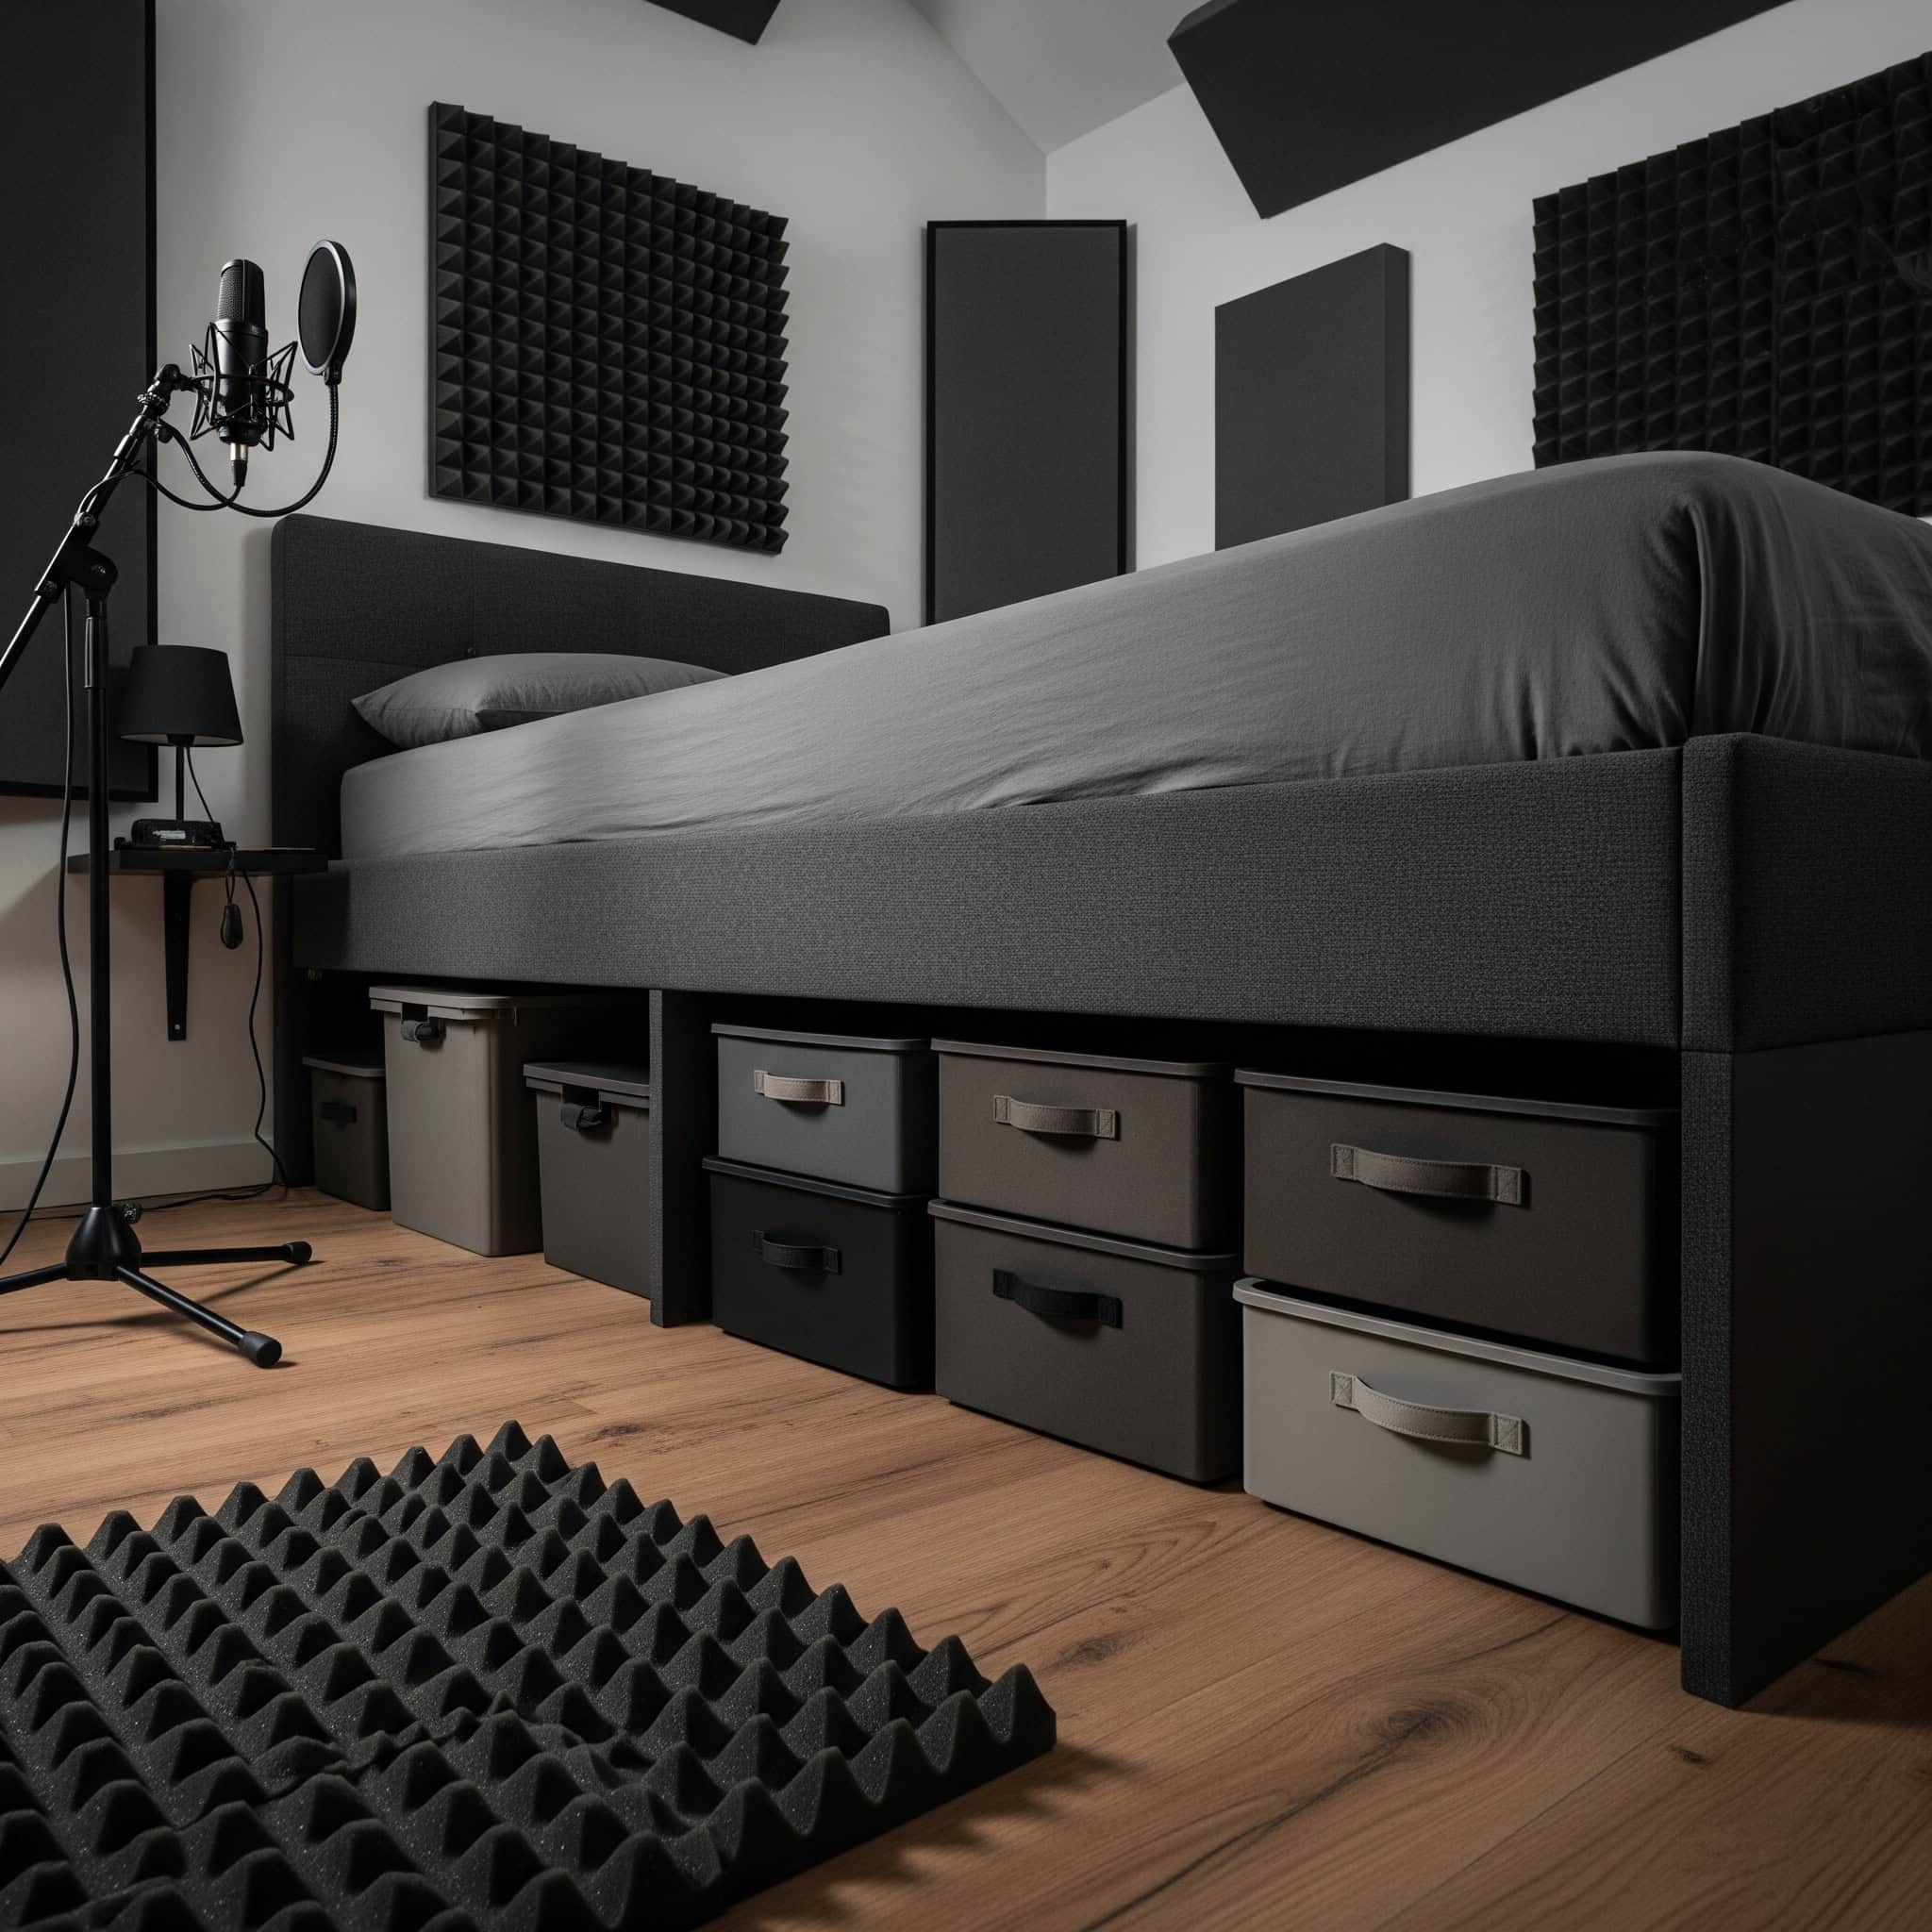
Humidity control becomes essential for under-bed storage, with recommended use of silica gel packets or dehumidifiers. Maintaining 40-50% relative humidity prevents moisture damage to sensitive electronics, particularly condenser microphones and vintage equipment that can be permanently damaged by excessive moisture.
Dust protection through sealed containers or covers is necessary as under-bed areas typically accumulate 15-20% more dust than open room spaces. This isn’t just about aesthetics—dust can damage equipment over time by clogging fans, coating sensitive components, and causing overheating. I’ve incorporated under-bed storage in my home studio and found it invaluable for storing less frequently used gear.
9. Murphy Bed with Integrated Studio
Murphy beds with integrated studio workspaces represent the ultimate dual-functionality solution. When the bed is folded up against the wall, it reveals a complete studio setup with desk, monitors, and equipment.
Professional Murphy bed studio installations require reinforced wall mounting capable of supporting combined loads of 300-500 pounds. This substantial weight capacity accommodates both the bed mechanism and attached studio equipment, requiring professional installation in most cases.
Acoustic isolation between the bed and studio components prevents unwanted vibrations and resonances. This is typically achieved through rubber isolation mounts and decoupling materials at connection points. Without this isolation, vibrations from your bedroom recording studio equipment can transfer to the bed frame and back, creating feedback loops that color your sound. I’ve seen amazing music studio room transformations using this approach in tiny apartments.
10. Corner Workstation Setups
Corner workstations make strategic use of often-underutilized bedroom space. L-shaped or triangular desks fit perfectly into corners, providing ample surface area for your equipment while minimizing the room’s footprint.
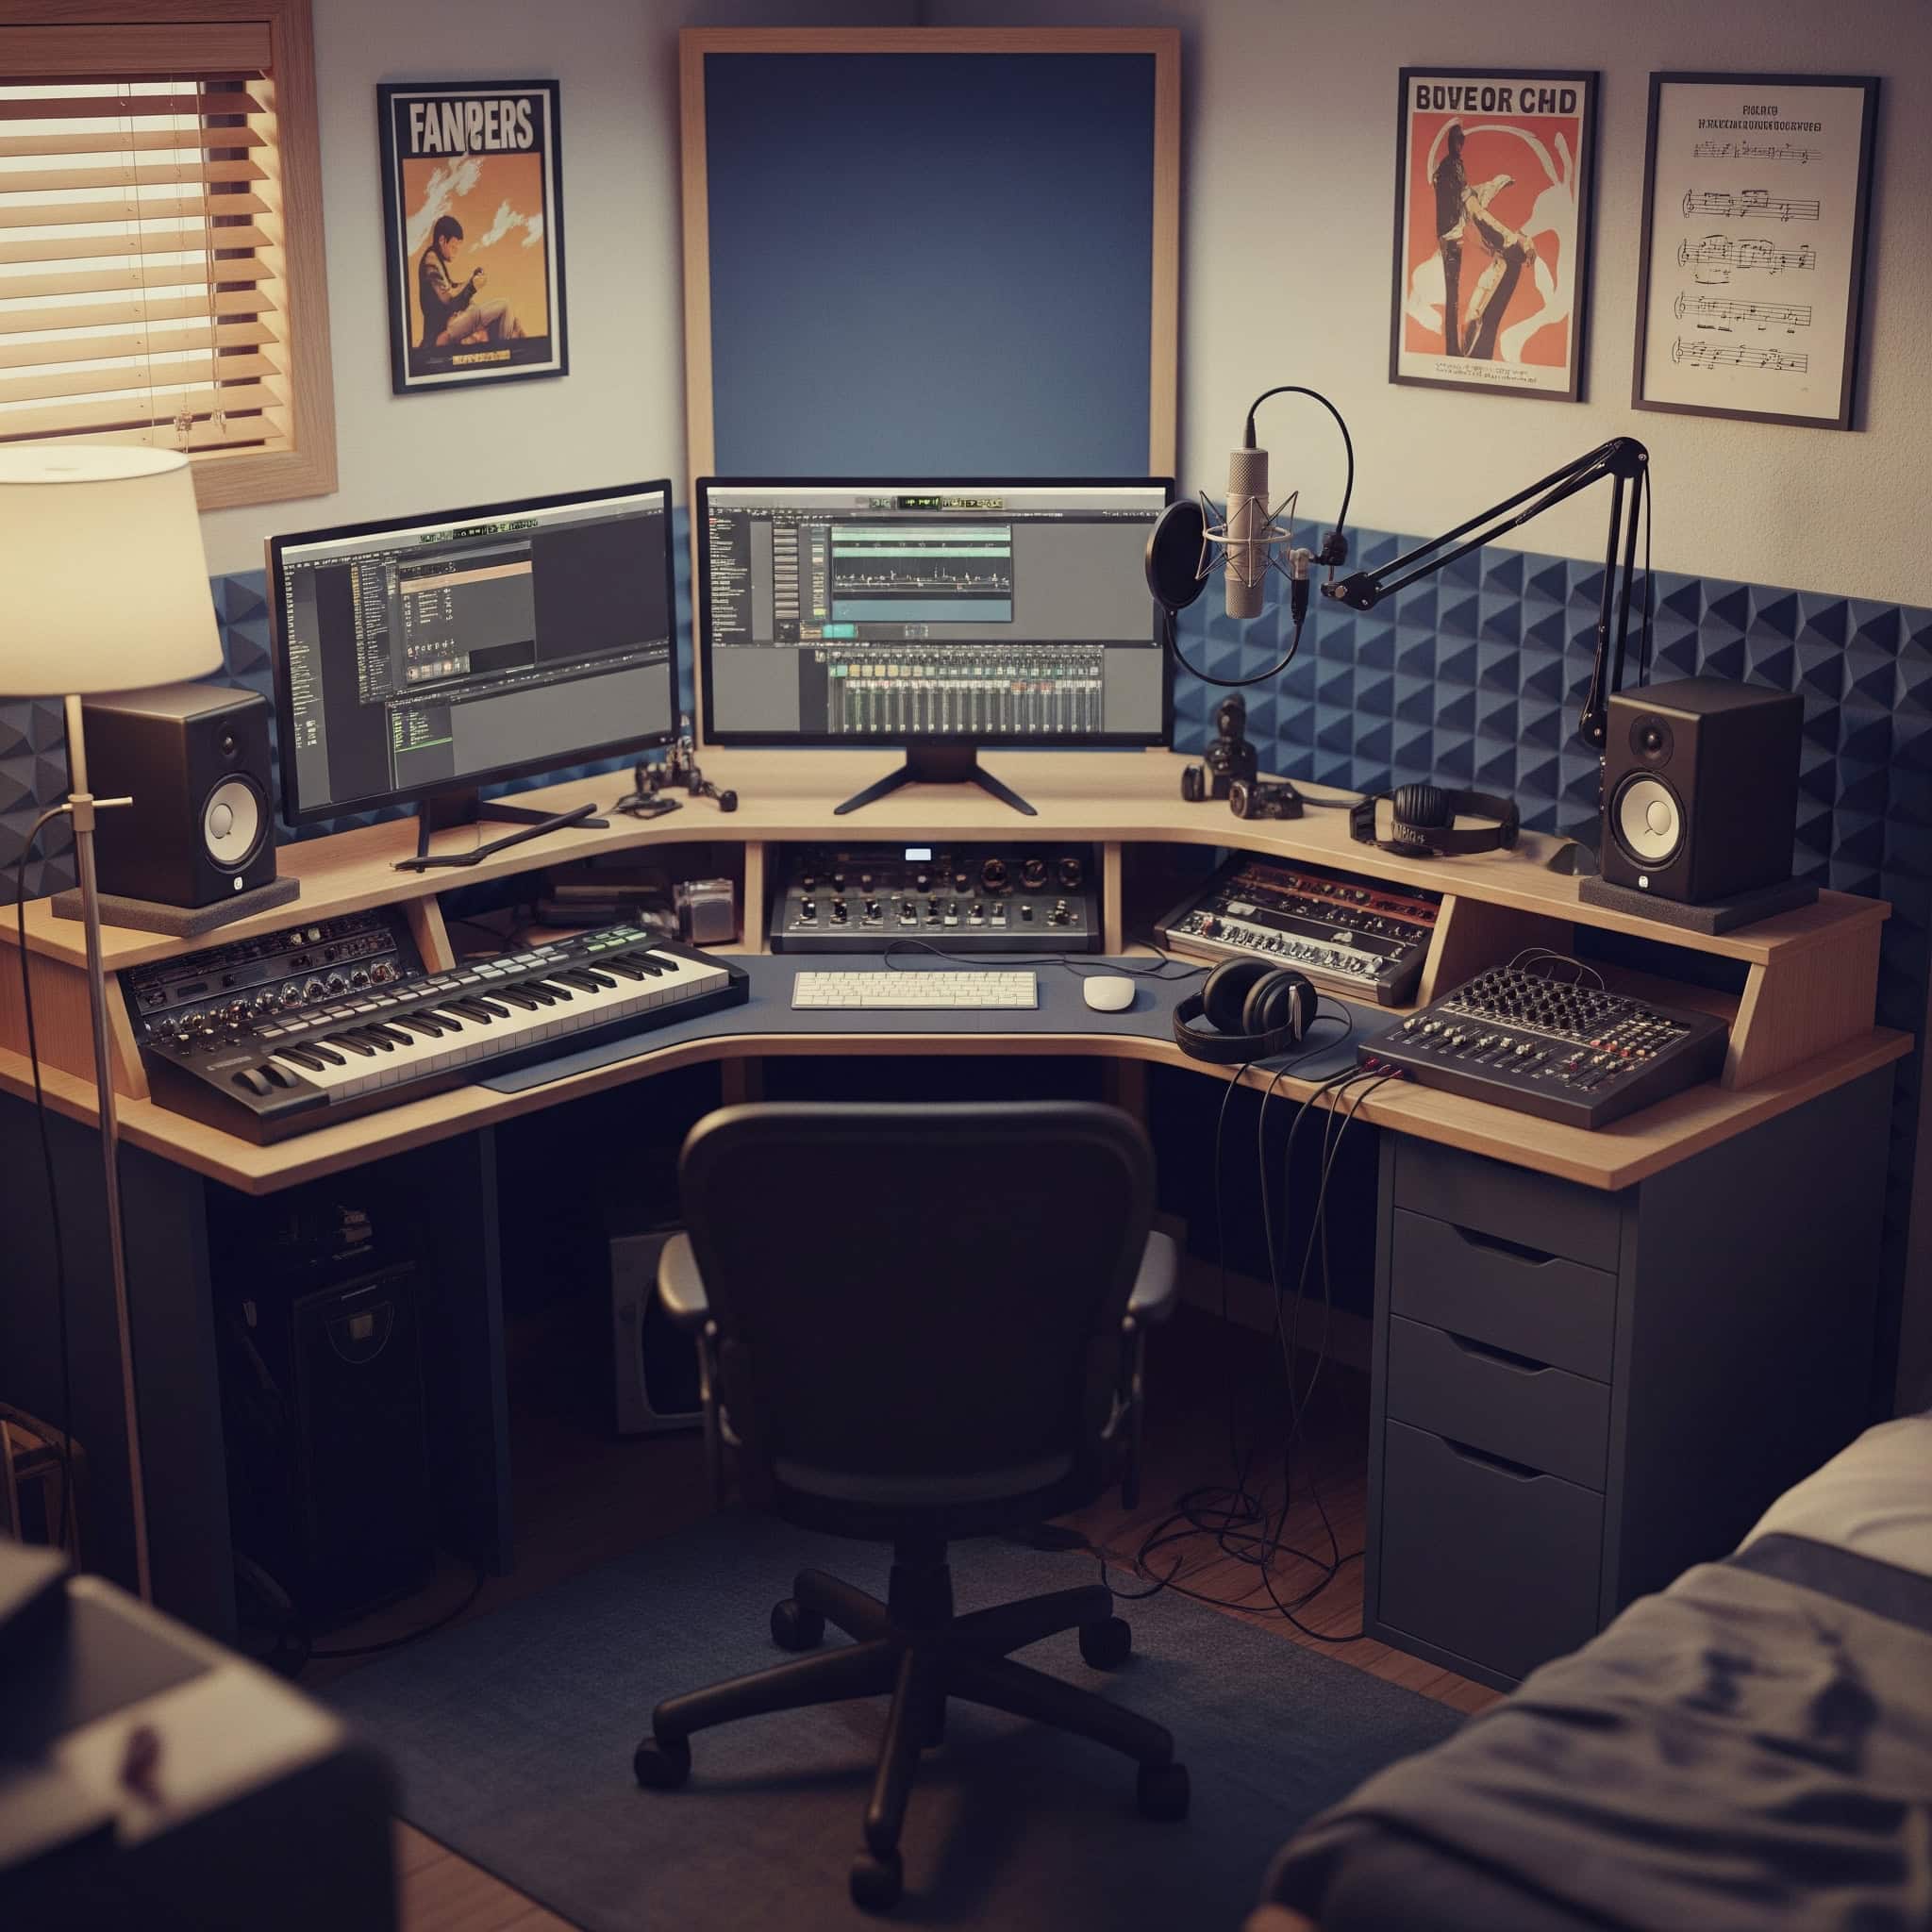
Corner placement creates acoustic challenges due to bass buildup, requiring targeted treatment with corner traps. This isn’t just a minor consideration—corners naturally amplify certain bass frequencies by up to 12dB, creating significant monitoring inaccuracies if left untreated. I’ve incorporated corner workstations in my home studio and music studio design, but only after addressing the acoustic implications.
Monitor positioning becomes more complex in corners, often requiring asymmetrical placement and additional acoustic treatment. This creates an accurate listening environment despite the irregular boundaries, allowing for precise mixing decisions even in challenging spaces.
|
Space-Saving Solution |
Floor Space Saved |
Setup Complexity |
Approximate Cost |
|---|---|---|---|
|
Wall-Mounted Folding Desk |
90% when folded |
Medium |
$150-300 |
|
Vertical Equipment Rack |
70% vs. horizontal setup |
Low |
$100-250 |
|
Under-Bed Storage |
100% (uses existing space) |
Low |
$50-150 |
|
Murphy Bed Studio |
80% of bed footprint |
High |
$1,500-3,000 |
|
Corner Workstation |
30% vs. standard desk |
Medium |
$200-500 |
Noise Control and Isolation
11. Window Plug Inserts
Window plug inserts block external noise from entering your recording space. I’ve created custom-built insulated panels that fit precisely into window frames, creating a temporary sound barrier that can be removed when not recording.
Effective window plugs utilize multiple layers of different density materials to create mass and air gaps. This sophisticated construction can reduce external noise by 25-35dB across the frequency spectrum—a dramatic improvement for urban home studios plagued by traffic or neighbor noise.
Airtight sealing around the perimeter is crucial, with compression-fit designs or weatherstripping gaskets preventing sound leakage. Without proper sealing, even small gaps can reduce effectiveness by up to 70%, as sound behaves like water finding the path of least resistance. I’ve incorporated these in my recording studio design and they’ve been essential for clean vocal recordings in my noisy neighborhood.
12. Door Seal Kits
Door seal kits address one of the most common sound leakage points in bedroom studios. These rubber gaskets and sweeps fill the gaps around your bedroom door, significantly reducing sound transmission in both directions.

Professional door seals can reduce sound transmission by 15-20dB when properly installed. This specific performance metric represents the difference between clearly hearing conversations through a door and barely detecting them. Automatic door bottoms that drop when closed outperform fixed sweeps by creating more consistent contact pressure.
Multiple sealing points are necessary for maximum effectiveness. Perimeter gaskets, door bottoms, and threshold seals work together to address all potential air gaps around the door assembly. I’ve implemented comprehensive door sealing in my home studio design, and it’s made a tremendous difference in isolation quality.
13. Floating Floor Platforms
Floating floor platforms decouple your recording area from the building structure, reducing vibration transfer and impact noise. These raised platforms use isolation materials to create a separate surface for your equipment.
Effective floating floors utilize multiple isolation layers, typically combining rubber isolators, neoprene pads, or specialized decoupling materials. These materials have resonant frequencies below 10Hz to prevent structure-borne vibrations from reaching the platform surface. This technical specification is crucial—if the isolation material resonates within the audible range, it can actually amplify certain frequencies rather than isolating them.
Load distribution is critical, with platforms designed to support 50-100 pounds per square foot without compression. This specific load capacity ensures the isolation materials maintain their effectiveness even under the weight of heavy equipment like pianos or drum kits. I’ve incorporated floating platforms in my recording studio setup and music studio room, particularly for drum recording areas.
14. Portable Vocal Booths
Portable vocal booths provide targeted isolation for vocal recordings without permanent construction. I’ve used these collapsible structures to create a controlled acoustic environment that can be set up when needed and stored away when not in use.

Professional portable booths achieve 10-20dB of external noise reduction while simultaneously controlling internal reflections. This dual functionality comes from strategic placement of absorption materials with varying densities targeting different frequency ranges. The result is both isolation from outside noise and a controlled recording environment.
Ventilation becomes a critical factor in enclosed booths, with recommended air exchange rates of 7-10 times per hour. This specific ventilation rate maintains comfortable oxygen levels during extended recording sessions while preventing the buildup of CO2 that can affect vocal performance. I’ve found these portable solutions invaluable in my home studio and music studio room setups.
15. Acoustic Room Dividers
Acoustic room dividers create flexible boundaries within your bedroom studio. These sound-absorbing partitions can section off your recording area from the rest of the room, providing visual separation and acoustic isolation.
Effective acoustic dividers combine both absorption and mass, with professional models incorporating 2-3 inch thick absorption materials and mass-loaded cores. This construction provides both high-frequency treatment and mid-range sound blocking, addressing multiple acoustic issues simultaneously.
Height is crucial for effectiveness, with dividers reaching at least 6 feet tall to prevent excessive sound diffraction. When sound waves encounter the top edge of a divider, they bend around it—a phenomenon called diffraction. If dividers are too short, this diffraction can reduce overall isolation by up to 50%. I’ve used these in my home studio and recording studio design to create separate zones for different recording functions.
If your bedroom has old furniture that’s causing soundproofing issues, check out our article on furniture removal vs. donation to help decide what to do with unwanted items while creating your acoustic sanctuary.
A hip-hop producer living in a busy apartment complex transformed his bedroom into a functional studio by focusing on noise isolation. He installed window plug inserts made from 2″ MDF board with mass-loaded vinyl and acoustic foam layers, added comprehensive door seal kits with automatic door bottoms, and created a small floating platform for his vocal recording area using rubber isolation pucks between layers of plywood. These targeted modifications reduced external noise by approximately 30dB, allowing him to record professional vocals even during peak traffic hours without disturbing his neighbors.
Budget-Friendly DIY Solutions
16. DIY Acoustic Panels
DIY acoustic panels offer professional-level sound treatment at a fraction of the cost. Using rockwool or fiberglass insulation, wooden frames, and fabric covering, you can create custom panels that perform comparably to commercial options.
Optimal DIY panel construction uses 3-4 inch thick mineral wool with a density of 60-80 kg/m³. This specific material and density provides absorption coefficients above 0.8 across frequencies from 250Hz-4kHz when properly constructed and mounted. In plain English, this means they absorb over 80% of sound energy in the most critical frequency ranges for recording.
Air gaps between panels and mounting surfaces significantly improve low-frequency performance. A 2-inch gap increases absorption below 200Hz by up to 30% compared to direct-mounted panels of the same construction. This simple mounting technique dramatically improves performance without additional cost. I’ve built numerous DIY panels for my home studio and recording studio design, saving thousands compared to commercial options.
17. Bookshelf Diffusers
Bookshelves filled with books of varying sizes create natural sound diffusion in your bedroom studio. This dual-purpose solution provides both storage and acoustic benefits, breaking up sound reflections without the dead feeling of too much absorption.
Effective diffusion requires object depth variation of at least 4-6 inches across the surface. Books of different sizes create the irregular surface needed to scatter sound waves across a frequency range of approximately 500Hz-4kHz. This specific frequency range covers most instruments and vocals, making bookshelf diffusers surprisingly effective.
Placement at secondary reflection points provides optimal diffusion benefits. While absorption is typically more effective at primary reflection points (where sound bounces once before reaching your ears), diffusion works best at secondary points (where sound bounces twice). This strategic placement creates a more natural-sounding room without excessive deadening. I’ve incorporated bookshelves in my home studio and music studio ideas, finding them both functional and acoustically beneficial.
18. Repurposed Furniture
Repurposing existing bedroom furniture for studio use saves money and space. I’ve converted dressers into equipment racks, nightstands into monitor stands, and desks into audio workstations.
Furniture modification should address resonance issues, with solid wood pieces typically outperforming particleboard or hollow construction. This isn’t just about aesthetics—solid wood has higher mass and better damping characteristics, reducing unwanted vibrations that can color your sound.
Isolation between repurposed furniture and audio equipment requires strategic use of rubber feet, neoprene pads, or commercial isolation products. Without proper isolation, vibrations can transfer between components, creating feedback loops or resonances that degrade sound quality. I’ve repurposed numerous furniture pieces for my home studio and music studio room, finding creative ways to maintain my bedroom’s aesthetic while creating functional studio solutions.
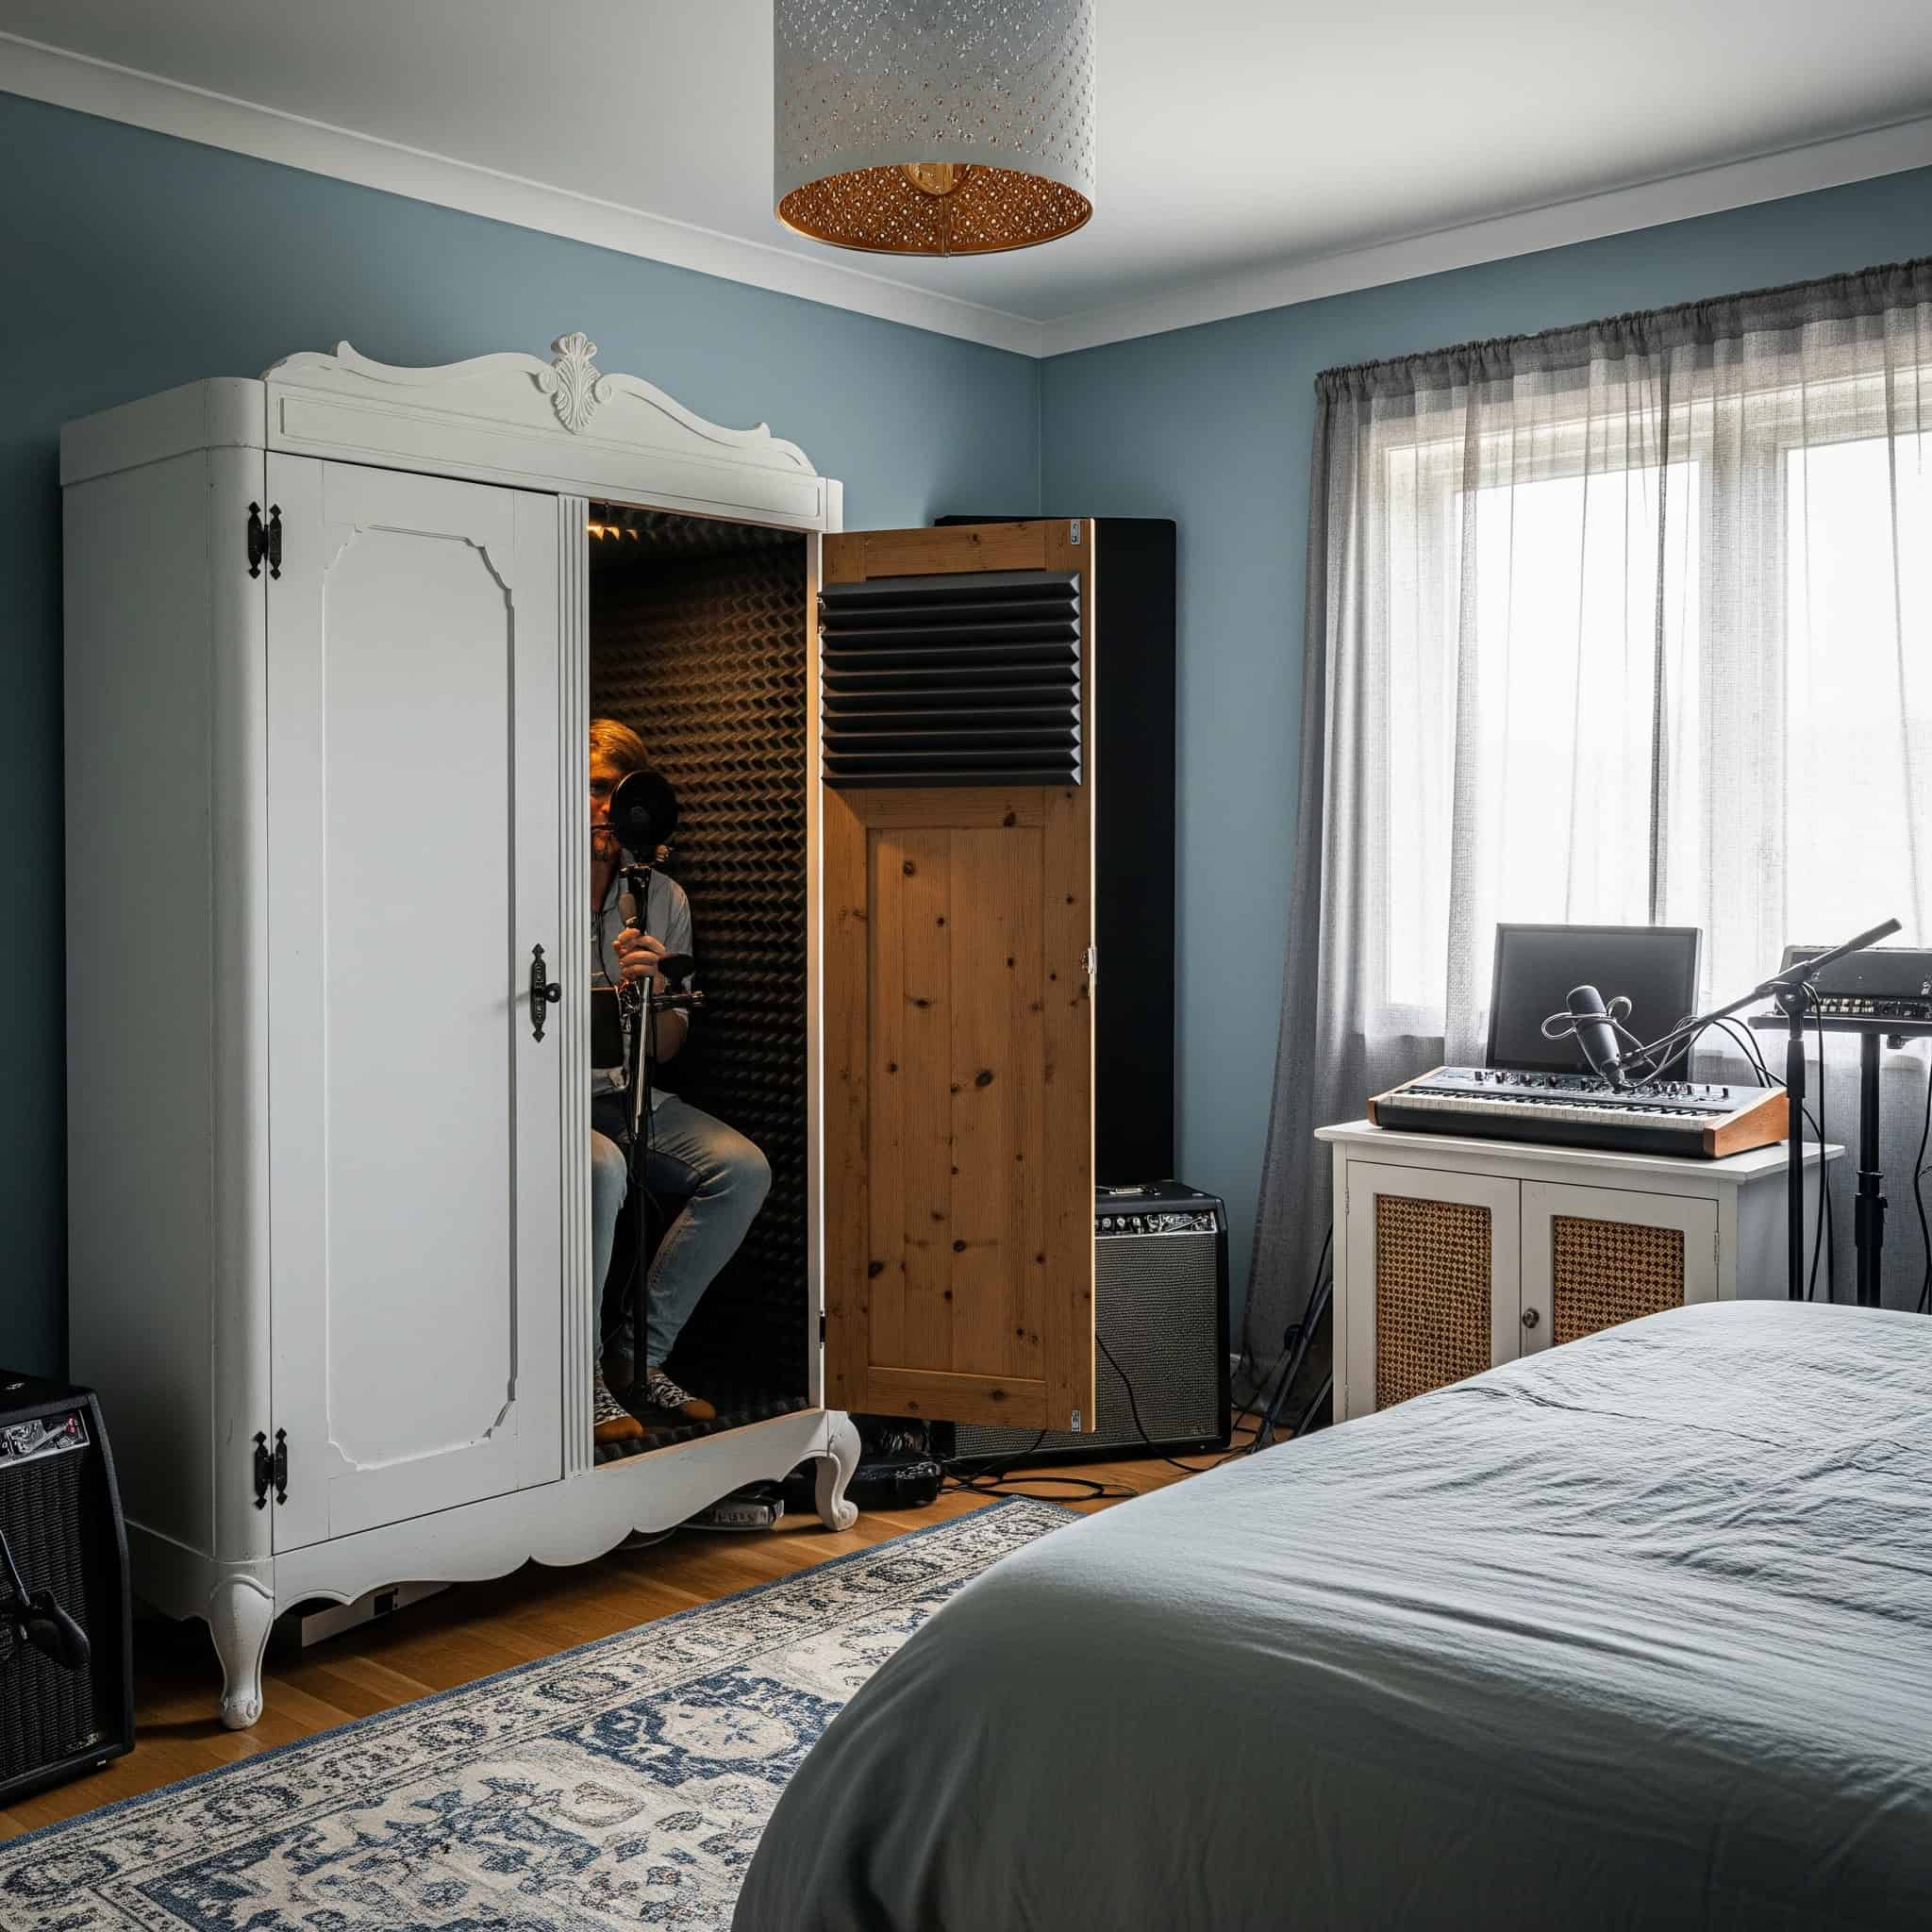
19. Closet Conversion
Converting a bedroom closet into a vocal booth or equipment storage area maximizes existing space. With proper acoustic treatment, a closet can become a surprisingly effective recording environment, particularly for vocals and acoustic instruments.
Closet acoustics typically require balanced treatment addressing both parallel surfaces. Recommended coverage includes 60-70% of available wall space using materials of varying thickness. This specific approach prevents frequency-specific absorption that can make recordings sound unnatural or “boxy.”
Ventilation becomes critical in converted closets, with passive vents or small USB-powered fans providing necessary air circulation. These ventilation solutions should incorporate baffled designs to minimize sound leakage through ventilation paths—a technical detail that makes a significant difference in isolation quality. I’ve converted closets in both my home studio and recording studio setup, creating dedicated vocal booths that outperform many commercial solutions.
20. Moving Blanket Acoustic Treatment
Heavy-duty moving blankets provide an affordable temporary acoustic solution for bedroom studios. I’ve hung these dense blankets on walls or used them as portable barriers, reducing room reflections for quick recording sessions.
Professional moving blankets (typically 72-80 oz/yd²) provide absorption coefficients of 0.3-0.5 at mid and high frequencies when properly hung with air gaps. This makes them approximately 40-60% as effective as purpose-built acoustic panels—not perfect, but remarkably good for their price point.
Doubling or tripling layers with air gaps between them significantly improves performance. Each additional layer provides diminishing but meaningful improvements in absorption across the 500Hz-4kHz range. This layering technique transforms basic moving blankets into surprisingly effective acoustic treatment for home studio design and recording studio setup on a budget.
When repurposing old furniture for your studio, you might need to first clean up your space. Our post on how to clean out an office offers valuable strategies that can be applied to bedroom studio organization as well.
|
DIY Solution |
Materials Cost |
Build Time |
Acoustic Effectiveness |
Durability |
|---|---|---|---|---|
|
DIY Acoustic Panels |
$15-25 per panel |
2-3 hours per panel |
80-90% of commercial panels |
5-10 years |
|
Bookshelf Diffusers |
Cost of bookshelf |
30 minutes |
60-70% of commercial diffusers |
Indefinite |
|
Closet Conversion |
$100-300 |
1-2 days |
70-80% of commercial booth |
5+ years |
|
Moving Blanket Treatment |
$20-30 per blanket |
15 minutes per blanket |
40-60% of acoustic panels |
2-3 years |
|
Repurposed Furniture |
$0-50 for modifications |
1-4 hours |
Varies by application |
Varies |
Tech and Equipment Organization
21. Floating Shelves for Monitors
Floating shelves mounted at ear height provide ideal positioning for studio monitors while freeing up valuable desk space. This setup improves both ergonomics and sound quality by placing speakers at the optimal listening position.
Speaker placement on floating shelves should follow the equilateral triangle rule with 30° angles from the listening position. This specific geometric arrangement creates the ideal stereo image for accurate mixing decisions. Additionally, maintaining minimum distances of 12-18 inches from walls reduces boundary effects that color frequency response.
Isolation between speakers and shelves requires specialized pads or stands that decouple the monitors from the mounting surface. Without proper isolation, vibrations transfer through the shelf to the wall, causing resonance peaks of 3-6dB at specific frequencies. These resonances can severely compromise monitoring accuracy. I’ve implemented floating shelves in my home studio and recording studio setup with dramatic improvements in both space efficiency and sound quality.
22. Cable Management Systems
Comprehensive cable management transforms a chaotic bedroom studio into an organized, professional workspace. I’ve implemented cable trays, sleeves, clips, and labels to keep connections tidy, prevent technical issues, and make troubleshooting easier.
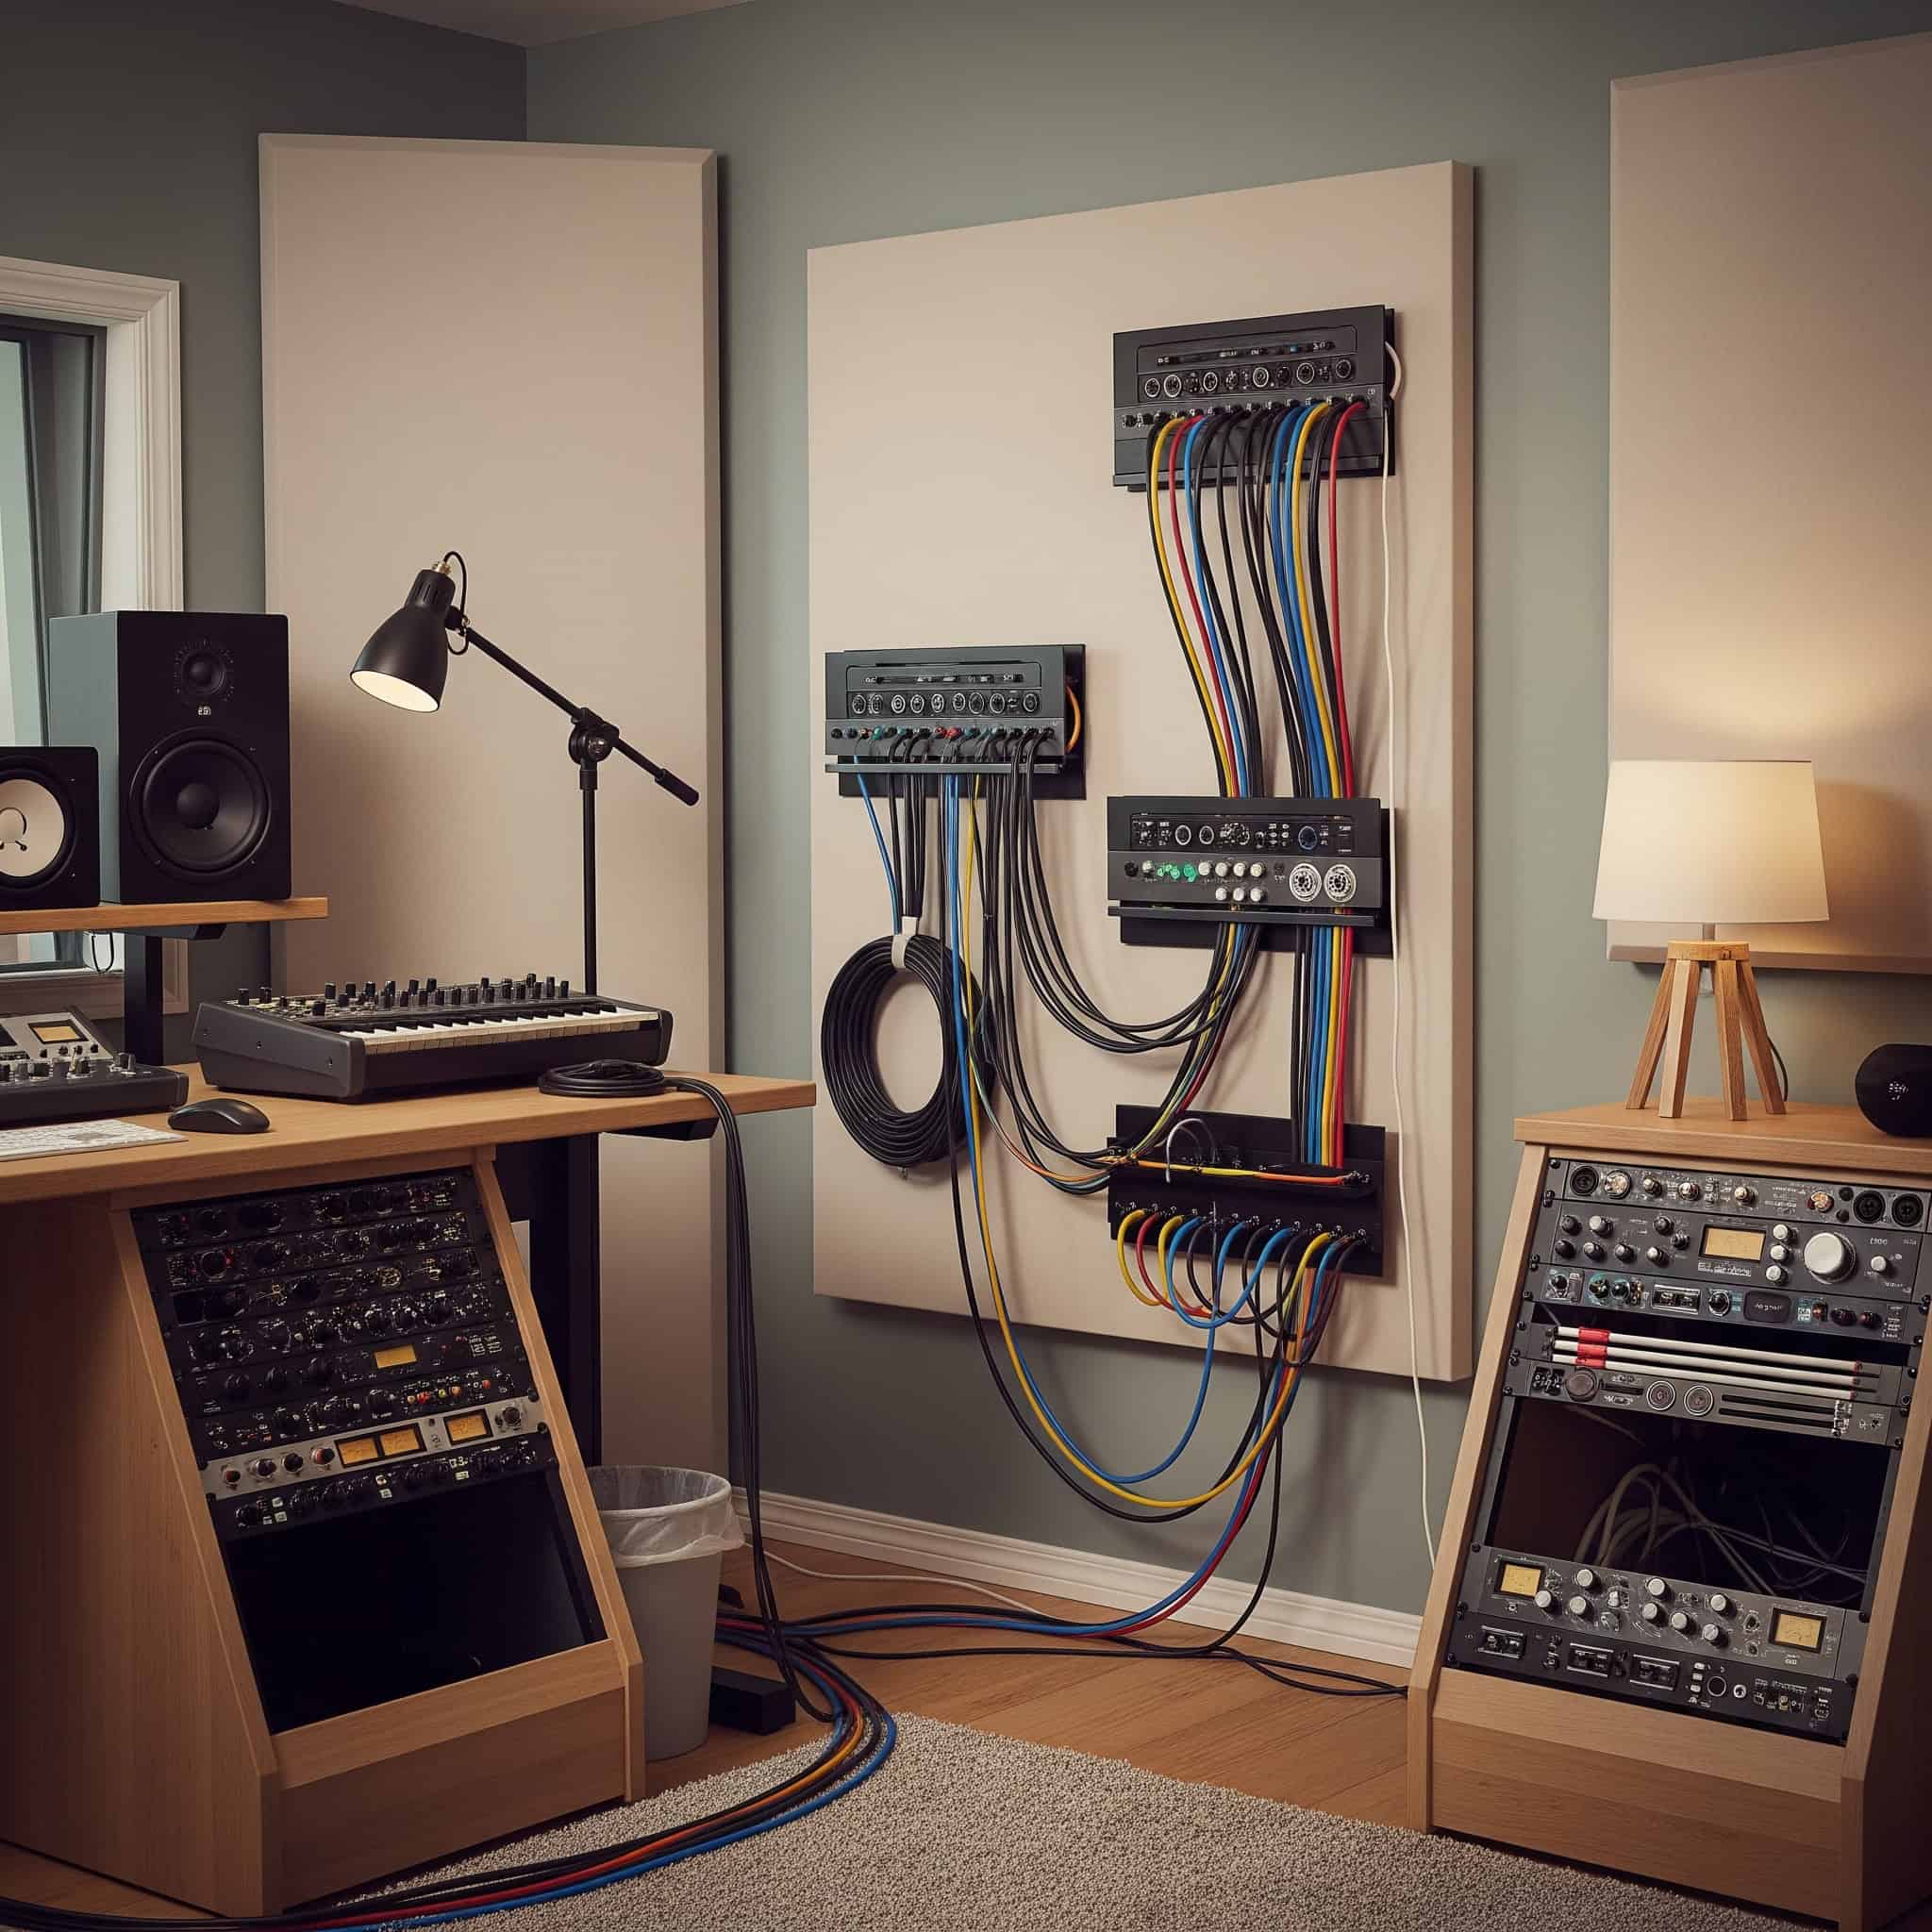
Proper cable separation prevents signal interference, with recommended minimum distances of 6-12 inches between analog audio cables and power cables. This separation isn’t arbitrary—it prevents electromagnetic interference that can introduce noise into your recordings. Using balanced connections whenever possible further rejects interference through common-mode rejection.
Cable labeling systems should include both signal type and routing information, with standardized color coding and consistent connector orientation. This detailed organization minimizes troubleshooting time and prevents incorrect connections that can damage equipment. I’ve found this attention to detail essential in my home studio and recording studio design, particularly as my setup has grown more complex.
23. Multi-Tier Keyboard Stands
Multi-tier keyboard stands maximize vertical space for MIDI controllers and synthesizers. I’ve used these adjustable stands to hold multiple instruments in a tiered arrangement, keeping them accessible while minimizing floor space usage.
Stability becomes critical with multi-tier setups, with professional stands utilizing wider bases and lower centers of gravity to prevent tipping. This design consideration is particularly important when using weighted keyboards that can exceed 25-30 pounds per instrument. A tipping stand can damage expensive equipment and potentially cause injury.
Cable routing through integrated management channels prevents strain on connections and potential damage during height or angle adjustments. This thoughtful design feature includes strain relief at both the instrument and connection points, extending the life of your cables and preventing intermittent connection issues. I’ve found these stands invaluable in my home studio and music studio room where floor space is limited.
24. Microphone Locker Solutions
Humidity-controlled microphone storage protects your valuable recording tools. I’ve invested in dedicated microphone lockers to shield sensitive equipment from dust, moisture, and physical damage.
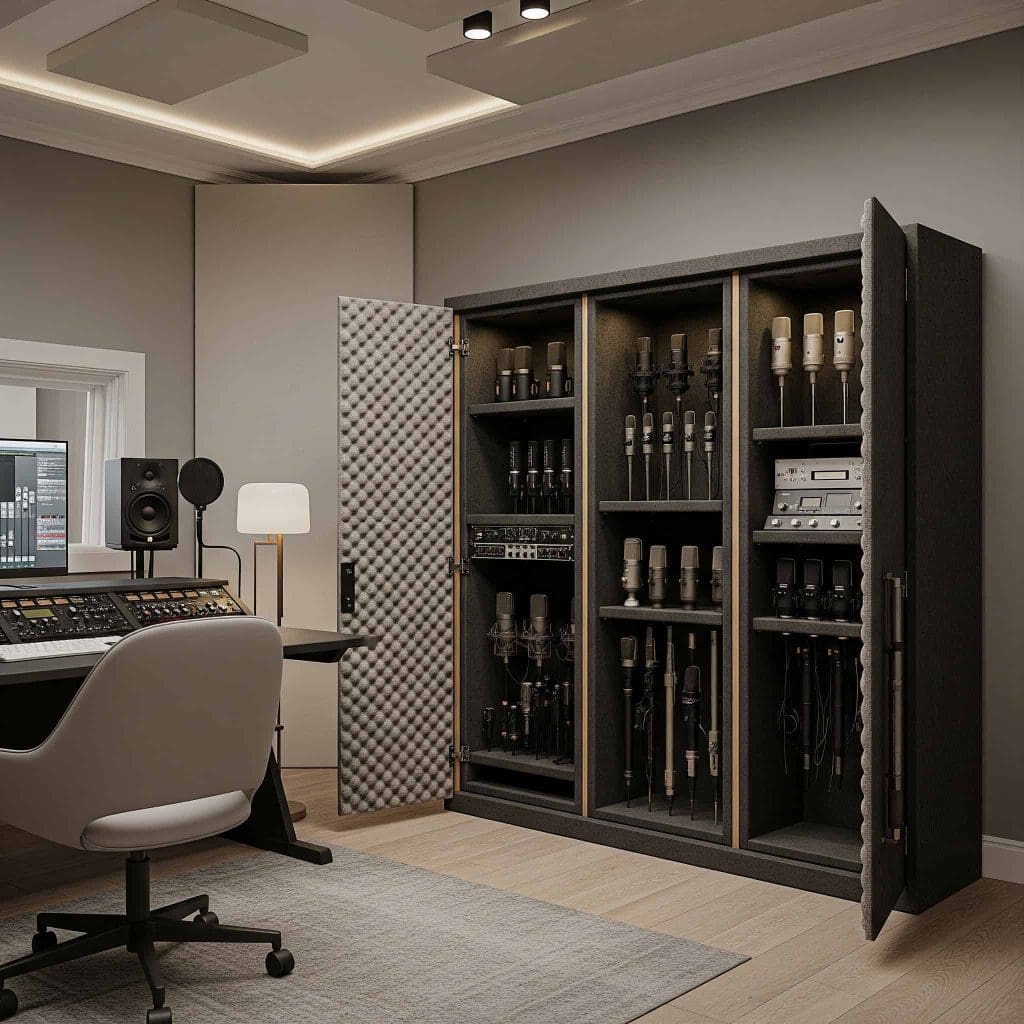
Optimal microphone storage maintains relative humidity between 40-55% to prevent capsule degradation and electronic component corrosion. This specific humidity range isn’t arbitrary—it prevents moisture-related damage while avoiding excessive dryness that can damage certain components. Active control through desiccant systems or electronic dehumidifiers is essential in variable environments.
UV protection becomes important for vintage microphones with plastic components or ribbon elements. Prolonged exposure to ultraviolet light can degrade materials and alter sonic characteristics over time—a particular concern for collectible or irreplaceable microphones. I’ve implemented proper storage solutions in my home studio and recording studio setup, protecting my microphone investment and ensuring consistent performance.
25. Modular Patchbay Systems
Modular patchbays streamline signal routing in your bedroom studio. These organized connection points allow you to reconfigure your signal flow without accessing the back of equipment, reducing cable wear and simplifying complex setups.
Normalled versus non-normalled configurations significantly impact workflow, with half-normalled setups providing the most flexibility. This specific configuration maintains default signal paths while allowing insertion of processors or alternative routing without requiring additional patch cables. This technical detail makes a tremendous difference in daily studio operation.
Proper grounding becomes essential in patchbay systems to prevent ground loops. Star-grounding configurations and isolated grounds for digital and analog equipment minimize noise introduction at patch points. Without proper grounding, patchbays can actually introduce more problems than they solve. I’ve implemented comprehensive patchbay systems in my home studio and recording studio setup, dramatically improving workflow efficiency.
When organizing your home studio equipment, proper electronic disposal is essential. Our guide on electronics recycling can help you responsibly dispose of outdated gear when upgrading your setup.
A bedroom electronic music producer with limited space implemented a comprehensive organization system that dramatically improved his workflow. He installed floating shelves at ear height for his monitors with isolation pads, used a cable management system with color-coded labels for all connections, and implemented a 16-point patchbay that allowed him to quickly route signals between his hardware synthesizers and effects. This organization system not only made his 10×12 bedroom feel larger but reduced his track production time by approximately 30% by eliminating technical troubleshooting and making all equipment immediately accessible.
How Jiffy Junk Can Help Prepare Your Space
Creating an effective bedroom studio starts with a clean slate. Jiffy Junk’s professional removal services can clear unwanted items and clutter from your space, creating the foundation for your studio build.

Professional junk removal services can clear spaces 3-5 times faster than DIY approaches. This efficiency comes from trained teams who can efficiently remove large furniture items that would otherwise require disassembly or specialized equipment. When I was setting up my home studio, professional removal services saved me days of work and potential injury from moving heavy items.
Proper disposal of electronic waste and old equipment follows environmental regulations. Certified services ensure hazardous components are processed according to EPA guidelines rather than contributing to landfill contamination. This responsible approach aligns with the values of many music studio ideas while protecting our environment.
Before setting up your home studio, you might need to clear out old equipment. Our specialized electronics recycling services ensure your outdated tech is disposed of responsibly while making room for your new recording equipment.
Ready to transform your bedroom into a professional recording space? Contact Jiffy Junk today for a free consultation and see how quickly we can help prepare your room for its studio makeover. Our team will remove unwanted items, creating the clean foundation you need to implement your ideal recording setup.
Final Thoughts
Creating a bedroom recording studio requires balancing acoustic needs, space limitations, and budget constraints. The most successful setups combine elements from multiple categories, starting with essential acoustic treatment and gradually expanding as skills and requirements grow.
Phased implementation following the signal path provides the most noticeable quality improvements at each stage of studio development. Starting with acoustic treatment, then addressing your monitoring environment, recording chain, and finally processing tools creates a logical progression that maximizes the impact of each investment. I’ve built several home studios following this approach, and it’s consistently delivered the best results.
Regular recalibration and testing of your studio environment ensures consistent results as equipment changes and room treatments settle over time. Using reference tracks and measurement tools to periodically check your setup prevents drift in your monitoring accuracy and maintains the quality of your productions. I’ve found this ongoing maintenance essential for my home music rooms to remain professionally viable.
Once you’ve set up your home studio, you might need to dispose of packaging materials and leftover construction waste. Our debris removal services can help keep your new creative space clean and organized.
Have you implemented any of these ideas in your bedroom studio? Which solutions have made the biggest difference in your recording quality? Share your experiences in the comments below!