27 Budget-Friendly Concrete Patio Ideas That’ll Transform Your Backyard Without Breaking the Bank
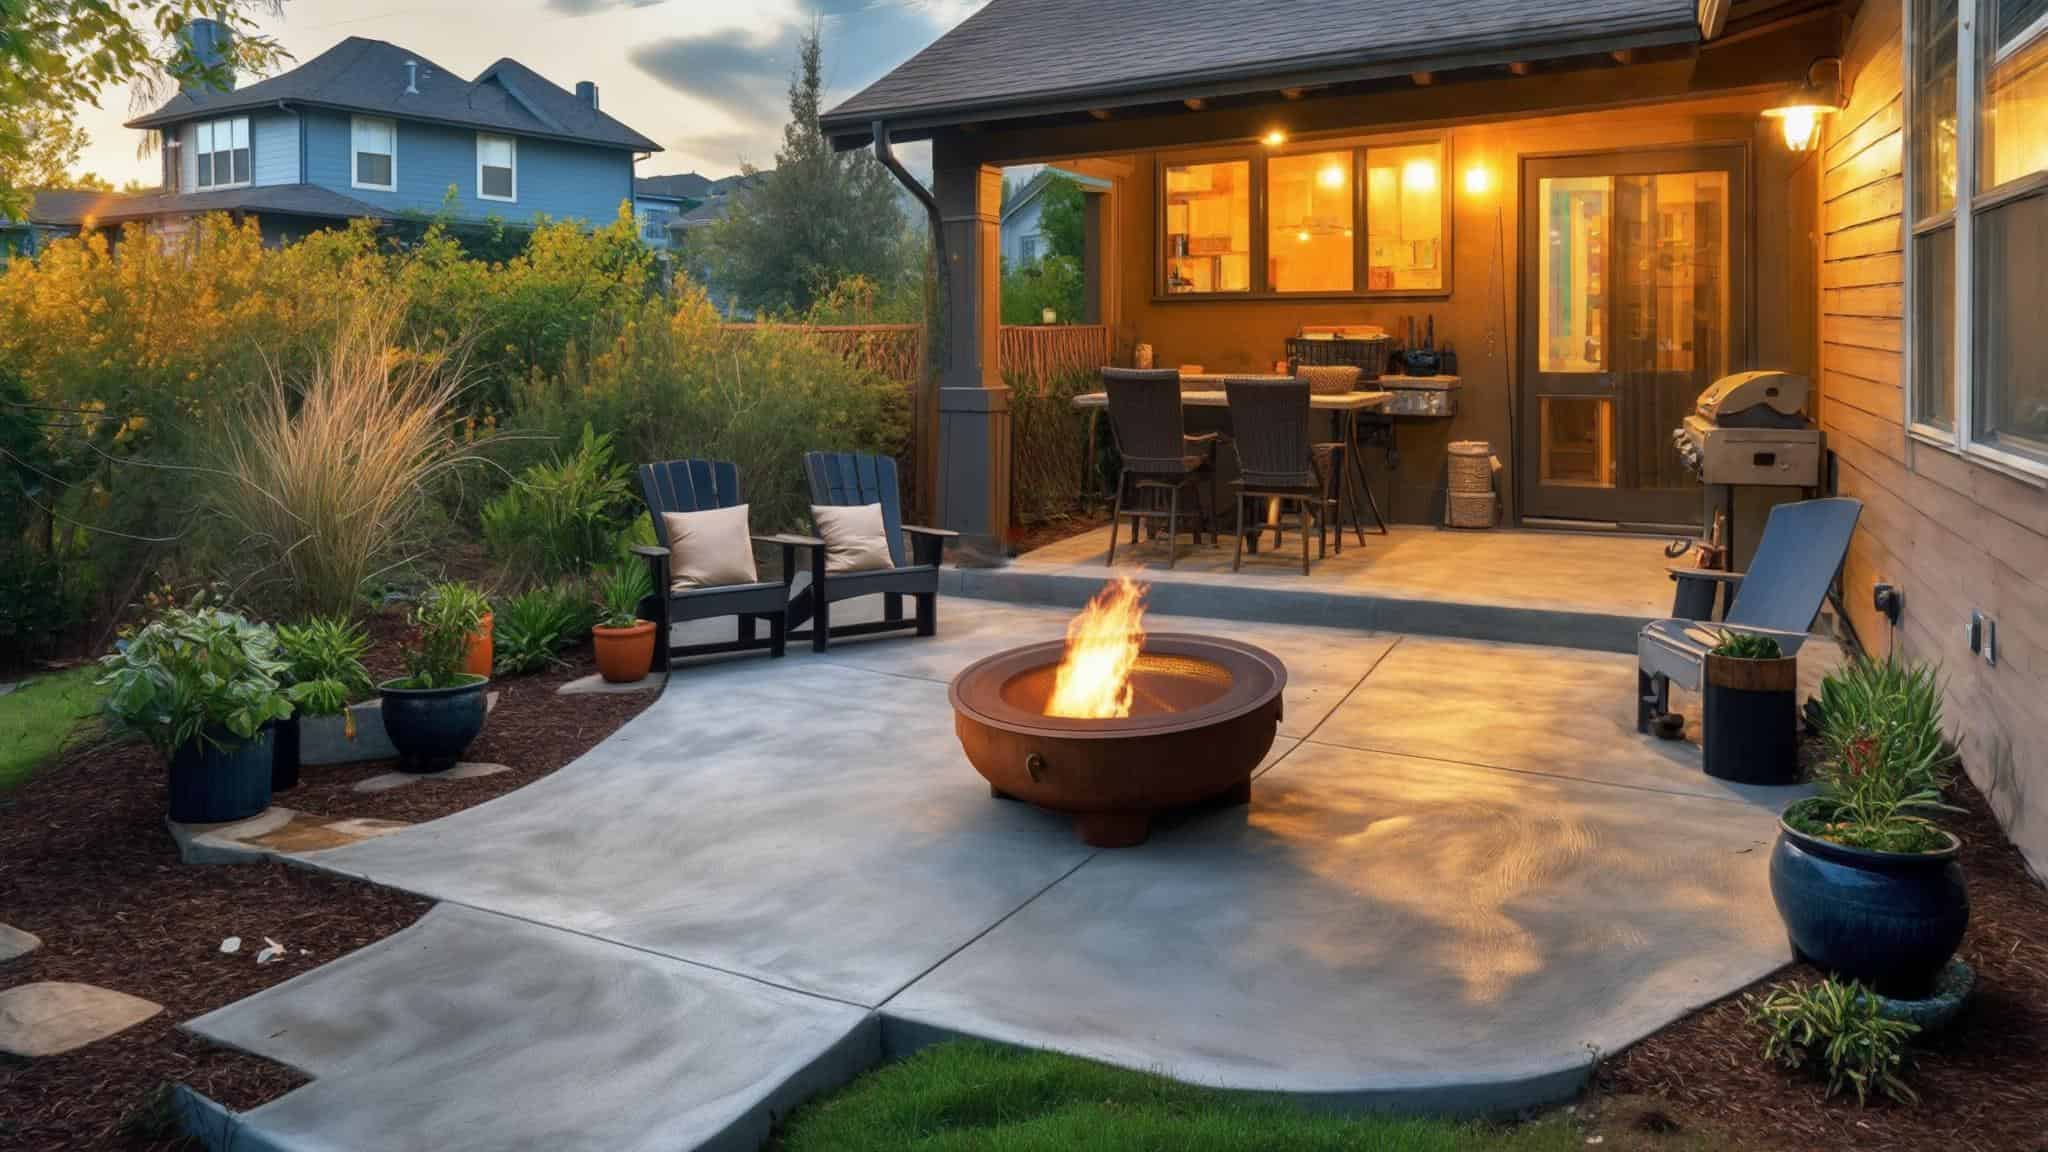
Look, I get it. You want a gorgeous patio but your bank account is giving you the side-eye. Been there, done that. The good news? You absolutely don’t need to drop serious cash to turn your backyard into an amazing outdoor hangout spot. These 27 concrete patio ideas prove that a little creativity and some elbow grease beat throwing money at the problem every single time.
After helping tons of friends and neighbors tackle their outdoor projects (and completely botching my own first attempt back in 2018), I’ve learned that the best patios happen when you’re smart about planning and willing to get your hands dirty. Whether you’ve got $500 or $5,000 to work with, these tricks will make your neighbors think you hired some fancy contractor. Spoiler alert: you didn’t.
Table of Contents
-
Planning Your Budget-Friendly Concrete Patio Project
-
Basic Concrete Finishes for Maximum Savings
-
DIY Decorative Techniques That Look Professional
-
Creative Integration Ideas That Reduce Material Costs
-
Small Space Solutions for Compact Backyards
-
Functional Enhancement Ideas for Long-Term Value
-
Advanced Budget Techniques for Experienced DIYers
-
Cost Analysis by Project Category
-
Seasonal and Regional Considerations
-
How JiffyJunk Supports Your Patio Project
-
Final Thoughts
TL;DR
-
Basic concrete finishes like brushed and smooth trowel cost only $3-4 per square foot if you do it yourself
-
Decorative tricks like staining and stamping make it look professional for about 60% less than hiring someone
-
Get creative with planters, fire pits, and mixed materials to use 20-40% less concrete
-
Small space solutions pack maximum punch while keeping material costs low
-
Plan for your climate, drainage, and permits so you don’t have expensive do-overs
-
Do it in phases to spread costs over time while still getting to use your patio right away
-
Get someone to haul away debris so you can focus on the fun stuff
Planning Your Budget-Friendly Concrete Patio Project
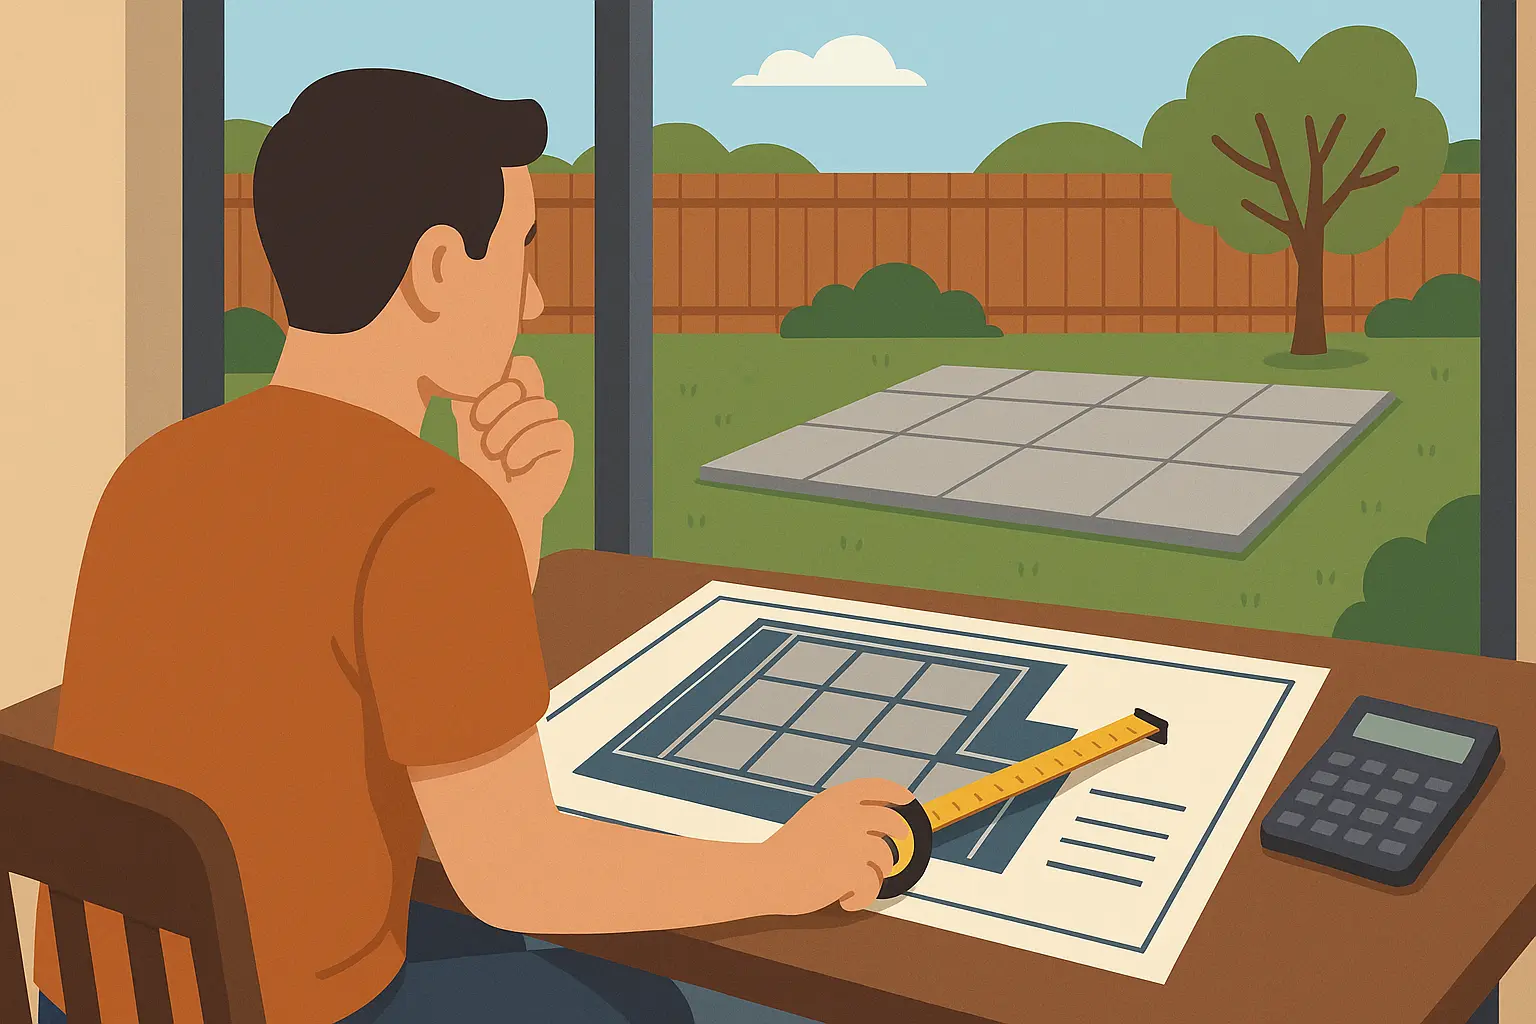
Smart planning is what separates a sweet patio from a total disaster that’ll haunt your weekends for months. I’ve watched too many people jump into concrete projects without really knowing what they’re getting into, only to run out of money halfway through and end up with what looks like a crime scene in their backyard.
Understanding Your Cost Factors
Here’s the deal – material costs are gonna hit you first and hardest. Basic concrete mix is way cheaper than all the fancy additives, but man, those additives can make your patio look incredible. When I’m helping people figure out their backyard concrete projects, we always start with the foundation costs because, well, that’s literally the foundation of everything.
Labor is where you can save massive amounts of cash. Doing it yourself cuts about 50-70% off your total cost compared to hiring pros. Sure, you’ll be sore for a week and your spouse will question your life choices when they see you covered in concrete dust, but the savings are huge. Trust me, concrete patio ideas work way better when you’re willing to get dirty.
Site prep is the sneaky budget killer that blindsides everyone. Digging, leveling, and base materials can add $2-4 per square foot to your project. I’ve seen families discover drainage nightmares or impossible access issues that doubled their prep costs. When you’re planning your backyard concrete patio, think about how construction debris concrete junk removal for renovation services can help clear out old junk efficiently.
Project size and complexity directly control how much you’ll spend. Simple rectangles cost less per square foot than crazy designs with curves and multiple levels. And timing matters too – material prices can swing 15-25% depending on the season.
|
Cost Factor |
Basic DIY |
Enhanced DIY |
Professional |
|---|---|---|---|
|
Materials (per sq ft) |
$3-4 |
$5-8 |
$6-10 |
|
Labor (per sq ft) |
$0 |
$0 |
$8-15 |
|
Site Prep (per sq ft) |
$2-3 |
$2-4 |
$3-6 |
|
Total Range |
$5-7 |
$7-12 |
$17-31 |
Design Elements That Impact Your Budget
Think about how you’ll actually use this space. Are you planning family BBQs, quiet morning coffee, or epic game nights? Each use needs different sizes, surfaces, and features that’ll affect where you spend your money.
Here’s something most people don’t think about – maintenance costs down the road. Sealed surfaces need touch-ups every few years but stay looking good longer. Unsealed concrete needs occasional cleaning and crack fixes but costs less to maintain overall.
Practical Considerations for Success
Drainage planning prevents expensive headaches later. You need at least 1/4 inch of slope per foot, or water’s gonna pool and cause problems when it freezes. Understanding easier ways dispose concrete becomes super important when you’re dealing with leftover materials or sections that didn’t turn out right.
Access is huge for keeping costs down. If concrete trucks can get close to your site, you’ll save 25-40% in labor compared to hauling everything by wheelbarrow. I’ve seen projects where bad access doubled the time and costs.
Permits are a pain but necessary for bigger patios (usually over 200 square feet) or anything involving electrical work. Factor in $50-200 for permits and the time it takes to get approval.
Real Talk Example: My buddy Mike saved $2,400 by going with a basic brushed finish instead of fancy stamped concrete. He spent his $1,800 budget on quality materials, proper base prep, and some built-in planters. His patio cost 60% less than contractor quotes and looks absolutely perfect for family dinners outside.
Basic Concrete Finishes for Maximum Savings
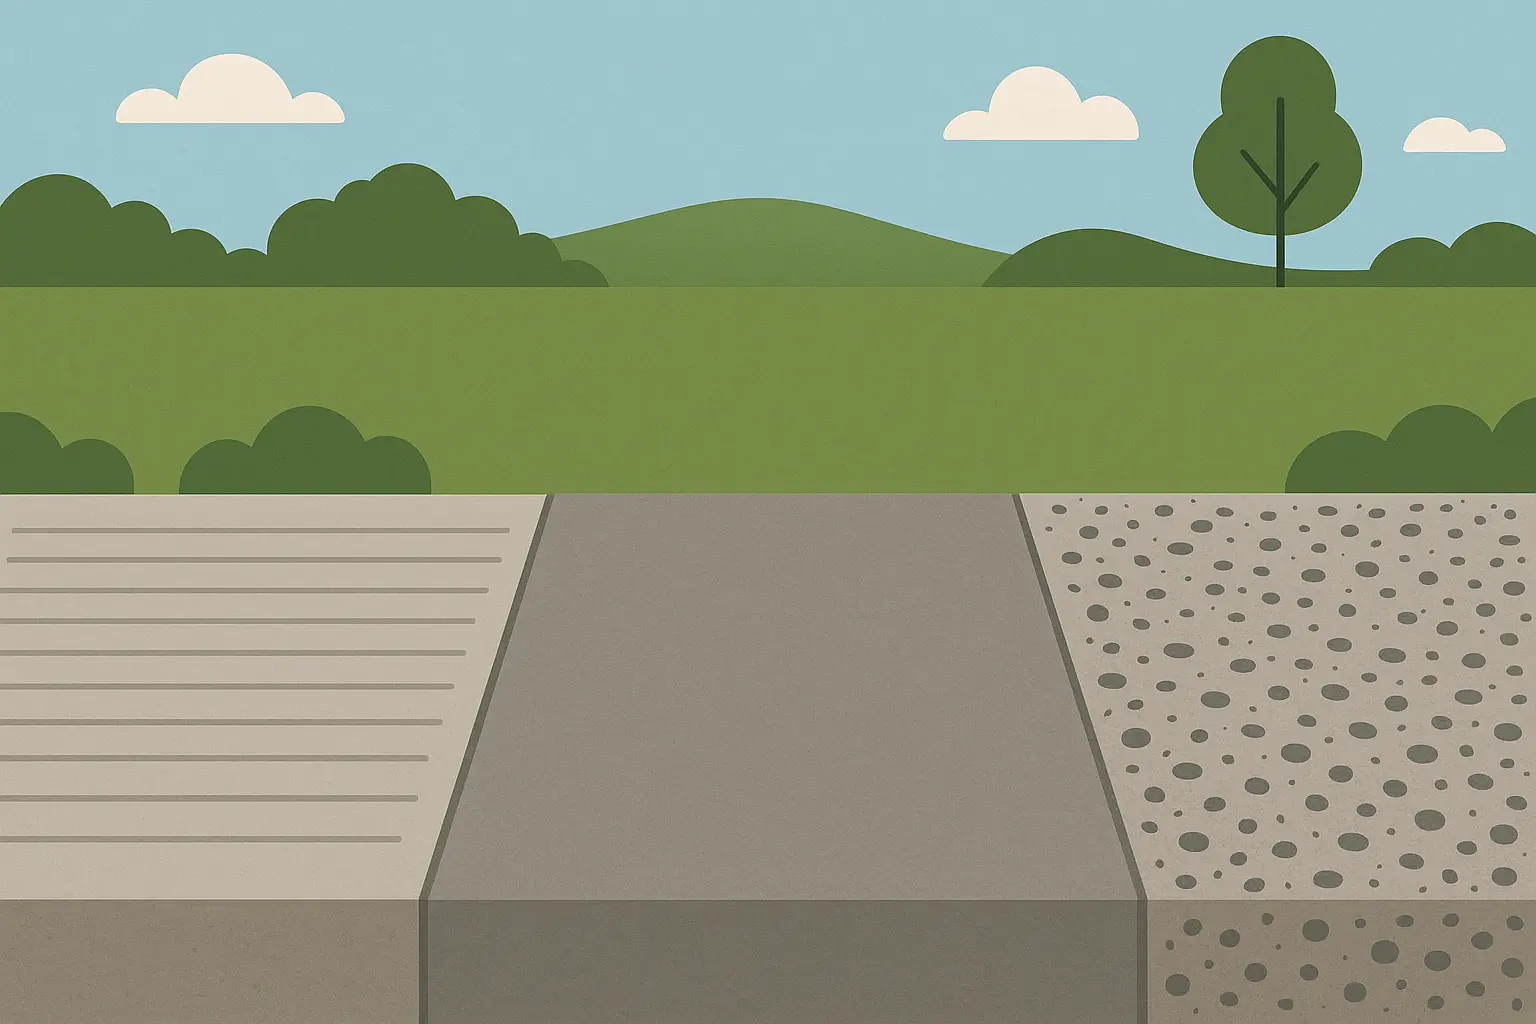
Basic finishes give you the most bang for your buck, hands down. I’ve watched people create stunning outdoor spaces using simple techniques that don’t require anything fancy beyond regular concrete mix.
1. Standard Brushed Finish
The brushed finish is my go-to recommendation when you’re working with a tight budget. After you float the concrete smooth, just drag a soft-bristle broom across the surface while it’s still workable. This creates those subtle parallel lines that give great traction and hide minor imperfections.
Your material costs stay at $3-4 per square foot if you do it yourself. You don’t need any special tools beyond a standard concrete broom and basic finishing gear. Timing matters though – apply the broom texture when concrete holds a thumbprint but doesn’t stick to your thumb.
The trick to making it look professional is keeping your broom direction consistent and using even pressure. Work perpendicular to where people will walk most. This finish is awesome in places with lots of rain or snow because it’s naturally slip-resistant.
2. Basic Smooth Trowel Finish
Hand-troweled smooth concrete gives you that clean, modern look that’s perfect for contemporary outdoor spaces. This doesn’t cost extra materials beyond basic concrete mix and standard tools, but it does require some skill.
You’ll do multiple troweling passes as the concrete stiffens up. Start with a bull float for the initial smoothing, then work your way through finer and finer trowel work. Each pass should overlap the previous one by half the trowel width.
Timing is everything here. Start your final troweling when the concrete can support your weight on knee boards but still accepts the trowel without tearing. Multiple light passes work way better than heavy pressure that brings too much water to the surface.
3. Simple Exposed Aggregate
Exposed aggregate shows off decorative stones under the surface cement, creating natural texture that looks expensive. Mix attractive stones (pea gravel, river rock, whatever looks good) into standard concrete at about a 1:4 ratio.
The washing process starts after the concrete sets but before it’s fully hard. Use a garden hose with a spray nozzle and soft brush to wash away surface cement and reveal the stones. Work systematically so it looks even across the whole surface.
Cost-wise, local materials are way cheaper than imported decorative stones. River rock and pea gravel look great and won’t break your budget.
4. Float Finish
Bull float finishing creates smooth surfaces with subtle swirl patterns that add visual interest while keeping costs low. This uses standard concrete finishing equipment and doesn’t need any extra materials.
Start floating right after screeding and initial leveling. Work the bull float in overlapping arcs across the concrete surface with consistent pressure and speed. You want smooth without overworking the surface.
5. Rock Salt Texture
Rock salt pressed into wet concrete and later dissolved creates this cool pitted texture that looks like natural stone. This budget trick adds serious visual interest using cheap salt from any grocery store.
Spread rock salt evenly across the concrete surface, then press it in with a float or trowel. More salt means more texture – heavier applications create more pronounced patterns.
Timing matters big time here. Wash away the salt after concrete reaches initial set but before it’s fully hardened. Use your garden hose and a soft brush to dissolve and remove the salt, leaving behind that awesome surface texture.
DIY Decorative Techniques That Look Professional
These techniques turn plain concrete into sophisticated surfaces that look like you spent serious money. I’ve taught these methods to hundreds of people, and the results always blow everyone away.
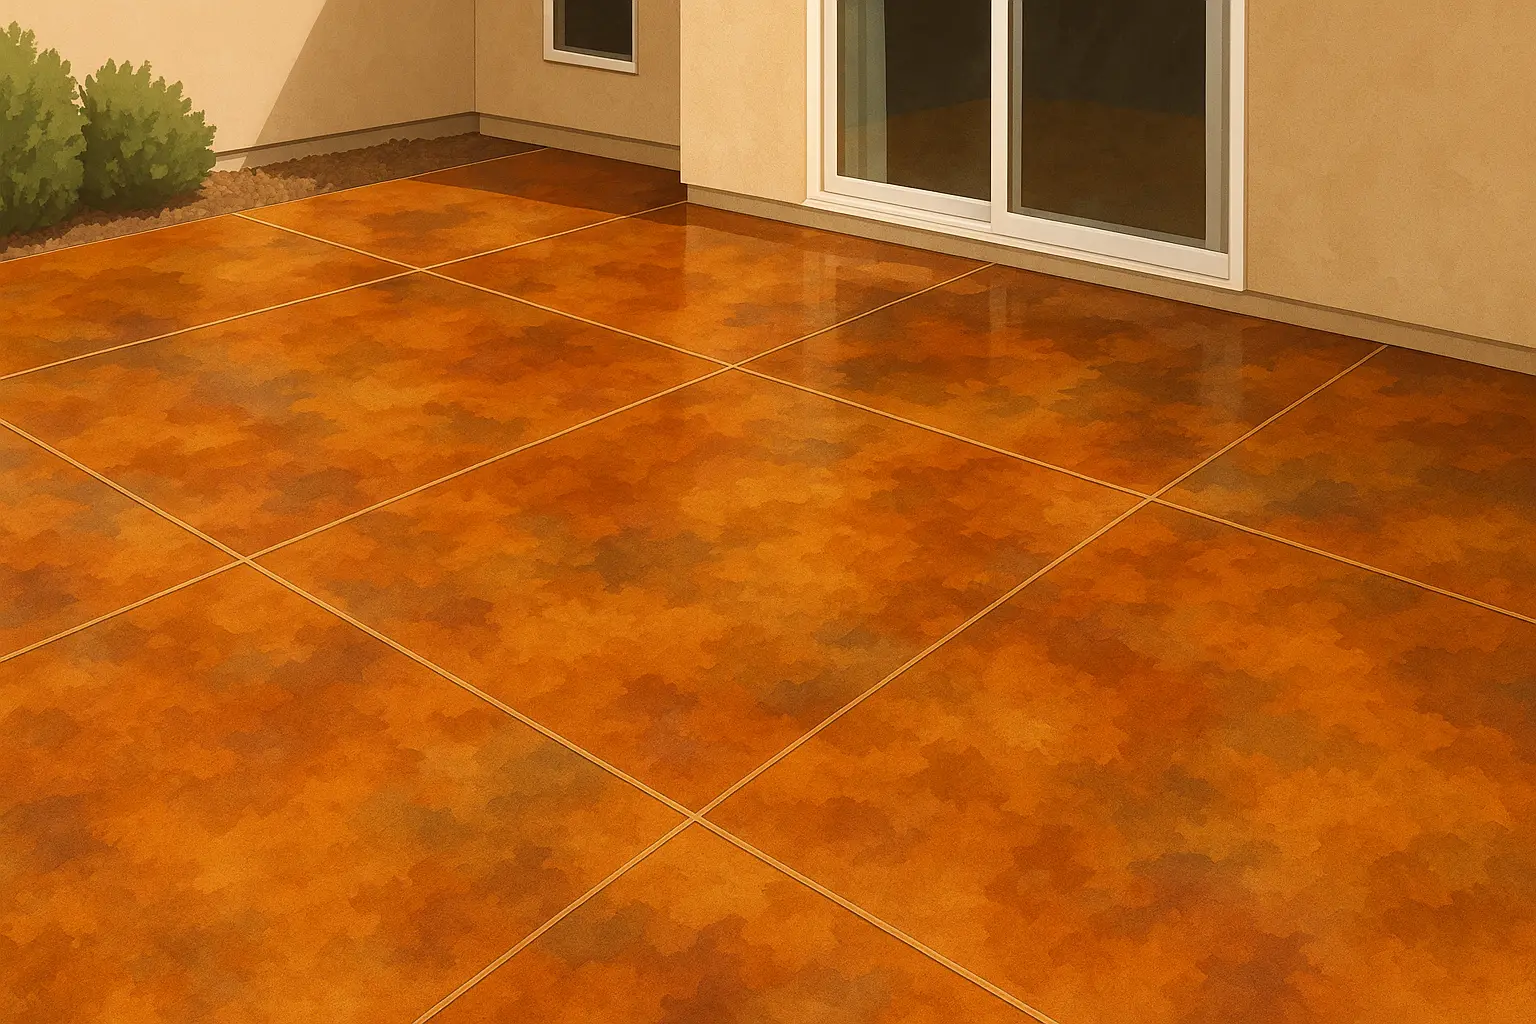
6. Concrete Staining
Concrete staining soaks into the surface to create rich, varied colors that won’t chip or peel like paint. Acid stains react chemically with concrete for translucent, natural-looking colors, while water-based stains give you more predictable, solid results.
Surface prep is everything for staining success. Clean your concrete thoroughly with degreaser, then acid-wash if needed to open up the pores. New concrete should cure for at least 28 days before staining. Old concrete might need grinding to remove sealers or other stuff.
Application technique makes or breaks the final look. Use plastic pump sprayers to apply stain in thin, even coats. Work in 4×4 foot sections and keep wet edges so you don’t get lap marks. Multiple light coats beat one heavy application every time.
You’ll need to neutralize and seal when you’re done. Apply ammonia or baking soda solution to neutralize acid stains, scrub it good, then rinse completely. After it dries, apply penetrating sealer followed by topical sealer for maximum protection. Total material costs run about $2-4 per square foot.
7. Stamped Concrete Patterns
Stamped concrete makes your patio look like brick, stone, or tile for way less than the real thing. Rental stamps cost $50-80 per day, making this totally doable for DIY projects if you plan it right.
You’ll need 4,000 PSI concrete with fiber reinforcement and color hardener. Pour concrete to proper thickness (minimum 4 inches), screed it level, then bull float smooth. Apply color hardener according to directions before you start stamping.
Stamping technique needs careful timing and a systematic approach. Start stamping when concrete supports your weight on knee boards but still takes stamp impressions. Apply release agent so stamps don’t stick, then stamp in an overlapping pattern. Clean stamps between impressions to keep the pattern clear.
Finishing means removing excess release agent after 24 hours, then applying two coats of acrylic sealer. Total DIY costs run $6-9 per square foot compared to $12-18 if you hire someone.
8. Painted Concrete Designs
Concrete paint lets you do unlimited colors and patterns for minimal cost. Quality concrete paint stands up to weather and foot traffic while giving you vibrant, long-lasting color that totally transforms plain concrete.
Surface prep is critical for paint to stick and last. Clean concrete with degreaser, fix cracks and holes, then etch with muriatic acid solution. Rinse thoroughly and let it dry completely before painting.
Design possibilities are endless – solid colors, geometric patterns, faux finishes, decorative borders. Stencils let you create professional-looking patterns even if you can’t draw a straight line. Use tape for clean lines and color blocking effects.
9. Scored Concrete Patterns
Concrete sawing creates decorative lines and patterns that look like individual stones or tiles while keeping the strength of solid concrete. This works on new or existing concrete and only needs basic concrete cutting equipment.
Pattern planning determines your final look. Popular designs include running bond (brick pattern), ashlar (random rectangles), or geometric patterns. Mark patterns with chalk lines before cutting to ensure straight, evenly spaced lines.
Cutting technique affects results big time. Use a diamond blade concrete saw with water cooling to prevent overheating. Cut to 1/4 to 1/3 of concrete thickness – deeper cuts weaken the slab unnecessarily.
Real Success Story: My neighbor Maria transformed her plain 10×12 concrete patio using a diamond blade saw to create a geometric tile pattern. She cut 1/4-inch deep lines in a 2×2 foot grid and filled them with contrasting sand. She got a sophisticated tile look for under $150 in materials and tool rental, compared to $3,000+ for actual tile installation.
10. Seeded Aggregate Finish
Seeded aggregate means pressing decorative materials into the concrete surface before it cures, letting you customize completely with local or recycled materials. This creates unique surfaces that reflect your personal style.
Material selection offers unlimited possibilities. Glass pieces, shells, decorative stones, or recycled materials create distinctive patterns and textures. Local materials keep costs down while creating surfaces that complement your area’s style.
Application timing is critical for success. Spread seeding materials evenly across the concrete surface after initial floating but before final set. Press materials into the surface using a float or trowel, making sure they’re embedded well but not completely buried.
Creative Integration Ideas That Reduce Material Costs
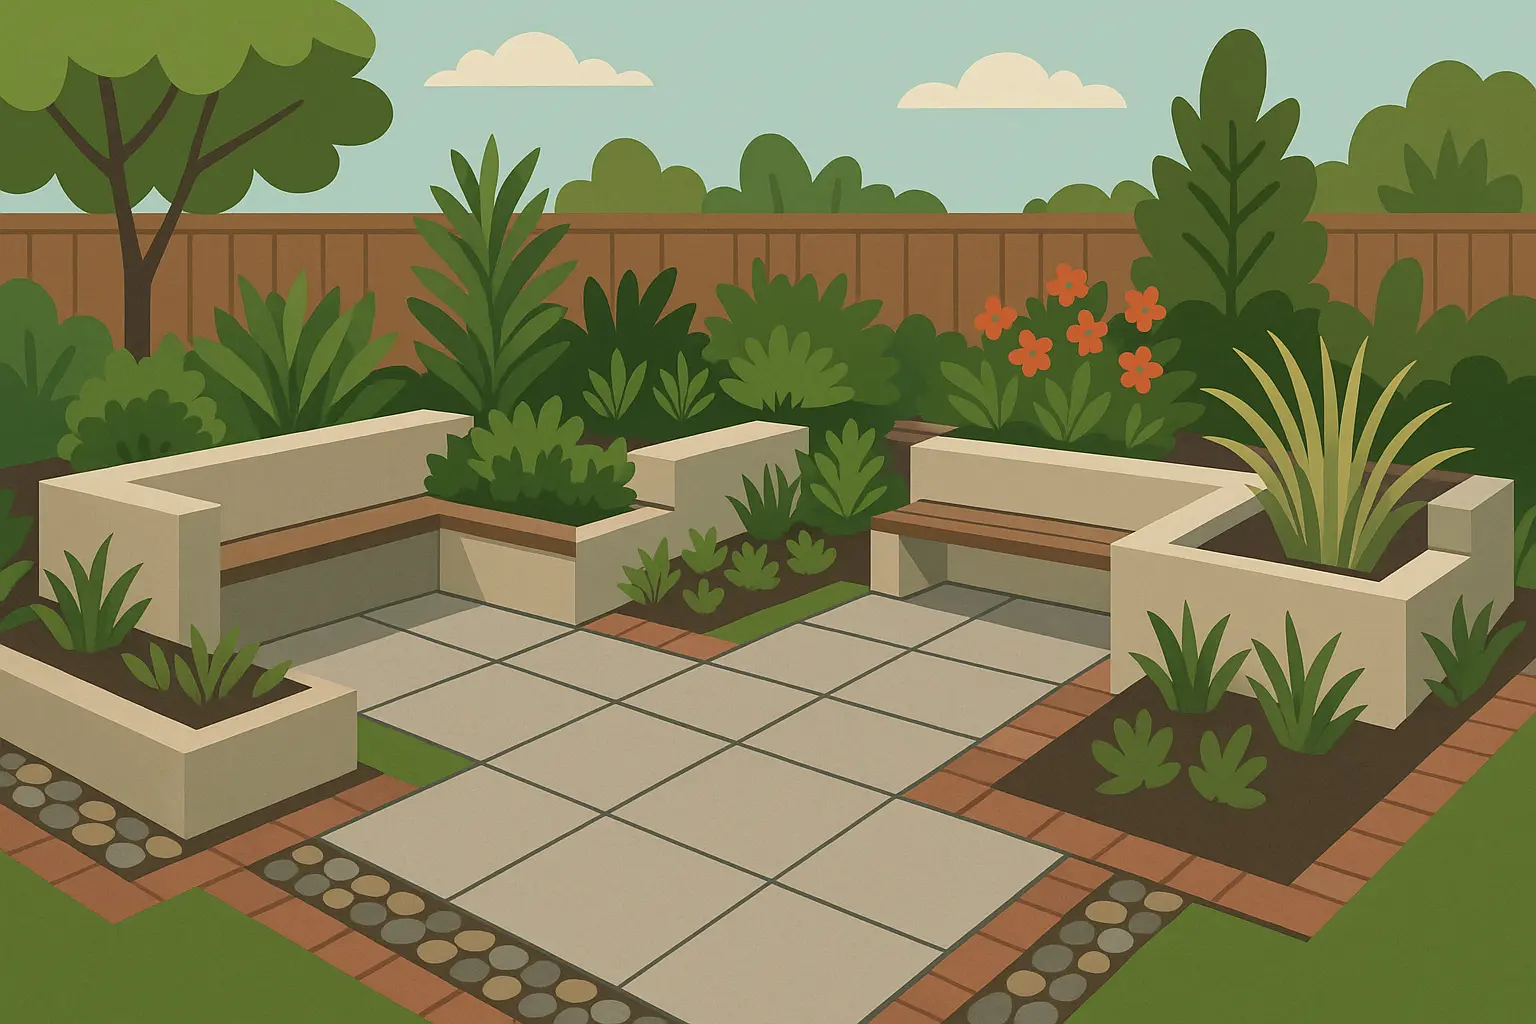
Smart integration combines concrete with other materials to slash costs while boosting functionality. I’ve helped people reduce their concrete usage by 20-40% using these creative approaches, and the results often look way better than plain concrete anyway.
11. Mixed Material Borders
Combining concrete with brick, stone, or wood borders reduces concrete volume by 15-25% while adding serious visual appeal. You can build borders using salvaged materials, discount supplies, or locally-sourced stones for additional savings.
Design considerations include border width, material choice, and how you integrate everything. Wider borders reduce more concrete but need more border materials. Choose materials that complement your house and existing landscaping so everything looks cohesive.
Here’s the math – a 12×16 concrete patio with an 18-inch brick border reduces concrete costs by about $200 while adding that upscale look. Salvaged brick can cut border costs by 50-70% compared to new materials.
12. Concrete and Gravel Combination
Alternating concrete sections with decorative gravel creates visual interest while reducing concrete costs by 30-50%. Gravel areas handle drainage, plantings, and foot traffic while providing textural contrast to smooth concrete.
Pattern options include geometric designs, flowing curves, or practical divisions based on how you’ll use the space. High-traffic areas get concrete while decorative or overflow areas use gravel. This works particularly well for large patio areas.
Installation requires proper edge restraints to prevent gravel from migrating everywhere. Concrete borders, steel edging, or treated lumber contain gravel sections effectively. Landscape fabric beneath gravel prevents weeds and keeps everything looking clean.
13. Raised Planter Integration
Built-in concrete planters eliminate separate landscaping costs while creating natural boundaries and visual interest. Planters formed during the main pour integrate seamlessly and give you permanent growing spaces for flowers, herbs, or small shrubs.
Design considerations include planter size, drainage, and plant selection. Minimum 18-inch width works for most plants, while 24-inch depth supports larger stuff. You’ll need drainage holes or gravel layers to prevent water buildup and root rot.
Construction techniques use simple wooden forms during the concrete pour. Form planters at the same time as your patio to ensure proper integration and curing. Remove forms after concrete sets but before it’s fully hardened for clean edges.
14. Fire Pit Integration
Simple concrete fire rings built into patios eliminate separate fire features while creating focal points for entertaining. Basic fire brick and steel ring inserts keep material costs minimal while providing safe, functional fire features.
Planning phase requires checking local codes and figuring out fuel type (wood or gas). Size your fire pit right for your patio scale – 36-48 inch diameter works for most residential setups. Position it away from structures and overhanging vegetation.
Construction involves digging an 18-inch deep pit during patio prep. Install a 6-inch gravel base and 4-inch concrete pad with rebar reinforcement. Set your steel fire ring in wet concrete, making sure it’s level and at the right height.
15. Built-in Seating
Concrete benches formed during the main pour give you permanent seating without buying separate furniture. Simple geometric forms create functional, integrated seating that handles weather and needs basically zero maintenance.
Design options include straight benches, curved seating, or corner configurations. Standard 18-inch height and 15-inch depth work comfortably for most people. Back rests add comfort but increase complexity and material costs.
Construction uses wooden forms to shape seating during the concrete pour. Reinforce seating areas with rebar for structural strength. Think about cushion attachment points if you want enhanced comfort for longer hangout sessions.
Finishing options include smooth trowel, exposed aggregate, or stamped patterns to match your patio surface. Integral color can make seating stand out from the patio surface or create a unified look throughout the space.
Small Space Solutions for Compact Backyards
Maximizing outdoor living potential while minimizing concrete usage takes some strategic thinking. I’ve helped tons of people transform tiny backyards into functional outdoor retreats using these space-efficient approaches.
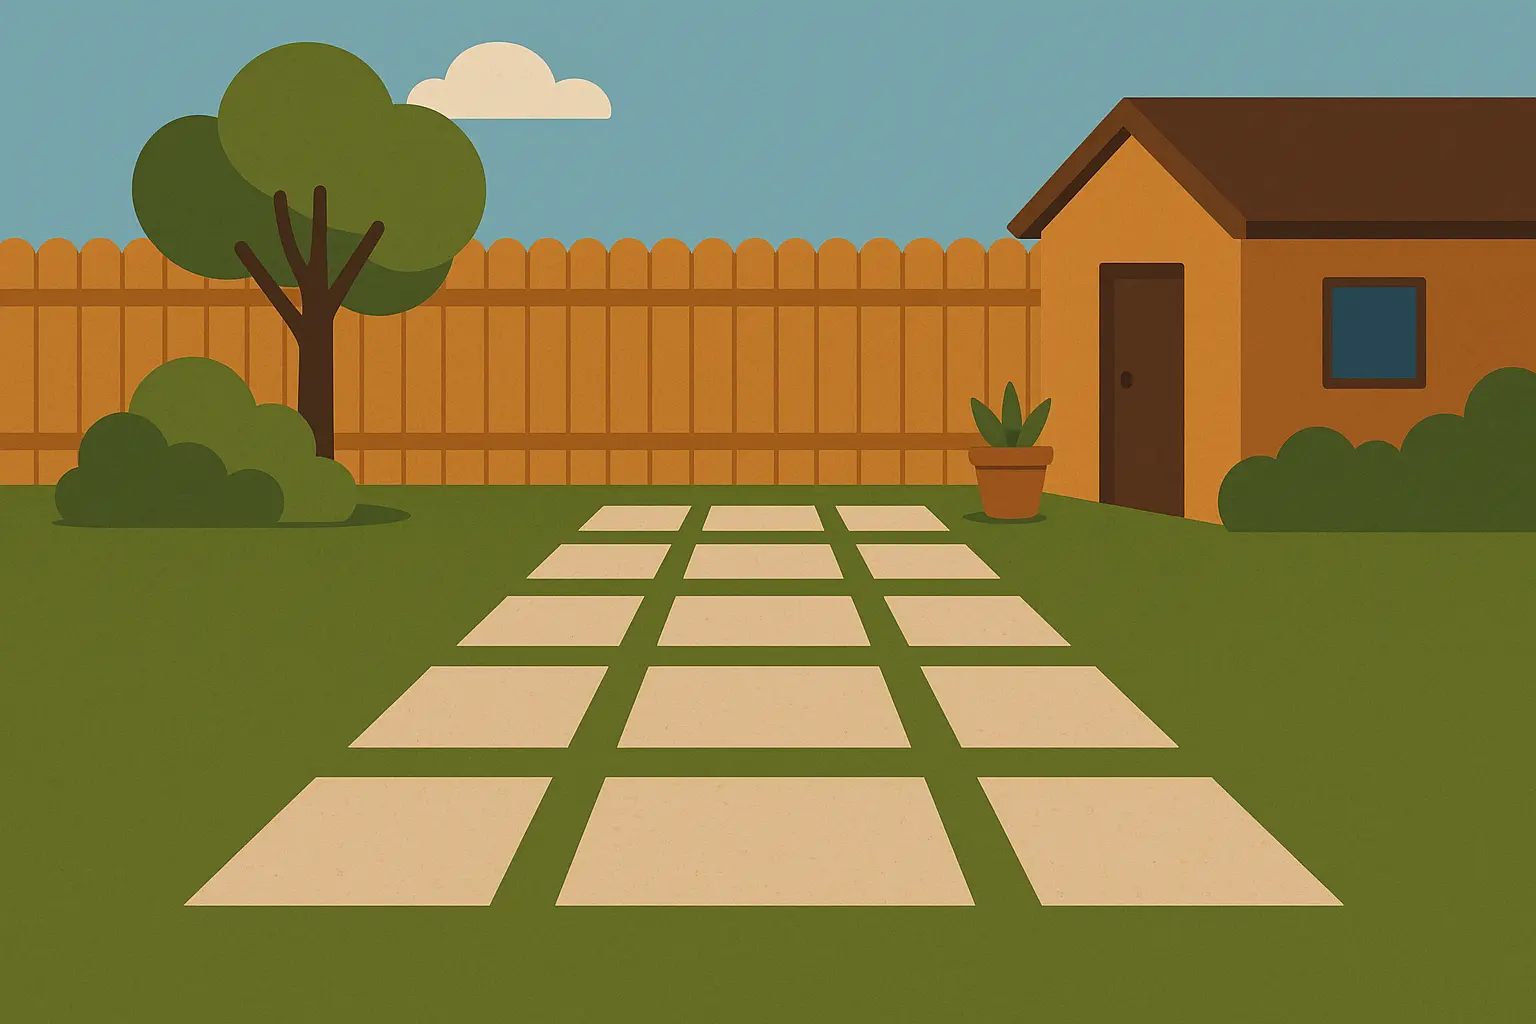
16. Concrete Stepping Stone Patios
Individual concrete pads with grass or gravel joints create patio functionality with way less concrete usage. This approach works great for small backyards where full concrete coverage might overwhelm the space or blow your budget.
Design flexibility lets you use various pad sizes and spacing for different uses and traffic patterns. Larger pads (3×3 or 4×4 feet) give stable furniture placement, while smaller stepping stones (18×18 inches) create pathways and visual connections.
Installation involves digging individual pad locations to proper depth, installing gravel base, and pouring concrete separately. This lets you work in phases and spread costs over time while keeping usable outdoor space throughout construction.
17. Partial Coverage Design
Strategic concrete placement in high-traffic areas with decorative ground cover elsewhere maximizes impact while minimizing costs. This approach identifies essential concrete areas while using cheaper materials for secondary spaces.
Traffic analysis determines concrete placement priorities. Dining areas, main walkways, and furniture zones get concrete coverage. Overflow areas, decorative spaces, and low-traffic zones use mulch, gravel, or planted areas.
Integration techniques ensure everything looks cohesive despite mixed materials. Concrete edges should align with natural sight lines and use patterns. Transition materials help blend different surface materials smoothly.
Cost savings reach 40-60% compared to full concrete coverage while maintaining functionality for primary uses. This approach works exceptionally well for rental properties or temporary outdoor improvements.
18. Tiered Mini Patios
Multiple small concrete pads at different levels create usable space on slopes while using less concrete than full excavation and filling. This approach works with natural topography instead of fighting against it.
Level planning considers furniture placement, drainage, and visual flow between tiers. Each level should handle specific functions – dining, seating, or decorative elements. Connect levels with steps, pathways, or planted slopes.
Construction techniques minimize excavation by working with existing grades. Each tier needs only local leveling instead of extensive site prep. This reduces both labor and material costs significantly.
|
Small Space Solution |
Concrete Savings |
Best For |
Difficulty Level |
|---|---|---|---|
|
Stepping Stone Patio |
60-70% |
Pathways, casual seating |
Easy |
|
Partial Coverage |
40-60% |
Mixed-use areas |
Easy |
|
Tiered Mini Patios |
30-50% |
Sloped yards |
Moderate |
|
Corner Design |
20-40% |
Intimate spaces |
Easy |
|
Pathway Extensions |
15-30% |
Existing walkways |
Easy |
19. Corner Patio Design
Using corner spaces with geometric concrete shapes maximizes small areas efficiently while creating intimate outdoor rooms. Corner locations often provide natural privacy and protection from wind.
Shape options include triangular, curved, or angled rectangles that fit corner spaces efficiently. Consider sight lines from indoor spaces and neighboring properties when determining final configuration and size.
Space efficiency techniques include built-in features that eliminate separate furniture needs. Corner benches, integrated planters, or storage areas maximize functionality within limited square footage.
20. Concrete Pathway Extensions
Widening existing concrete walkways into small patio areas uses existing concrete and reduces new material needs. This creates functional outdoor space while maintaining logical traffic flow patterns.
Assessment of existing walkways determines extension possibilities. Walkways in good condition with proper thickness can support patio extensions. Damaged or thin walkways might need complete replacement.
Integration techniques ensure seamless appearance between old and new concrete. Matching concrete mix, finish, and color prevents obvious transitions. Proper bonding agents help new concrete stick to existing surfaces.
Understanding driveway concrete disposal becomes important when removing old walkways for extensions.
Real Success Story: My neighbor Sarah had this weird triangular corner that was basically useless. She threw down some concrete in a triangle shape, built a little bench into the corner, and boom – now it’s her favorite spot to drink coffee and judge the rest of us. Cost her under $400 in materials while using 65% less concrete than a traditional rectangular design.
Functional Enhancement Ideas for Long-Term Value
Adding utility features during initial construction prevents expensive retrofitting later. These improvements add convenience, safety, and long-term value while taking advantage of open excavation and concrete placement to minimize installation costs.
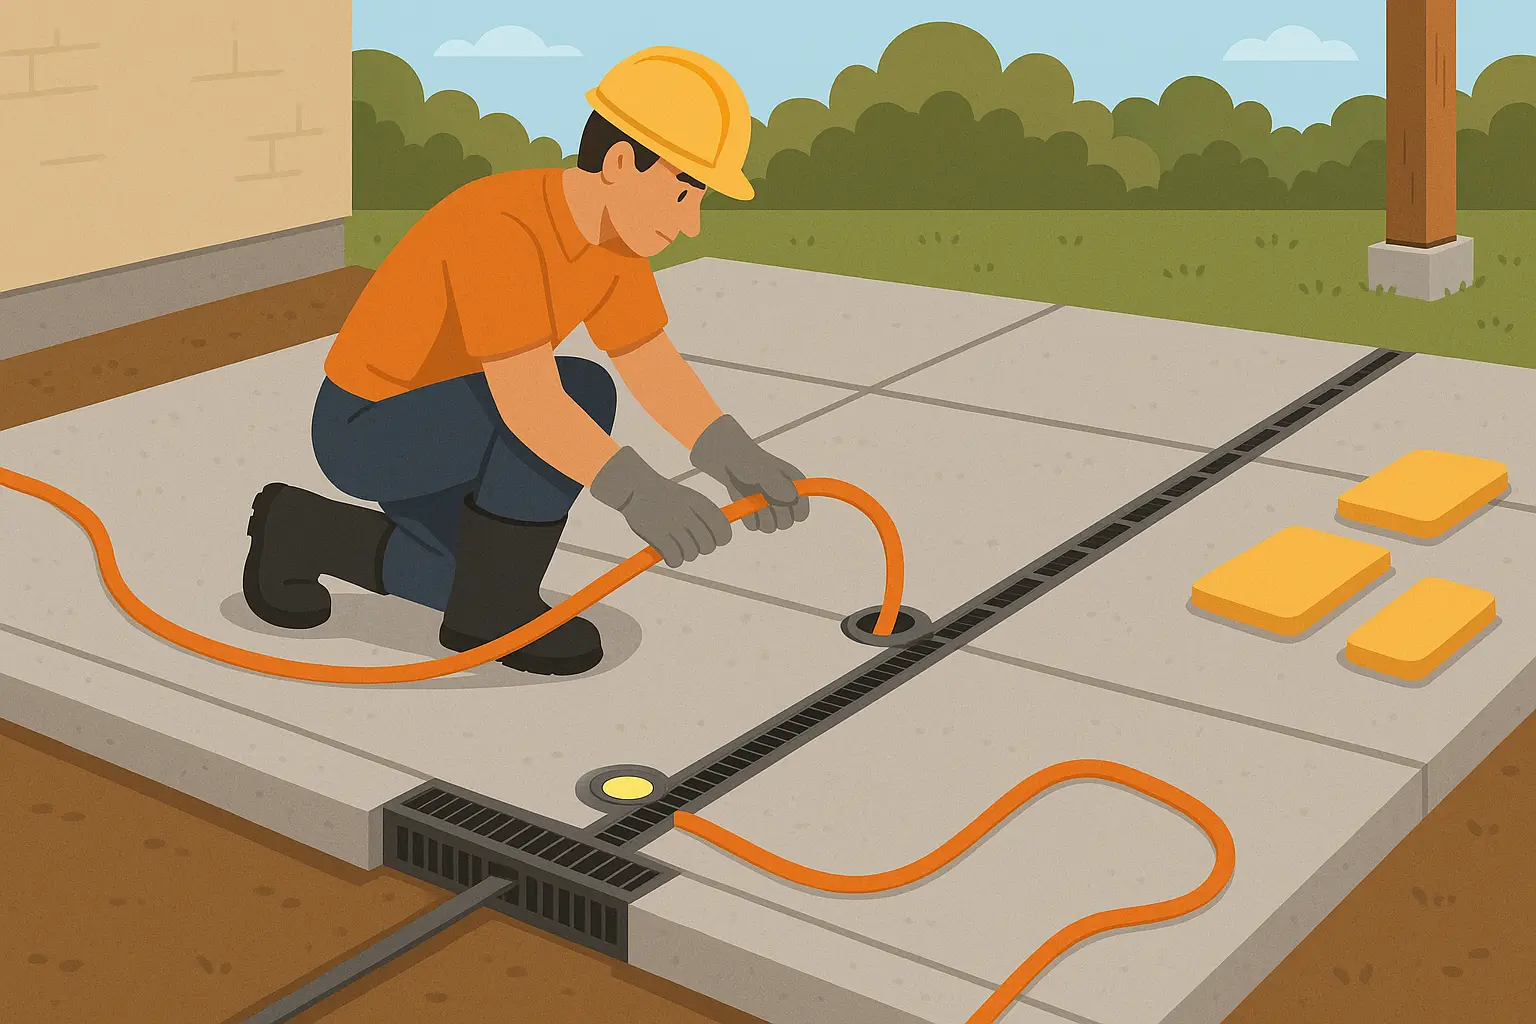
21. Concrete with Embedded Features
Installing conduit for lighting or water features during the concrete pour eliminates expensive retrofitting and ugly surface-mounted systems later. Simple PVC sleeves handle future electrical or plumbing needs without messing up concrete strength.
Planning phase determines future utility needs and best routing paths. Think about lighting locations, water feature possibilities, and electrical outlet needs. Install bigger conduit than you immediately need for future upgrades.
Installation techniques involve placing conduit before the concrete pour and securing it against moving during placement. Cap conduit ends so concrete doesn’t get in. Mark conduit locations for future reference.
Here’s the math – embedded systems cost 60-80% less than retrofitted installations. Initial planning investment pays off big when you add features later without concrete cutting or surface modifications.
22. Textured Safety Strips
Adding textured strips in high-traffic areas improves safety while creating design elements. Simple broom texturing or aggregate strips prevent slipping on smooth concrete surfaces, especially important around pools or in wet climates.
Location planning identifies areas where slip resistance matters most. Transition zones, slopes, and areas exposed to water benefit from enhanced traction. Design textured areas to complement overall patio look.
Application methods include broom texturing, seeded aggregate, or stamped patterns that provide traction. Contrast textured areas with smooth surfaces to create visual interest while serving functional purposes.
23. Drainage Integration
Built-in drainage channels eliminate separate drainage systems while creating linear design elements. Simple formed channels direct water efficiently while adding architectural interest to patio surfaces.
Design requirements include proper slope calculations, outlet locations, and channel sizing. Minimum 1/4 inch per foot slope ensures good drainage. Channel width depends on drainage area and expected water volume.
Construction techniques use wooden forms or flexible materials to create channels during the concrete pour. Reinforce channel edges to prevent cracking. Connect channels to existing drainage systems or appropriate discharge points.
24. Concrete Pad Clusters
Multiple connected concrete pads create flexible outdoor rooms while reducing excavation and material costs compared to single large slabs. This approach allows phased construction and adaptable space usage.
Configuration options include linear arrangements, clustered groupings, or scattered placement based on intended uses. Each pad can serve specific functions while maintaining visual and physical connections.
Connection methods include narrow concrete bridges, stepping stones, or pathway systems. Connections should handle foot traffic while maintaining distinct space definitions.
25. Pervious Concrete Areas
Strategic use of pervious concrete reduces drainage requirements while meeting environmental regulations. Mix designs use larger aggregates with reduced fines to create permeable surfaces that manage stormwater naturally.
Application areas include overflow parking, walkways, and areas where drainage is challenging. Pervious concrete works best in areas with moderate foot traffic and minimal furniture placement.
Installation requires specialized techniques including proper base prep, mix design, and finishing methods. Pervious concrete can’t be troweled smooth and needs different curing procedures than standard concrete.
Advanced Budget Techniques for Experienced DIYers
Advanced techniques offer sophisticated results for DIYers with concrete experience and specialized tool access. These methods need higher skill levels and more complex procedures but deliver premium looks at significant cost savings compared to professional installation.
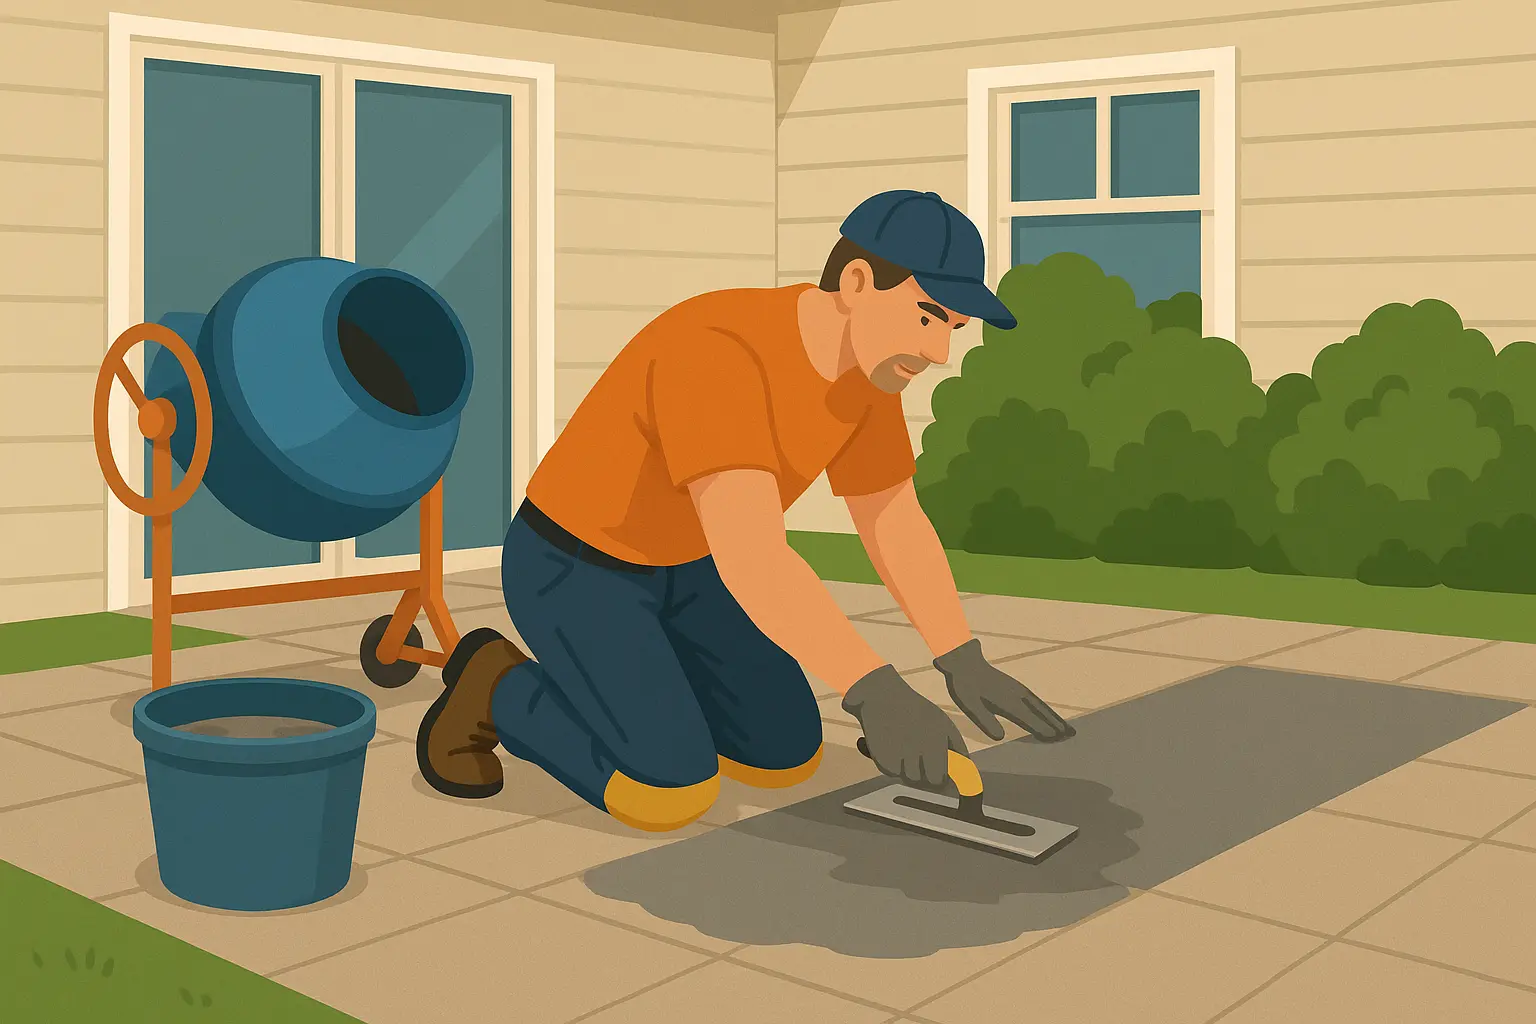
26. Concrete Resurfacing Existing Patios
Instead of full replacement, overlay existing concrete with thin decorative topping systems. Micro-topping products bond to existing concrete, giving you a new look at 40-60% of replacement cost while avoiding demolition expenses.
Assessment determines resurfacing feasibility. Existing concrete must be structurally sound with minimal cracking or settling. Surface prep includes cleaning, crack repair, and profile creation for proper bonding.
Application techniques vary by product type but generally involve multiple thin coats applied with specialized tools. Polymer-modified overlays provide flexibility and adhesion while decorative options include integral color, stamping, or staining.
27. Concrete Countertop Techniques Applied
Countertop concrete mixes and techniques create smooth, dense surfaces perfect for outdoor dining areas. Higher cement content and specialized additives produce surfaces suitable for food prep and easy cleaning.
Mix design modifications include increased cement content, plasticizers for workability, and fiber reinforcement for crack resistance. These modifications increase material costs but produce superior surface quality.
Finishing techniques borrowed from countertop work include power floating, chemical hardeners, and polishing systems. These methods need specialized equipment but produce surfaces comparable to natural stone.
Cost Analysis by Project Category
Understanding cost implications across different project categories helps you make smart decisions about which approaches best fit your budget and expectations. Analysis includes material costs, labor requirements, timeline considerations, and long-term value for each category type.
|
Project Category |
Material Cost/sq ft |
Time Investment |
Skill Level |
Long-term Value |
|---|---|---|---|---|
|
Basic Finishes |
$3-4 |
1-2 days |
Beginner |
Good durability |
|
DIY Decorative |
$4-8 |
2-4 days |
Intermediate |
Excellent appeal |
|
Creative Integration |
$5-10 |
3-7 days |
Intermediate |
Multi-functional |
|
Small Space Solutions |
$4-6 |
1-3 days |
Beginner |
Space efficiency |
|
Advanced Techniques |
$6-12 |
4-10 days |
Advanced |
Premium results |
Basic Finishes Cost Breakdown
Material costs for basic finishes stay lowest at $3-4 per square foot for DIY installation. Standard concrete mix, basic tools, and simple finishing techniques keep expenses minimal while providing durable, functional surfaces.
Labor requirements favor homeowners with basic construction skills. Most basic finishes need 1-2 people and can be done in a single day for typical residential patios. Learning curve is minimal with proper prep and realistic expectations.
Timeline advantages include single-pour completion and minimal weather dependency. Basic finishes cure normally and don’t need special timing or multiple-step processes that extend project duration.
DIY Decorative Techniques Analysis
Material costs increase to $4-8 per square foot depending on technique complexity and decorative materials selected. Staining and painting need minimal additional materials while stamping involves tool rental and specialty products.
Labor requirements demand higher skill levels and more time investment. Most decorative techniques need 2-3 days including prep, application, and finishing steps. Weather conditions become more critical for success.
Timeline considerations include multiple steps, curing requirements, and potential rework if initial results aren’t satisfactory. Plan extra time for learning curves and technique refinement.
Creative Integration Value Analysis
Material costs vary widely based on integration complexity and secondary materials selected. Concrete usage typically reduces by 20-40% while border materials, planters, or features add offsetting costs.
Labor requirements include additional skills for working with multiple materials and coordinating different installation phases. Projects might need specialized tools or techniques for non-concrete elements.
Timeline benefits include potential for phased construction and immediate usability of completed sections. Integration projects often allow spreading costs and work over extended periods.
Seasonal and Regional Considerations
Climate factors significantly impact concrete patio success, requiring specific adaptations for different regions and seasonal conditions. Understanding local requirements prevents expensive failures while optimizing performance and longevity for specific environmental conditions.
Northern Climate Adaptations
Freeze-thaw protection needs air-entrained concrete with minimum 6-inch thickness and proper drainage. These modifications add $1-2 per square foot but prevent expensive freeze damage and premature failure.
Base prep becomes critical in northern climates. Deeper excavation, thicker gravel bases, and proper compaction prevent frost heaving and settling problems. Factor additional excavation costs into project budgets.
Seasonal timing limits construction windows to warmer months when concrete can cure properly. Plan projects for late spring through early fall when temperatures stay above 50°F consistently.
Southern Climate Considerations
Heat reflection becomes important for comfort and energy efficiency. Light-colored concrete and proper shading reduce surface temperatures and improve usability during hot weather.
UV protection through quality sealers prevents color fading and surface degradation. Budget additional costs for UV-resistant sealers and more frequent reapplication in intense sun exposure.
Thermal expansion requires proper joint spacing and design to handle temperature swings. Southern climates might experience greater temperature variations than expected.
Coastal Area Requirements
Salt exposure demands corrosion-resistant reinforcement and sealed surfaces to prevent deterioration. Stainless steel or epoxy-coated rebar adds costs but provides essential protection.
Drainage considerations include storm surge potential and high water tables. Elevate patios appropriately and design drainage for extreme weather events.
Material selection should emphasize durability over appearance in harsh coastal environments. Premium sealers and protective coatings justify their costs through extended service life.
How JiffyJunk Supports Your Patio Project
Professional debris removal services keep concrete patio projects on schedule while maintaining safety and cleanliness standards. From initial site clearing through final construction cleanup, comprehensive waste management eliminates common project delays and safety hazards that mess up DIY construction efforts.
Site Preparation and Clearing
Concrete patio projects often reveal tons of accumulated junk, old patio materials, and years of backyard storage that needs removal before construction begins. JiffyJunk’s comprehensive clearing services handle everything from broken concrete and old pavers to construction materials and general yard waste.
Professional removal prevents project delays that happen when homeowners underestimate debris volume or disposal requirements. Same-day availability means your project timeline stays on track without waiting for municipal pickup or multiple trips to disposal facilities.
Safety considerations include proper handling of heavy materials, potential hazardous waste identification, and maintaining clear work areas for concrete trucks and equipment. Professional crews understand construction site safety requirements and maintain appropriate insurance coverage.
Understanding concrete demolition made easy helps determine proper disposal methods for old materials.
Construction Waste Management
Concrete projects generate significant waste including packaging materials, excess concrete, broken forms, and general construction debris. JiffyJunk’s transparent pricing helps budget waste removal as part of overall project costs rather than unexpected expenses.
Eco-friendly disposal practices ensure concrete waste, broken pavers, and construction materials get recycled responsibly rather than simply dumped in landfills. This environmental responsibility aligns with sustainable construction practices while meeting regulatory requirements.
White-glove treatment includes thorough cleanup that leaves project areas ready for the next construction phase. Professional crews understand the difference between construction cleanup and general debris removal, providing appropriate service levels for each project phase.
For comprehensive cleanup needs, explore construction waste disposal contractors services that handle all project phases efficiently.
Final Project Cleanup
Construction completion often leaves behind debris that detracts from new patio enjoyment. Professional cleanup services handle final debris removal, letting you focus on furnishing and enjoying your new outdoor space instead of cleanup tasks.
Comprehensive services address all debris types from packaging materials and tool cleanup to landscape restoration around construction areas. This complete approach ensures your investment in outdoor living space provides immediate enjoyment without cleanup delays.
For ongoing maintenance needs, consider yard waste disposal suffolk county style services that keep outdoor spaces looking great year-round.
Ready to transform your backyard with budget-friendly concrete patio ideas? Contact JiffyJunk today to handle the debris removal aspects of your project, keeping your timeline on track and your space safe and clean throughout the construction process.
Final Thoughts
Creating beautiful, functional concrete patios on a budget takes careful planning, realistic expectations, and willingness to invest time in learning proper techniques. These 27 ideas prove that tight budgets don’t mean compromising on quality or looks when you understand materials, techniques, and cost-effective approaches.
Success depends on matching project complexity to your skill level while prioritizing features that give you the biggest impact for your investment. Basic finishes offer excellent value for homeowners wanting durability and functionality, while decorative techniques provide premium appearance at a fraction of professional costs for those willing to develop new skills.
Remember that concrete patios represent long-term investments in your property and lifestyle. Proper planning, quality materials, and attention to regional requirements ensure your budget-friendly patio provides decades of enjoyment while boosting your home’s value and your family’s outdoor living experience.
Look, you’re gonna make mistakes. Your back’s gonna hurt. You’ll probably question your sanity at least once during the project. But when you’re grilling burgers on your awesome new patio that cost half what the contractors wanted, you’ll know it was totally worth it. Trust me on this one.